• Modelers Alliance has updated the forum software on our website. We have migrated all post, content and user accounts but we could not migrate the passwords.
    This requires that you manually reset your password.
    Please click here, http://modelersalliance.org/forums/login to go to logon page and use the "Forgot your Password" option.

RMS TITANIC 1/350 Academy/Minicraft and some PE

Fine work Greg, that's going to be a nice touch.

I had that Robert Ballard book, first release...dog ate it.

:popcorn
 
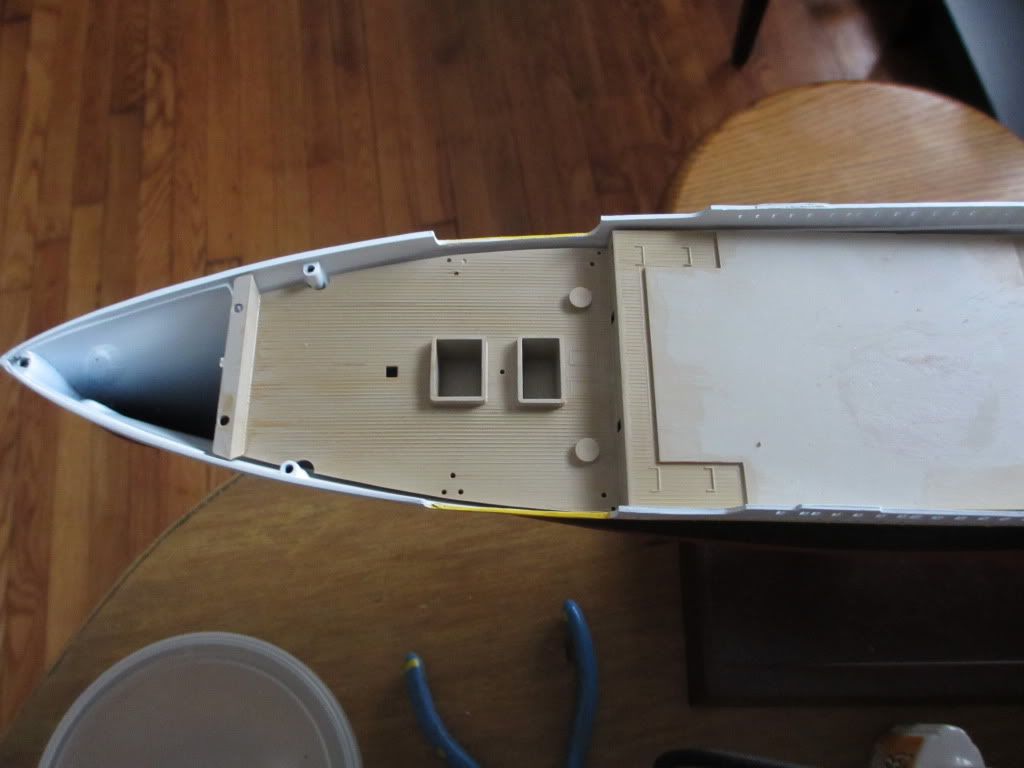
I'm getting started with some painting of the decks. I wanted to get the main deck, fo'castle, and the poop deck painted so I can get this bolted to the pedestals and get on to building up the upper works.

I based them out in a pale grayish tan color and did a Minwax Golden Oak stain over that. You can see the base and stain in this picture.
T002-2.jpg


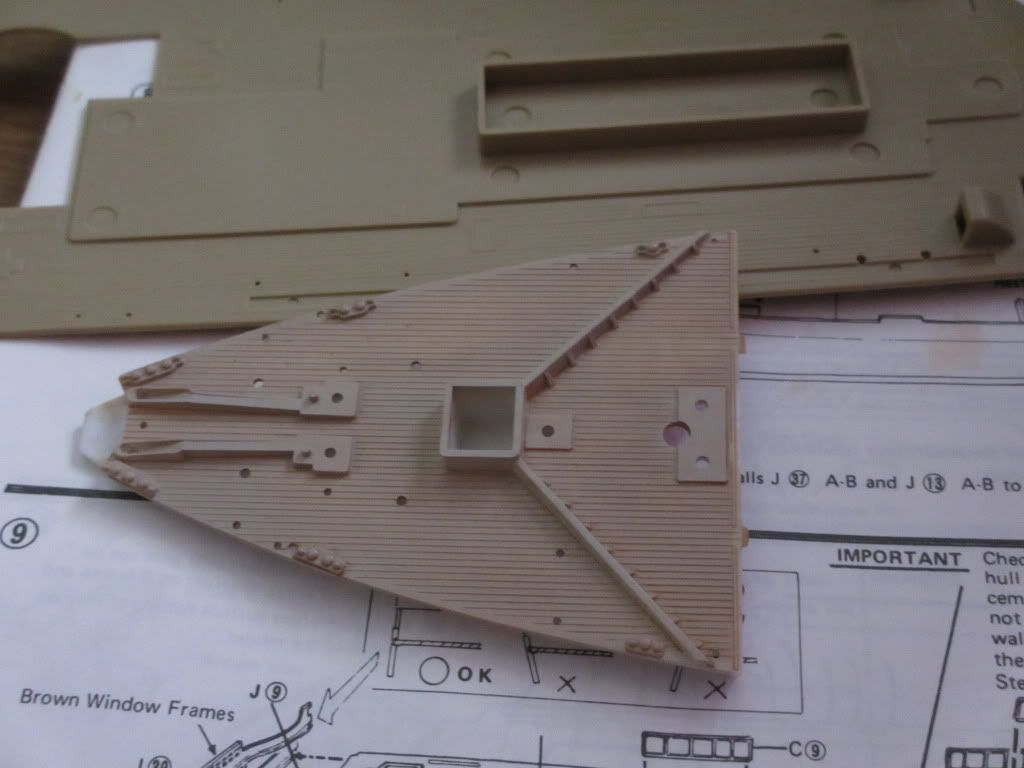
The fo'castle was molded in white so it HAD to get the treatment. You can also see the "tan plastic that some of the decks are molded in too.
T001-2.jpg


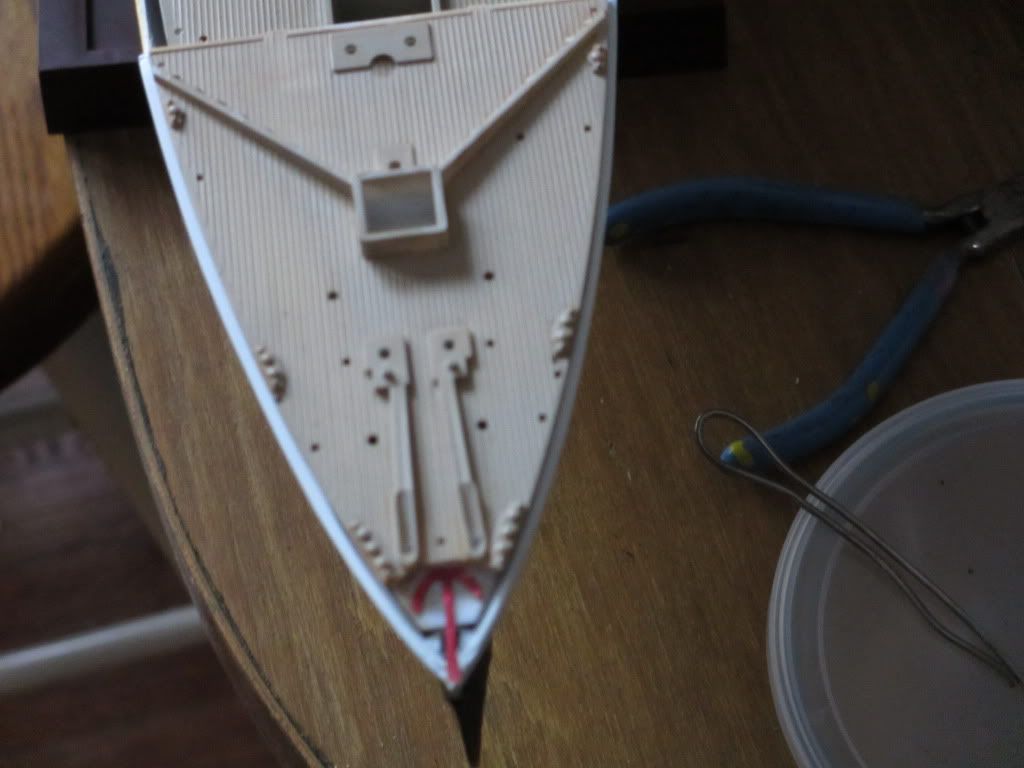
And finally for today, I started to scratch up the center anchor that will live in the fo'castle well. I used some armature wire that I hammered flat between two pieces of steel plate. Then I bent it to shape on a tapered mandrel, and used a grinder to sharpen the points. This pic is just to see how it looks and what I need to do to adjust the shape and fit. There still a bit to do to it, but it's a rough idea of what I'm doing.
T003-2.jpg


Well that's it for today..... Thanks for looking.
 
Alas! It was off to a good start and appears to have fizzled. I have one of these bad by kits too and was hoping to see where all the fixes were needed. Hopefully it isn't going to be a shelf queen much longer. :eek:hmy:
 
It has happened! I've restarted this build. Just needed some time to regroup from life's ups and downs.

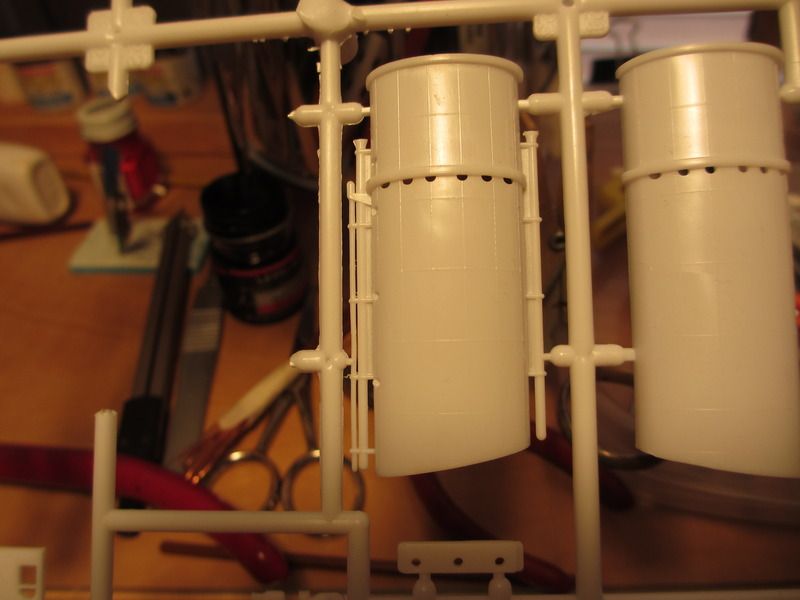
I will be jumping around quite a bit here trying to build up sub assemblies so thing may appear all out of order. As of late I've been concentrating on the funnels. They came molded with a lot of flash plugging the spaces in between the steam pipes that run up the outside of of the funnel. Lots of tedious cleaning to get this done but all 4 funnels are now flash free. I'll post up some pictures shortly.
 
Hey Greg, hope all is well. Glad to see you back on the bench again, I guess you back on the bench...no pictures.... :smack

:nopics

:mpup
 
alrighty here's some pictures
IMG_1435.jpg
IMG_1433.jpg


Before and after shots of the funnel and the afore mentioned flash. I have all 4 done now but there is still some seam clean up to do and then I will have to drill out sockets for the Ladder mounts.

On another note I found a sight that has a free download of some of the interior spaces that are visible i one cares to squint. The Cafe Parissian The Palm Court and the private First Class Promenade. I to advantage of the free aspect and now have these and plan to give them a try.
IMG_1431.jpg

IMG_1430.jpg

IMG_1429.jpg


That's all for now, I'll put up some pics of all 4 funnels tonight.
 
For what it worth the Palm Court in 1/350 scale works out to about 1 square inch in real space on the model. And it's an interior space you'll only be able to see thru the windows. And before I close up that part of the superstructure
 
Thanks Bob. I try.

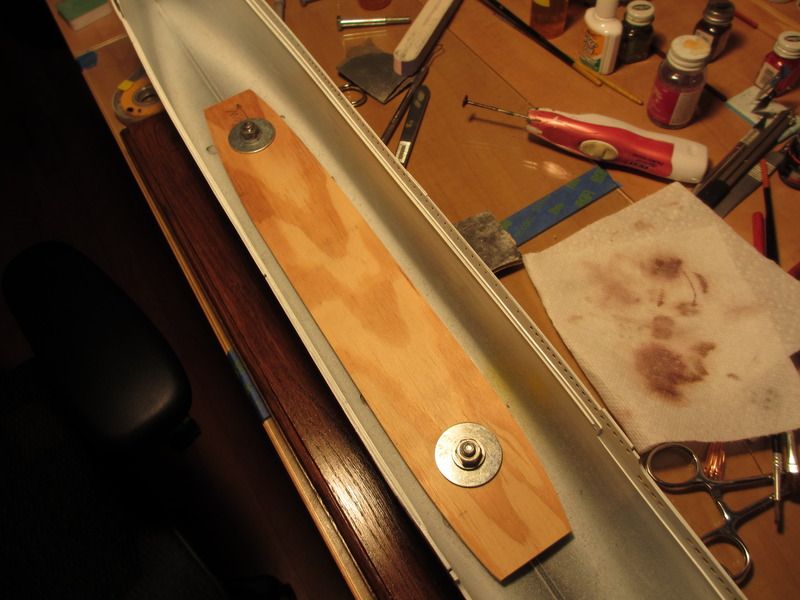
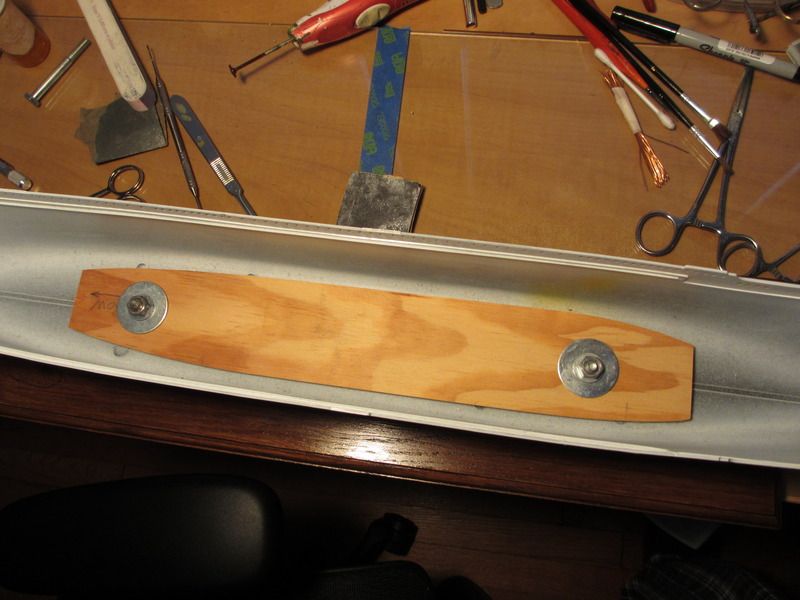
Over the weekend I finally got the hull mounted to it's base. This is a big model so I wanted something a little more substantial the the rickety plastic base that came with the kit. So I being a woodworker, cut and routed a piece of oak 20" long and 6" wide. After some stain and 2 coats of semi gloss poly, I have a base.

Here's some pictures of the hull mounted to the base, and the interior shots of how it all came together.
IMG_1446.jpg

IMG_1445.jpg

IMG_1444.jpg
 
Last night I got the main deck glued into the hull. Another long process. The deck is in two pieces of long very flexible styrene. Of course the hull is wider than the deck, so it was glue-clamp a couple inches at a time. Down on side and then the other. All told that amounted to 50 and one half inches. Each side got attached with MEK and clamped till it was bonded and then a thin bead of CA was run along the seam applied with a thin wire applicator. I must apologize for not taking pictures during the process but I really had both hands full.
IMG_1447.jpg
 
Back
Top