
Old Dog
Well-known member
Promodeler 1/48 Ju 52 Episode 1, The innards !
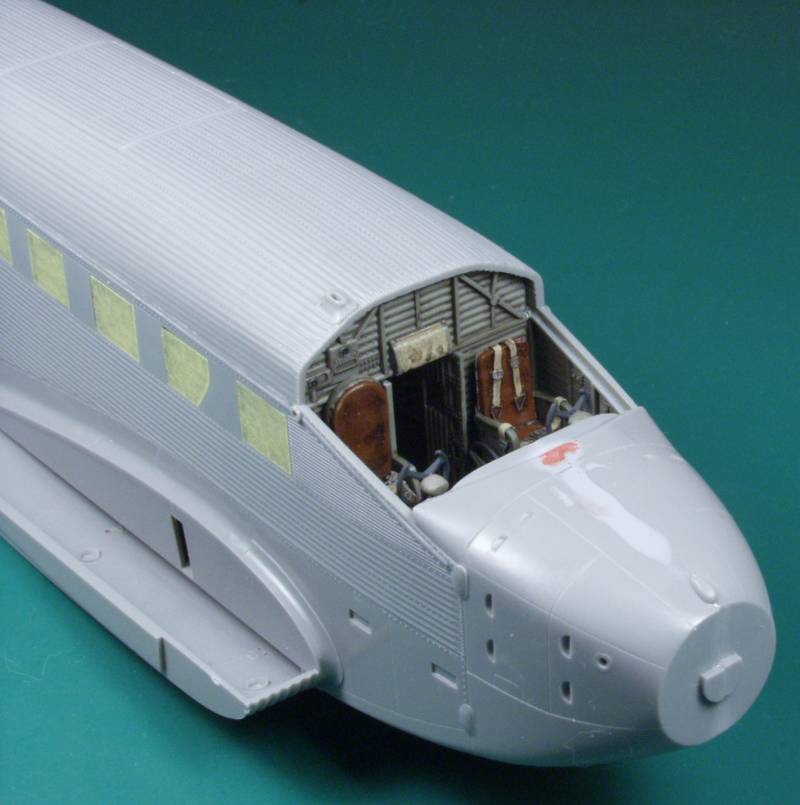
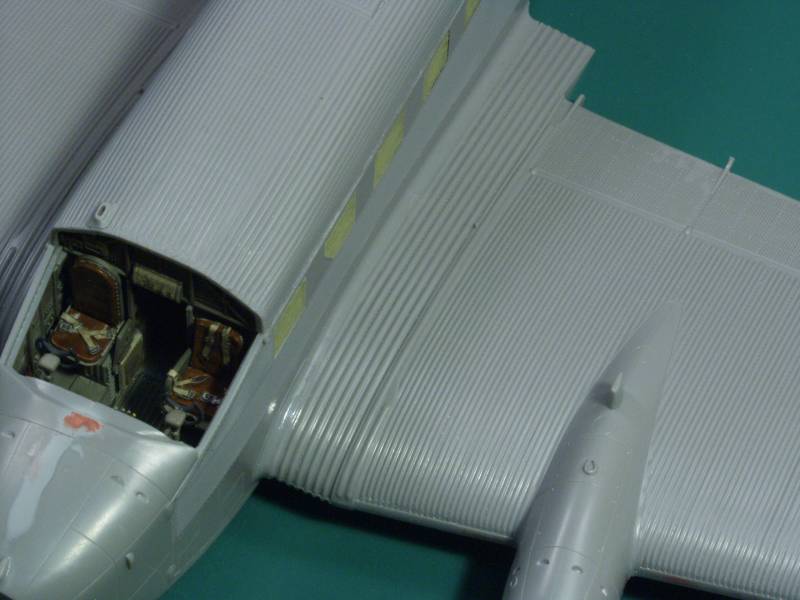
Thanks again for your kind remarks gentlemen and now on with the show. Next up would be to attach the top and bottom sections to the fuselage. Even the top interior had detail, a radio set, a control panel and a winch not to mention cabin lights...
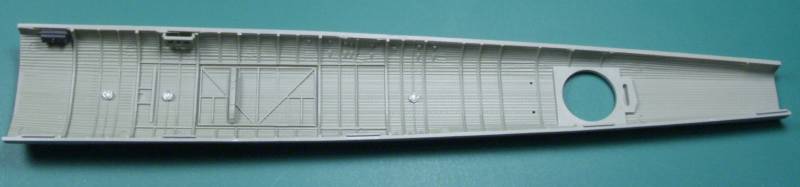
I was a bit skeptical as to how well the top and bottom would fit considering how flexible the sides seemed to be but I was pleasantly surprised. I did do them as a progressive glue up doing a little at a time and flexing the sides where necessary for alignment but when all was said and done the fit was everything one could ask for and with the top and bottom in place the fuselage became really solid. The joins are on natural panel lines and no sanding or filling will be required...
I did need to use a bit of filler as there was a low spot near the seam on the lower nose but the seams where the bottom fit in are nearly invisible.
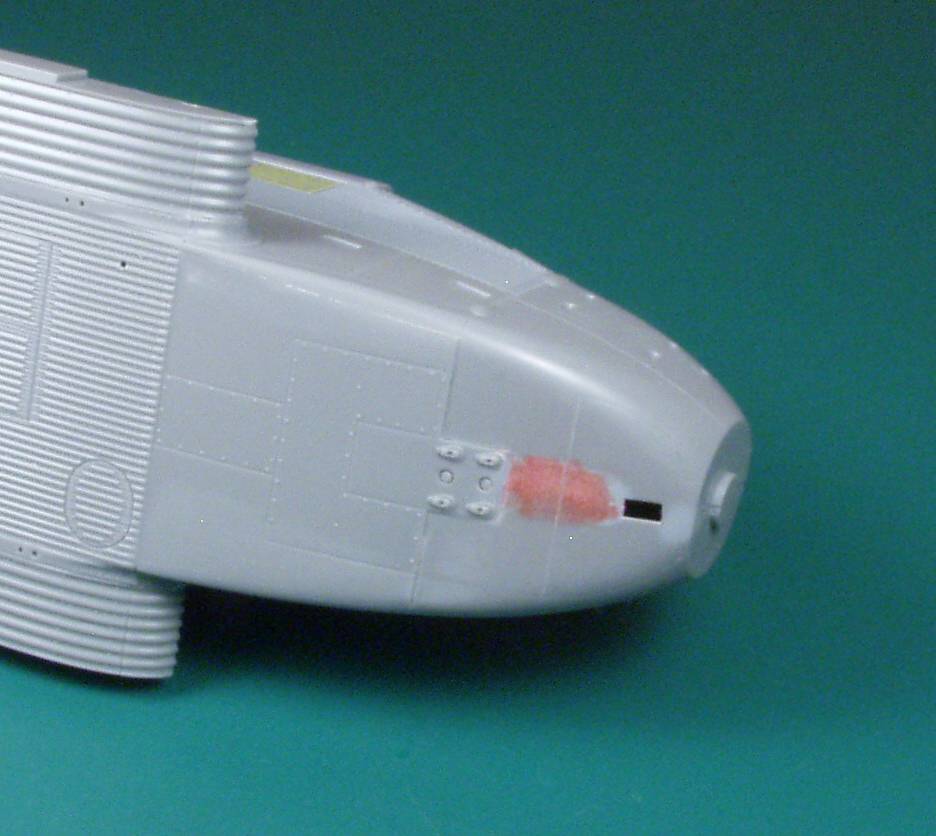
I had a small step and a divot from a sprue attachment point on the nose
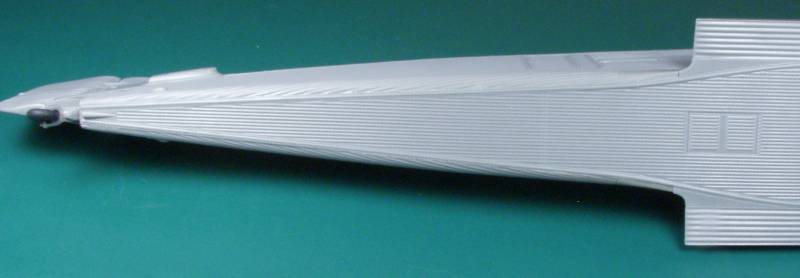
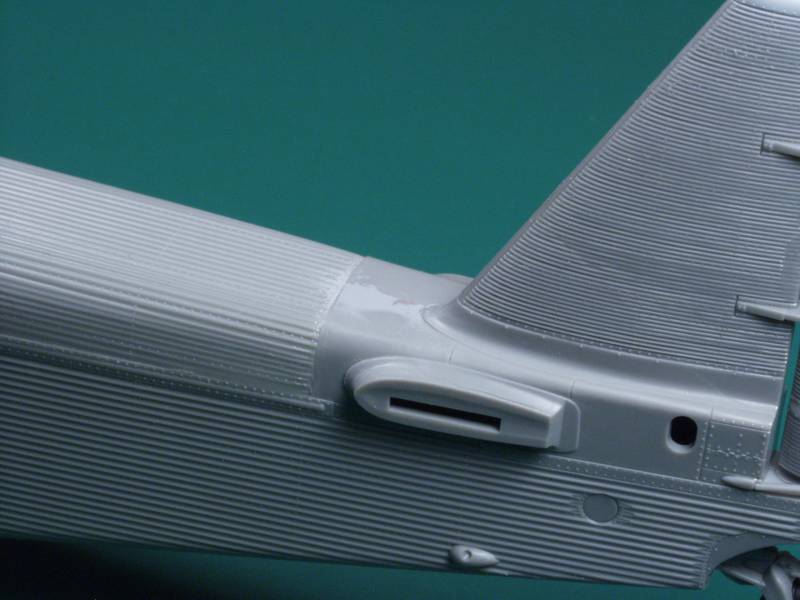
And a bit of filler required just ahead of the tail. The surface detail on this kit blows me away, much better than the rivet divots seen on most new kits. The raised head rivets where the corrugated panels fit together look perfect and this on both the inside an outside of the fuselage walls, the dies for this kit must have been really expensive at the time.
Of course I could have done without this...
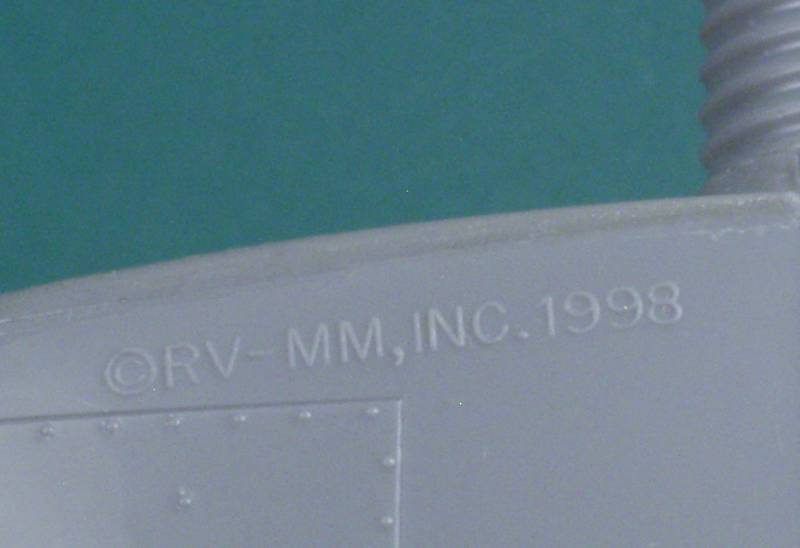
But I guess it's norm for Revell, I read somewhere that their new Stearman has it on it too.
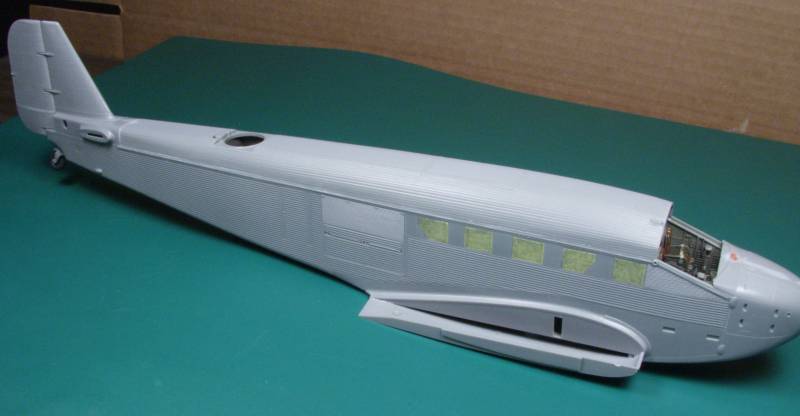
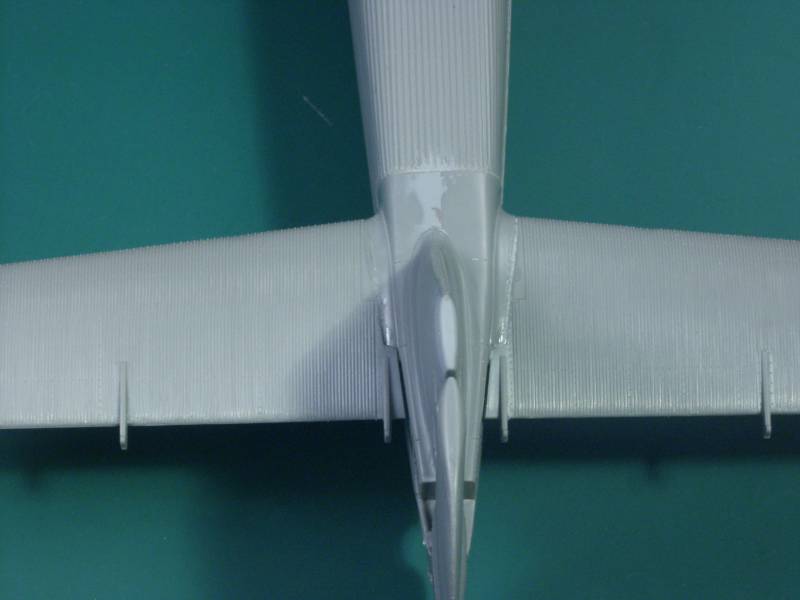
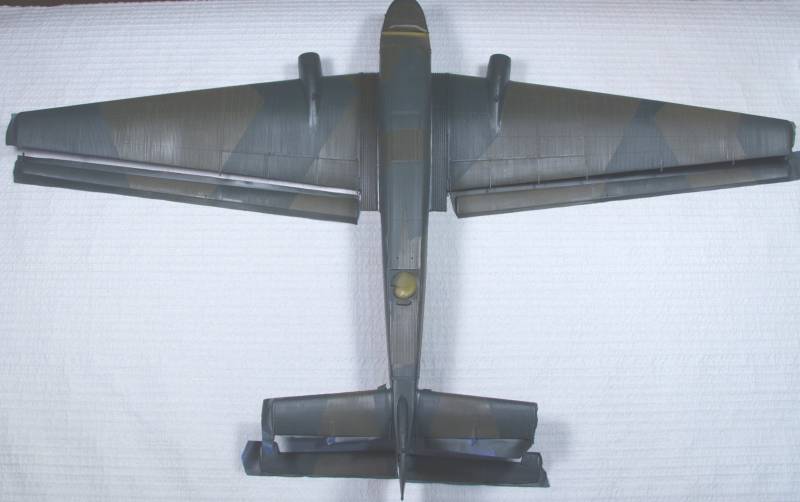
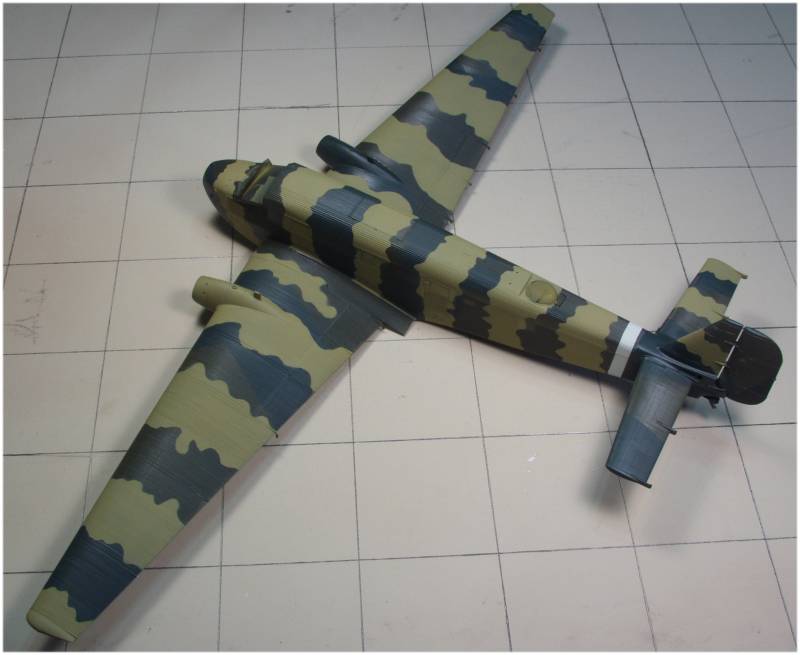
Next the wings and tail were attached and it is beginning to look like an airplane...
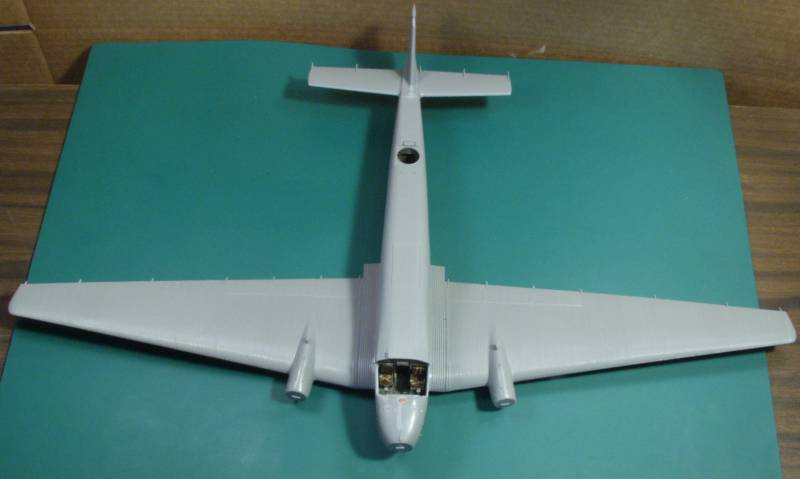
Wing fit was great both top and bottom, the port wing fit perfect, the starboard one required a bit of pressure during gluing but when set was fine...

and the tail planes while a a bit fiddly initially came out fine in the end both top and bottom...
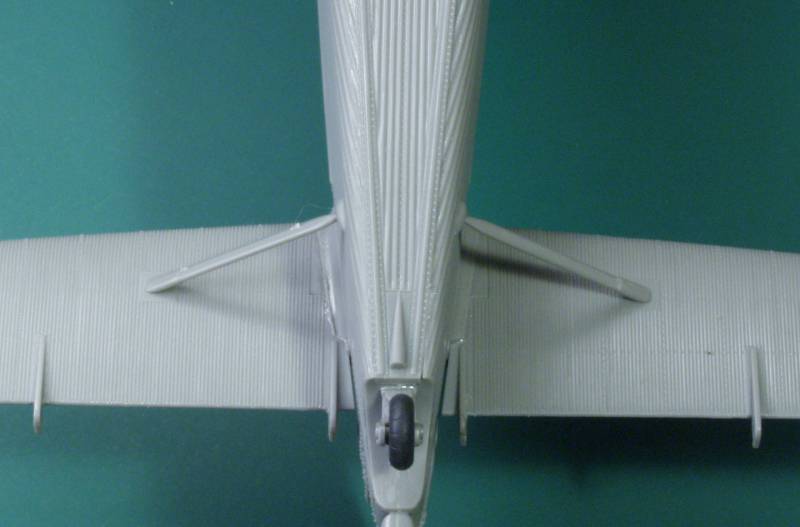
Got a little glue squeeze out to fix. The support struts are just setting in place to get the tail alignment, they will be popped out to make painting easier.
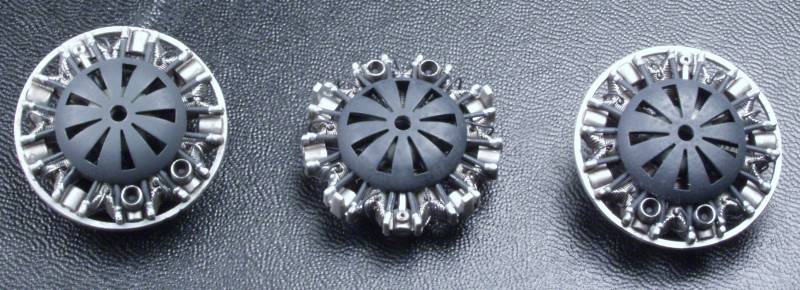
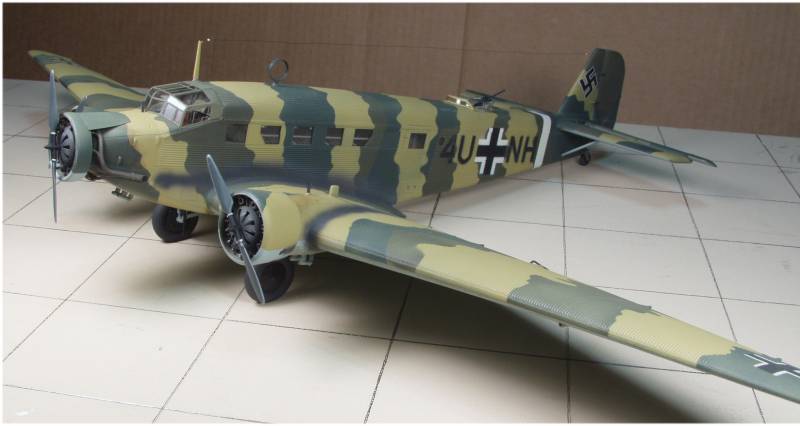
Next it was on to the engines, I added spark plugs and wires. The pushrods were short and I filled the gap with super glue. When I got to the exhausts I hit the first annoying part of the build, they really didn't fit well and I had for the most part to glue the attachment points one at a time and let them dry before going to the next. I though they might be more visible as the back of the cowling is open but they disappear in the shadows so all the grief was mostly wasted...
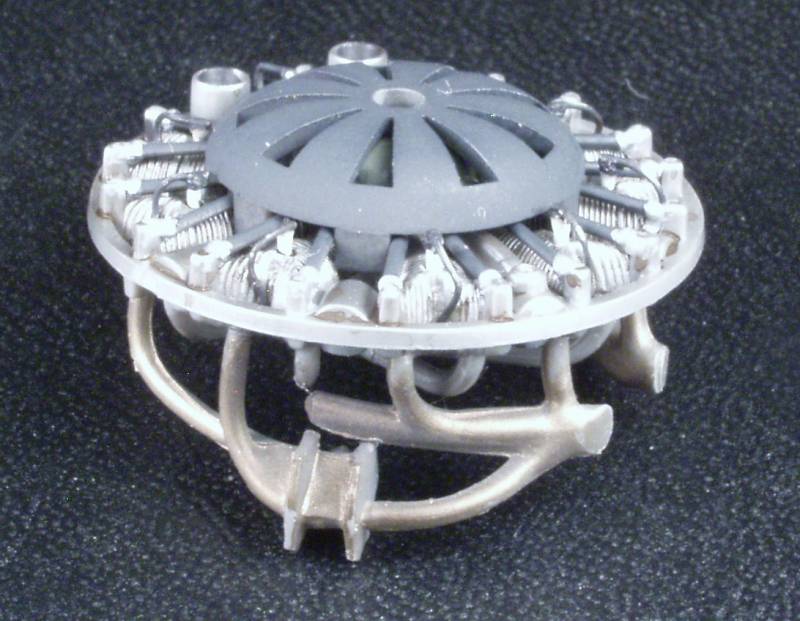
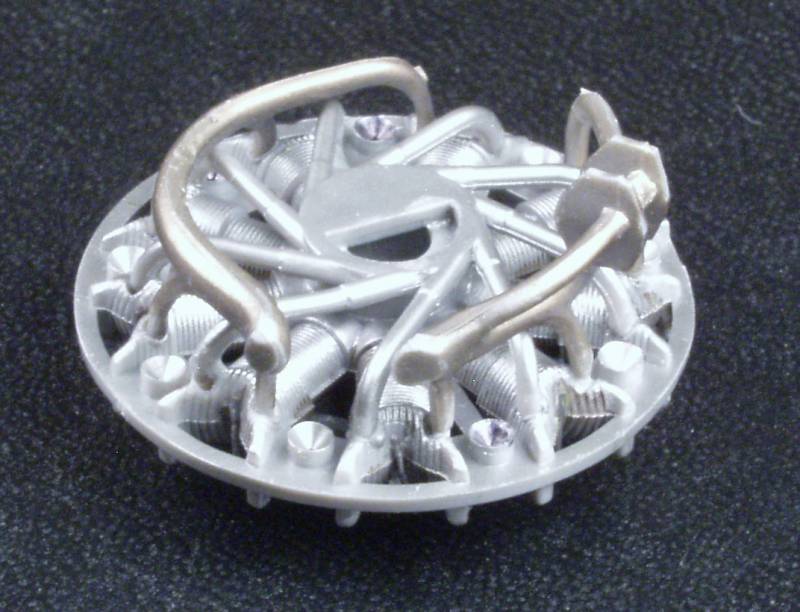
I still need to attach the exhausts to the center engine and those will definitely be visible but the engines are ready to be mounted in their cowlings.
I still need to clean up all the fiddly bits that get painted exterior colors and prime some spots to make sure they will look OK under paint. That may begin as early as this weekend. I did find that I had no sand color paint but it's on order and should arrive before I finish doing the standard splinter colors. In the mean time thanks for looking and stay tuned !
Thanks again for your kind remarks gentlemen and now on with the show. Next up would be to attach the top and bottom sections to the fuselage. Even the top interior had detail, a radio set, a control panel and a winch not to mention cabin lights...
I was a bit skeptical as to how well the top and bottom would fit considering how flexible the sides seemed to be but I was pleasantly surprised. I did do them as a progressive glue up doing a little at a time and flexing the sides where necessary for alignment but when all was said and done the fit was everything one could ask for and with the top and bottom in place the fuselage became really solid. The joins are on natural panel lines and no sanding or filling will be required...
I did need to use a bit of filler as there was a low spot near the seam on the lower nose but the seams where the bottom fit in are nearly invisible.
I had a small step and a divot from a sprue attachment point on the nose
And a bit of filler required just ahead of the tail. The surface detail on this kit blows me away, much better than the rivet divots seen on most new kits. The raised head rivets where the corrugated panels fit together look perfect and this on both the inside an outside of the fuselage walls, the dies for this kit must have been really expensive at the time.
Of course I could have done without this...
But I guess it's norm for Revell, I read somewhere that their new Stearman has it on it too.
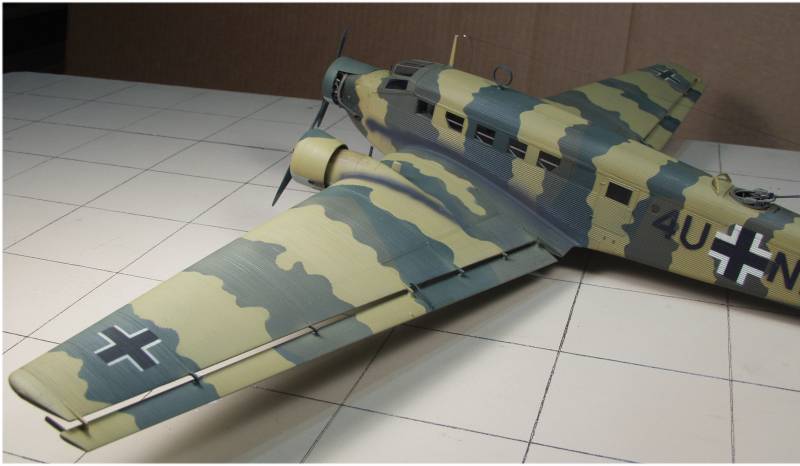
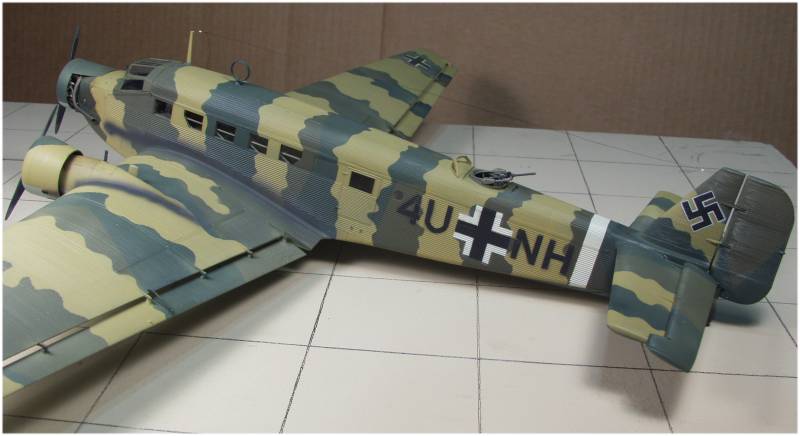
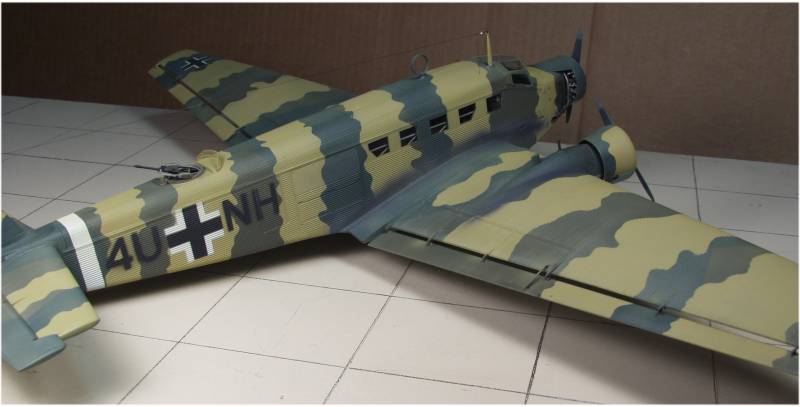
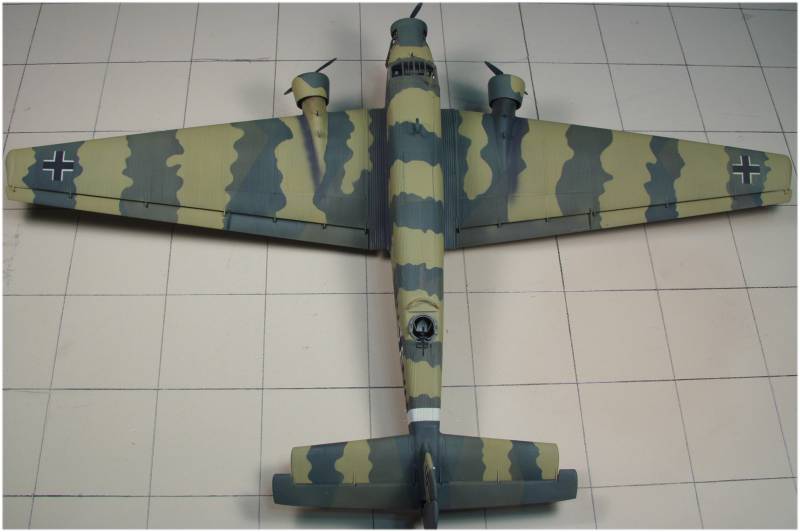
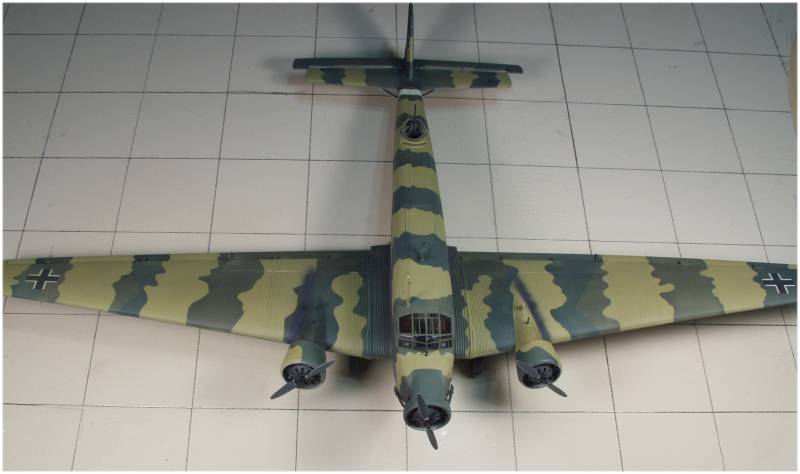
Next the wings and tail were attached and it is beginning to look like an airplane...
Wing fit was great both top and bottom, the port wing fit perfect, the starboard one required a bit of pressure during gluing but when set was fine...
and the tail planes while a a bit fiddly initially came out fine in the end both top and bottom...
Got a little glue squeeze out to fix. The support struts are just setting in place to get the tail alignment, they will be popped out to make painting easier.
Next it was on to the engines, I added spark plugs and wires. The pushrods were short and I filled the gap with super glue. When I got to the exhausts I hit the first annoying part of the build, they really didn't fit well and I had for the most part to glue the attachment points one at a time and let them dry before going to the next. I though they might be more visible as the back of the cowling is open but they disappear in the shadows so all the grief was mostly wasted...
I still need to attach the exhausts to the center engine and those will definitely be visible but the engines are ready to be mounted in their cowlings.
I still need to clean up all the fiddly bits that get painted exterior colors and prime some spots to make sure they will look OK under paint. That may begin as early as this weekend. I did find that I had no sand color paint but it's on order and should arrive before I finish doing the standard splinter colors. In the mean time thanks for looking and stay tuned !


 ... Fantastic plane :frantic
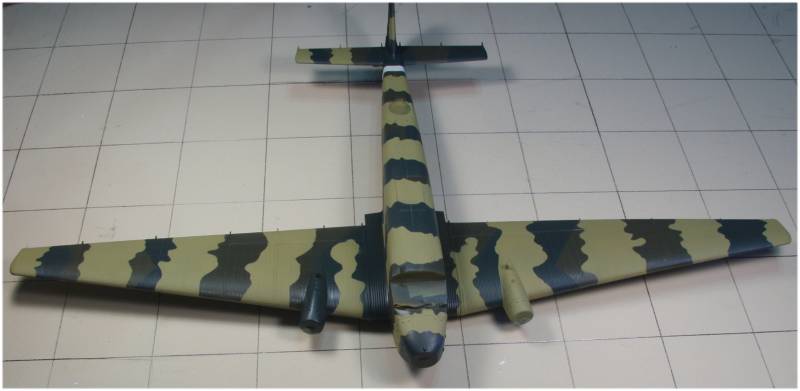
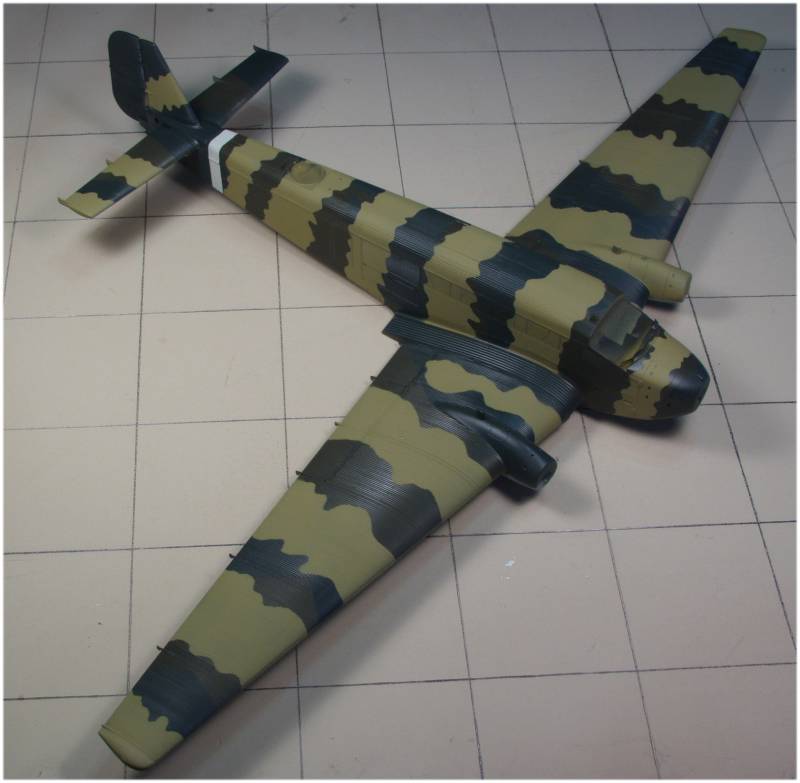
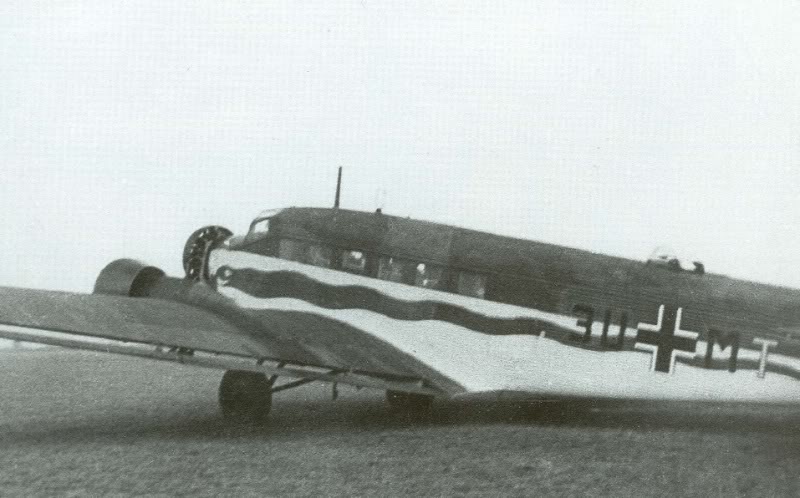
 Love the symmetry of the camouflage on the wings, the whole thing looks just 'right'.
")