• Modelers Alliance has updated the forum software on our website. We have migrated all post, content and user accounts but we could not migrate the passwords.
    This requires that you manually reset your password.
    Please click here, http://modelersalliance.org/forums/login to go to logon page and use the "Forgot your Password" option.

Pee for Hundred

I guess the question is, is this part advertised as drop in? If not then okay, if it is, well Serg, you did alot of reduction to get it in as well. Just my 2 cents.
 
Sergey,

Thanks for dropping over!

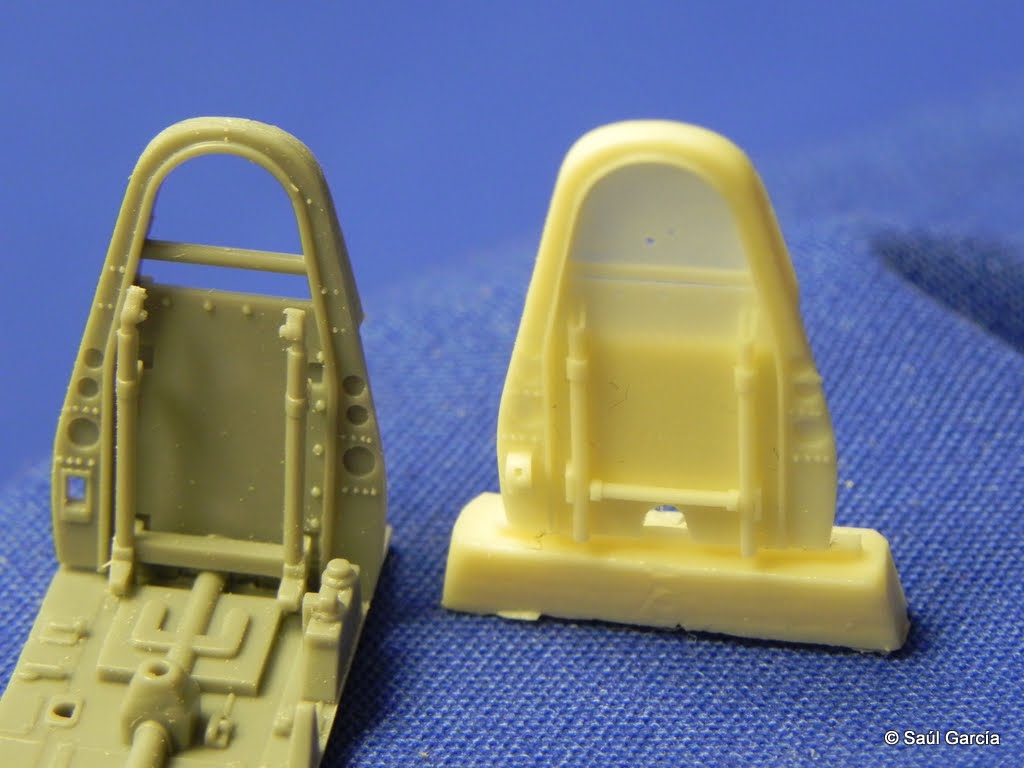
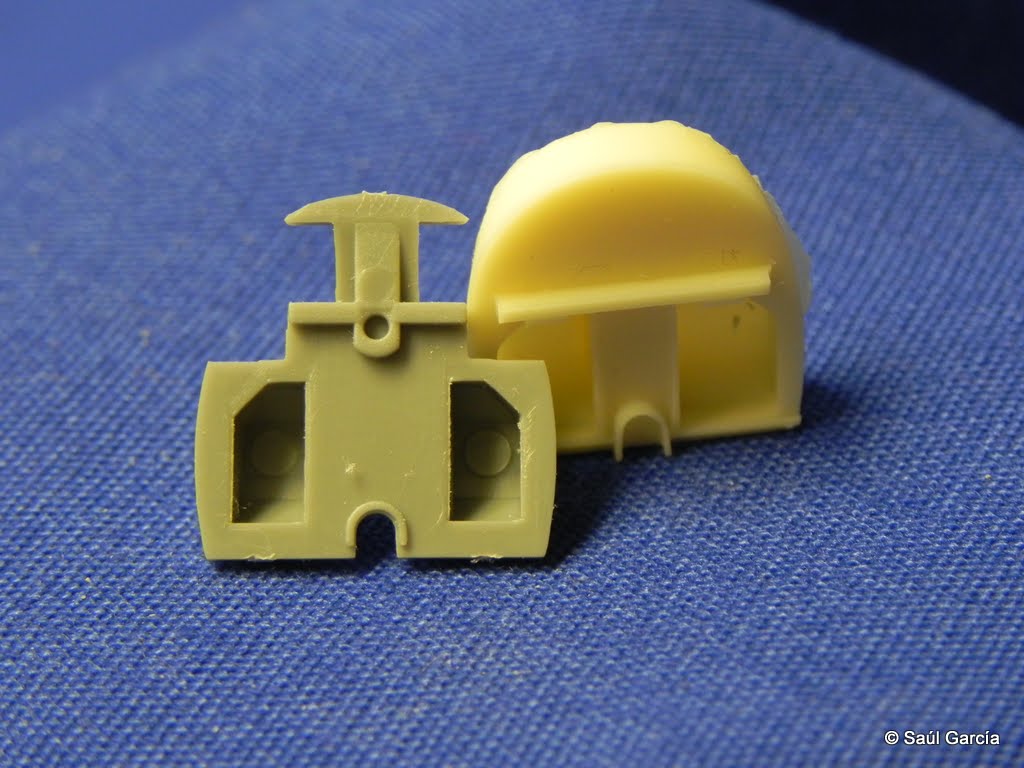
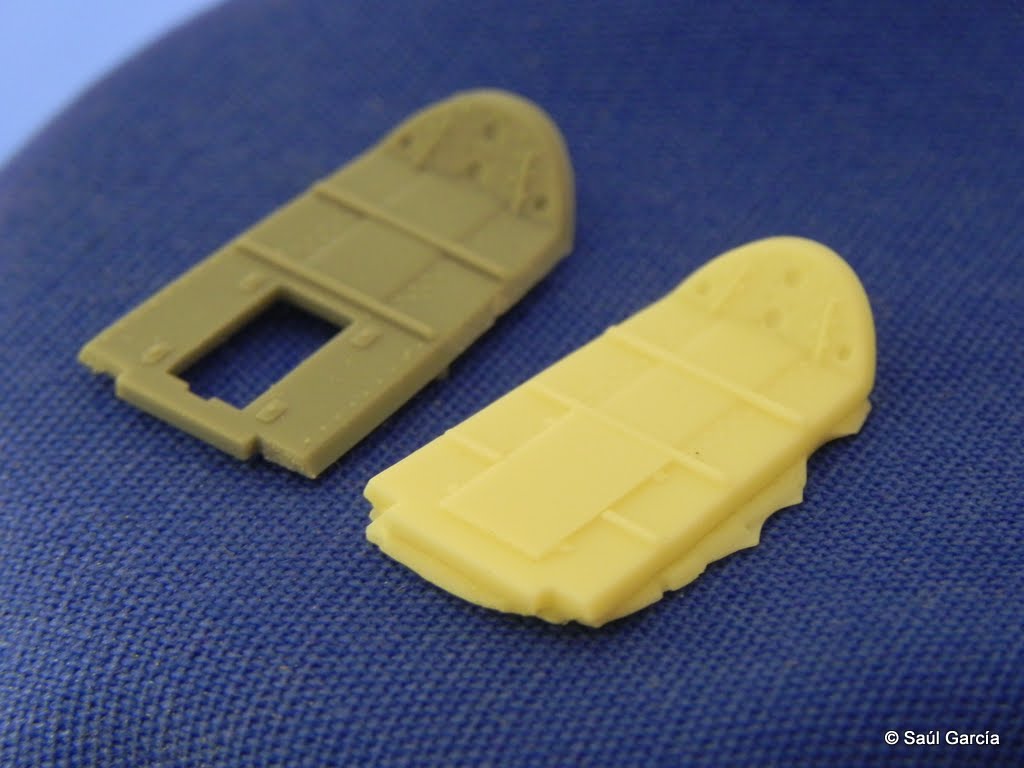
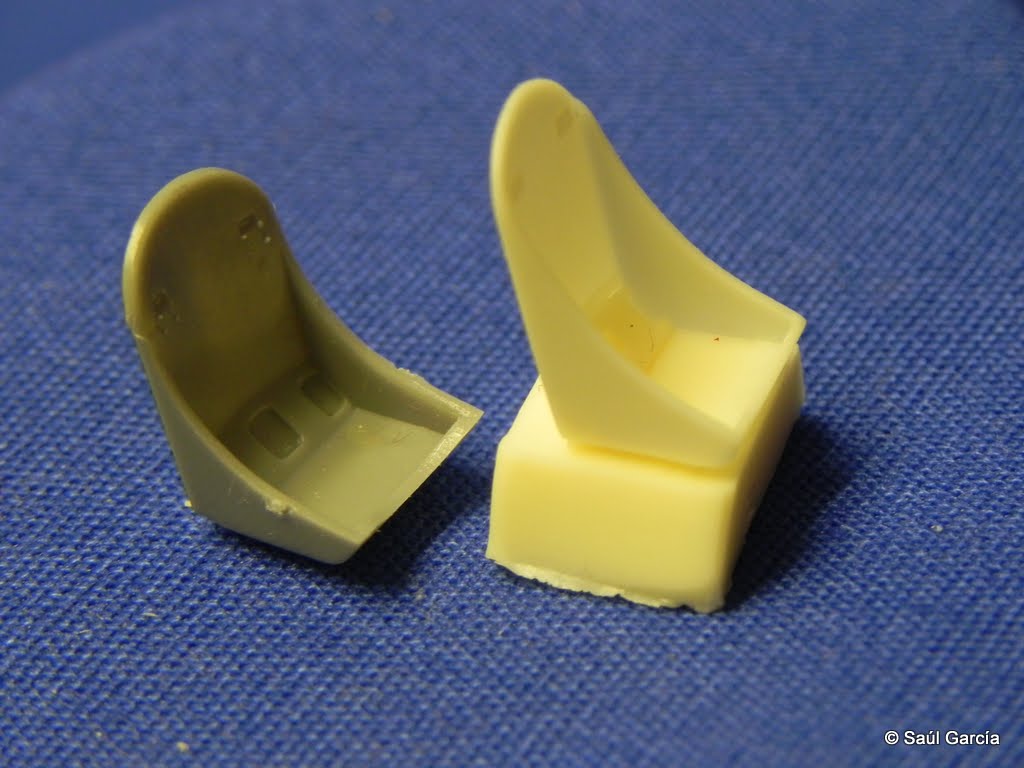
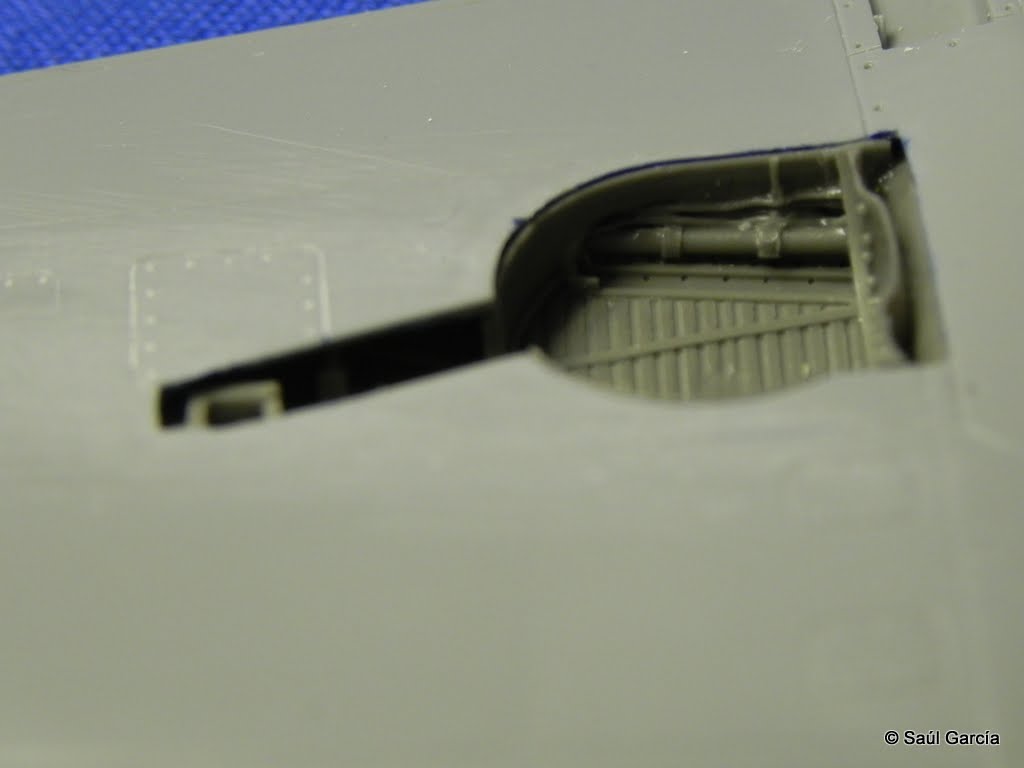
Well, the second set of images show that I was able to get the set to fit as yours did. My issue is that, without instructions, it is too easy to remove too much or from the wrong place.

The reason to get your sets (I bought several) was to avoid Aires as I have experienced their fit issues. However, Aires do include instructions.

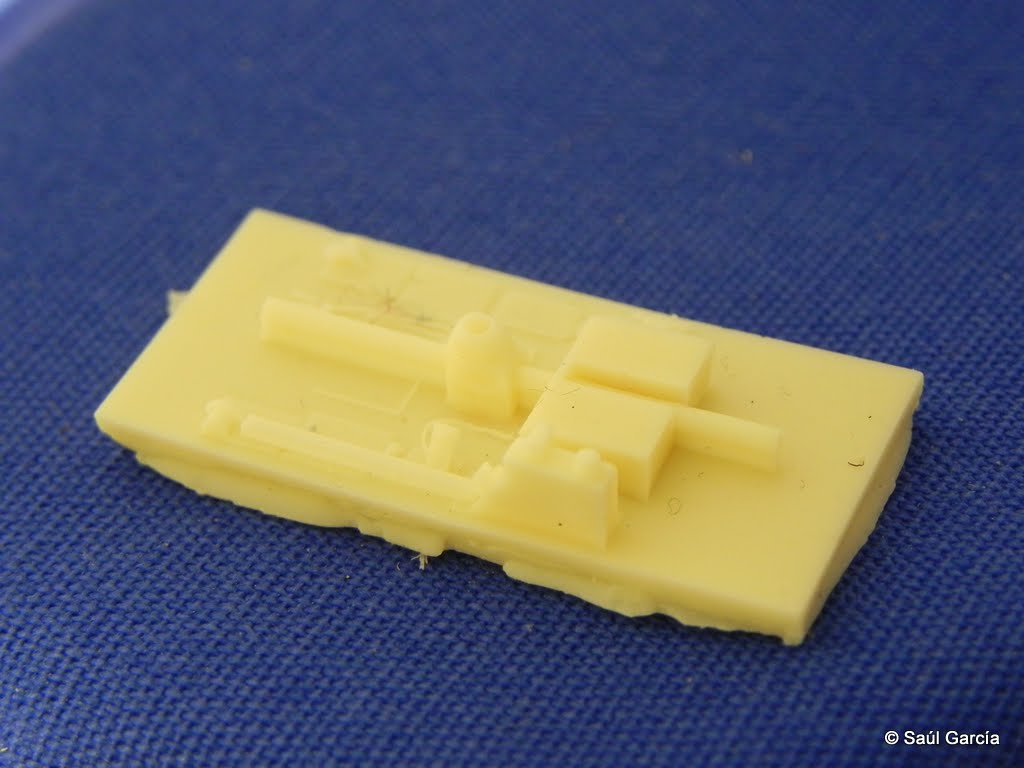
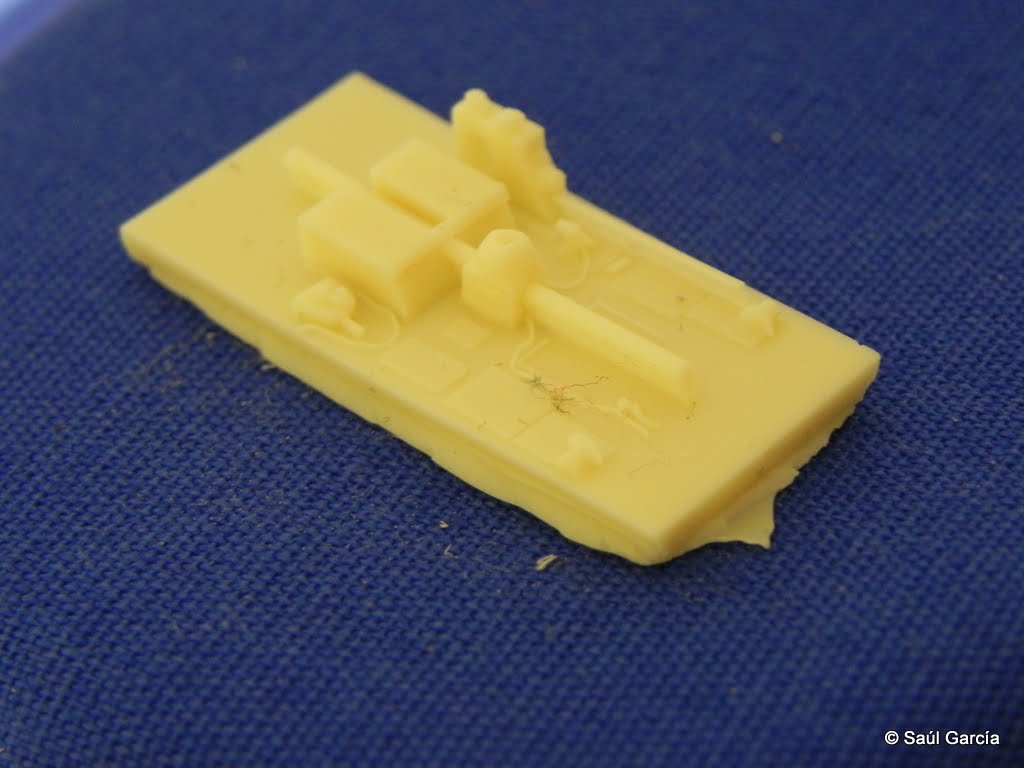
In the end, as you can see, I got one of two wheel well inserts without any issue. The damaged one can't be replaced from the store I bought them from so I must do my own repairs. I certainly don't want to abandon this build.

Would you consider putting up the photos on your web site (if you have one) and mention it on the packaging to visit for instructions on how to use them? After all, I still think they are beautiful but the issues I had on the one side has taken the shine off this set.

I did see that the P-51 B & D sets fit beautifully but this is the model I was building at the moment.

Regards,
 
I guess the question is, is this part advertised as drop in? If not then okay, if it is, well Serg, you did alot of reduction to get it in as well. Just my 2 cents.

No, I don't advertise it as drop in (and it can't be so, as kit's wells moulded as an integral part with a wing).

sharkmouth said:
Would you consider putting up the photos on your web site (if you have one) and mention it on the packaging to visit for instructions on how to use them?

Sorry, but I have not web site:( . As to the instructions, I usually show in my instructions the areas that should be thinned or detail that should be remowed (but not in case with P-39 - Mia Culpa), but it's almost impossible to describe how exactly it should be done. Anyway all sets designed the way that one don't need makes any grinding/sanding with resin parts.

sharkmouth said:
did see that the P-51 B & D sets fit beautifully

P-51D - yes, P-51B more troubled in the leading edge area, so for P-51/51A/A-36 I've altered design, and this set soon will be on sale.

Sergey.
 
Thanks again Sergey, at least we have the photos here and you can use them to link to as a sort of instructions. There was a tiny insert that shows where the gusset goes in the wheel well so perhaps that insert can be expanded to show where to modify the kit part.

Since I already modified the resin part, am I on the right track to repair it by adding the styrene strip to bring it out to the edge?

Vector_002.jpg


Regards,
 
Since I already modified the resin part, am I on the right track to repair it by adding the styrene strip to bring it out to the edge?

Yes. I could make the wells without this tiny edge, but idea was to avoid any gaps inside the wells that should be filled, if any gap will appear between this insert and wing surface it can be easily filled and sanded.
BTW here it's some pics during making this set.
link

moon puppy said:
Well it would be on par with Dragon instructions...
:woohoo: (y)

Sergey.
 
OMG, I just realized who you are Sergey!!! You're that Vector!

You made my Pratt and Whitney Twin Wasp for my Wildcat build that will never end!!

:notworthy
 
OMG, I just realized who you are Sergey!!! You're that Vector!

Yep, that is he! It is also the reason why I was shocked to have the trouble with my P-39 wheel wells.

Sergey, thanks for the link. I see that I was headed the right direction with my paper thin styrene sheet lip.

Regards,
 
I should have bought the Aires set instead... :(

Oh yeah! Aires set are always drop fit :laugh: :laugh:

Sergey.

Well, the Aires cockpit set is a drop fit simply because they just re-arranged the kit parts without any improvements other than the photo-etched details!

:angry:

What a waste of resin! I pulled out the P-400 as a test of resin to plastic bonding using D. Mike's Lightning Bond but got disgusted when I compared the resin parts to the plastic. Simple improvements anyone could've made! The only redeeming value appears (note that I wrote appears) to be the photo-etched brass set with the pre-painted details.

Photos will follow tonight but I better go out and grill some meats before I put the resin on the fire.

Regards,
 
Here ya go, the photos!

P-400_Aires_Floor_001.JPG

P-400_Hasegawa_Floor_001.JPG


P-400_Aires_Floor_002.JPG

P-400_Hasegawa_Floor_002.JPG


P-400_Bulkhead_Rear.JPG


P-400_Bulkhead_Front.JPG


P-400_Nosewheel_Well.JPG


P-400_Radio_Shelf.JPG


P-400_Rudder_Pedals.JPG


P-400_Seats_001.JPG


P-400_Seats_002.JPG


I did get to fix the Vector wheel wells in there. Clean up was easy thanks to the stepSanders. I did use the chipped edge of the wheel well to try out Dr. Mike's Glue.

P-400_Well_Fix_001.JPG


P-400_Well_Fix_002.JPG


Vector_Fix_004.JPG


Vector_Fix_005.JPG


Regards,
 
Back
Top