• Modelers Alliance has updated the forum software on our website. We have migrated all post, content and user accounts but we could not migrate the passwords.
    This requires that you manually reset your password.
    Please click here, http://modelersalliance.org/forums/login to go to logon page and use the "Forgot your Password" option.

Oceanic Defense - F-4EJ Kai Phantom II (1/48 Zoukei-Mura)

helios

Well-known member
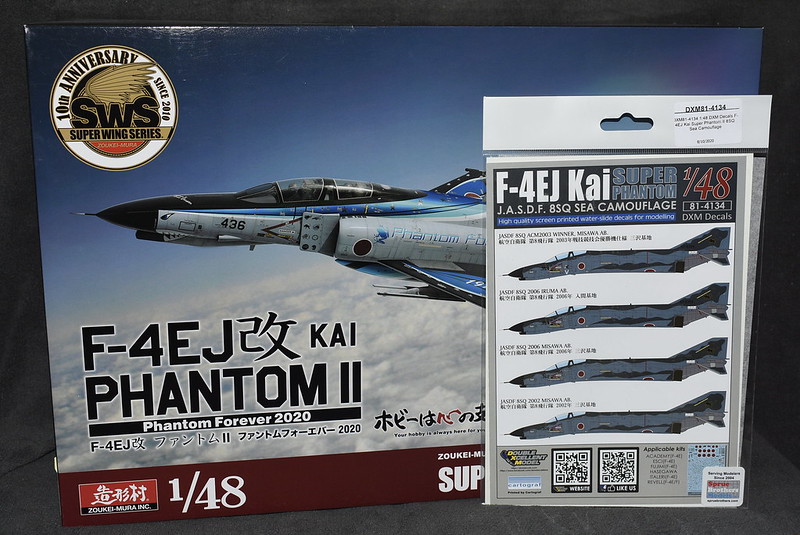
This is a build I've started for the annual club group build. This year's theme is twin engine.

This will be a largely OOB build, with at this point in time the only planned AM being decals and a pair of ASMs from a Hasegawa JASDF weapons kit.

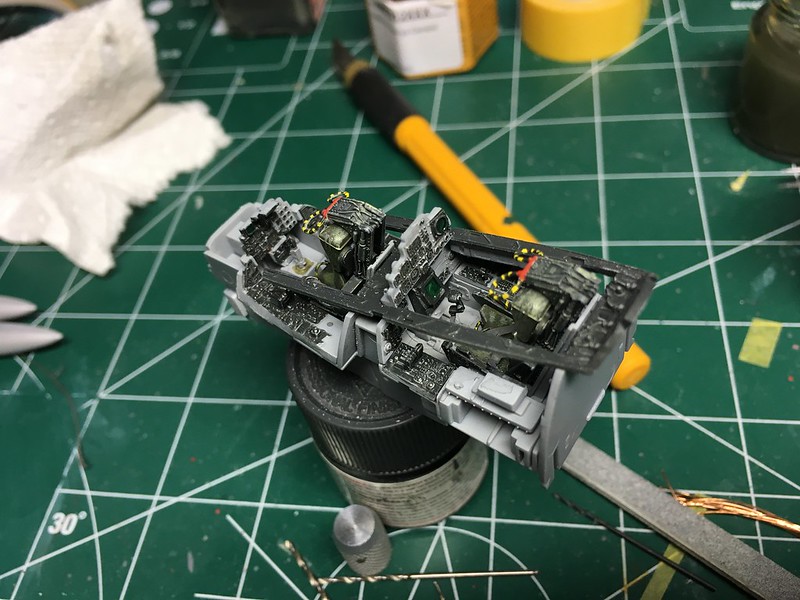
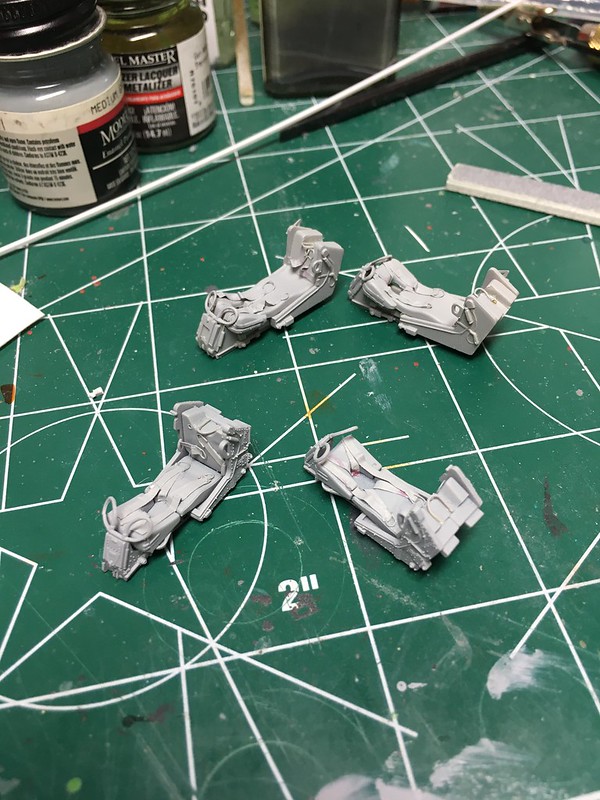
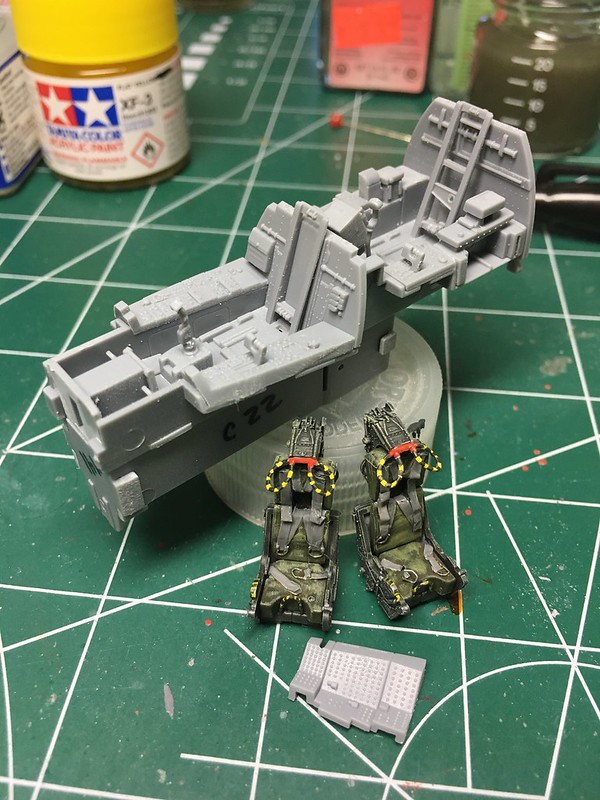
I'm even using the kit seats for this build (and a Hasegawa F-4F). Aluminum HVAC tape and wire were utilized for the harness additions.
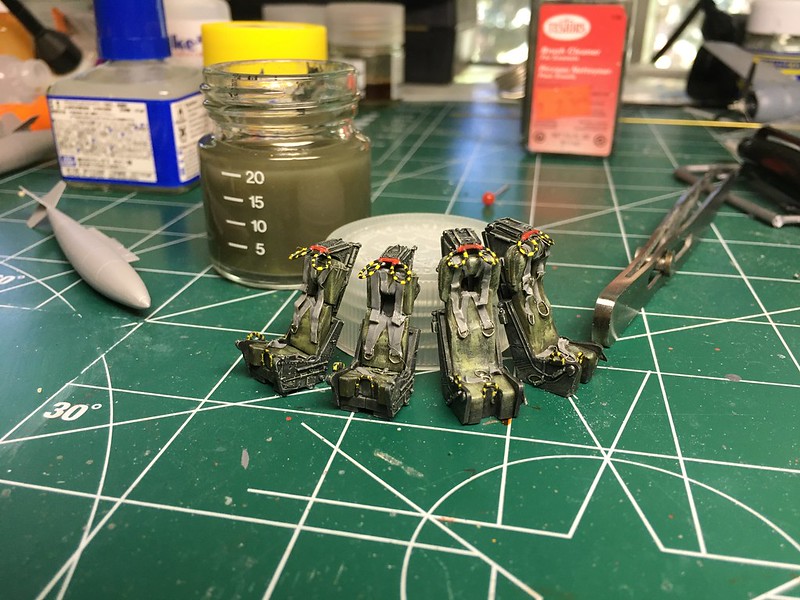

This morning while waiting on the F-100 paint to dry and getting the F-4 seats painted I moved forward with assembly and test fitting of the cockpit. The pit is currently base coated, awaiting detail painting later (tonight/tomorrow). The pic is pre-paint. I'm still wrestling with painting or trying to use the decals over the raised detail. I'm not too concerned about getting the decals to conform...my biggest concern is that the bits of color are going to look too cartoony. I'll make up my mind shortly.
 
Got a couple more hours in this morning/afternoon after the 2nd decal session with the F-100. I just need to paint the back of the rear IP then I should be ready to close up the fuselage. I had toyed with the idea of running some wires out of the rear of the IP...but ultimately decided I didn't want to bog myself down too much. I've got a lot of builds on the trot...I don't need to stall out on this one. I've got a couple more Z-Ms in the stash, so if I'm still inclined to wire one up I'll have plenty of opportunity down the road. The instructions called for Dark Sea Gray for the cockpit grey, but most of the pics I could find the cockpit looked a lot lighter. Ultimately I ended up first shooting w/ Tamiya Sky Grey...which was much to "brown". A second attempt saw a shooting of FS36300 (Aircraft Exterior Gray) which looked much better to my eyes over the first attempt so that's what I ended up running with. I also opted to just paint the cockpit vs using the decals. I do want to try it one of these days...but evidently today is not the day.

 
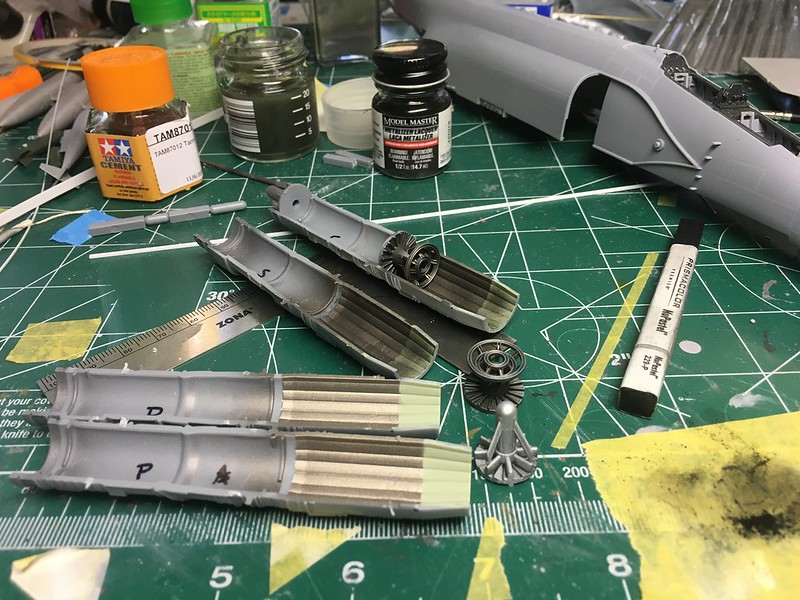
Making slow progress. Fuselage halves are now attached and work has commenced on the engines. Probably spending too much time here though, as I don't think they will be all that visible once everything is installed.

 
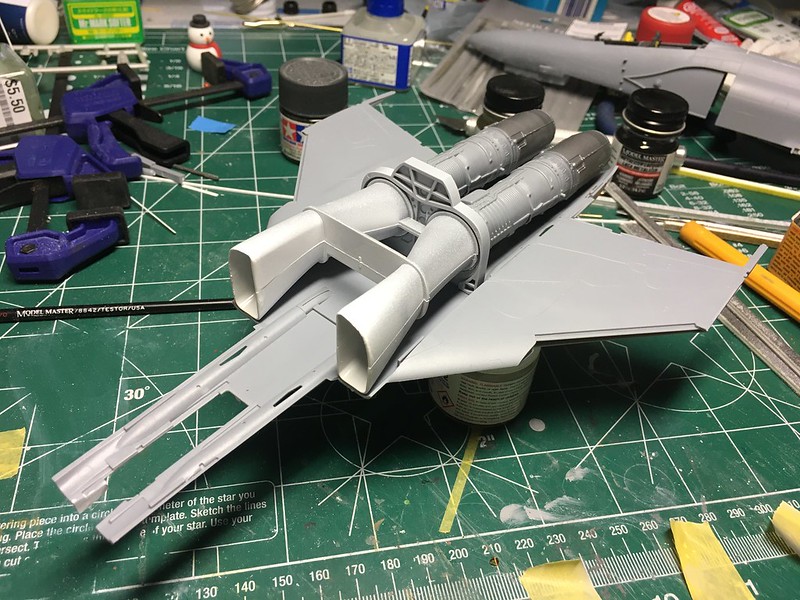
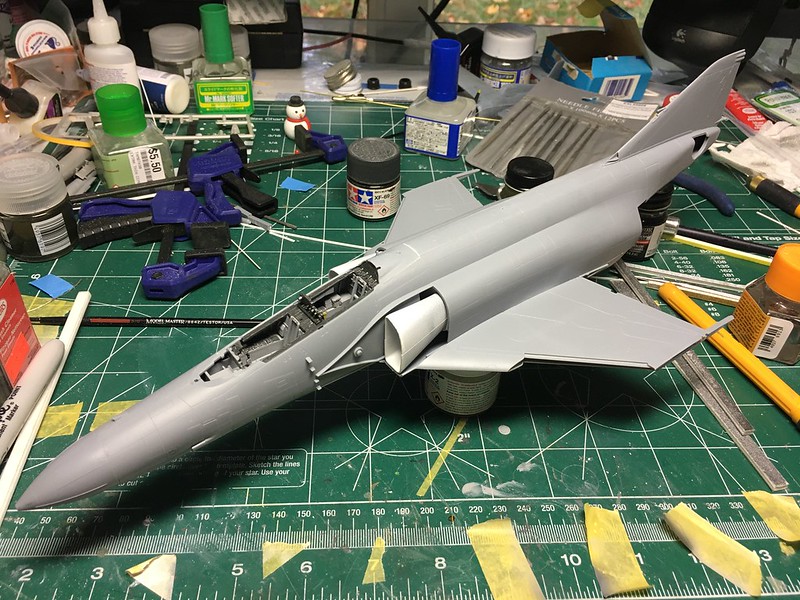
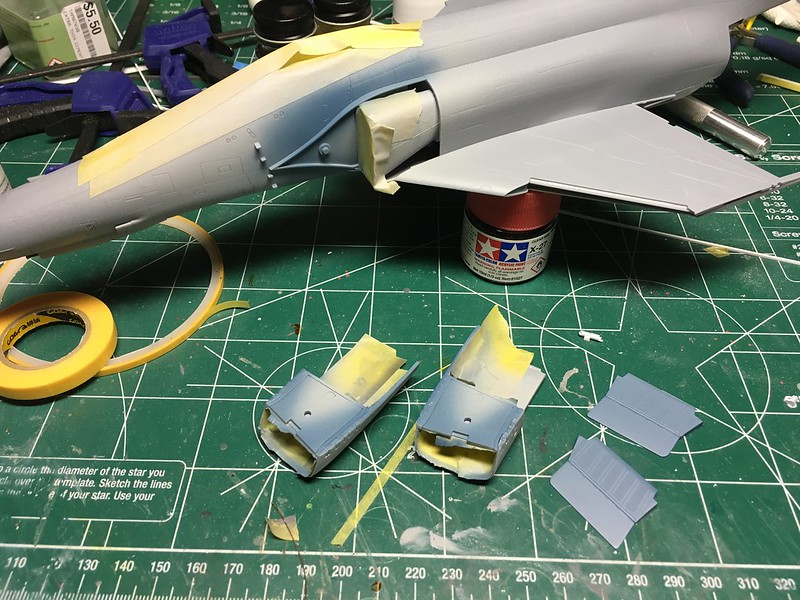
A bit more work completed before the power started going out sporadically. Intake and engines fitted. I did spend some time cleaning up the seams towards the font of the intakes...but didn't spend much time with the seams buried down inside. After test fitting, painting the rear of the engines was pointless...they well not be seen at all past the burner stage & nozzles. I also only glued the engines at the rear. I think all that will be visible at all is what you can see through the 2 doors on the belly. The slip joint at the front of the engine supports the weight, but leaving that connection unglued will give me a little more flexibility/movement in the lower fuselage for final fit up if I need it. I doubt it will be needed, but its nice to know it's there if I do. MLG wells fitted and painted. I actually attached them to the upper wings for painting, instead of the lower wing as called for in the directions. Upper wings installed. I was going to hold off on installing the upper wings until I attached the lower fuselage/wing with the main fuselage. However some dry fitting of the sub-assemblies showed there wasn't a reason for my concern...so on we go.
51600004971_cb5aa58712_c.jpg

A quick test fit afterwards to make sure I didn't bugger something up. Check those wing gaps.
51599180707_e6d65e48aa_c.jpg
 
Looking good Chris! The AM kits do seem to fit together fairly well though it is always advised to test fit everything no matter who made it.

lookin-good-brother.jpg
 
Hey! PLUMBING! I know what that is!! Will the intake duct seams be visible on the finished Jet? Are you putting the Sharky Sharkmouth on this one? Are ya? Huh? :drool:
 
Hey! PLUMBING! I know what that is!! Will the intake duct seams be visible on the finished Jet? Are you putting the Sharky Sharkmouth on this one? Are ya? Huh? :drool:
You shouldn't be able to see much of the seams (if at all)...but even if you can it's because you are really looking for them.
No sharkmouth...but it is blue. I think I may have another EJ that has a sharkmouth though...I'd have to go digging.
 
Last edited:
Work has ramped up for the next few weeks, so bench time has slowed to a trickle. I did get a couple hours in yesterday doing some assembly & paint work on the intakes along w/ attaching the upper & lower fuselages together. Nothing pic worthy, as it really doesn't look any different than the pic above...it's just stuck together now.
 
Back
Top