• Modelers Alliance has updated the forum software on our website. We have migrated all post, content and user accounts but we could not migrate the passwords.
    This requires that you manually reset your password.
    Please click here, http://modelersalliance.org/forums/login to go to logon page and use the "Forgot your Password" option.

My foray into the world of 3d printing.

Still struggling with this tire tread profile, it has proven more difficult than I thought. But I think Im happy with this one. Maybe once I get more familiar with the way the program works I will revisit it.
Tread.PNG

treAD1.PNG


This is a new mustang tire in current times....did the 1940s version look like this...After consulting all my books, Id say it does. For the diamond tread. I'm having problems getting the very outer diamond to contour to the tire. So I made a compromise. I made a profile to shave the outer edges to give it a wear look. I may give the edges a slightly more wear look. But I need to see how this prints first.
mustang tire.jpg

This pic is a tire after some use.
tireprofile.PNG


I kinda tired of getting hung up on this particular tread pattern. I have a few more treads that were common to the mustang to do. And Im getting itchy to build a mustang with my parts.

And for those interested, here is a cut away of the assembly. The hub is two pieces, for ease of painting. When assembled in the tire it will look like a solid hub. I hope!
cutprofile.PNG

Im sure you're getting tired of seeing damn diamond tread tires!!! I know I am!
 
Love it, Saul said scratch building is modeling and I say digital modeling is modeling as well. Just another medium. I suppose the old wood carver guys would scoff at us using injected plastic bits you know?
 
Need some input, Here I have worked on cutting the bottom of the tire to give flatness. It starts at 2.25mm removed, up to 2.75mm. I can go more or less. Also added logos and such.
2.25endresize.PNG
2.25resize.PNG
2.50endresize.PNG
2.50mmbottomcutresize.PNG
2.75resize.PNG
2.75sideresize.PNG
 
It all depends on the weight of the aircraft. Less removed if the aircraft hasn't been fueled or armed (example, returned from a sortie) or more removed from the bottom if displayed as fully fueled and/or armed.

In other words, go by photographs.
 
  • Like
Reactions: Mo_
Awesome thread! I love this stuff.

Id get into this myself but the last thing I need is yet another hobby😂

If anyone wants to make some 1/35 tracks for the allied half track I’d gladly pay for a few sets for my AFV Club kits. The Dragon kit tracks work and could serve as a reference perhaps?
 
Ken I wouldn't be shocked if they are already out there. @jknaus James what's that website that has all the 3d stuff, thought it was shapeway but that doesn't look right.
 
Bob I know of a set for the Tamiya kit from FC Modeltrends but I have yet to see anything for the AFV Club kit.
 
I'll try and explain this best I can. Once you design something and get ready to print, you have to convert that into an stl file. Stl is a mesh of your design. Thousands and millions of triangle converted to your shape. This is one number of mesh that I jotted down while experimenting. 4748196. That's for one of the wheel hubs I'm working on. Now you can change this number by refining some options inside fusion360. That number above is the max for that object. You can go lower but the quality of the print will suffer. I MUST note that this will heavily tax your PC. If your pc is not up to par I can see it locking up. I have a very robust system and still had some crashes here and there.

After that I reran all I have done through the stl mesh converter and reprinted. Now these were taken with my phone with the Maco option. Yes you can see the print layers but to the naked eye I can't see a single layer line. Now I still have a problem with the print itself. What I really think is going on is 1 of 2 things. My VAT screen,which I did change,but the quality is not very good. Or the resin is just to cold. The next thing I will order is a VAT tank heater. I didn't notice these problem until I went with this other brand because the quality Phozen brand is OOS where I got it. I will have to get it from overseas.

I took the printed hubs and painted them after remeshing. The first is just one coat of silver paint. The other is a black gloss base and the same silver paint. The other pics are the new tread design with the lettering. And the block tread that was common as well. Still working on the logo for that one.

There are other options in the slicer program that will help the quality of the print. These options are anywhere from Anti-aliasing, grey level and image blur. The free versions of these software only let you do so much. You have to buy them or a monthly subscription. I'm exploring which one I want to buy now. The only downside to experimenting is how long it takes to print to see if the changes you made are good. It's easy to loose track of all this..so I got a note pad and document all to help keep track.
20230205_114534.jpg

20230205_114742.jpg

20230205_114839.jpg

20230205_114253.jpg

20230205_114342.jpg

20230205_114432.jpg

20230205_114555.jpg
 
I'll try and explain this best I can. Once you design something and get ready to print, you have to convert that into an stl file. Stl is a mesh of your design. Thousands and millions of triangle converted to your shape. This is one number of mesh that I jotted down while experimenting. 4748196. That's for one of the wheel hubs I'm working on. Now you can change this number by refining some options inside fusion360. That number above is the max for that object. You can go lower but the quality of the print will suffer. I MUST note that this will heavily tax your PC. If your pc is not up to par I can see it locking up. I have a very robust system and still had some crashes here and there.

After that I reran all I have done through the stl mesh converter and reprinted. Now these were taken with my phone with the Maco option. Yes you can see the print layers but to the naked eye I can't see a single layer line. Now I still have a problem with the print itself. What I really think is going on is 1 of 2 things. My VAT screen,which I did change,but the quality is not very good. Or the resin is just to cold. The next thing I will order is a VAT tank heater. I didn't notice these problem until I went with this other brand because the quality Phozen brand is OOS where I got it. I will have to get it from overseas.

I took the printed hubs and painted them after remeshing. The first is just one coat of silver paint. The other is a black gloss base and the same silver paint. The other pics are the new tread design with the lettering. And the block tread that was common as well. Still working on the logo for that one.

There are other options in the slicer program that will help the quality of the print. These options are anywhere from Anti-aliasing, grey level and image blur. The free versions of these software only let you do so much. You have to buy them or a monthly subscription. I'm exploring which one I want to buy now. The only downside to experimenting is how long it takes to print to see if the changes you made are good. It's easy to loose track of all this..so I got a note pad and document all to help keep track.
View attachment 157094
View attachment 157095
View attachment 157096
View attachment 157097
View attachment 157093
View attachment 157092
View attachment 157091
What is the resolution of your printer Mo?
 
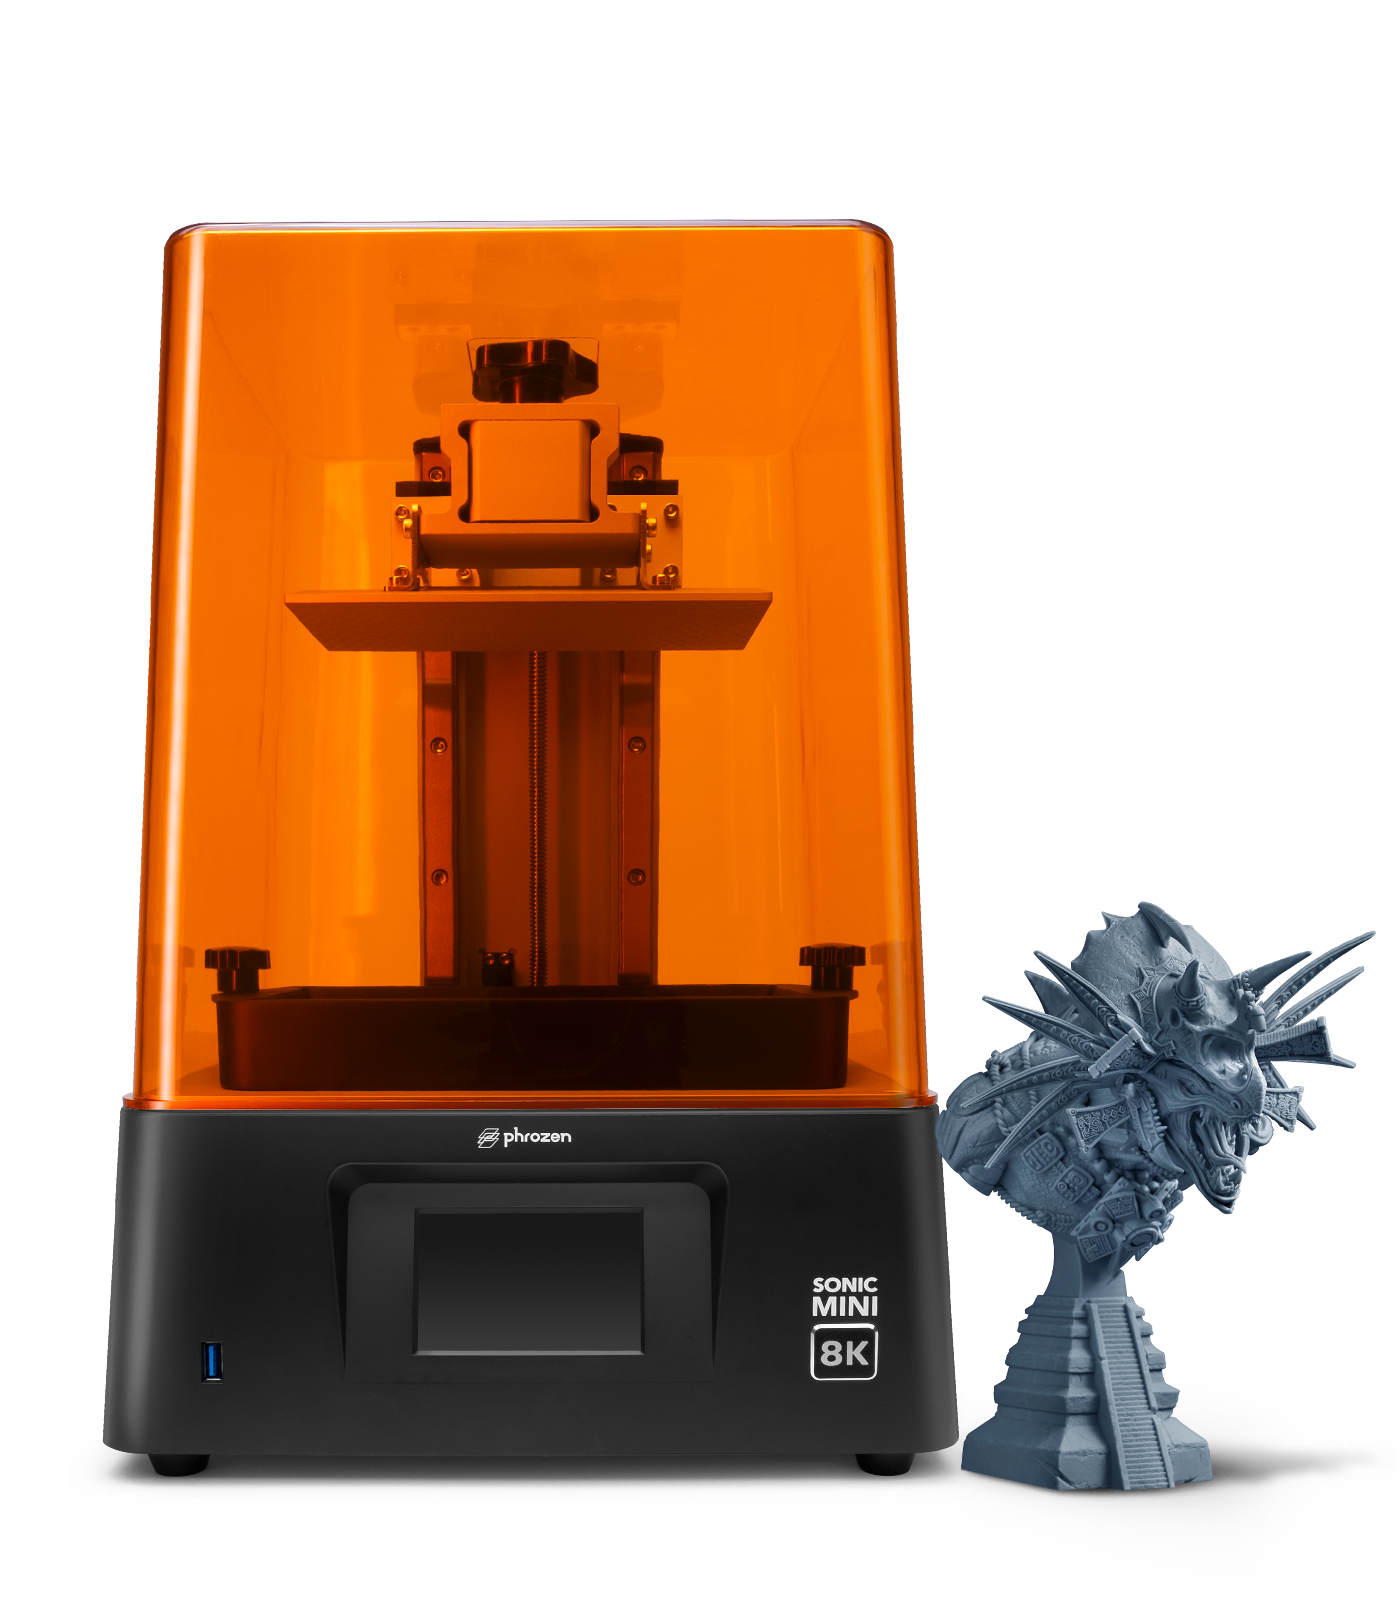
I have the Phrozen sonic mini8k and is this what your talking about? 22 µm and 1152 PPI XY resolution
 
I have the Phrozen sonic mini8k and is this what your talking about? 22 µm and 1152 PPI XY resolution
Yes it is Mo. With that high a resolution you shouldn't be seeing some of the lines on the sides of the parts unless they are quite small. I am wondering where the steps on the sides of the wheel and tire are coming from as the resolution is less than .001 of an inch. I understand about the steps from the printing process and that isn't really an issue though it seems I have read you can change the print layer thickness to really thin. Of course that increases the print times, but can give a smoother finish.
Circular lines.jpg
 
@Mo_, please work from photos as the tire appears deflated. The sidewalls were quite sturdy on them. I hope that these photographs help. John Eaton has a page with excellent photos and I believe he also worked on aircraft (I did during high school and a few years after as a volunteer before work prevented me. Once married, working for free (volunteering) didn't happen).

Note that this is under the weight of three ground crew, yet no evident bulge:
1676856690170.png

more to show little bulging:
1676856724922.png


1676856815905.png


1676857186379.png


1676857202290.png
 
Last edited:
I really like what you're doing and there are some tread patterns (yes, the part that is hardest) which appear on postwar Mustangs and Texans (same tire/wheel) that are not yet represented.
 
Back
Top