jeaton01
Well-known member
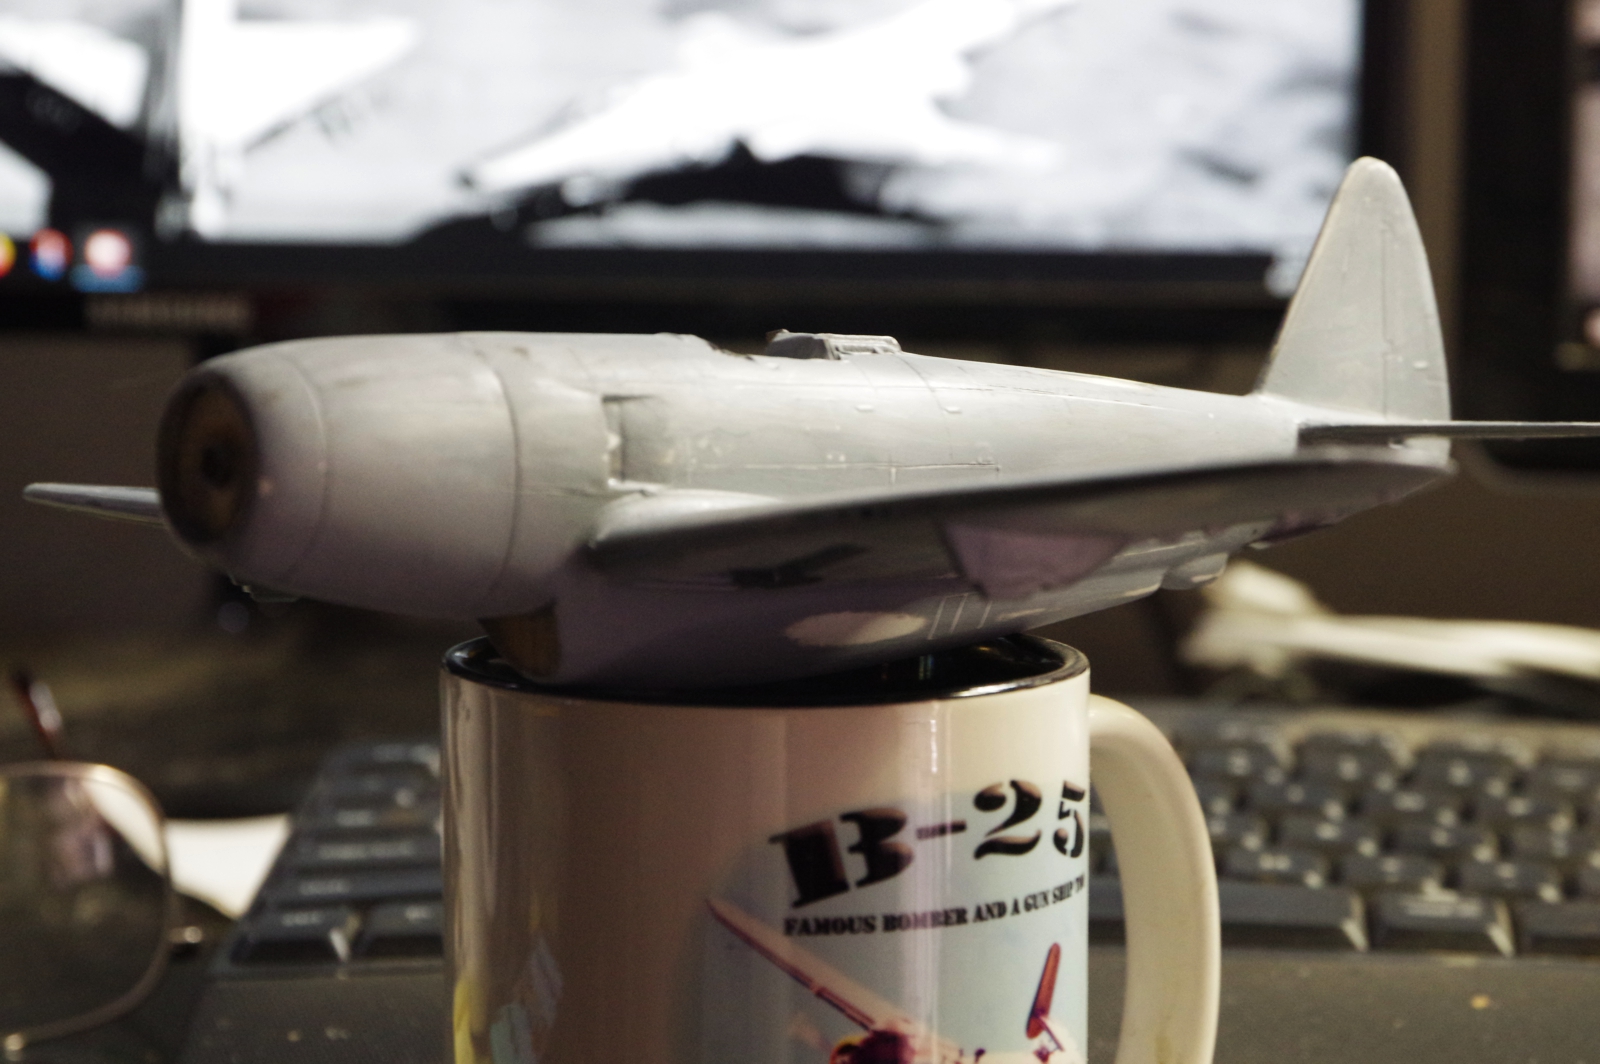
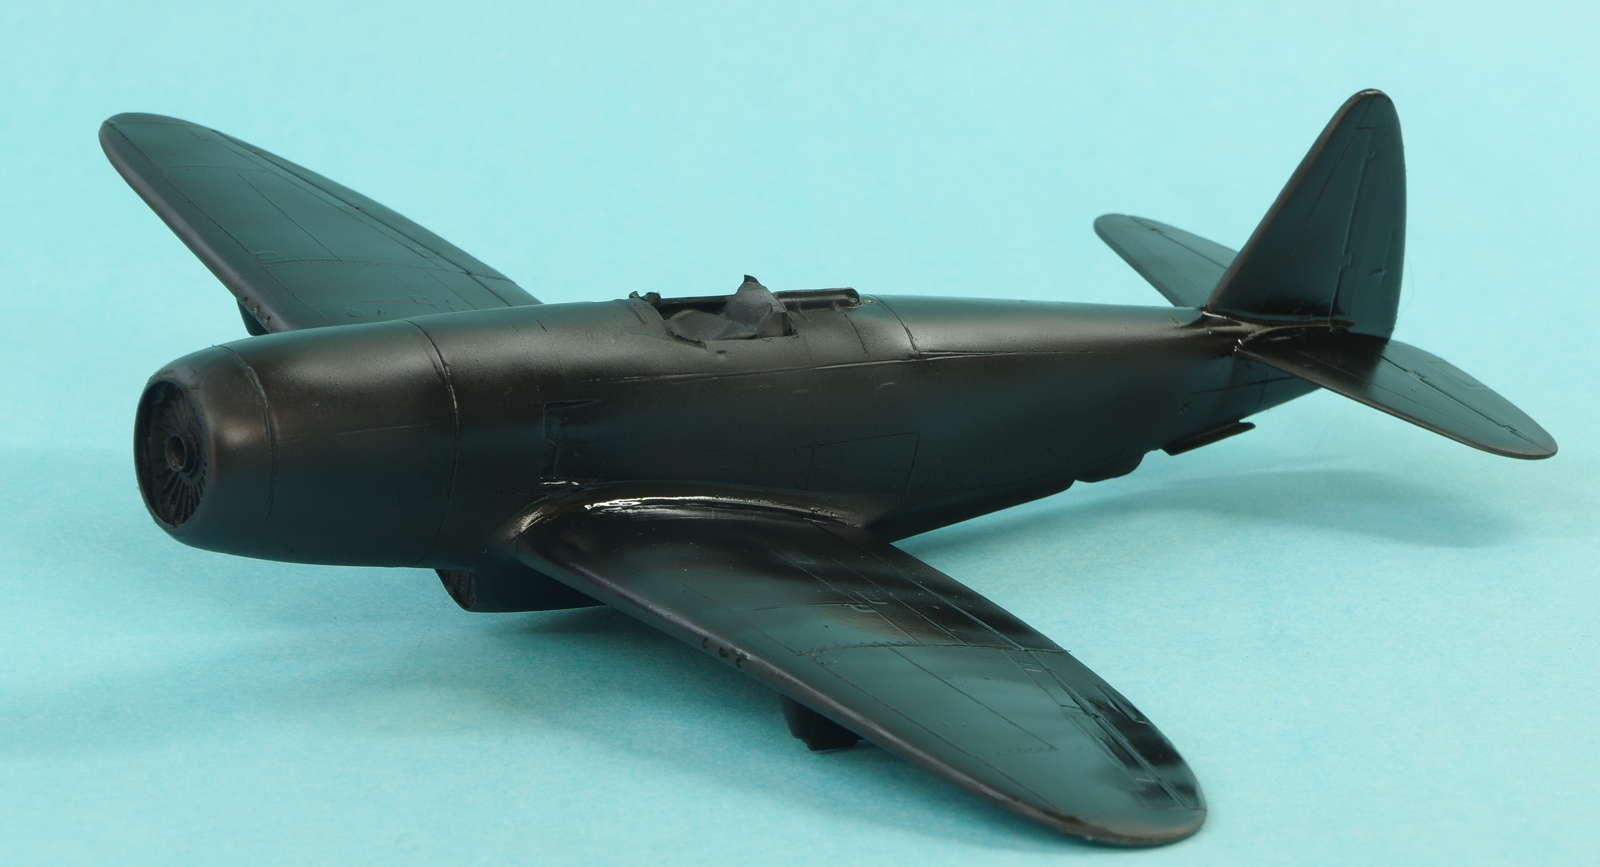
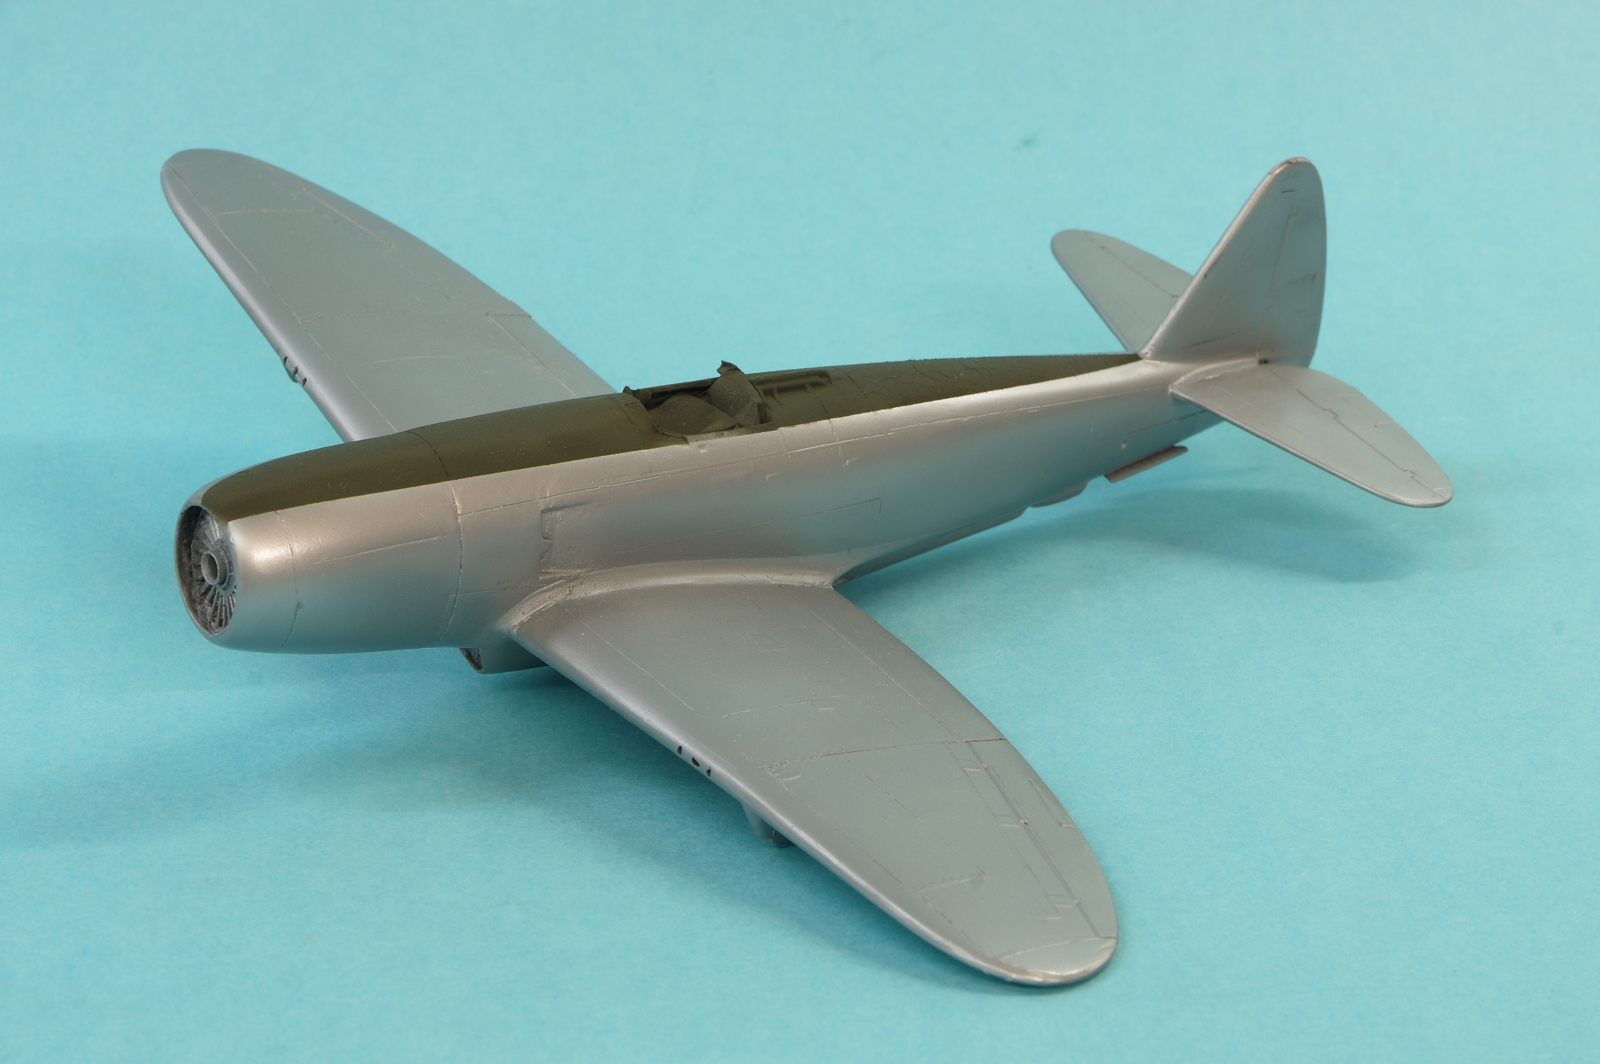
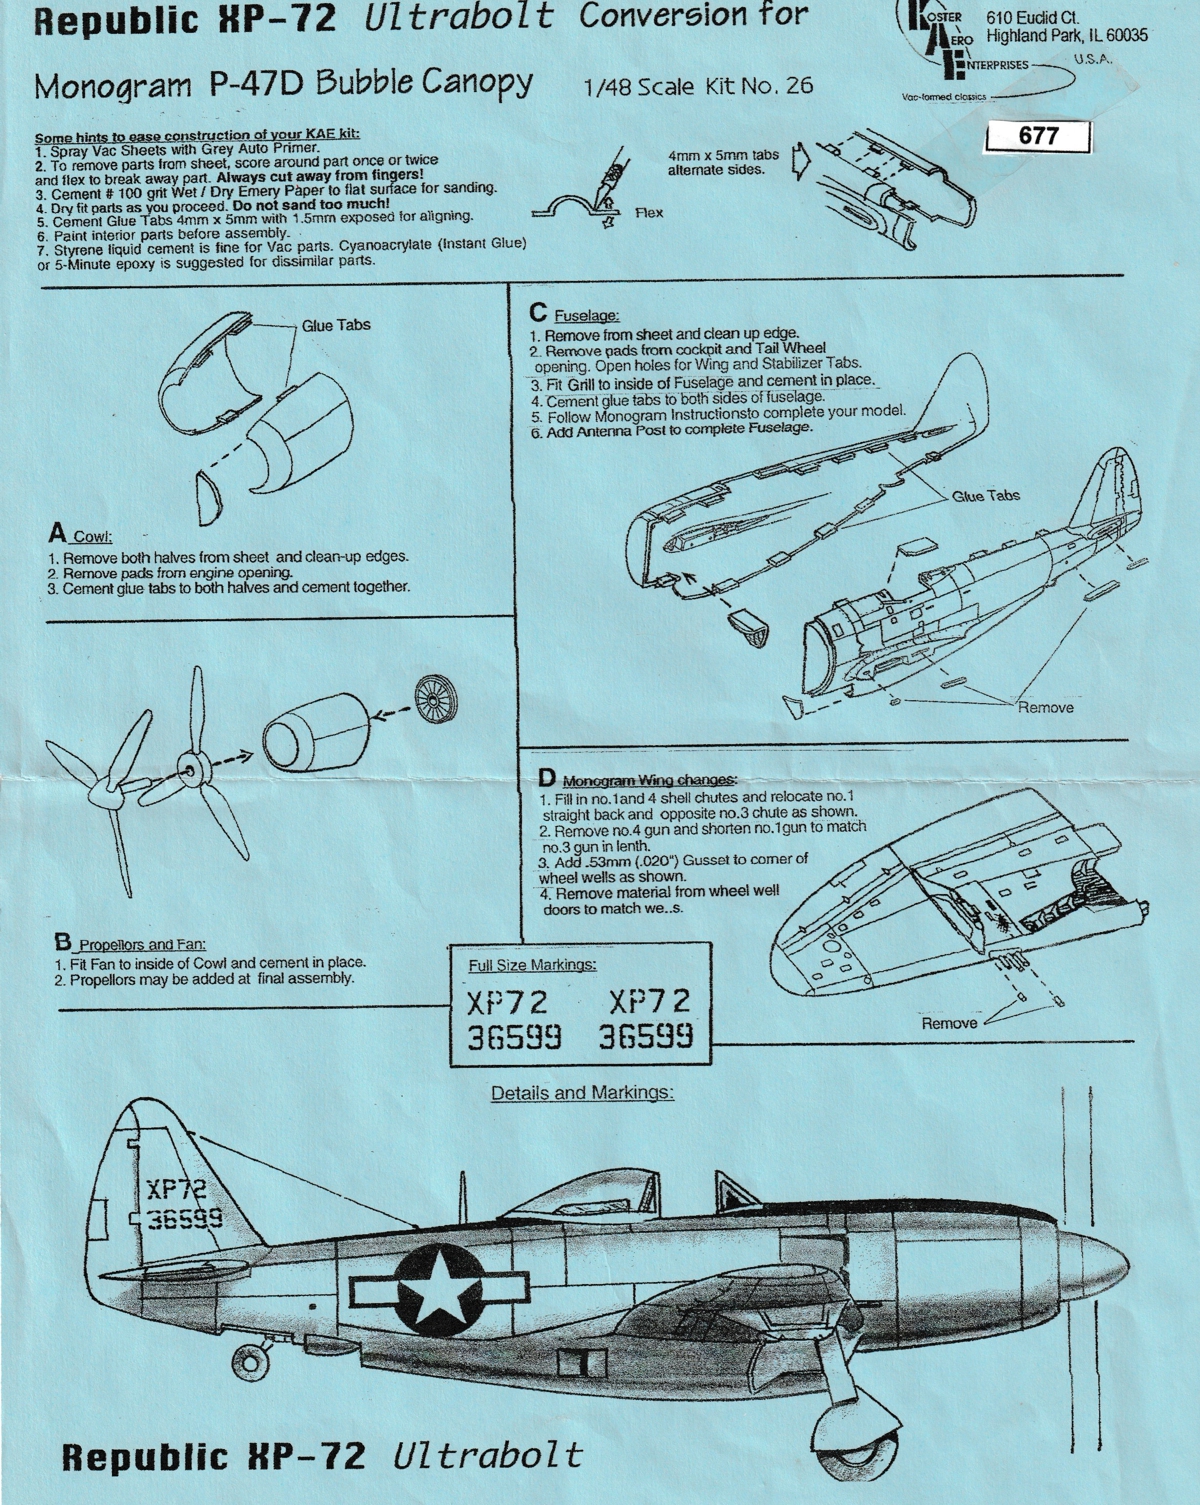
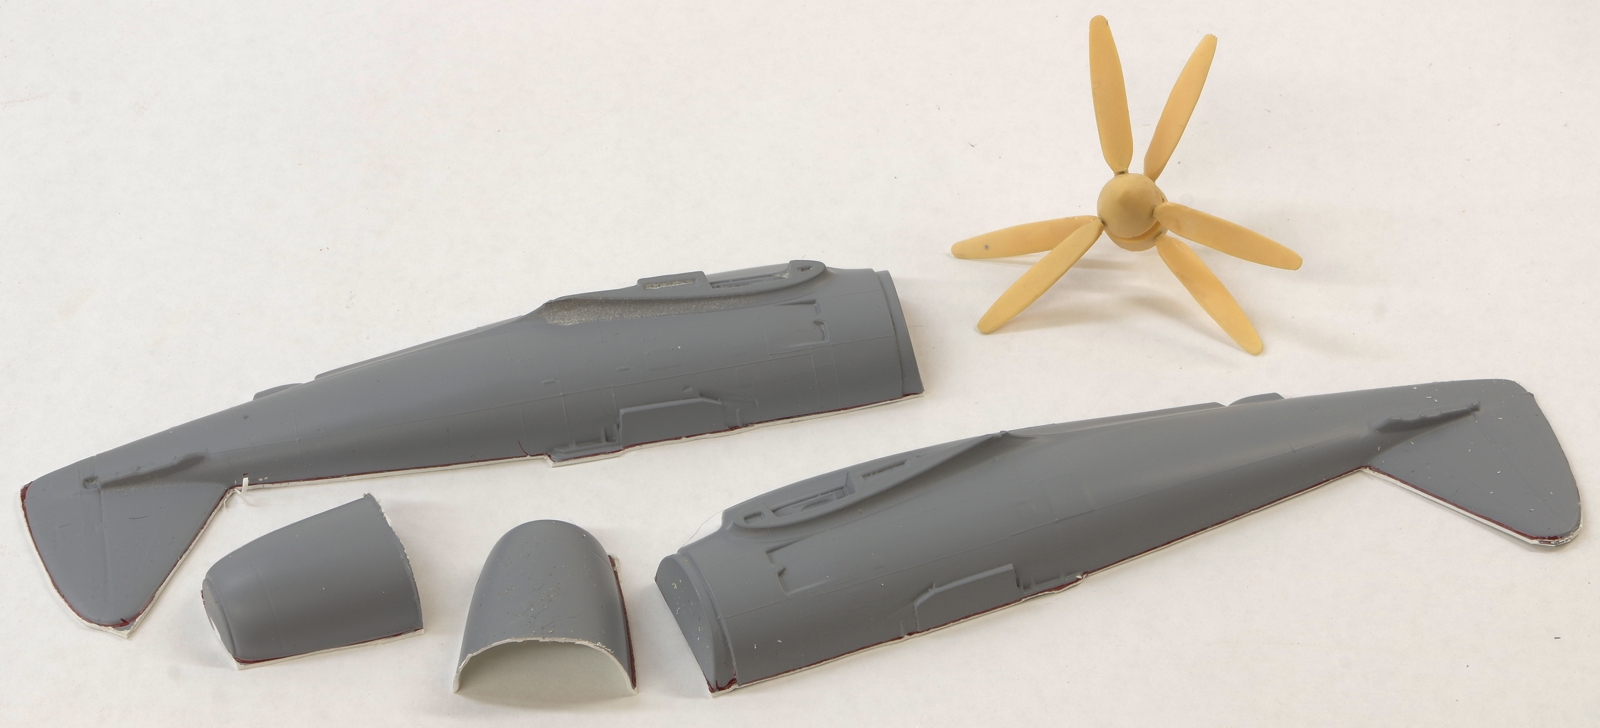
Started on this as a fill in model while others have waiting time. The Koster parts are very good to work with. I followed Bill's directions and sprayed the vac sheets with a good grey primer, then went around the edges with a narrow felt pen. I scored around on the middle of the black line and then put a piece of 220 wet or dry on a glass surface and sanded until things looked right. Since it has been a fill in project I wasn't as good as I should have been about wip photos, but what's not shown is the process of putting together and installing a Black Box/True Details P-47M resin cockpit and Eduard seat belts/instrument panel. I put strips of plastic card in alternating spots on the fuselage halves and glued them together using the Tamiya resin glue in the hexagonal bottle. I am starting to like that glue, though the brush is a bit bigger than I like. There were resin parts for the contra rotating propeller, engine fan, and intercooler below the chin. This airplane was powered with the Pratt and Whitney R-4360 and unlike earlier Thunderbolts it did not have a GE turbocharger. Instead it had a second stage compressor mounted in the back where the turbo was earlier. The compressor was shaft driven from the engine. It had good altitude performance and reached 490mph during the test program. Only two were built, it was too late in the war to be needed.
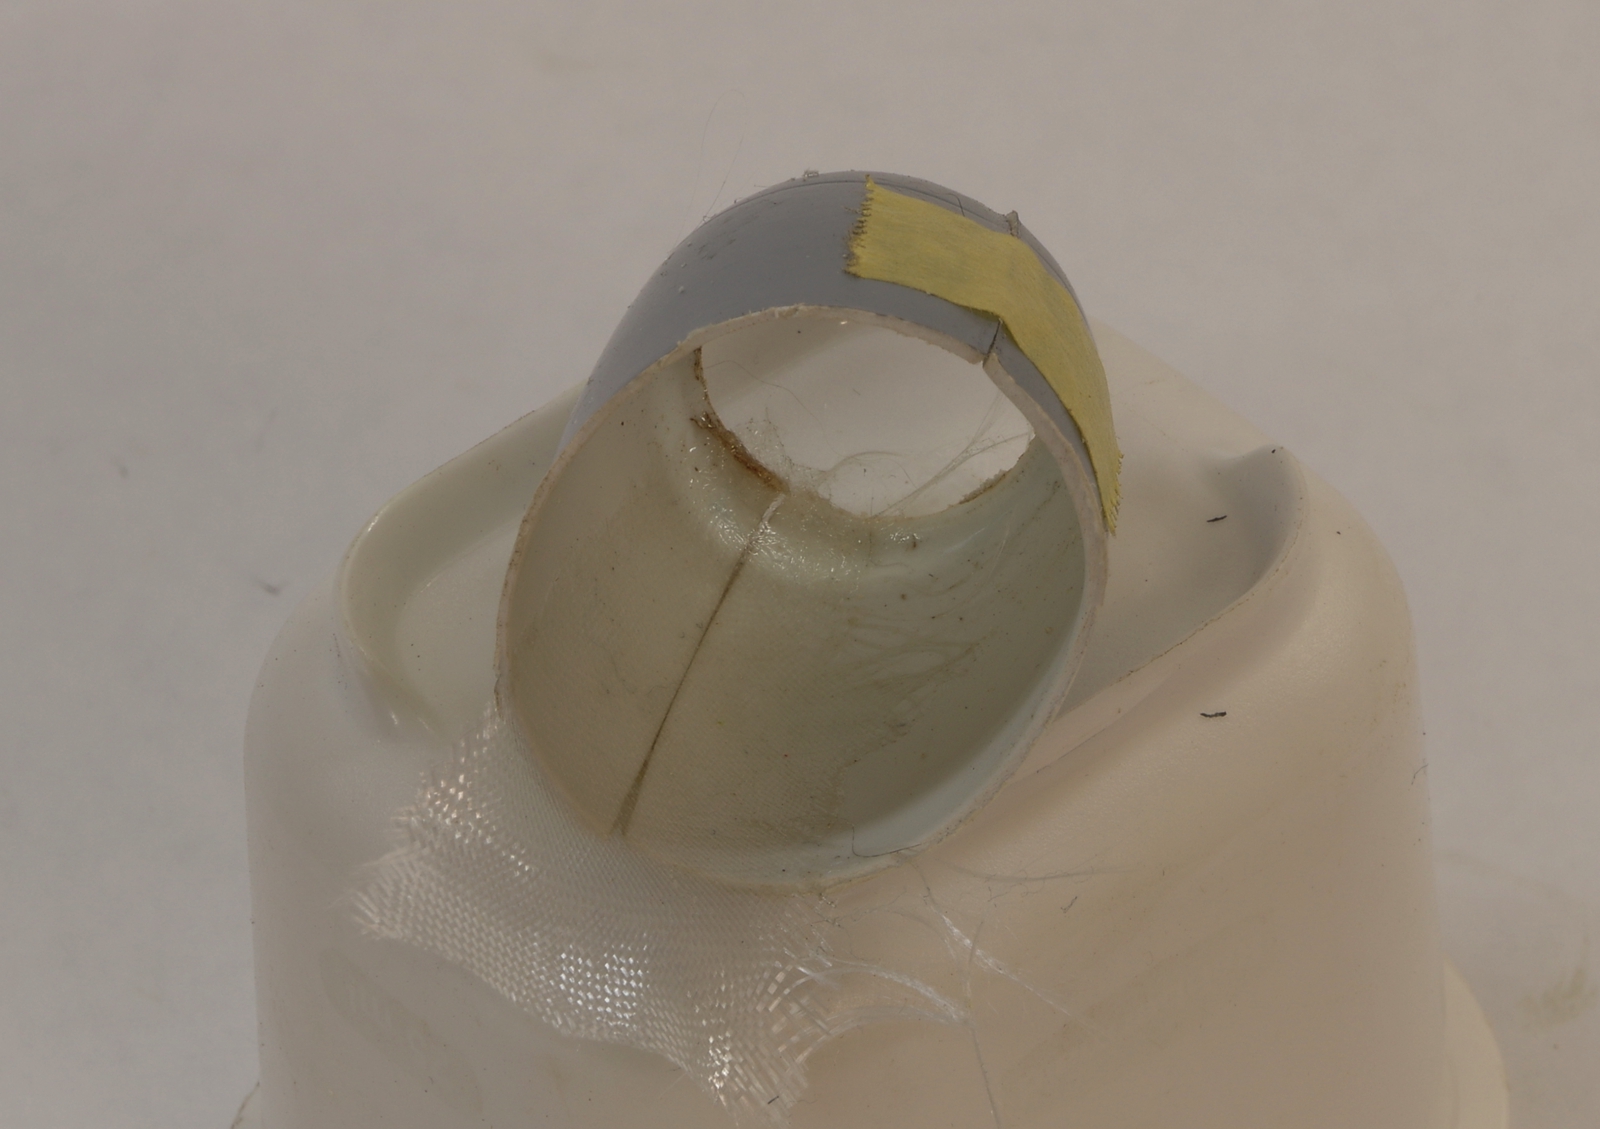
I reinforced the cowl seams with .6 ounce fiberglass adhered with thin CA.
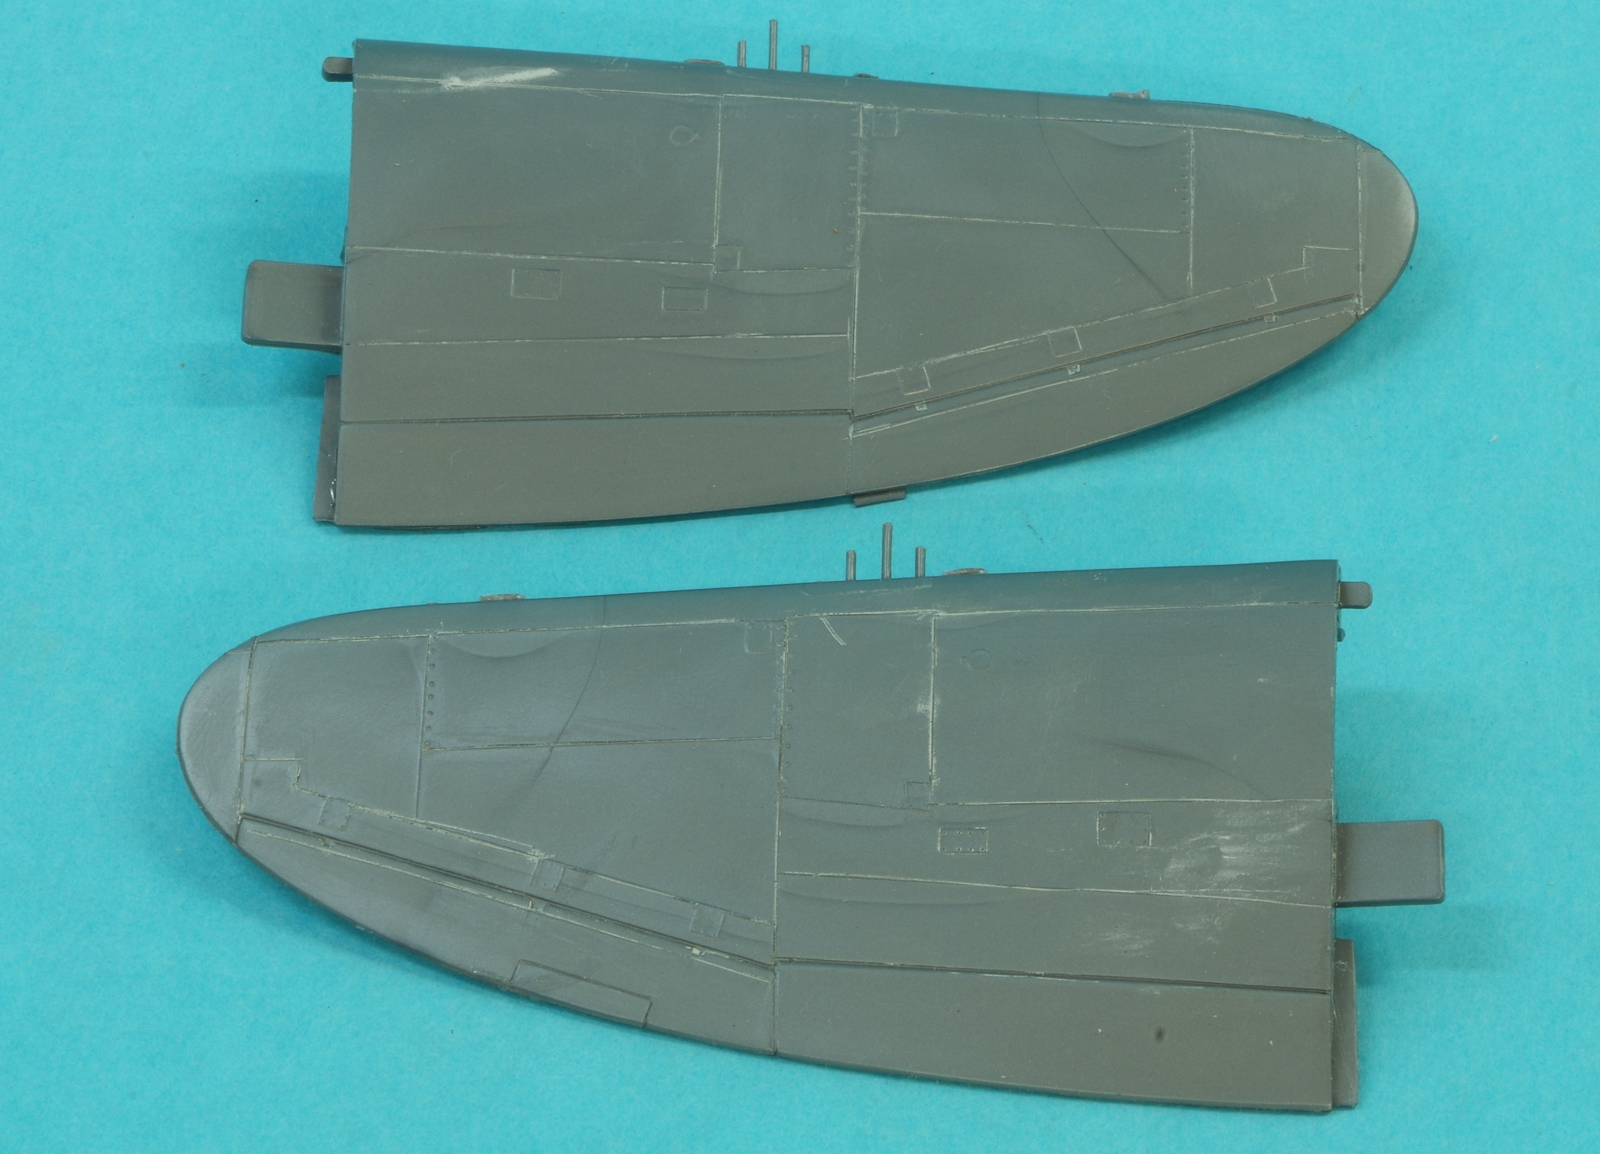
The wing panel lines were scribed. The XP-72 had 6 guns arranged differently so gun ports were filled and the barrels modified. The inner gun port will be re-cut to match the location of the third.
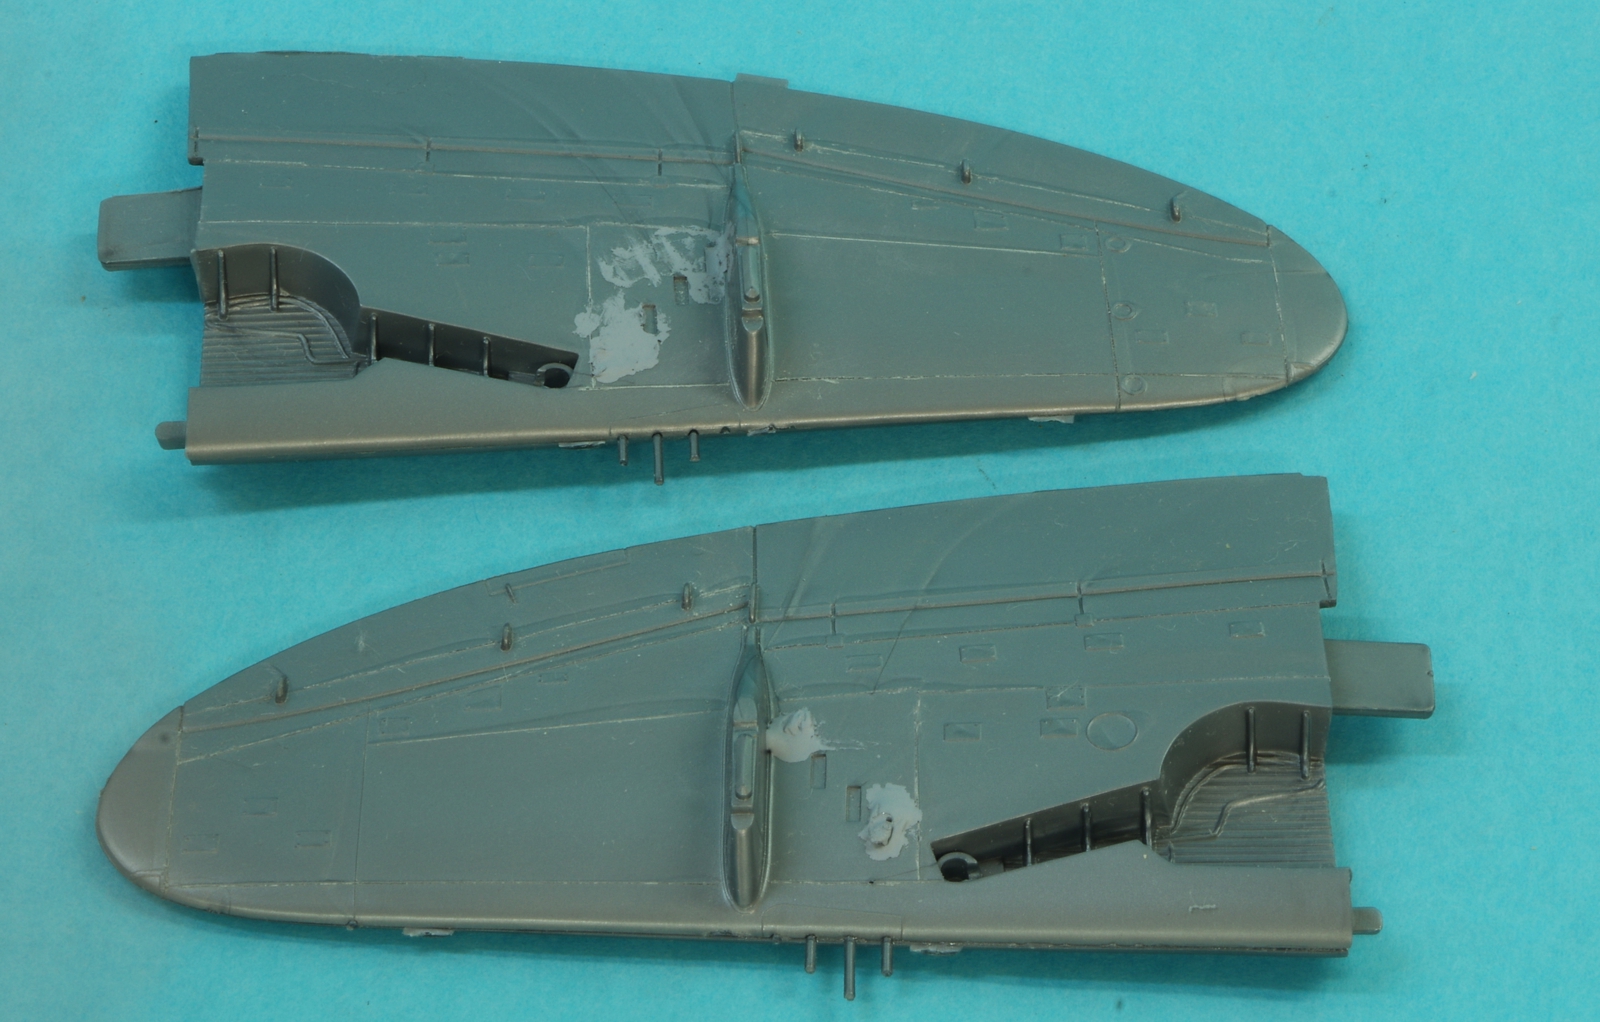
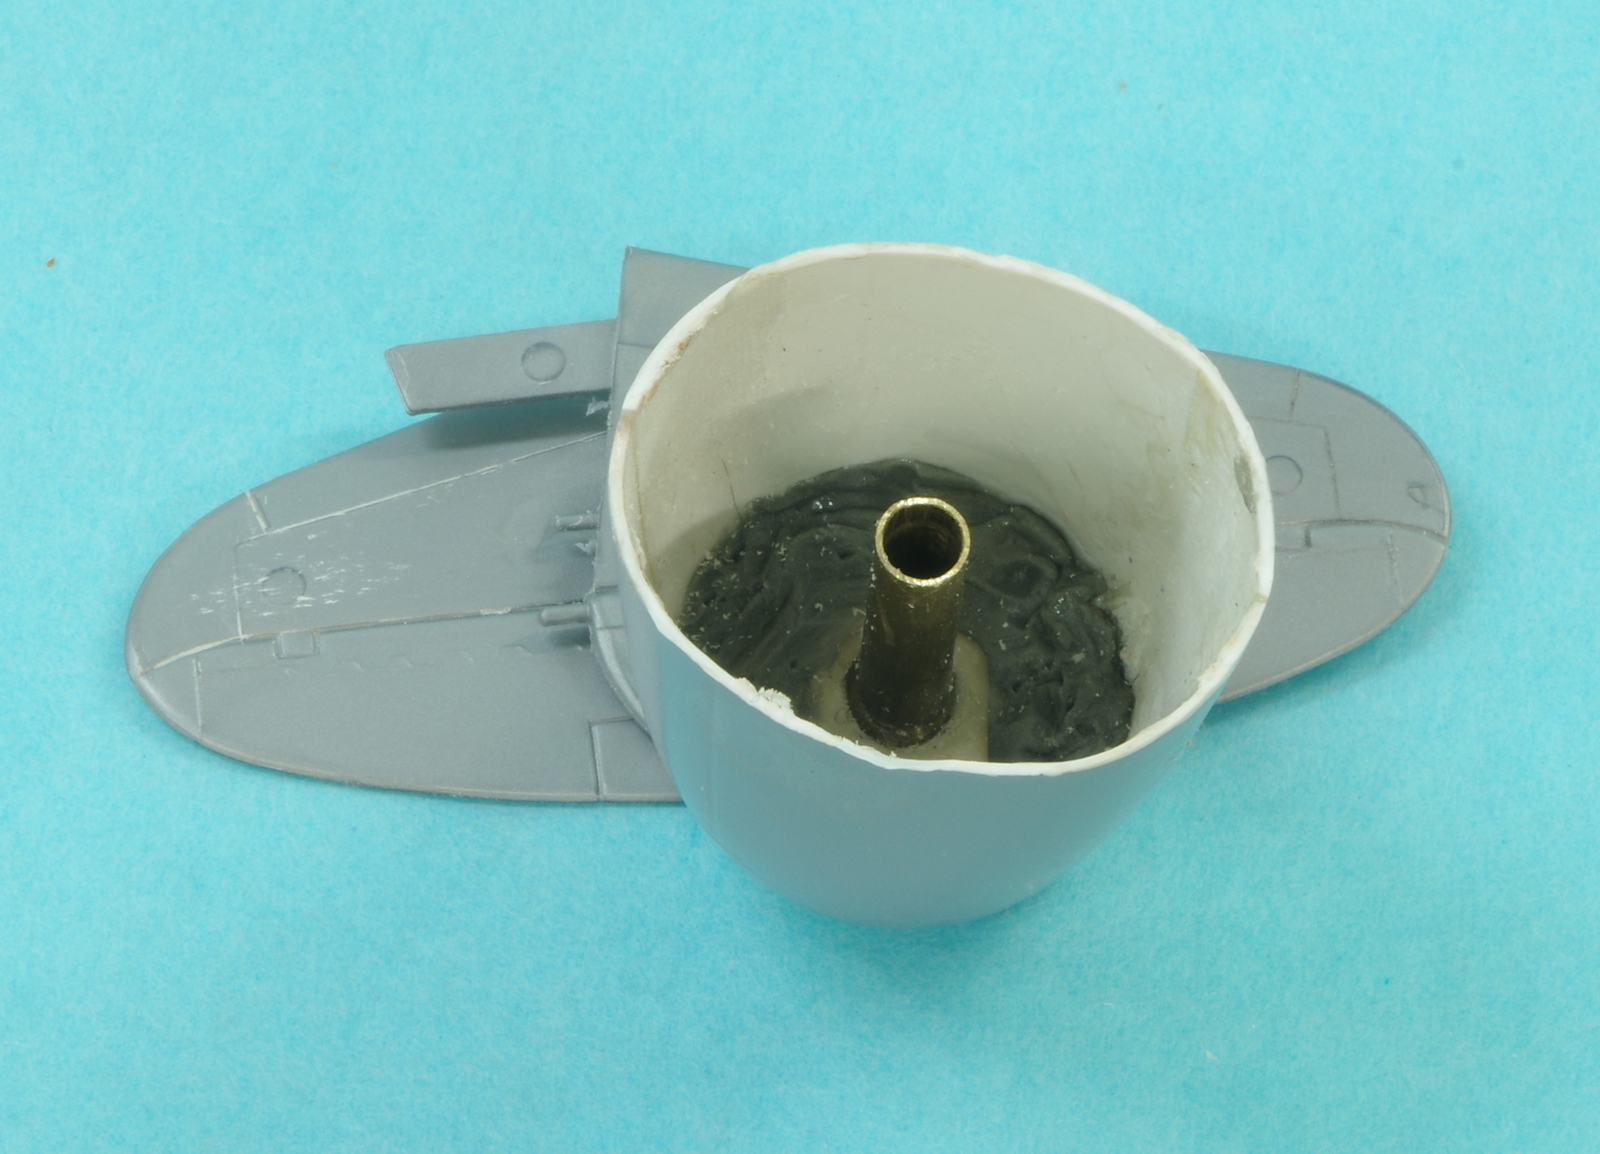
I backed up the cooling fan with Aves Epoxysculpt, that gave me a lot more time to position the fan correctly. I tried it with gel super glue the first time. but somehow once it was cured I saw that it had deformed to opening of the cowl and I had to take it back out. Some careful Dremel work was successful but I hope I don't ever have to do that again. I put a brass tube in to hold the prop assembly.
The cowl flap ducts which are located in positions similar to those on the FW-190A were opened up and plastic card was installed on the inside. I think the exhaust exited here but haven't found a close up to prove it.
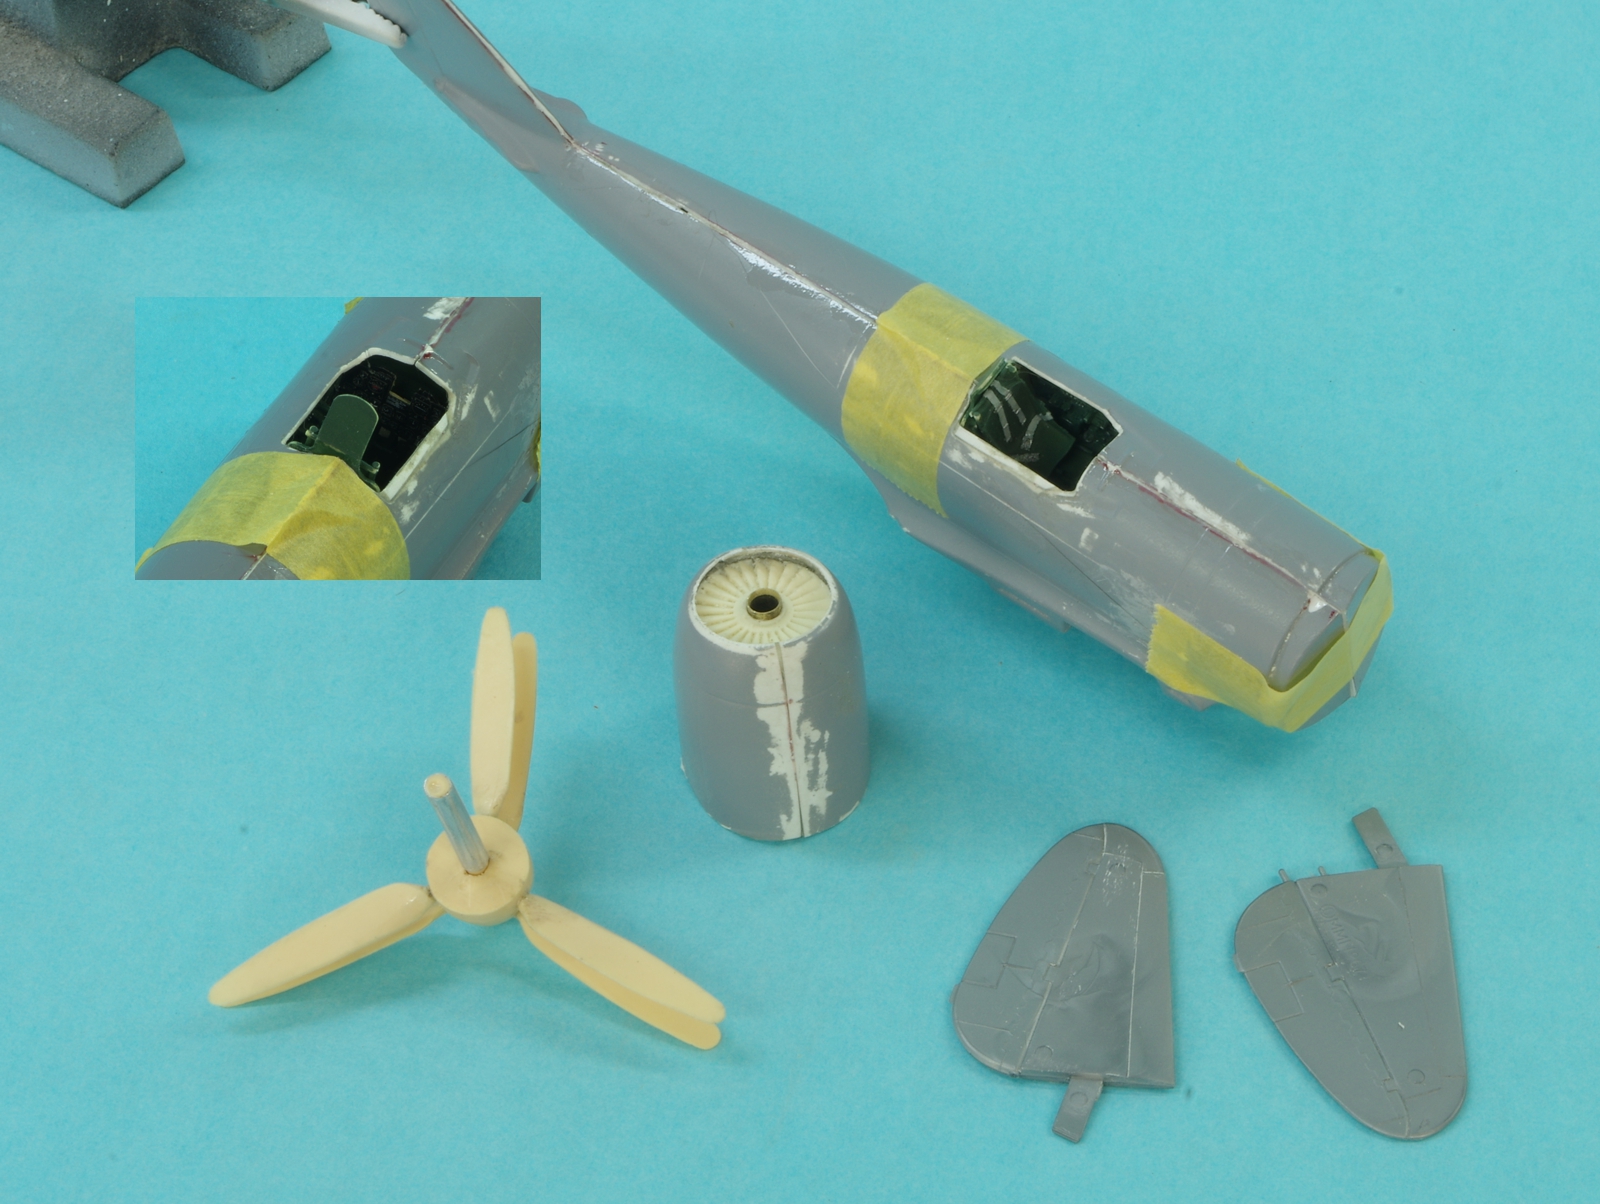


I reinforced the cowl seams with .6 ounce fiberglass adhered with thin CA.

The wing panel lines were scribed. The XP-72 had 6 guns arranged differently so gun ports were filled and the barrels modified. The inner gun port will be re-cut to match the location of the third.


I backed up the cooling fan with Aves Epoxysculpt, that gave me a lot more time to position the fan correctly. I tried it with gel super glue the first time. but somehow once it was cured I saw that it had deformed to opening of the cowl and I had to take it back out. Some careful Dremel work was successful but I hope I don't ever have to do that again. I put a brass tube in to hold the prop assembly.

The cowl flap ducts which are located in positions similar to those on the FW-190A were opened up and plastic card was installed on the inside. I think the exhaust exited here but haven't found a close up to prove it.

Last edited:


 facepalm:

