• Modelers Alliance has updated the forum software on our website. We have migrated all post, content and user accounts but we could not migrate the passwords.
    This requires that you manually reset your password.
    Please click here, http://modelersalliance.org/forums/login to go to logon page and use the "Forgot your Password" option.

Meng 1/32 Me163B "Komet"

Bob, yes the tape gives the liquid mask something to grab on to, so it stays in place. It also provides a nice straight edge, which is sometimes hard to get with just the liquid mask.

Small update today. I've lost one of the spine cover parts and have been spending my modeling time trying to find it - with no luck :(

There are 3 spine "covers" in the kit. As expected, they don't quite fit right, but we can address that pretty easily. First, I attached one side of the first spine cover to starbaord side of the opening, and let that dry. As you can see, there is a gap on the port side in the photo below:
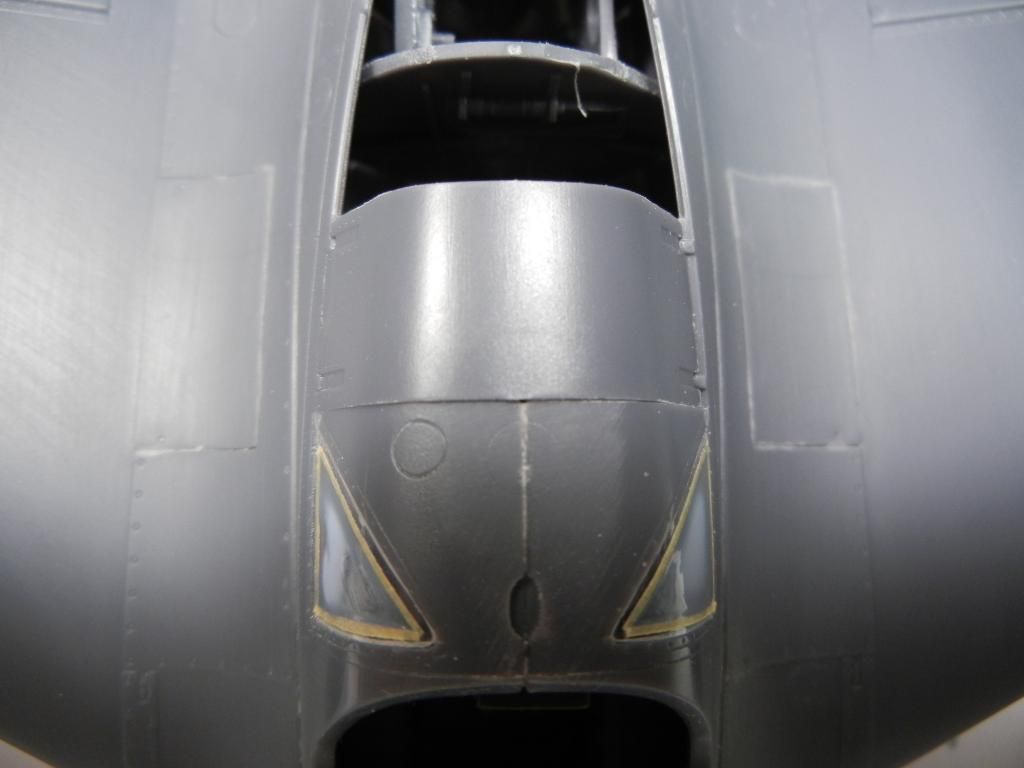


I then pulled/pushed the spine cover and the port fuselage side together to get a good fit. I tacked it in place with superglue, and when dry, finished it off with regular glue to get a good fit:
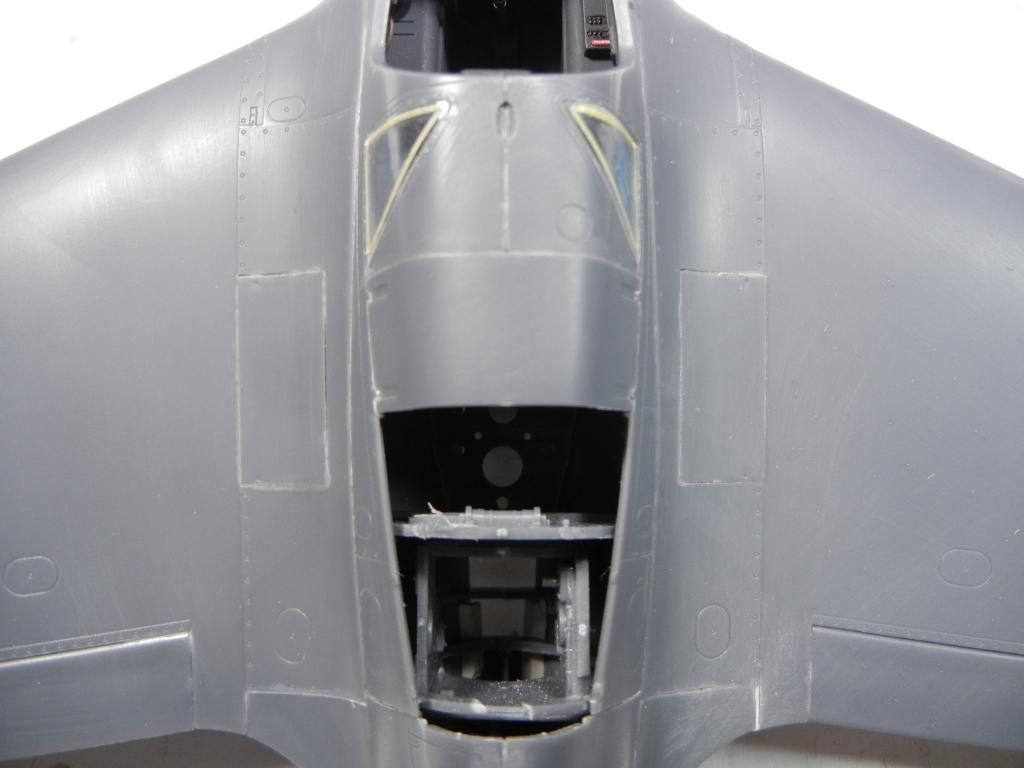


I'll replicate this with the second spine cover, and then the third (if I ever find it) to get everything fit together. Once I get this done the major assembly work will be done and we will be ready for paint!

Thanks for looking (and feel free to help look for the missing part), comments/questions/critique always welcomed!

Doug
 
Quick update: So after looking for 4 days (including dumping and going through the full trash can next to my modeling desk), I decided to take the part from a second kit to keep the build moving along.

I cut the part from the sprue and placed it on the model roughly in position, put the sprue back in the box, looked at the model and saw the missing part about 3 inches away from the model, in plain sight. No way I missed that looking for 4 days...

So... back on track and hope to get some more done today. Next step is applying some Mr Surfacer to selected areas and getting the remaining bits on so we can get to painting. :)

Doug
 
After finding the missing part, I wasted no time in sticking on the model before it disappeared into the void again ;)

I was able to attach it the same way I did the other two sections, which was to attach one side, let it dry, and then push/pull the other side into position. Here we have the finished result, before any filler is applied:


I then applied my friend Mr Surfacer 500 to the joins. After letting it dry a few hours, I went back and using a Q-Tip with some Mr Color thinner on it, I wiped down and removed the excess Mr Surfacer. Here you can see the starboard side with the excess removed, and the port side awaiting the same treatment:


Here all ready for some primer:


And a final "glamour" shot, starting to look like an aircraft:


Thanks for looking! Comments/questions/critique always welcome!

Doug
 
Thanks Bob, its really not that hard to get together, just needs some thought and patience, and a small amount of "modeling skills" :)

Small update today. Still sticking things on to get the model ready for paint.

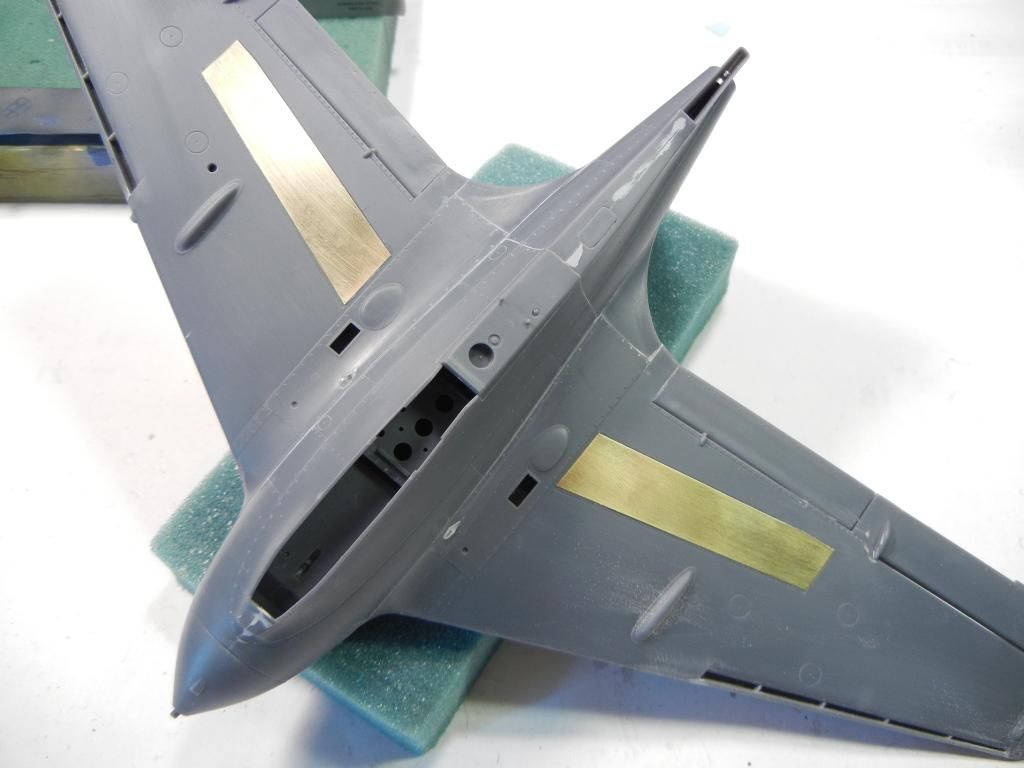
I added the PE flaps to the bottom of the wing. Fit is a little tricky as I've always found it hard to glue a flat piece of PE to a shallow recess without the superglue causing it to push up a bit. But, they are on and looks fine.


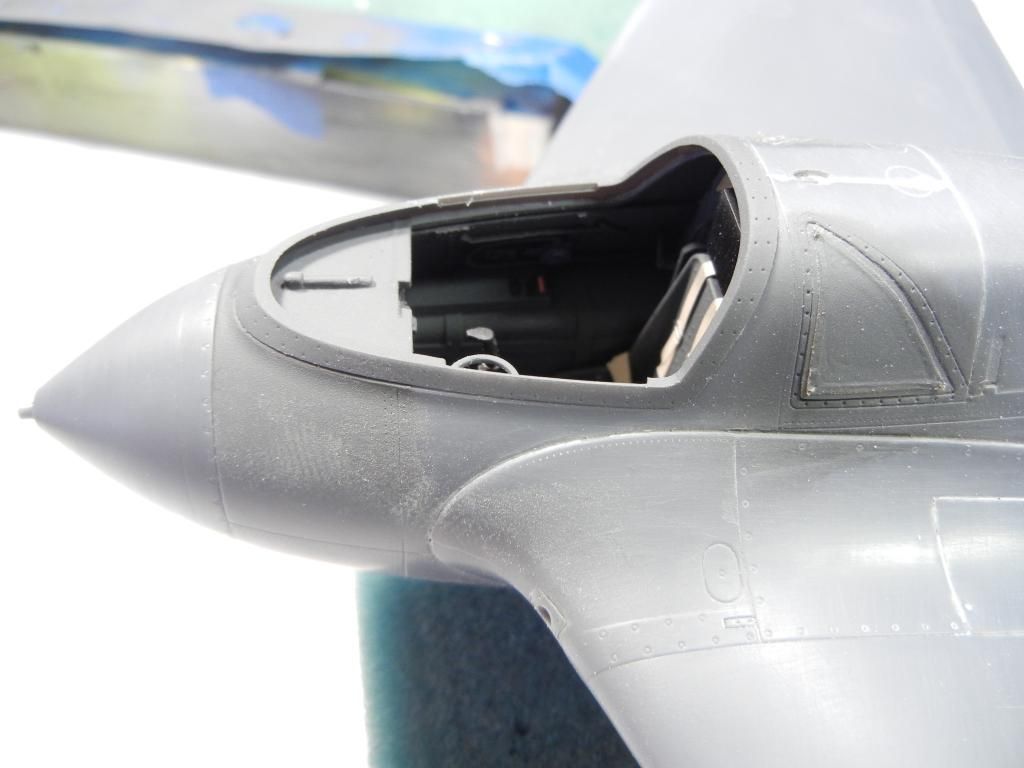
I also thought about the main canopy, and whether to leave the clear bit off, or attach it now. Painting will be easier with the frame on since it gets mottled along with the fuselage. In the end, I decided to leave the clear part off and just attach the frame. The fit of the clear part to the frame seems quite good and leaving it off lets me clean out any gunk that gets in the smaller rear windows.


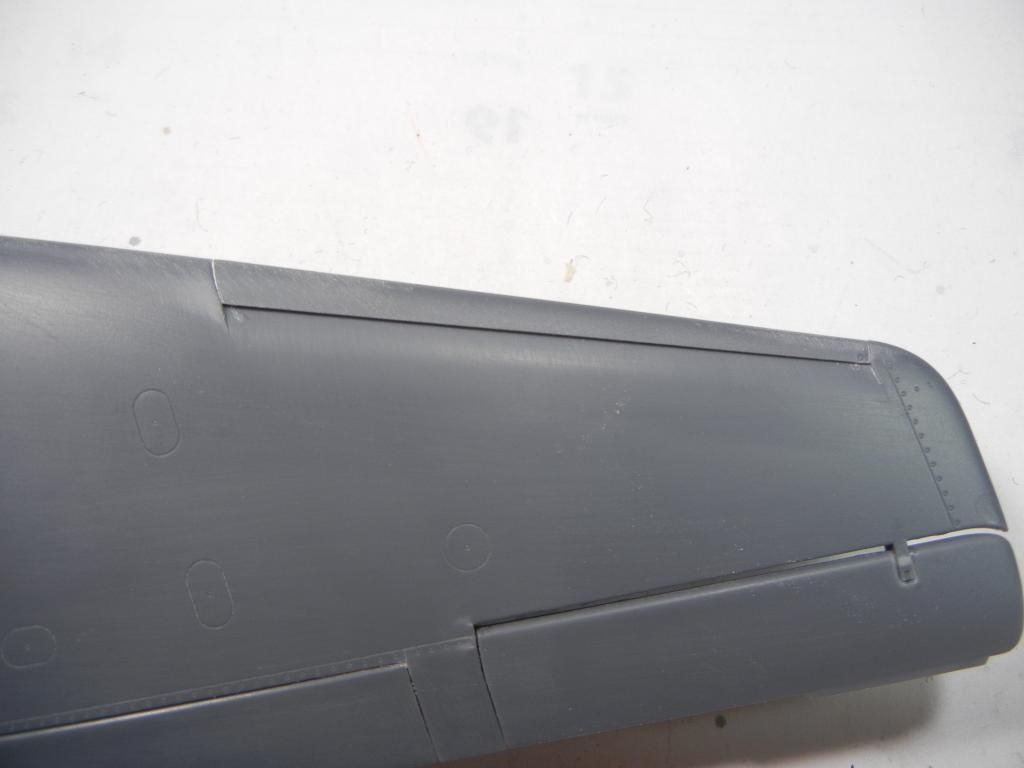
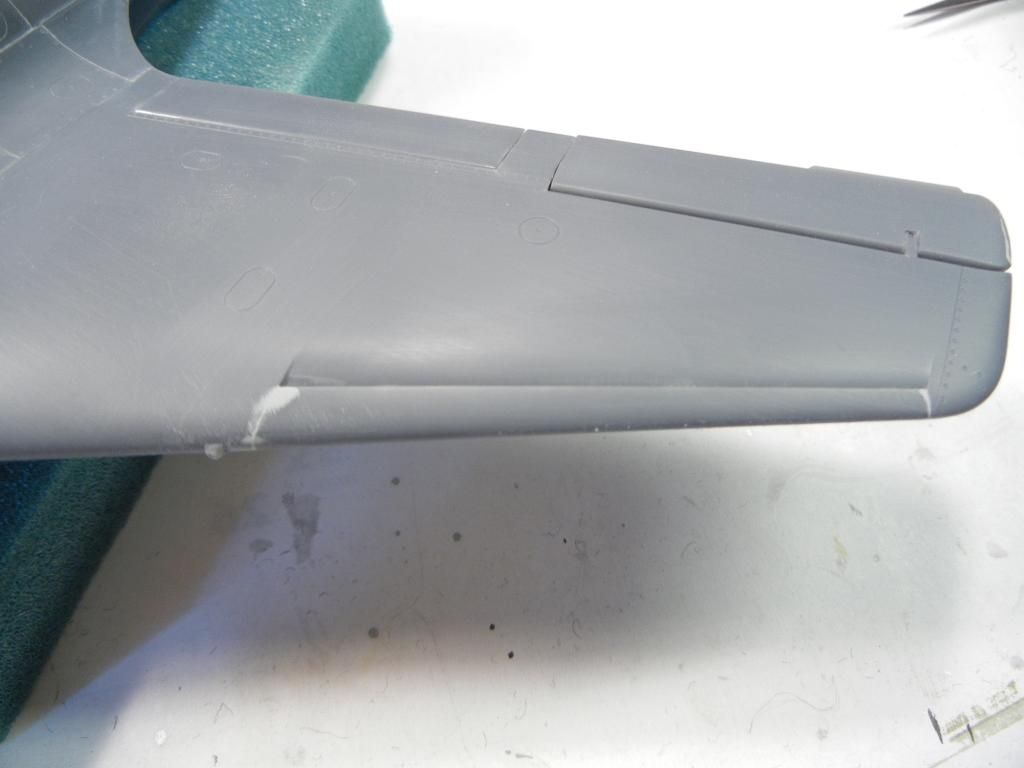
I also added the "slat" parts to the wing leading edge. As these are fixed and not movable, the join line needs to be eliminated as well. So I just blobbed on some Mr Surfacer 500 and sanded it out when dry to eliminate the seam.


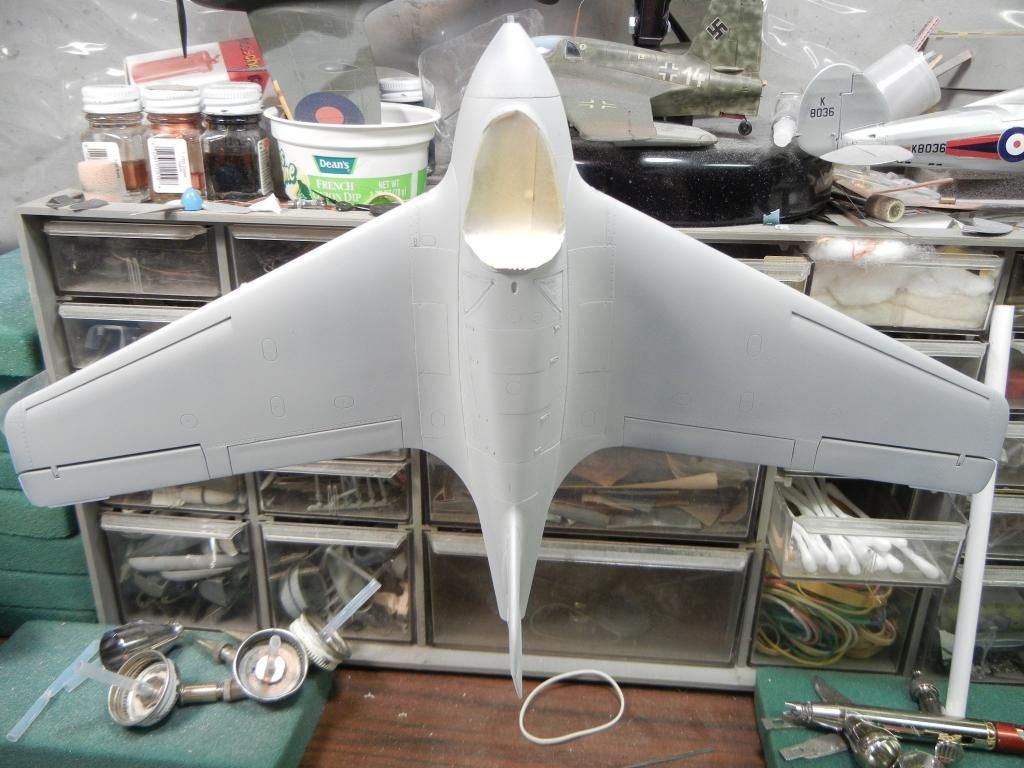
I'll do a last check to be sure, but I think this model is ready for some paint!

Thanks for looking, comments/questions/critique always welcome!

Doug
 
Thanks guys, getting things finished up and ready for paint!

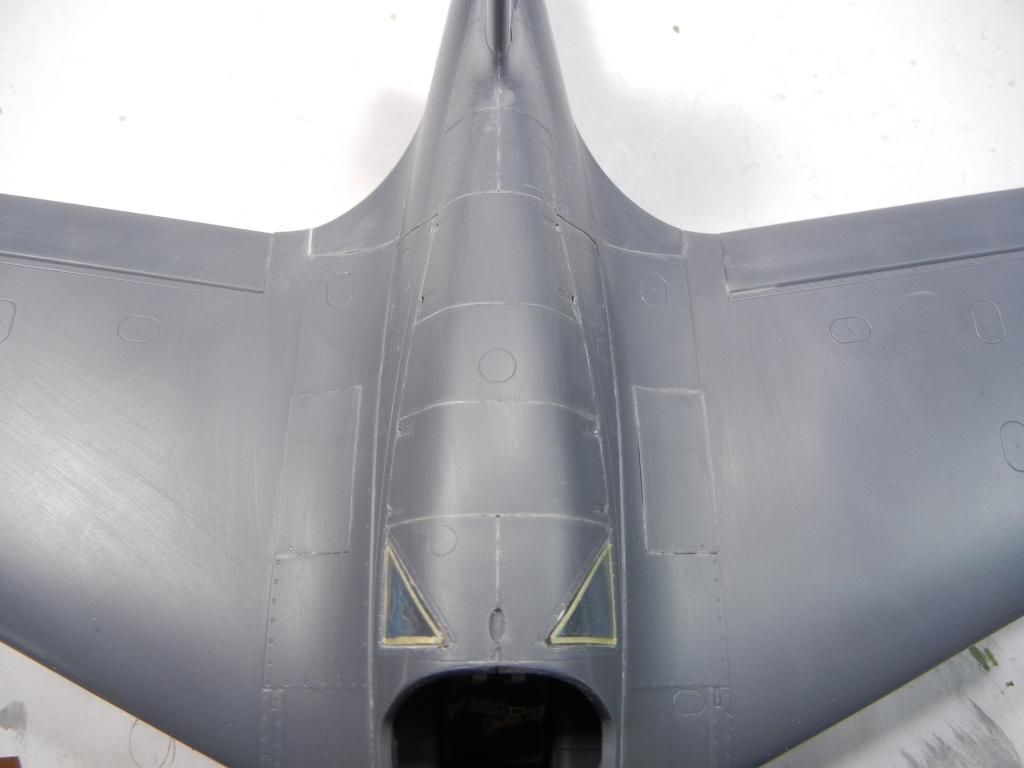
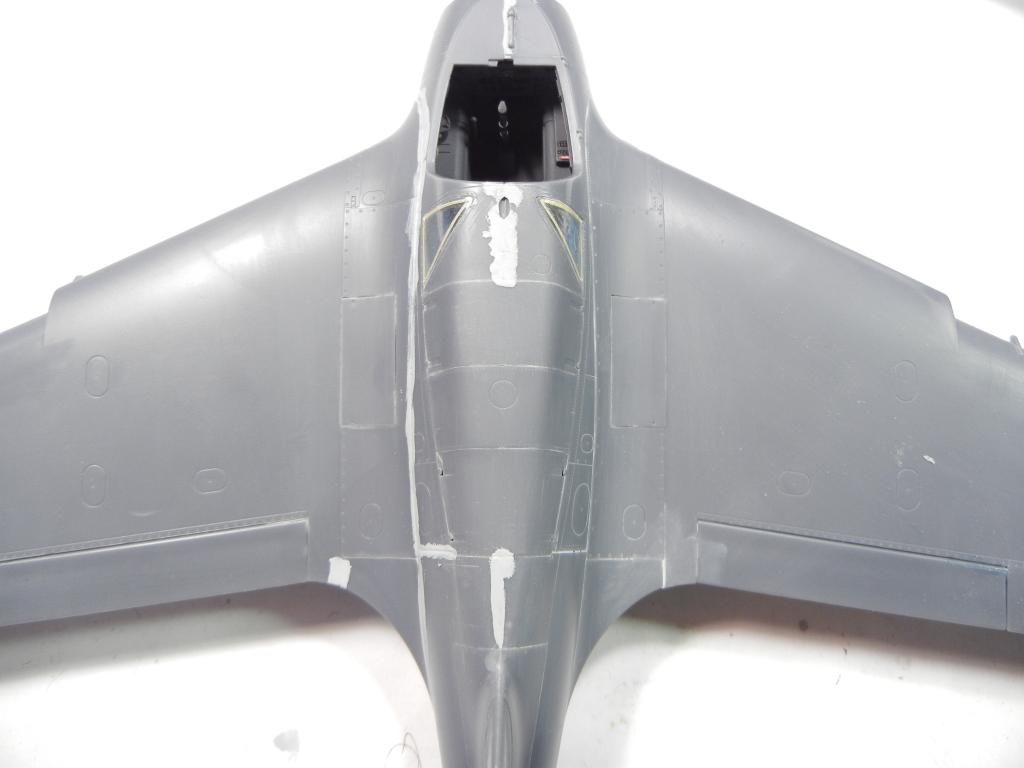
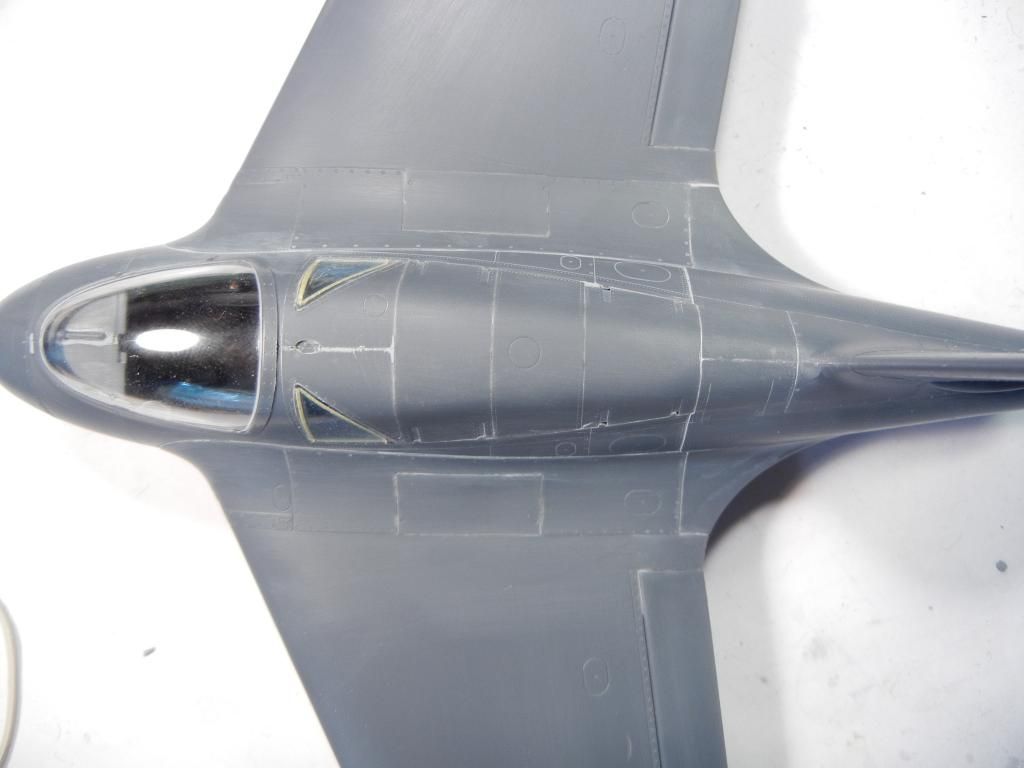
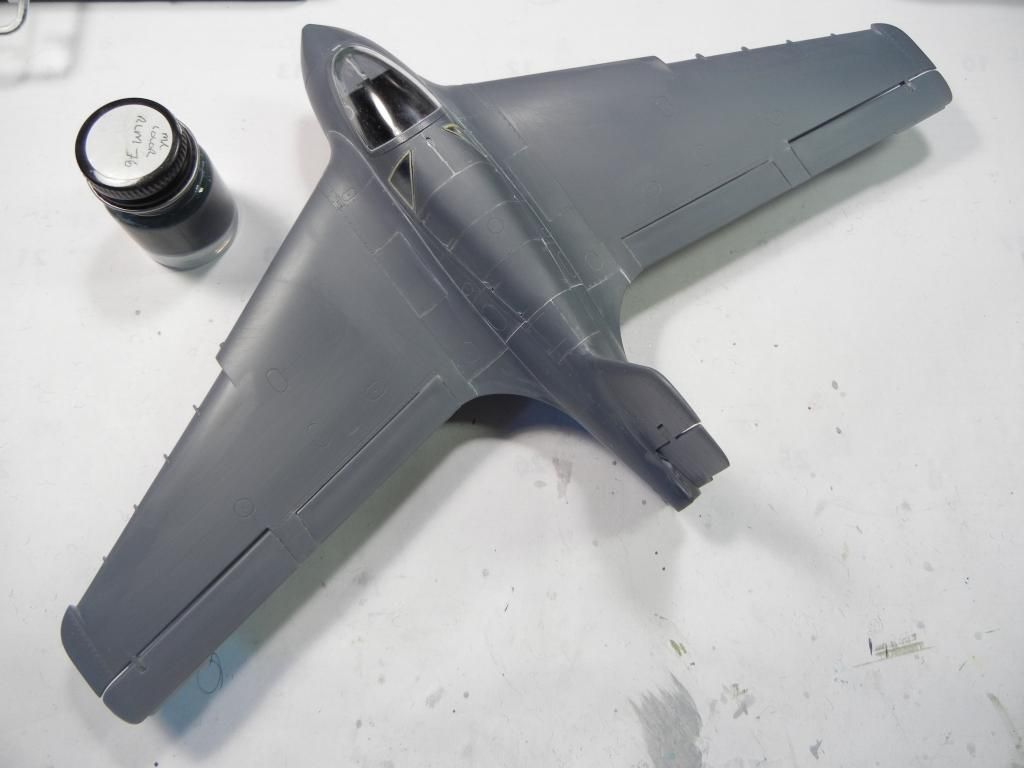
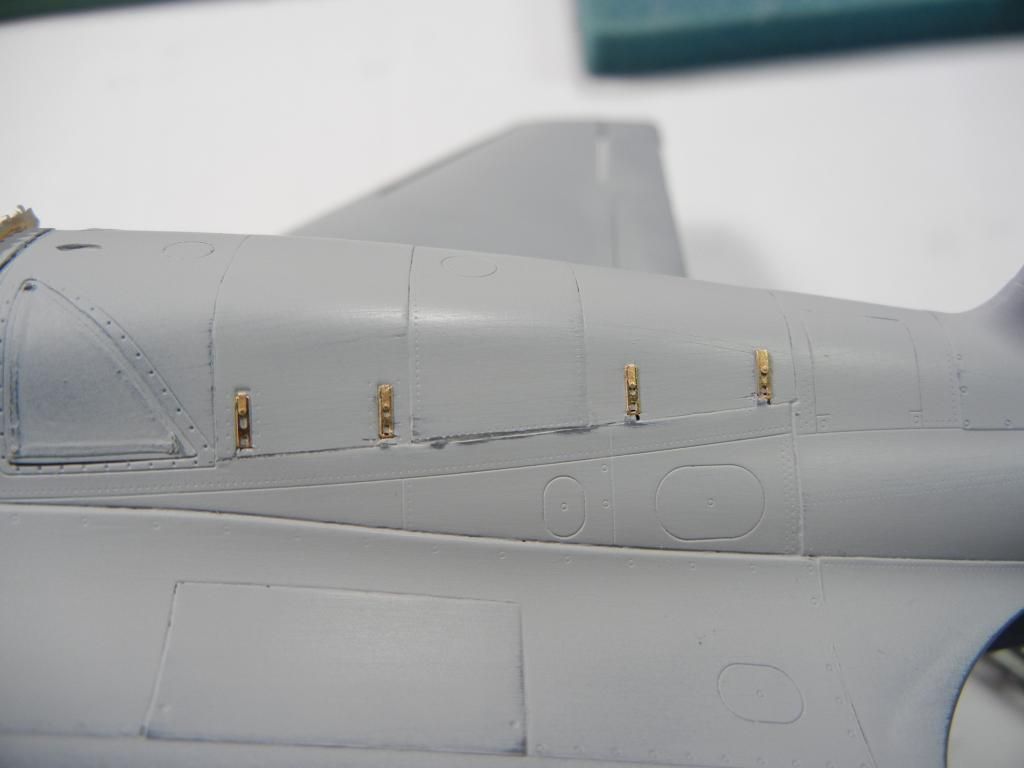
I added the PE latches to the fuselage spine panels. As with most of the kit, they are designed to be shown opened up, but you need to fold them up to have them in the closed position. I think they are a little thick because of this.


I sprayed some primer over the whole airframe, will check for any issues and then on to paint!


That's it for now, thanks for looking! Comments/questions/critique always welcomed!

Doug
 
Looking good. I think I should pull another of mine out :hmmm Looking forward to the cam.
James
 
I really like the latches but I don't like the fact that they protrude past the skin . :(

It would have been nice If they would have offered some closed ones .

Cheers, Christian B)
 
Very detailed and informative description with each update, Doug. Whilst I'm unlikely to build one of these your insights are really excellent.

Carry on, sir !!

Ian
 
Back
Top