
Duke Maddog
Well-known member
I know I'm late, but it's been a crazy, busy first of the year. Most of our departments will be open; however the Motor Pool 'crew' is still on hiatus for another couple weeks. Still, there's lots to see in the Hangar and Shipyards, I'll be showing almost everything I have under construction that I'm putting a priority on to finish. So let's board the trams and go see what we're working on in this new year!
Starting in the Hangar, we have these....
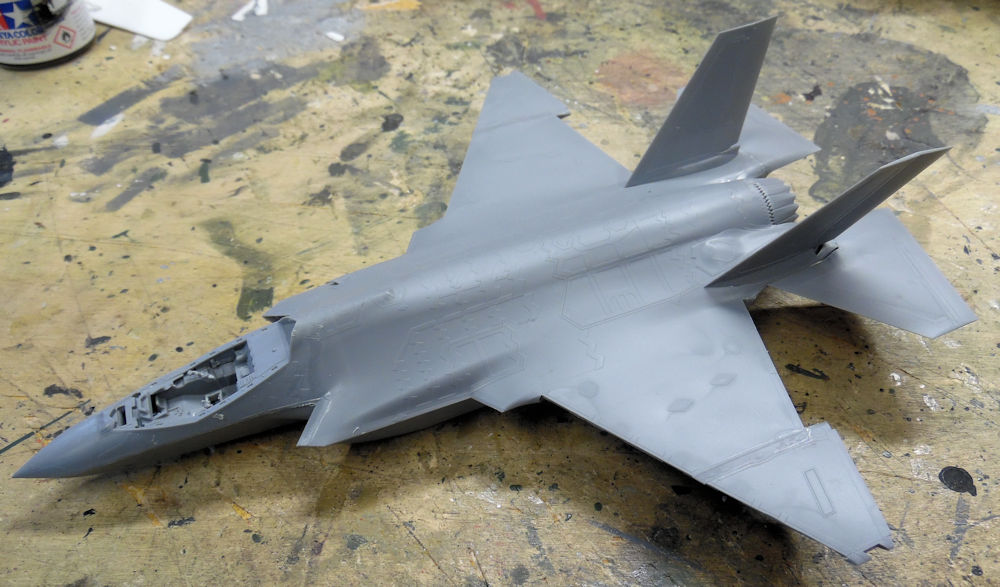
In the first bay, we have the F-35 that was started a few months ago:
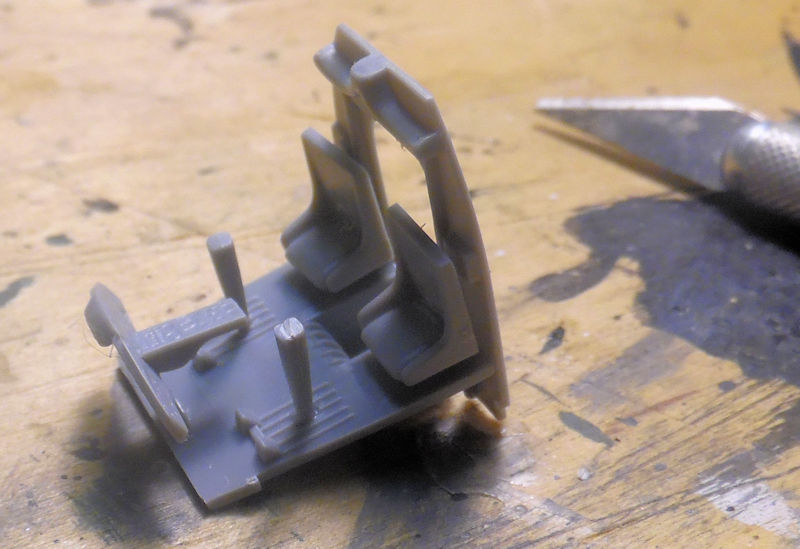
The next bay has the cockpit assembly for the E-2C Hawkeye started a couple months ago as well:

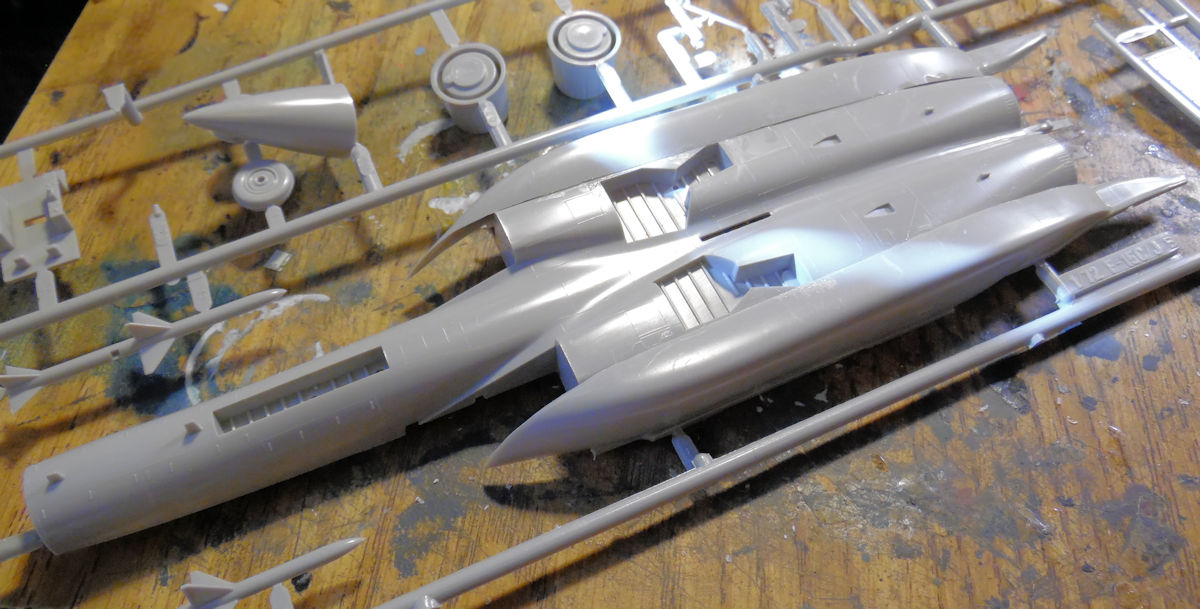
Next to that is the F-15E Strike Eagle, almost ready for final assembly and paint:
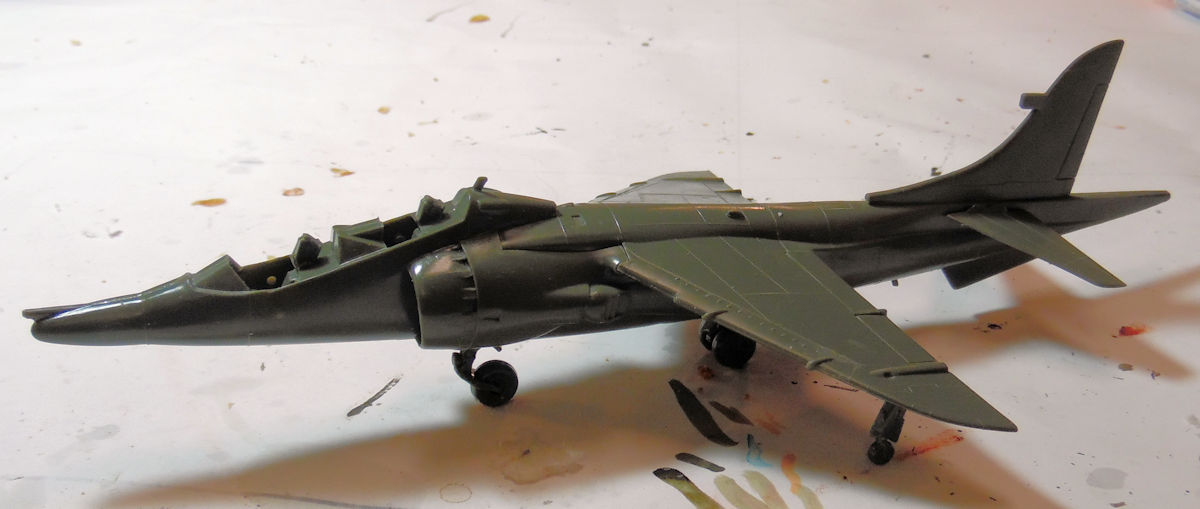
The next bay has a gift from a friend, the British Harrier Jet:
In the next bay we have the British Swordfish that was started some time ago:
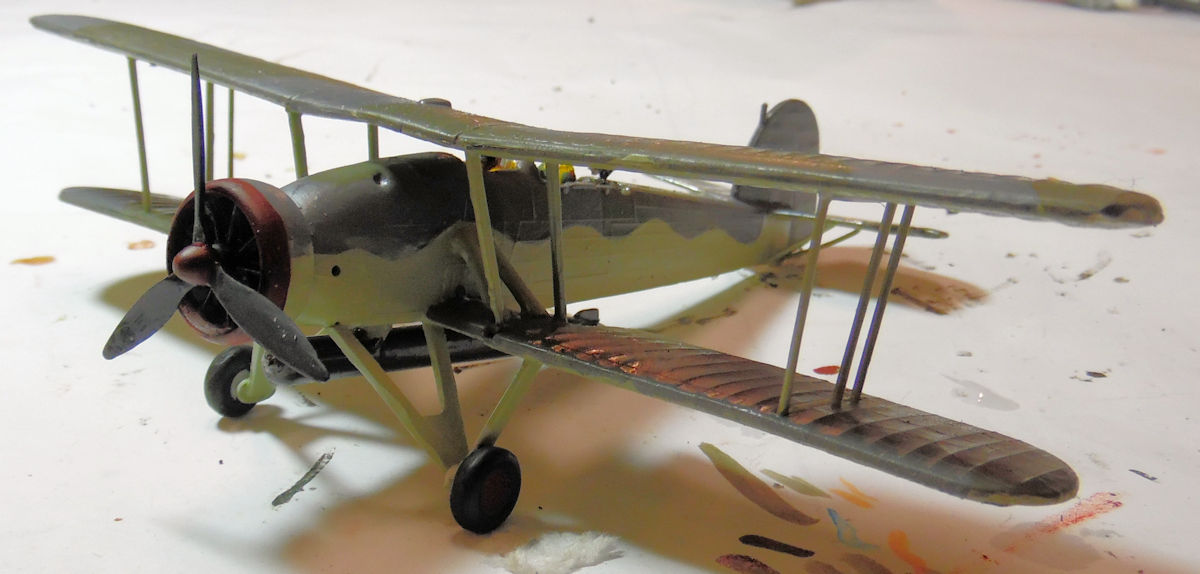
This one has the decals done and is ready for rigging.
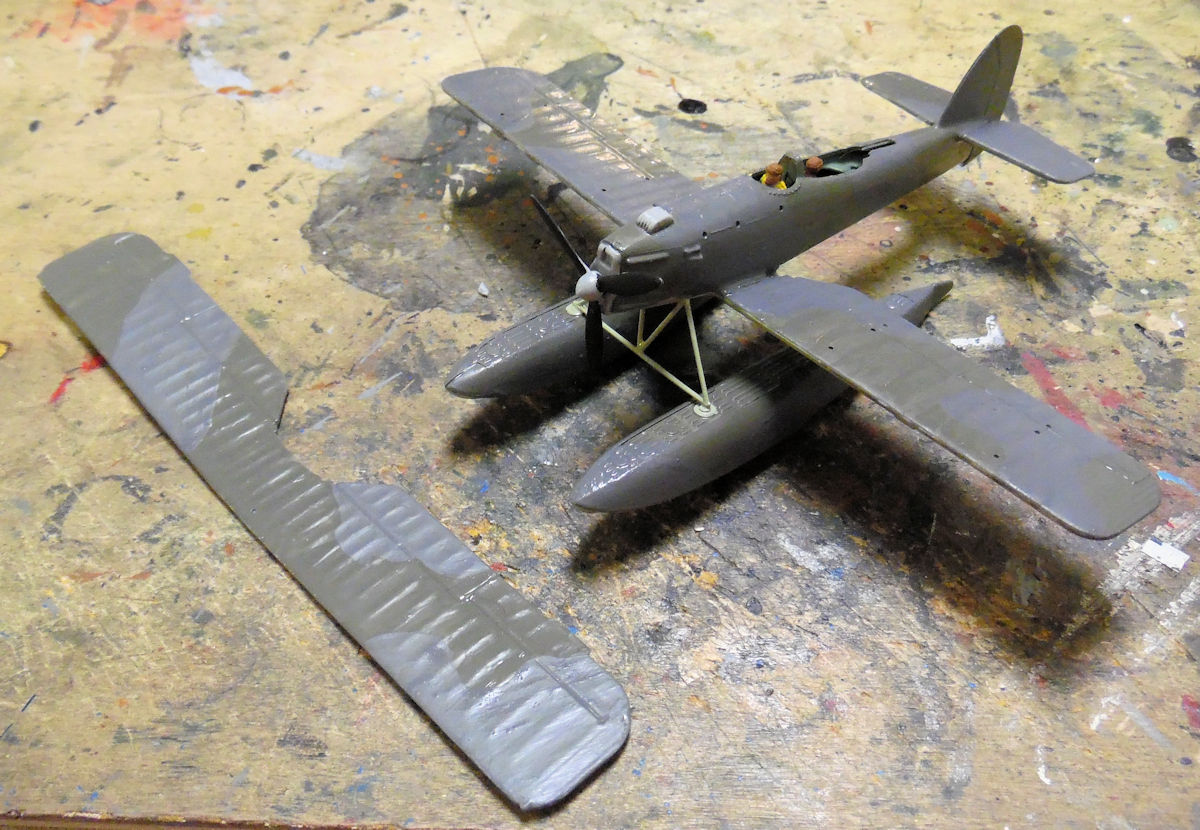
In the next bay, is the Fairey Seafox, all painted and ready for further assembly:
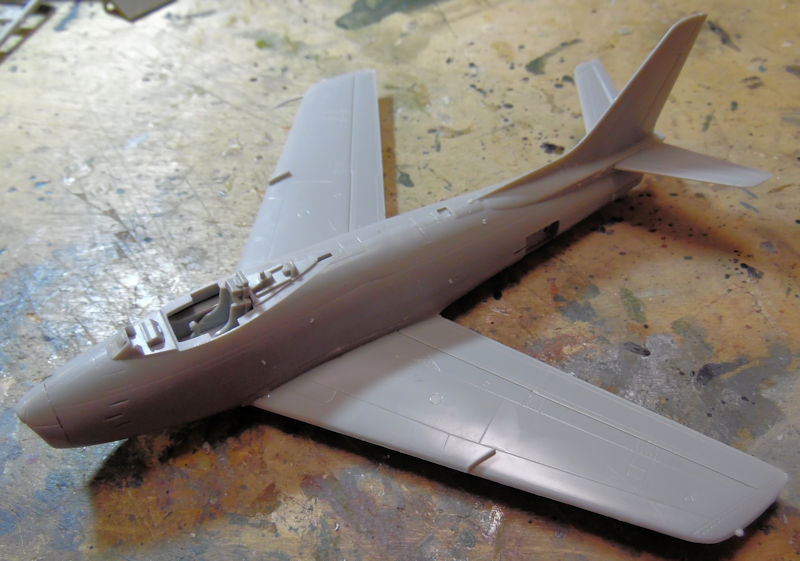
In this next bay, is the F-86 that I got in another kit; still trying to determine what country I'll place it with:
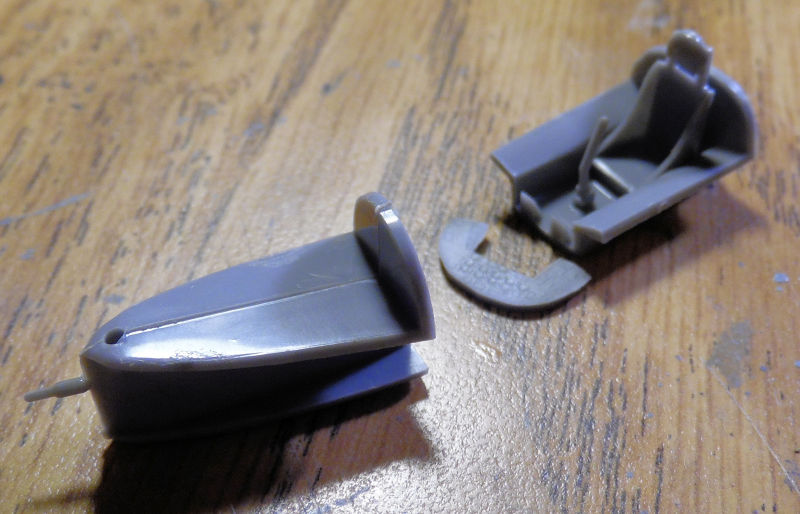
In the next bay here, we have the beginnings of the French F-84G, cockpit and nose intake:
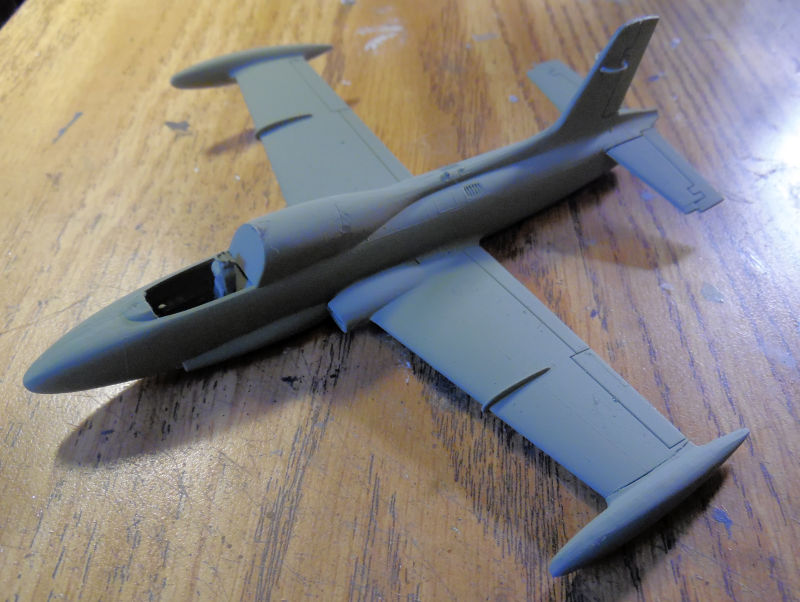
In the next bay over is one I've been wanting to add to my Italian Air Force, this is the MBB-323:
In this bay, another cockpit started, this time for the An-2 Colt:
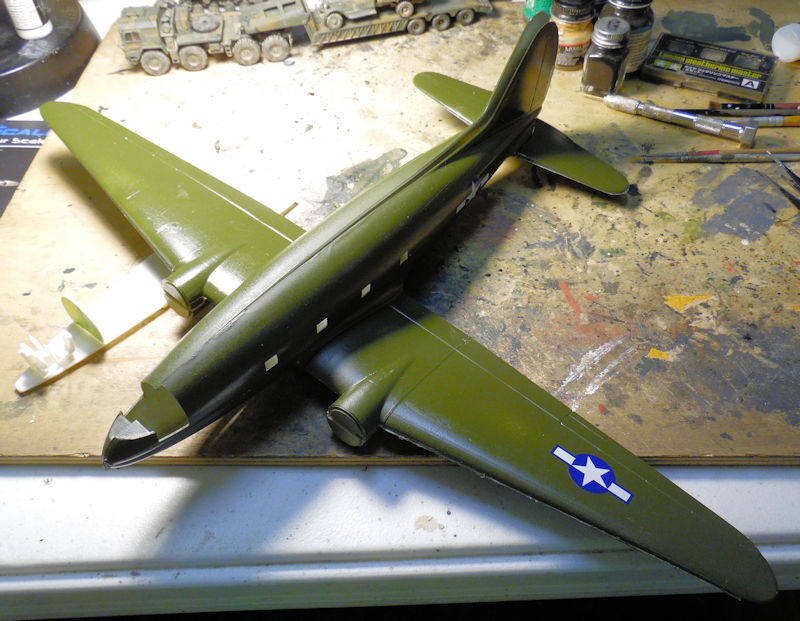
Finally in the last bay, there's the C-46 that was given as a gift to me earlier:
And that concludes this tour of the Hangar, now on to the Shipyards.
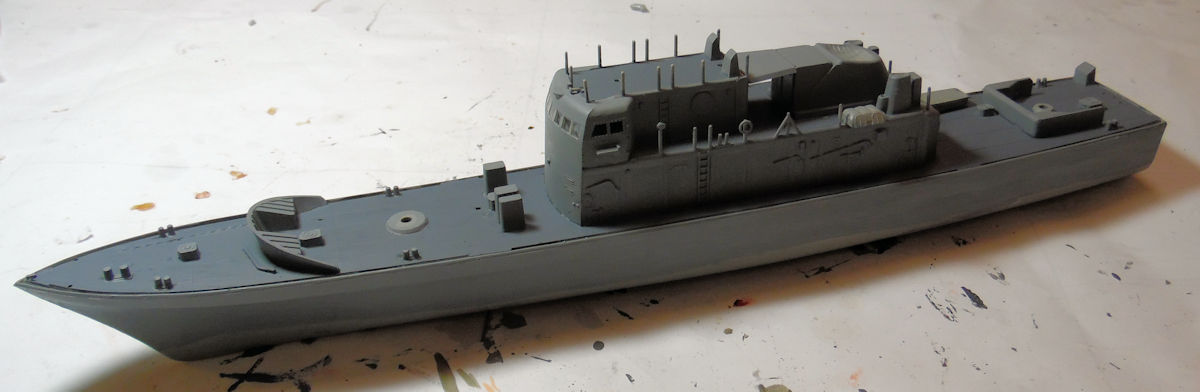
We have a lot going on at the Shipyards here, in these next few slipways, we have some small boats under construction, first slip is the USS Defiance Vietnam-era patrol boat:
The next slip has the Coast Guard Icebreaker Eastwind, all completed:
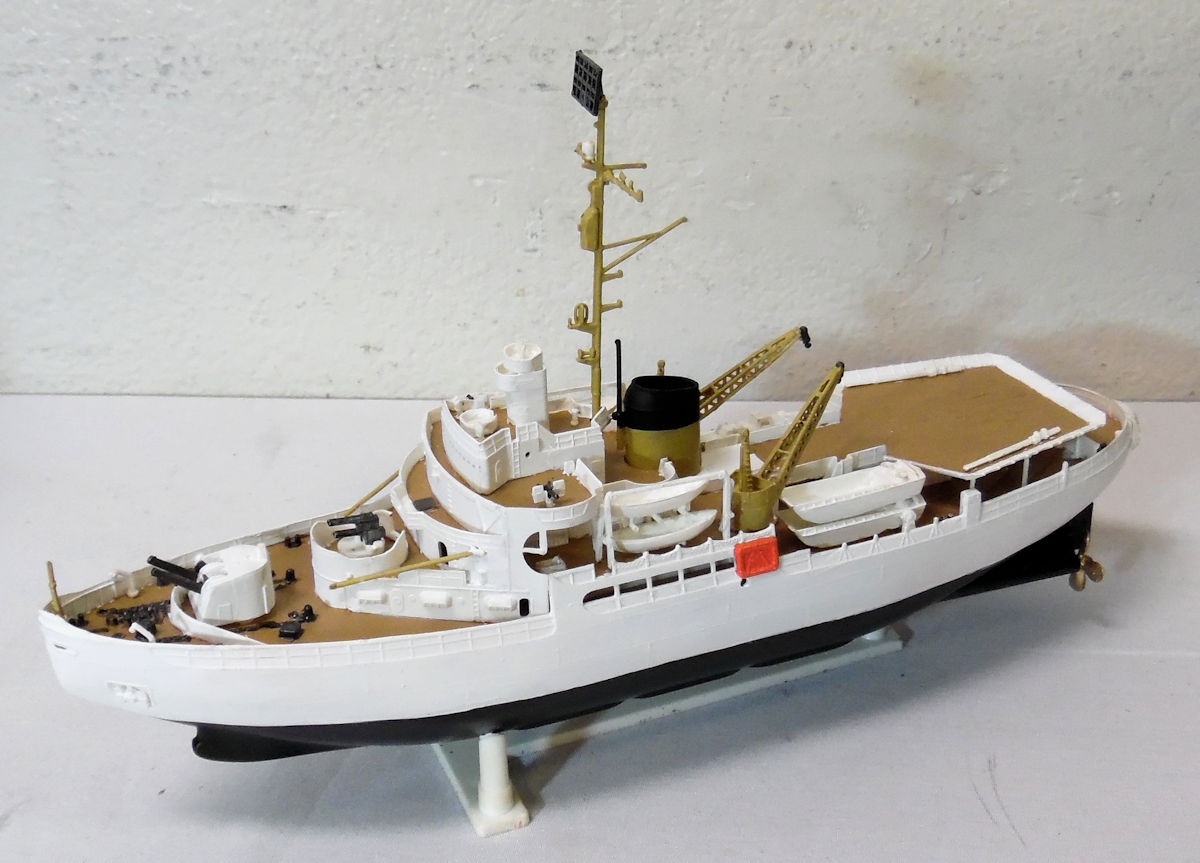
It got the decals on it next:

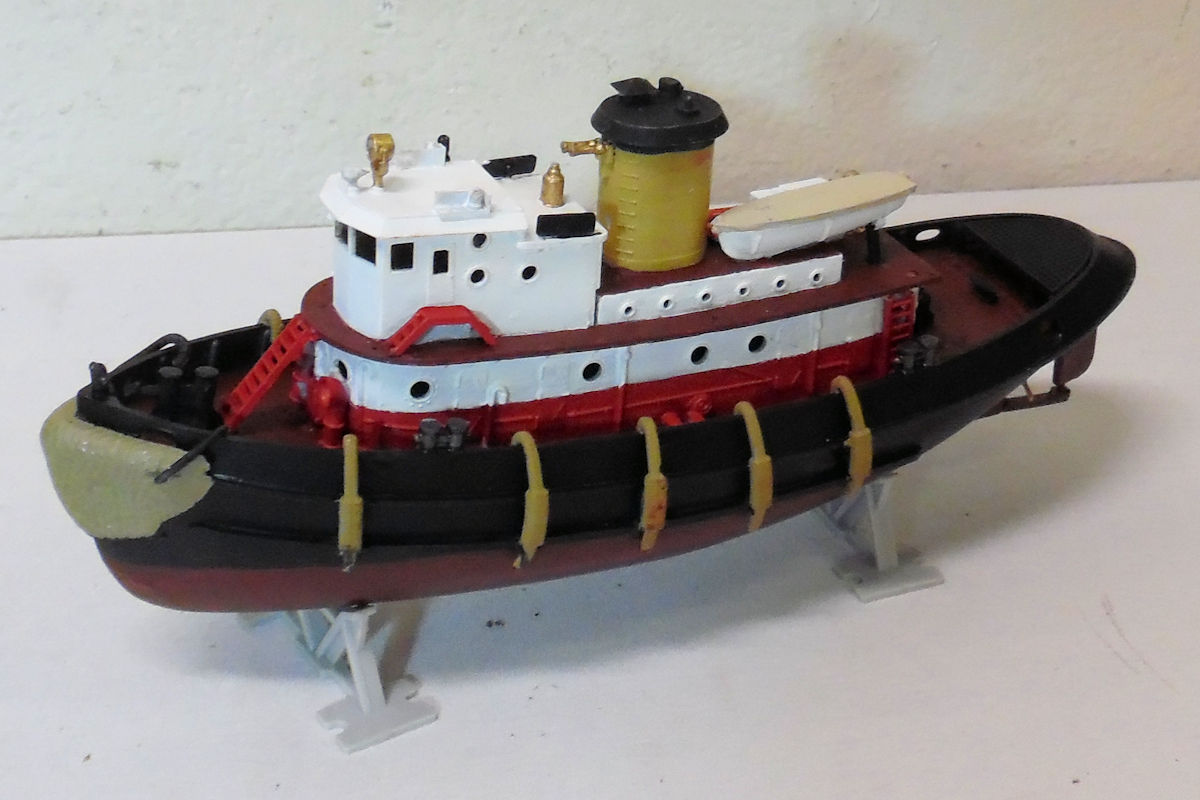
In the next bay is the Tugboat Lucky XI, all painted up and waiting for final detail parts and decals:

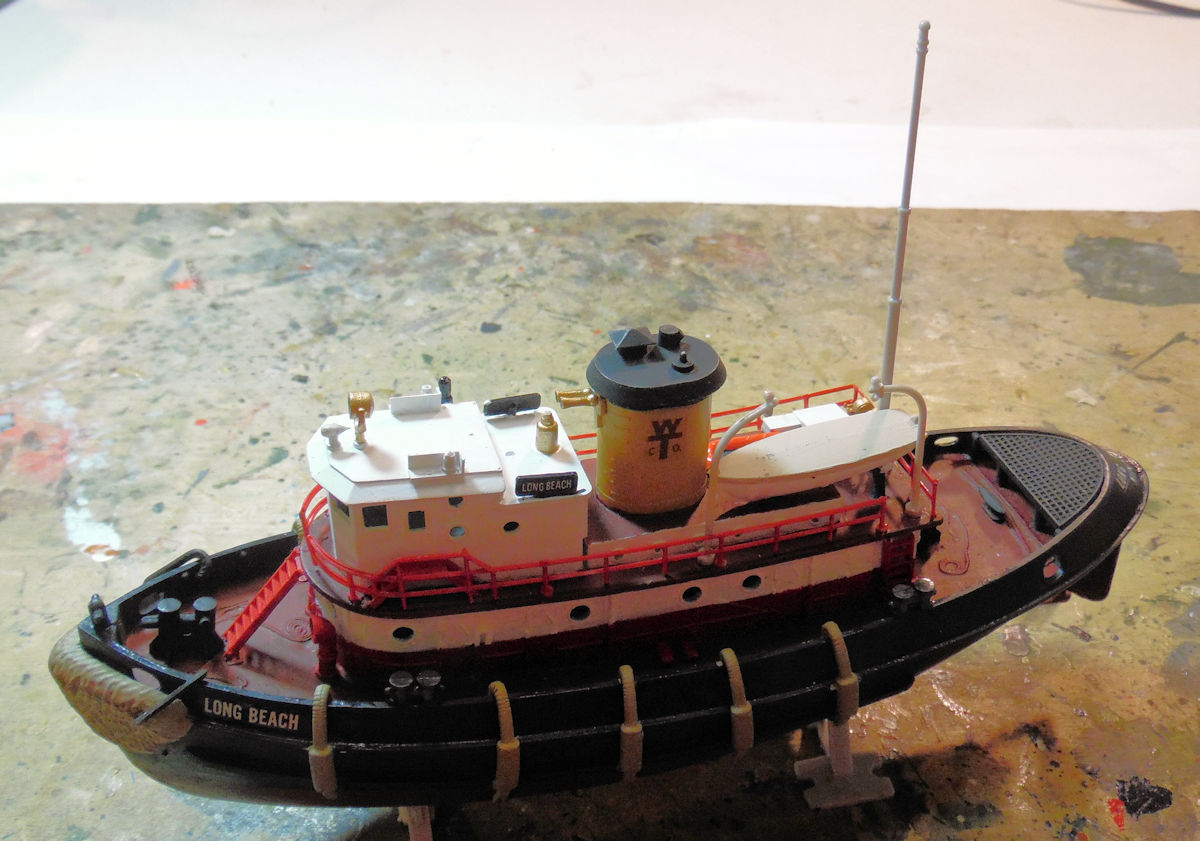
Still trying to find the decals for that. Meanwhile in the next slip is the Tugboat Long Beach in the same state:
This one did get the decals and some additional detail parts, just looking for the last ones:
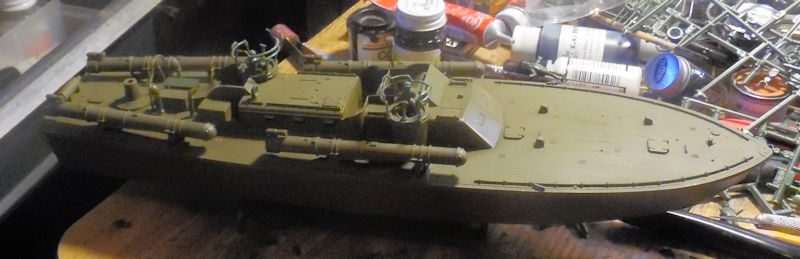
Finally, the small boat slips have the PT-109 in this last slip; all details are on except the most breakable ones and the gun on the deck is secured; it just needs the tie-down ropes on it:
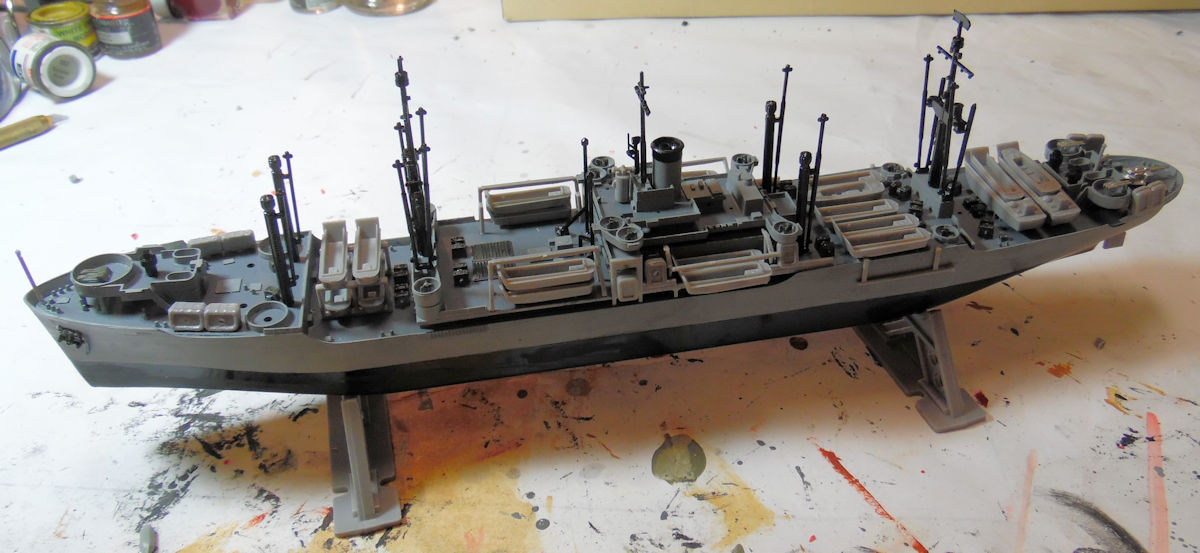
Now on to the larger ships. In this next slip is the USS Montrose Assault ship:

After some time, she got all the detail parts and masts:
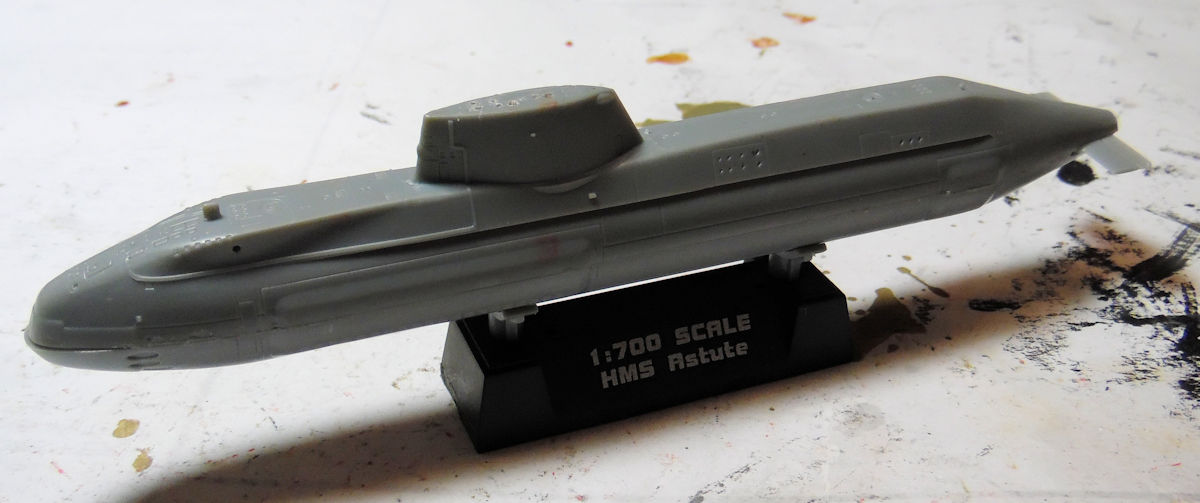
In this next slip we laid the keel for a British submarine, the HMS Astute. It's a fast and easy build:
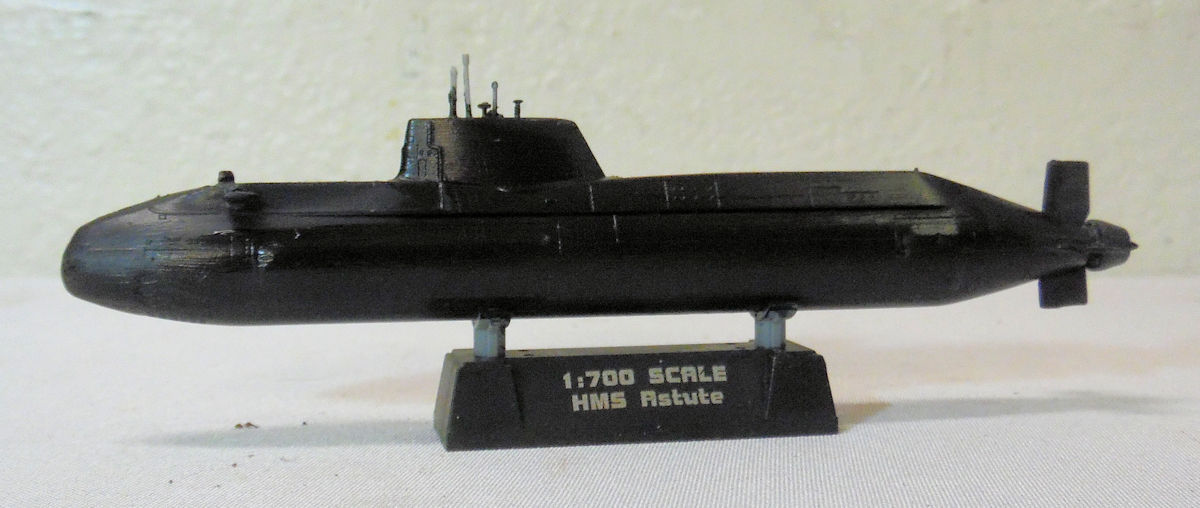
This got paint and is now waiting for decals for finishing:
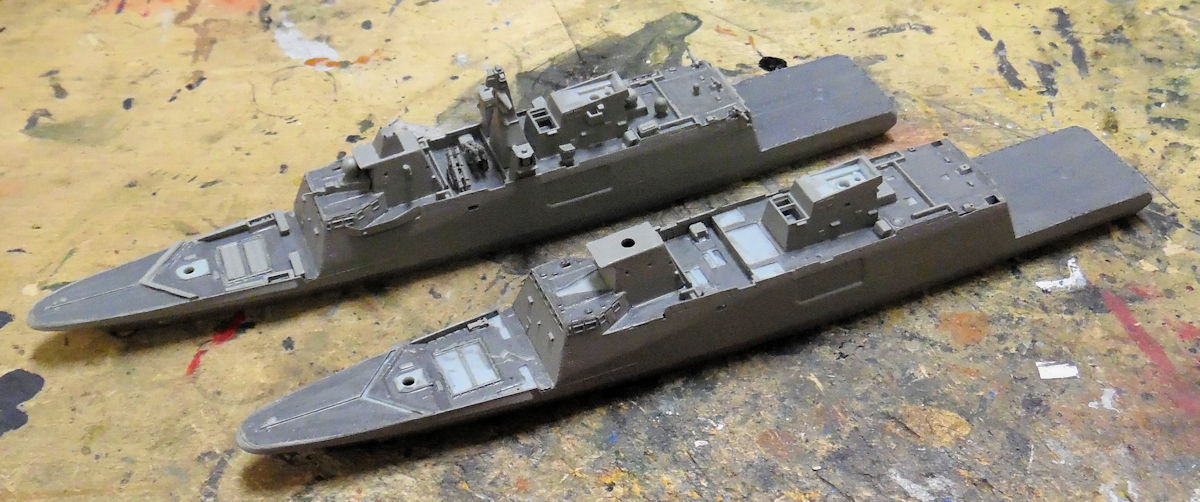
In these next two slips are the two French frigates Normandie and Aquitane. Both are now painted and the Aquitane is waiting for additional parts to finish up:
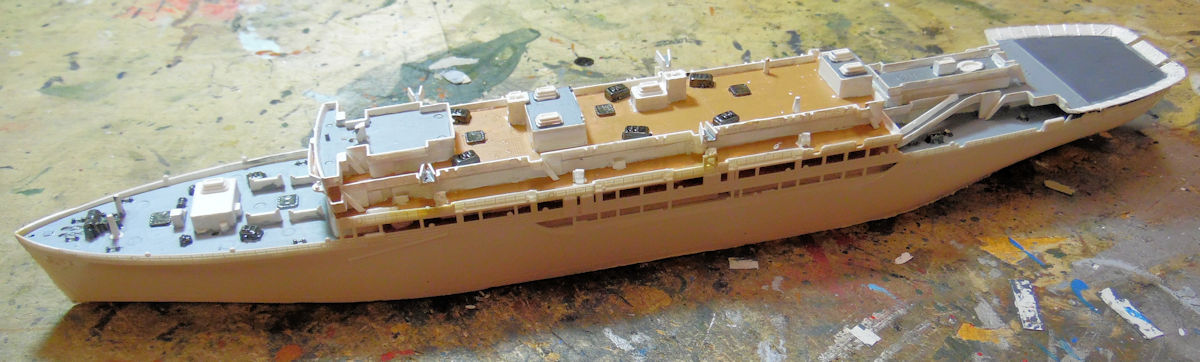
In the next slip is the hospital ship SS Hope, now all built up and painted:
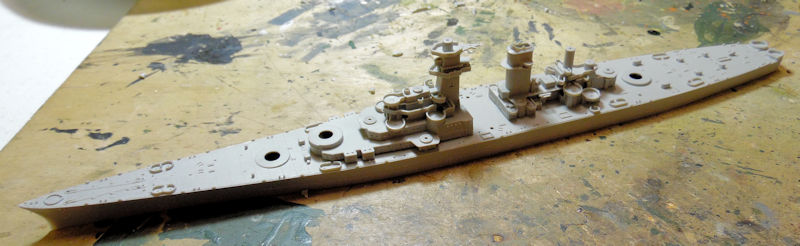
In the next slip is the USS Alaska still waiting for full assembly:
Meanwhile, we laid the keel for the USS Albany a Chicago-class missile cruiser after it's conversion:
Finally in this last slipway, we laid the keel for the HMS Queen Elizabeth aircraft carrier:
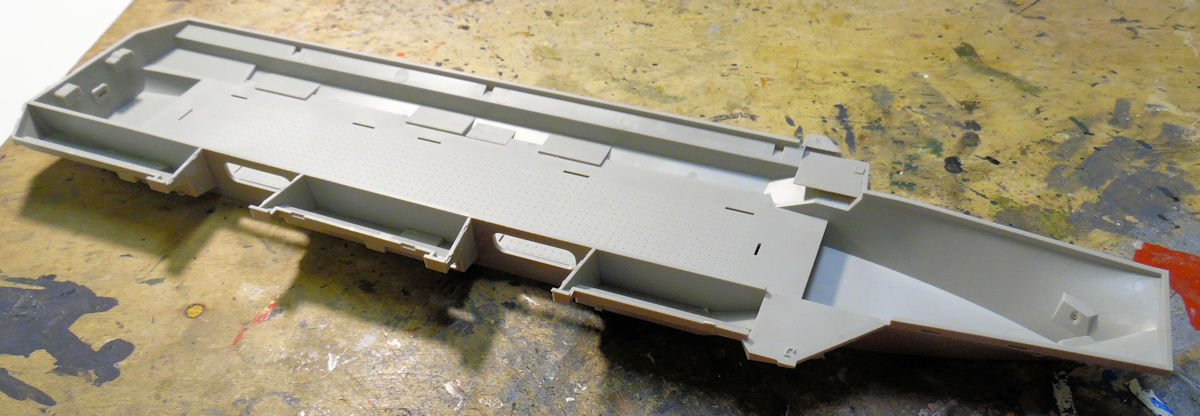
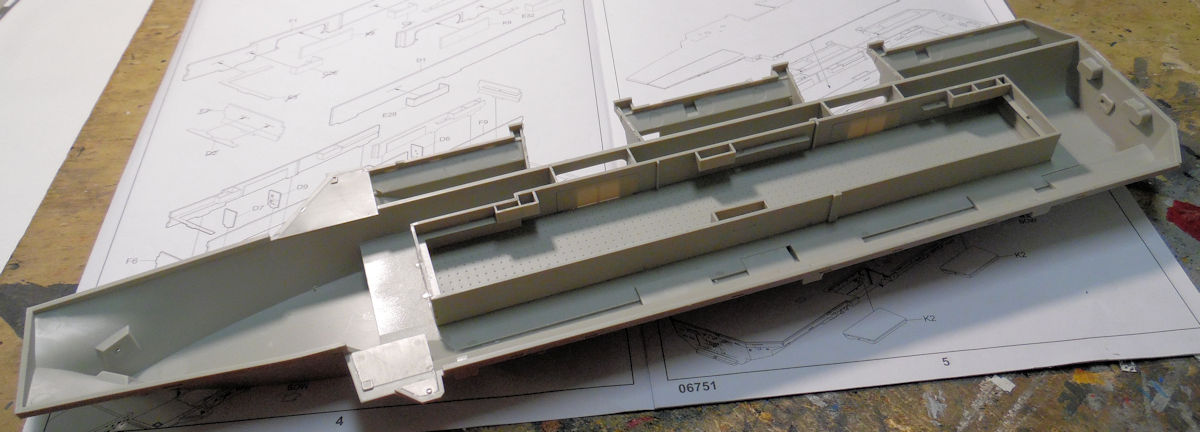
As I've been waiting for this, we continued with the interior of the main hull:
Interestingly enough, Trumpeter 'took pity' on us modelers and painted and decaled the main deck and ski ramp:
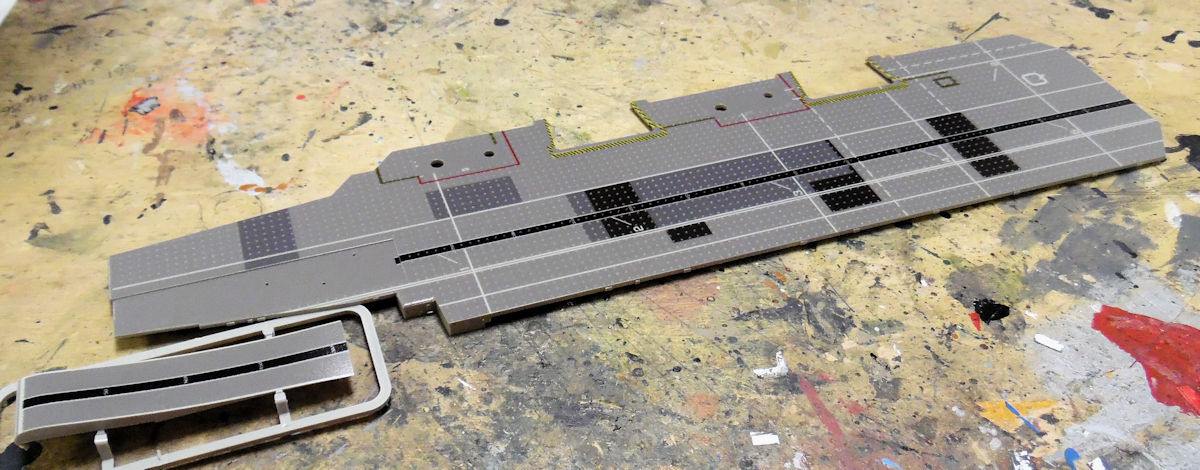
Here it is dry-fit on the hull:
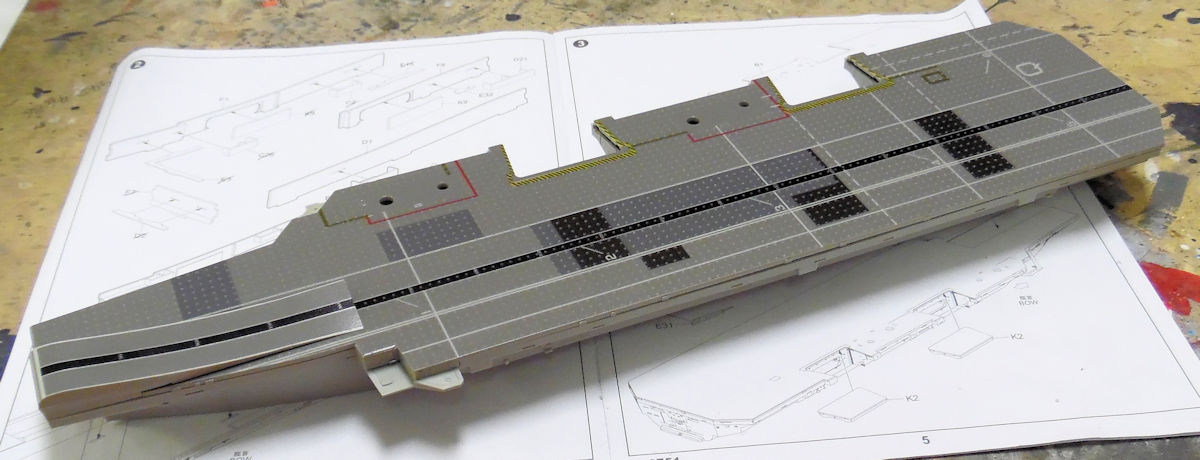
That is gonna be interesting.
That completes the tour of the Shipyards, so on to the back lot where other projects are underway....
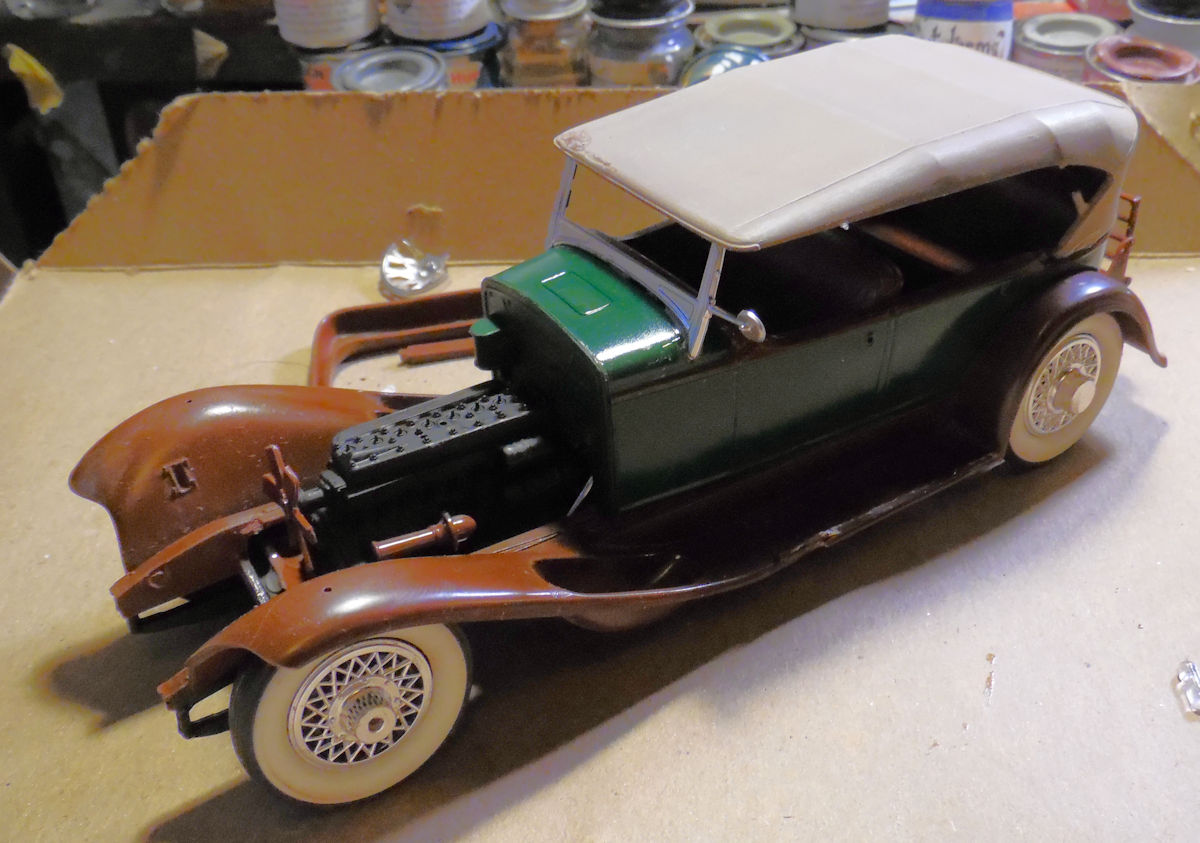
Here in the Automotive Garage, we have one of the cars I've been trying to build. This seems to be as far as I can go with this until I get another kit to cannibalize since the box had been weakened and a bunch of parts are missing:
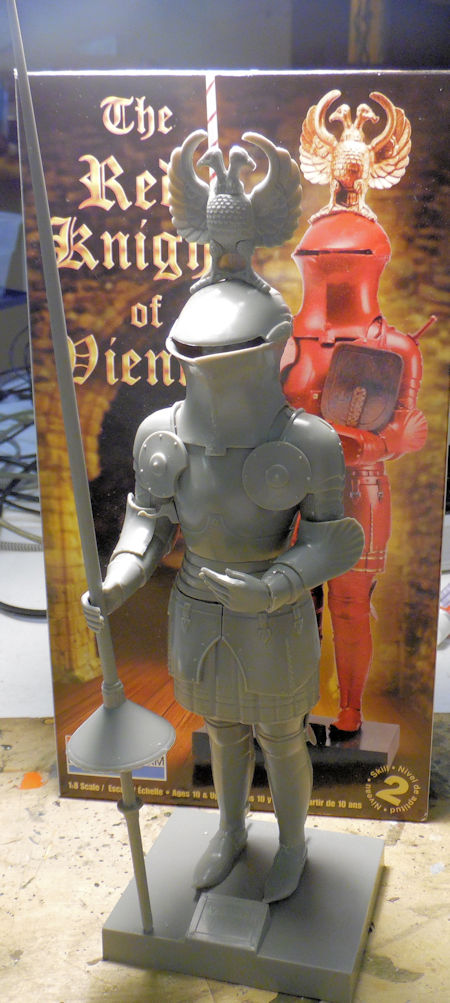
Now going back into the Back Lot, we have this figure of the Red Knight of Vienna waiting for paint:
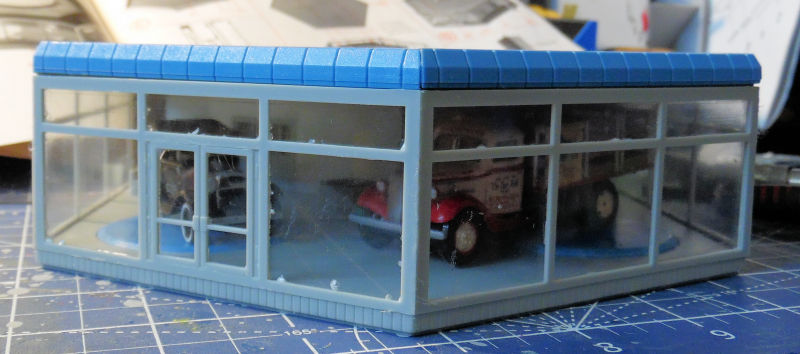
As well as the European auto dealership that seems to be stalled due to the sprues for one of the buildings are missing:
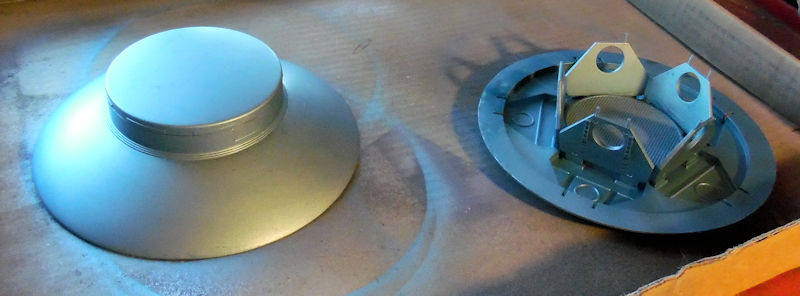
And in the Space Port, the little UFO is still waiting for final paint coat:
And that completes our tour showing every current active project we're working on. Thank you all for looking in, I hope you enjoyed this preview of the many (I hope!) projects that will be completed in this new year. Stay tuned for more, and comments are always welcome!
Starting in the Hangar, we have these....
In the first bay, we have the F-35 that was started a few months ago:
The next bay has the cockpit assembly for the E-2C Hawkeye started a couple months ago as well:
Next to that is the F-15E Strike Eagle, almost ready for final assembly and paint:
The next bay has a gift from a friend, the British Harrier Jet:
In the next bay we have the British Swordfish that was started some time ago:
This one has the decals done and is ready for rigging.
In the next bay, is the Fairey Seafox, all painted and ready for further assembly:
In this next bay, is the F-86 that I got in another kit; still trying to determine what country I'll place it with:
In the next bay here, we have the beginnings of the French F-84G, cockpit and nose intake:
In the next bay over is one I've been wanting to add to my Italian Air Force, this is the MBB-323:
In this bay, another cockpit started, this time for the An-2 Colt:
Finally in the last bay, there's the C-46 that was given as a gift to me earlier:
And that concludes this tour of the Hangar, now on to the Shipyards.
We have a lot going on at the Shipyards here, in these next few slipways, we have some small boats under construction, first slip is the USS Defiance Vietnam-era patrol boat:
The next slip has the Coast Guard Icebreaker Eastwind, all completed:
It got the decals on it next:
In the next bay is the Tugboat Lucky XI, all painted up and waiting for final detail parts and decals:
Still trying to find the decals for that. Meanwhile in the next slip is the Tugboat Long Beach in the same state:
This one did get the decals and some additional detail parts, just looking for the last ones:
Finally, the small boat slips have the PT-109 in this last slip; all details are on except the most breakable ones and the gun on the deck is secured; it just needs the tie-down ropes on it:
Now on to the larger ships. In this next slip is the USS Montrose Assault ship:
After some time, she got all the detail parts and masts:
In this next slip we laid the keel for a British submarine, the HMS Astute. It's a fast and easy build:
This got paint and is now waiting for decals for finishing:
In these next two slips are the two French frigates Normandie and Aquitane. Both are now painted and the Aquitane is waiting for additional parts to finish up:
In the next slip is the hospital ship SS Hope, now all built up and painted:
In the next slip is the USS Alaska still waiting for full assembly:
Meanwhile, we laid the keel for the USS Albany a Chicago-class missile cruiser after it's conversion:
Finally in this last slipway, we laid the keel for the HMS Queen Elizabeth aircraft carrier:
As I've been waiting for this, we continued with the interior of the main hull:
Interestingly enough, Trumpeter 'took pity' on us modelers and painted and decaled the main deck and ski ramp:
Here it is dry-fit on the hull:
That is gonna be interesting.
That completes the tour of the Shipyards, so on to the back lot where other projects are underway....
Here in the Automotive Garage, we have one of the cars I've been trying to build. This seems to be as far as I can go with this until I get another kit to cannibalize since the box had been weakened and a bunch of parts are missing:
Now going back into the Back Lot, we have this figure of the Red Knight of Vienna waiting for paint:
As well as the European auto dealership that seems to be stalled due to the sprues for one of the buildings are missing:
And in the Space Port, the little UFO is still waiting for final paint coat:
And that completes our tour showing every current active project we're working on. Thank you all for looking in, I hope you enjoyed this preview of the many (I hope!) projects that will be completed in this new year. Stay tuned for more, and comments are always welcome!


