
-
Modelers Alliance has updated the forum software on our website. We have migrated all post, content and user accounts but we could not migrate the passwords.
This requires that you manually reset your password.
Please click here, http://modelersalliance.org/forums/login to go to logon page and use the "Forgot your Password" option.
You are using an out of date browser. It may not display this or other websites correctly.
You should upgrade or use an alternative browser.
You should upgrade or use an alternative browser.
KLM Royal Dutch Airlines Boeing 747-400
- Thread starter Adam Baker
- Start date
Adam Baker
Active member
Thanks guys!
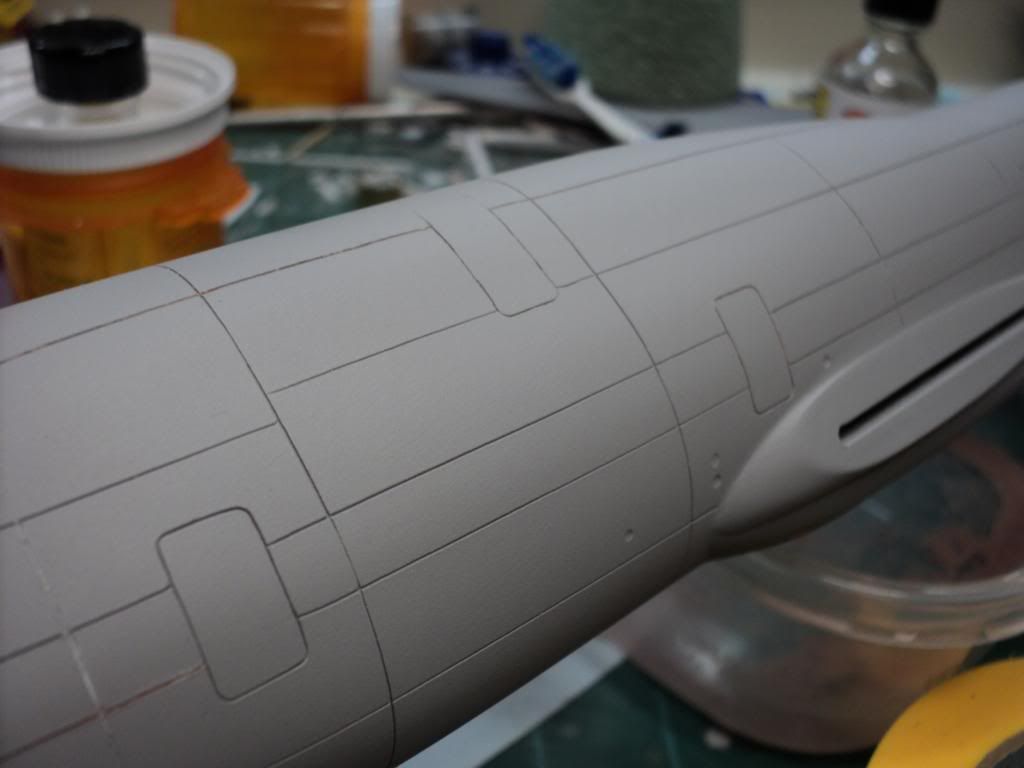
I got one half all sanded down and cleaned up this weekend, got all the gaps puttied, and then yesterday I put down a coat of primer to see how it came out. I was very pleased w/ how it came out after the first try. There's still some sanding & filling to be done, but overall it looks pretty good.
I got one half all sanded down and cleaned up this weekend, got all the gaps puttied, and then yesterday I put down a coat of primer to see how it came out. I was very pleased w/ how it came out after the first try. There's still some sanding & filling to be done, but overall it looks pretty good.
Adam Baker
Active member
Well, after a ton of work, I think I might finally be about ready to join the fuselage halves back together.
Not sure whether I'll hit them w/ primer prior to assembly or do that once the halves are back together. Hoping to maybe get them back together this weekend, but got a deadline for a client this weekend, thats going to take a lot of my time, and then wont be home much on Sunday, so it will most likely be next week some time, but ya never know, might find the time this weekend to do it.
Not sure whether I'll hit them w/ primer prior to assembly or do that once the halves are back together. Hoping to maybe get them back together this weekend, but got a deadline for a client this weekend, thats going to take a lot of my time, and then wont be home much on Sunday, so it will most likely be next week some time, but ya never know, might find the time this weekend to do it.
That's staying at it Adam 
Not sure whether I'll hit them w/ primer prior to assembly or do that once the halves are back together.
Primer prior to joining will help you see if you need to work on panel lines which are easier done with halves as you can reach the inside for support. Once satisfied, this approach then limits the primer to the seams of the fuselage halves.
This is my method with large vacuum formed pieces of which the photographs remind me.
Regards,
Adam Baker
Active member
Progress! Last week I got the 2 fuselage halves joined back together finally. I took Sauls advice and I put a coat of primer on the halves prior to joining to check the filling on the window inserts, and was very pleased to find that they are almost completely invisible. There were a few places where I think I'll put in just a little bit more putty to finish the clean up but for the most part, I am finally done w/ the windows.
Once that was done, I started working on getting the bottom plate back in that gave so much trouble the first time around. I started out by adding bracing to the front end of the opening that is so lacking in the kit. I used pieces of .1" square stock to give the bottom plate something to rest on, instead of just floating in space. I also added bracing to the bottom side of the slot for the wings. Unfortunately in the disassembly of the glued fuselage, I broke out a small section about 1/4" long on both sides, so I needed to add some bracing there as well.
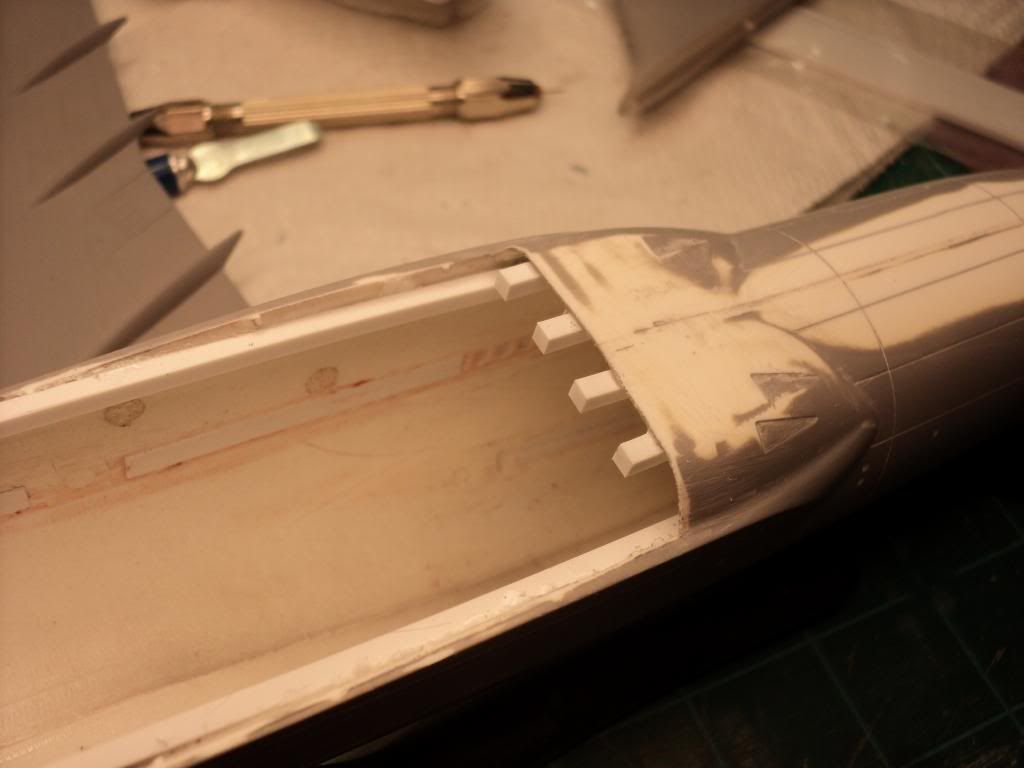
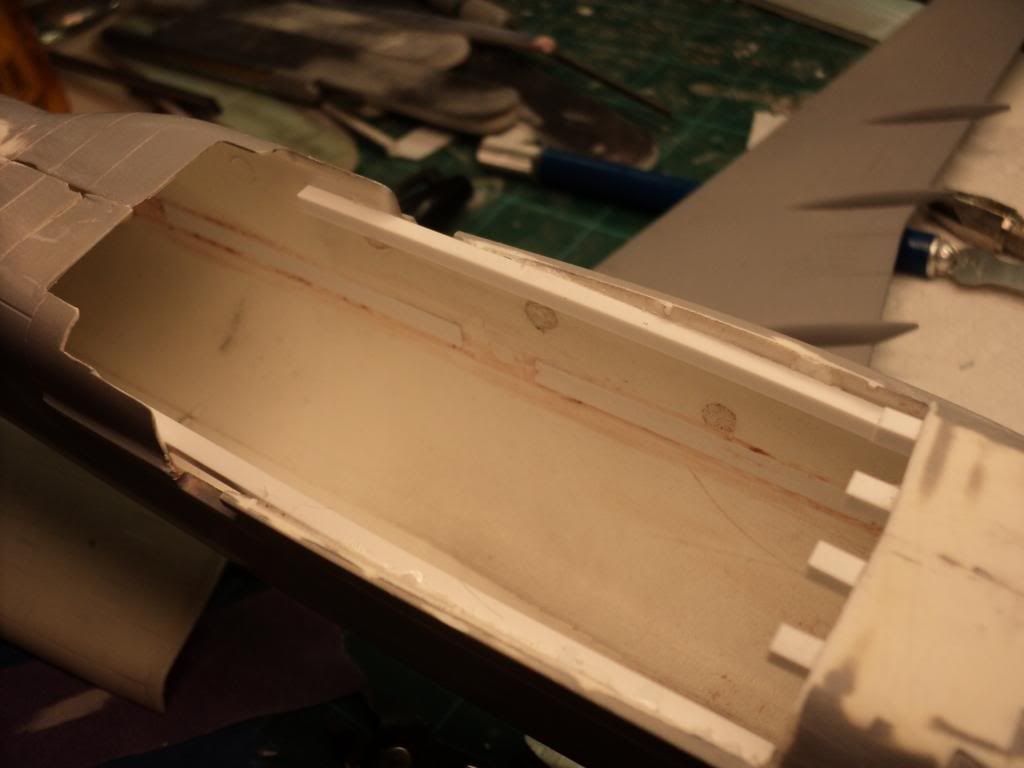
Once that was done, I started adding some bracing inside the fuselage w/ styrene, and some more .1" stock.
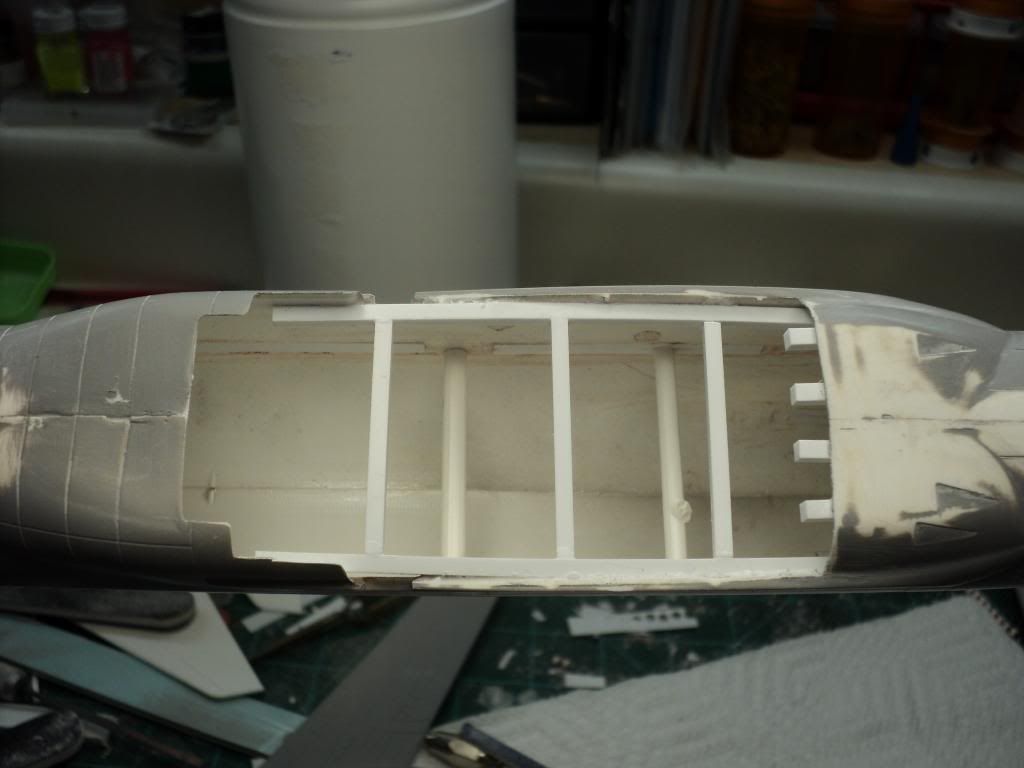
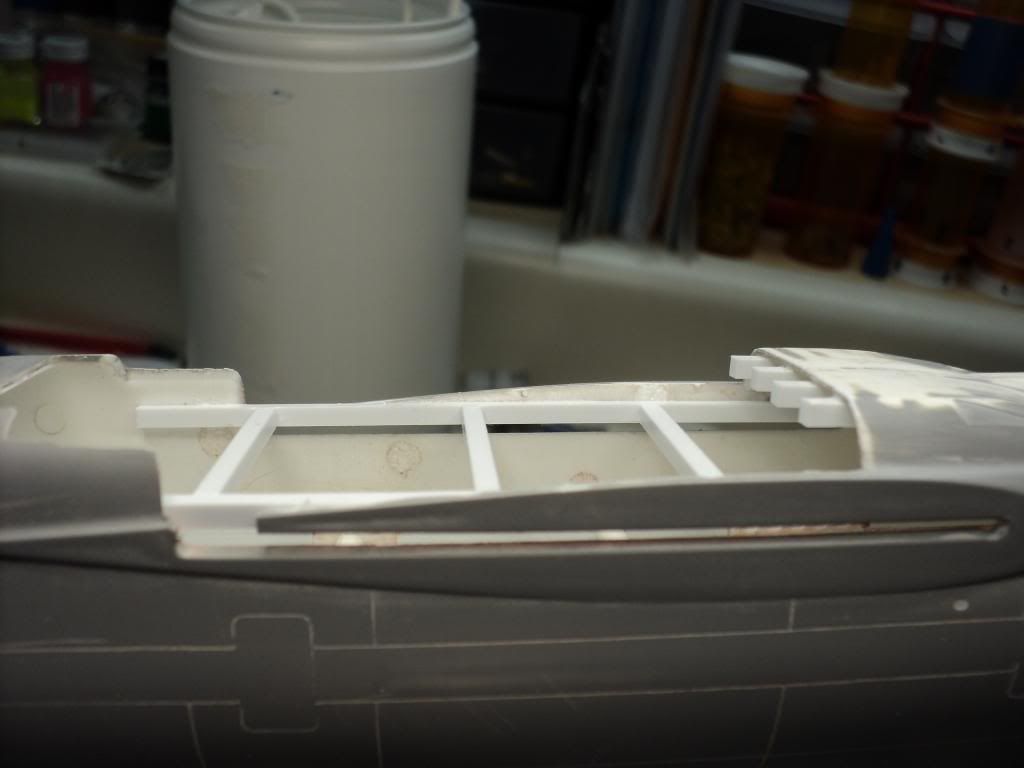
And then just for the sake of overkill, I decided to add in pieces of .030" styrene sheet to just give it more strength & rigidity.
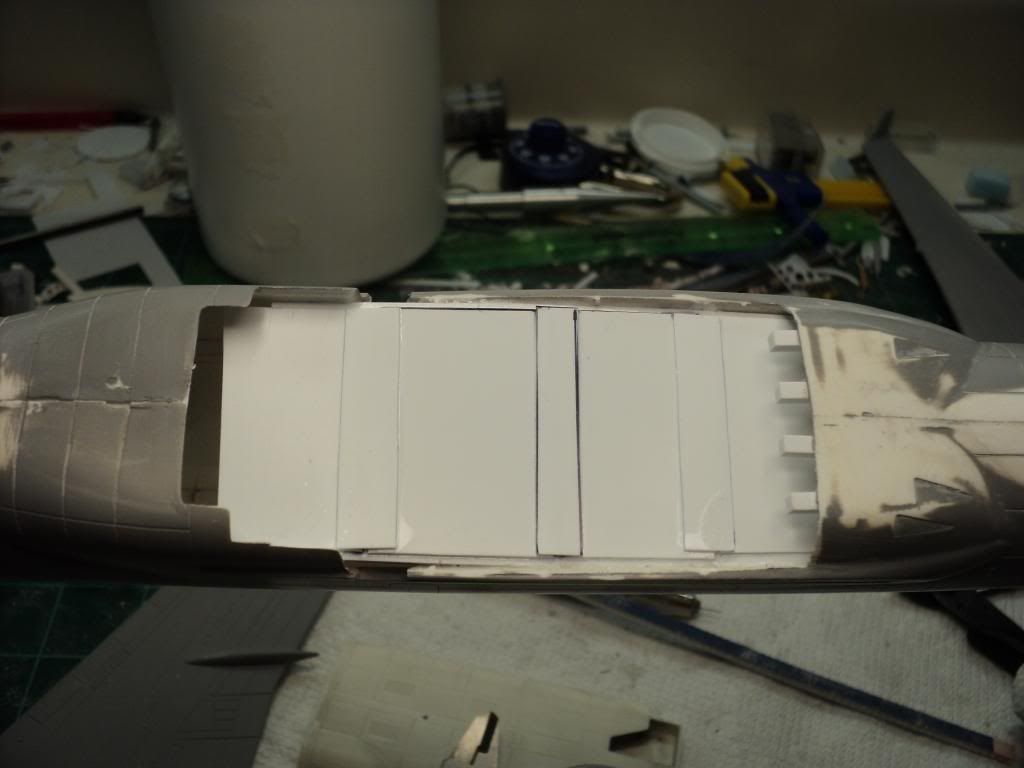
And then I glued in the bottom plate. It fits so much better this time, it shouldnt take nearly as much filling as it did the first time I got this part. There are still some pretty sizable gaps in a few places around the landing gear bays, but its a lot better than it was the first time.
The goal now is to continue working on cleaning up the seam on the fuselage halves. This time when I glued the halves together, I did it in sections, to help align the halves better, and thankfully it came out almost perfect, there were only 2 or 3 areas where the seam had any noticeable step between the halves, and most areas just took some very minor sanding to get the 2 sides to blend together. I'll need some putty to finish the job off, but I'm very happy w/ it. Once the fuselage is done, I'll focus on the wings, and then it'll be time to glue the wings in place.
Once that was done, I started working on getting the bottom plate back in that gave so much trouble the first time around. I started out by adding bracing to the front end of the opening that is so lacking in the kit. I used pieces of .1" square stock to give the bottom plate something to rest on, instead of just floating in space. I also added bracing to the bottom side of the slot for the wings. Unfortunately in the disassembly of the glued fuselage, I broke out a small section about 1/4" long on both sides, so I needed to add some bracing there as well.
Once that was done, I started adding some bracing inside the fuselage w/ styrene, and some more .1" stock.
And then just for the sake of overkill, I decided to add in pieces of .030" styrene sheet to just give it more strength & rigidity.
And then I glued in the bottom plate. It fits so much better this time, it shouldnt take nearly as much filling as it did the first time I got this part. There are still some pretty sizable gaps in a few places around the landing gear bays, but its a lot better than it was the first time.
The goal now is to continue working on cleaning up the seam on the fuselage halves. This time when I glued the halves together, I did it in sections, to help align the halves better, and thankfully it came out almost perfect, there were only 2 or 3 areas where the seam had any noticeable step between the halves, and most areas just took some very minor sanding to get the 2 sides to blend together. I'll need some putty to finish the job off, but I'm very happy w/ it. Once the fuselage is done, I'll focus on the wings, and then it'll be time to glue the wings in place.
Wow, this looks like the work I did to the Koster Aero Enterprise A-20G Havoc vacuum-formed kit from back when the AMT/Ertl A-20 series wasn't available! Thanks for the memories!
Regards,
Adam Baker
Active member
Haha, you're welcome Saul, glad I could bring it up. Hopefully it was a good memory for you, haha. I felt that the area needed to have more support, than just what the kit bottom plate could/would provide, but I felt that my overkill addition that I had in it before was too much, and this worked pretty good. Its nice & rigid now, so should hopefully offer all the support needed once the wings are in place.
phantom II
Master at Arms
Great idea Adam. Better to go for overkill now than finding a weakness latter .
That gaping hole makes me think of Jonah the whale Gonna name it ?
Cheers, Christian B)
That gaping hole makes me think of Jonah the whale
Gonna name it ?Cheers, Christian B)
Adam Baker
Active member
Yea, I figured in this case Overkill was definitely the way to go, just so I didnt have to deal or worry about it being too weak in the future.
Haha, no, dont plan on naming it, haha, other than the name of the a/c on the decals, haha.
Haha, no, dont plan on naming it, haha, other than the name of the a/c on the decals, haha.
Great idea Adam. Better to go for overkill now than finding a weakness latter .
That gaping hole makes me think of Jonah the whale
Cheers, Christian B)
Lots of work, you doing gear up or down, be a good time to get some nose weight in.
Adam Baker
Active member
Will be built gear down. I included a nose weight before gluing the halves together. I fixed the weight I created originally, and then put it in when assembling the halves. Think I did it better this time so wont have to worry about it coming loose on me. Unfortunately I didn't take any pictures of it.
Adam Baker
Active member
Been pretty busy the last couple of weeks, but managed to make a lot of progress.
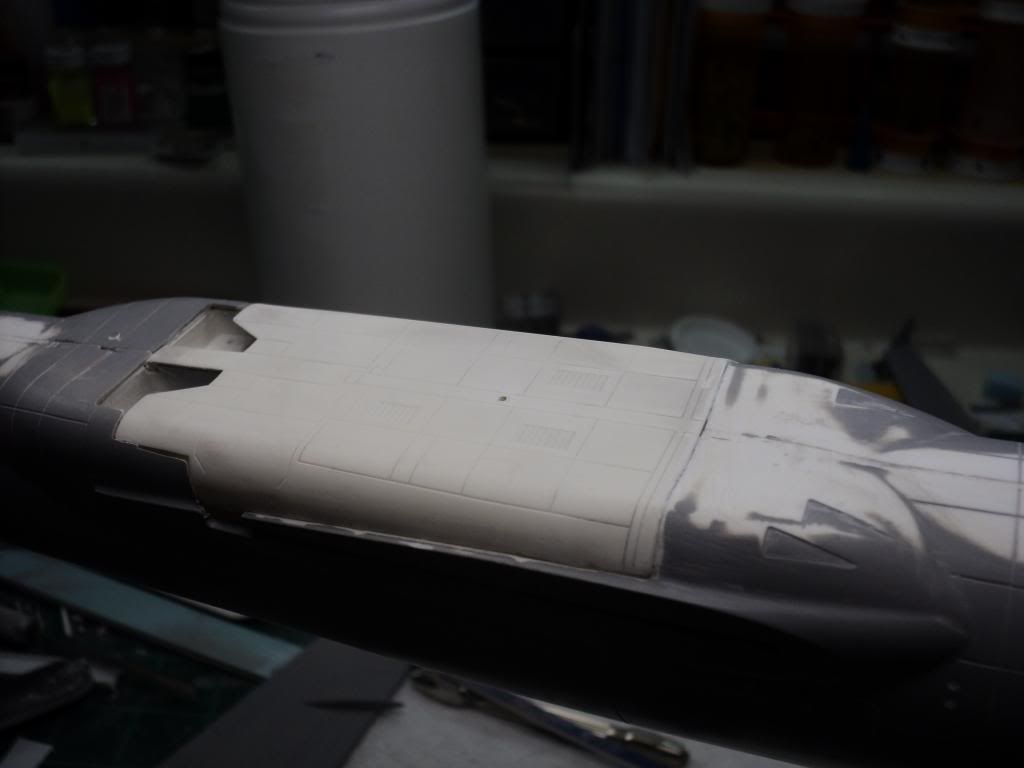
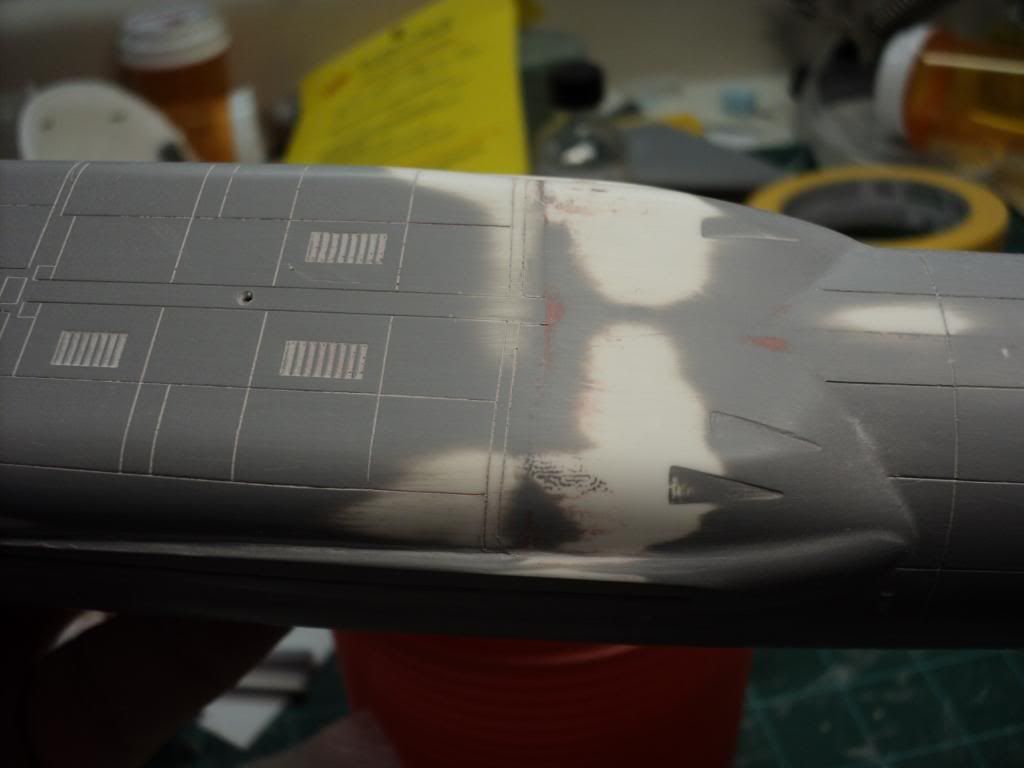
Last update ended w/ the install of the bottom plate w/ the MLG bays. I was left w/ a very large step across the leading edge, and some huge gaps across the trailing edges around the MLG bays.
To solve the large gaps, I filled all of them w/ pieces of .010" & .030" sheet styrene, and then flooded it liberally w/ Ambroid to get the plastic to melt, to fill any small gaps between the styrene.
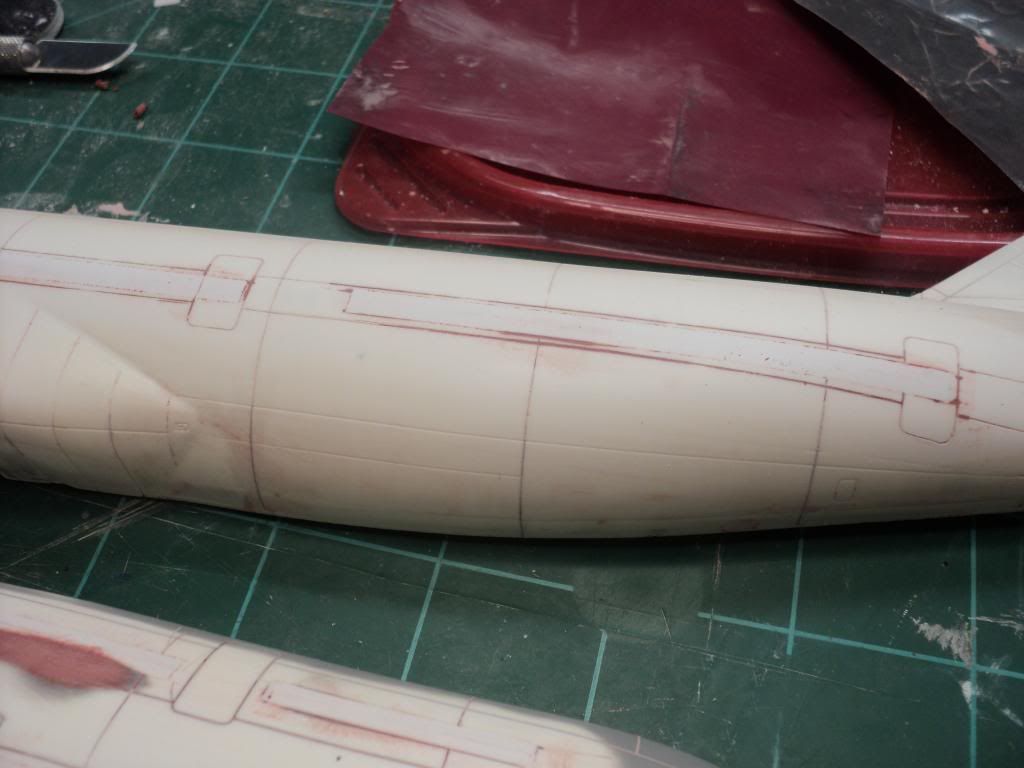
Once dry, I scraped the plastic down smooth and sanded the area, and was pretty happy w/ the results. Still had a bit of a step, but the use of putty to fill the area, along w/ the leading edge of the plate, helped a lot to fill the area in. I also puttied over a few trouble areas around the windows, to fill gaps I found w/ the last round of primer. Thankfully none of them were major issues. Just putty & sand.
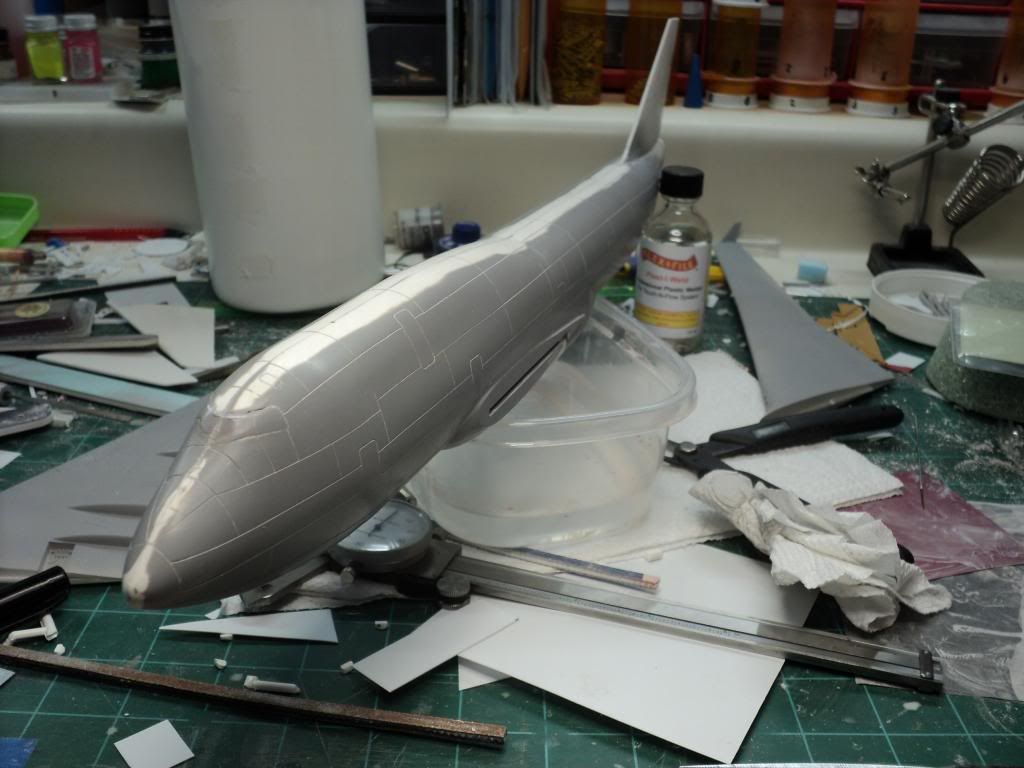
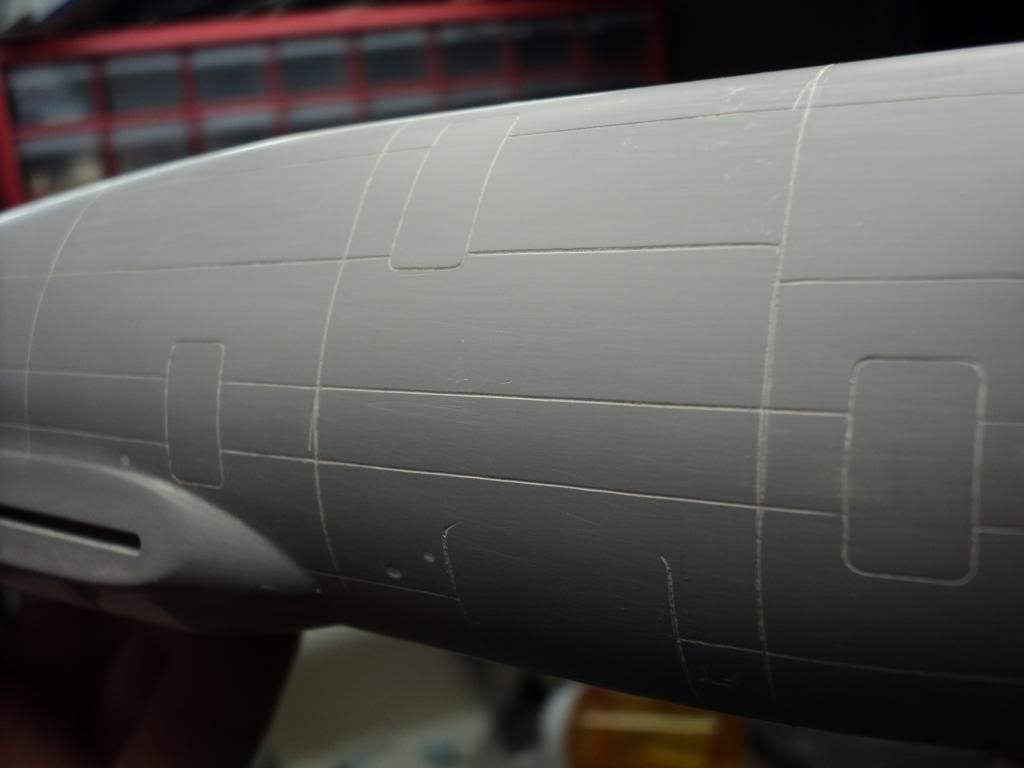
Once that was done, I primed it again to check things, and found that the windows are now completely finished. I'm extremely happy to finally reach this point.
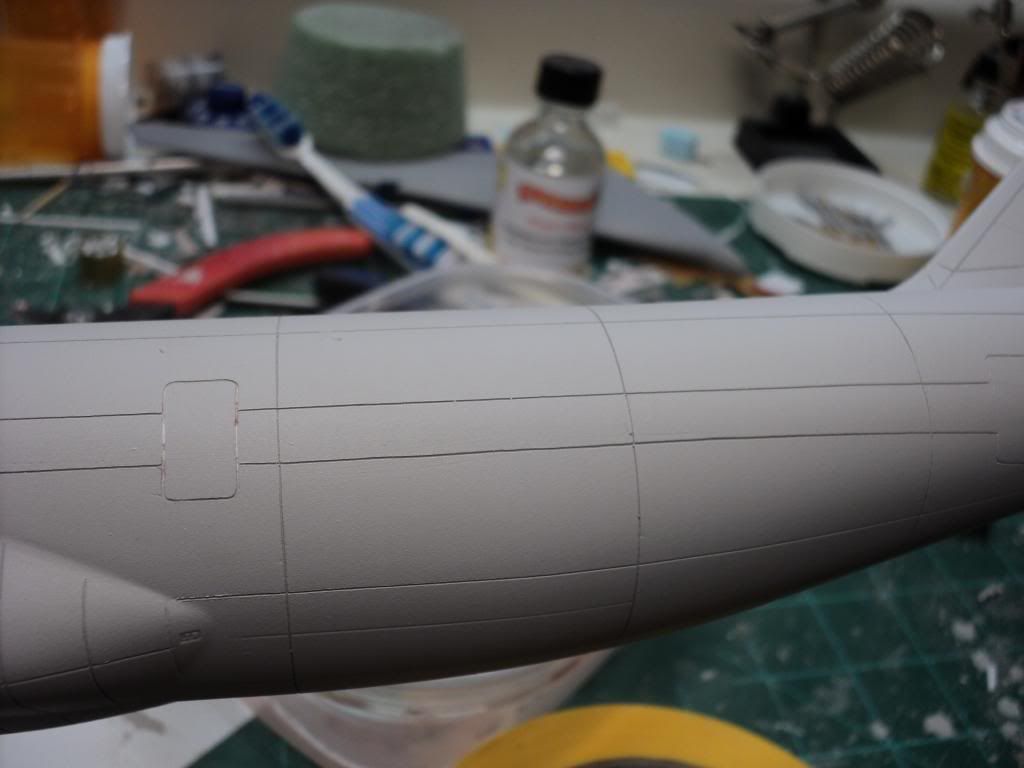
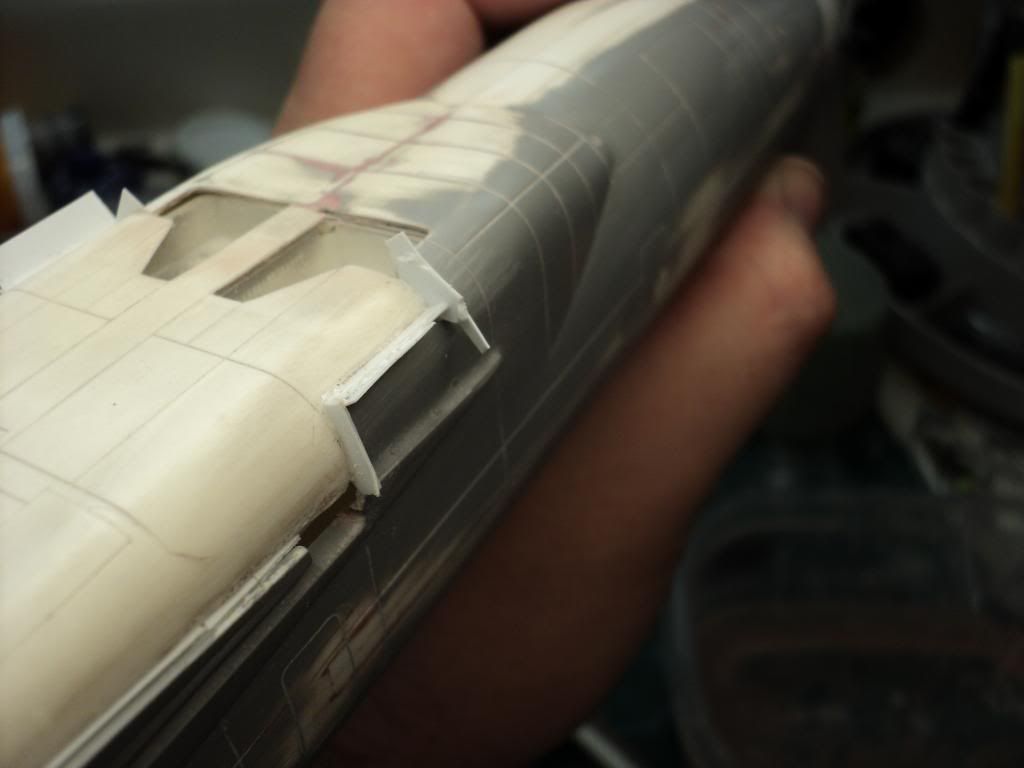
W/ the primer, I found that I still had a few area's to work on.
Again, a bit more putty, and some sanding, and it's looking good again. I was kind of surprised to find out how much work I had to do along the joint between the fuselage halves. I thought I'd done a much better job on that, but thankfully it was still fairly minor. Again, more putty, and sanded smooth.
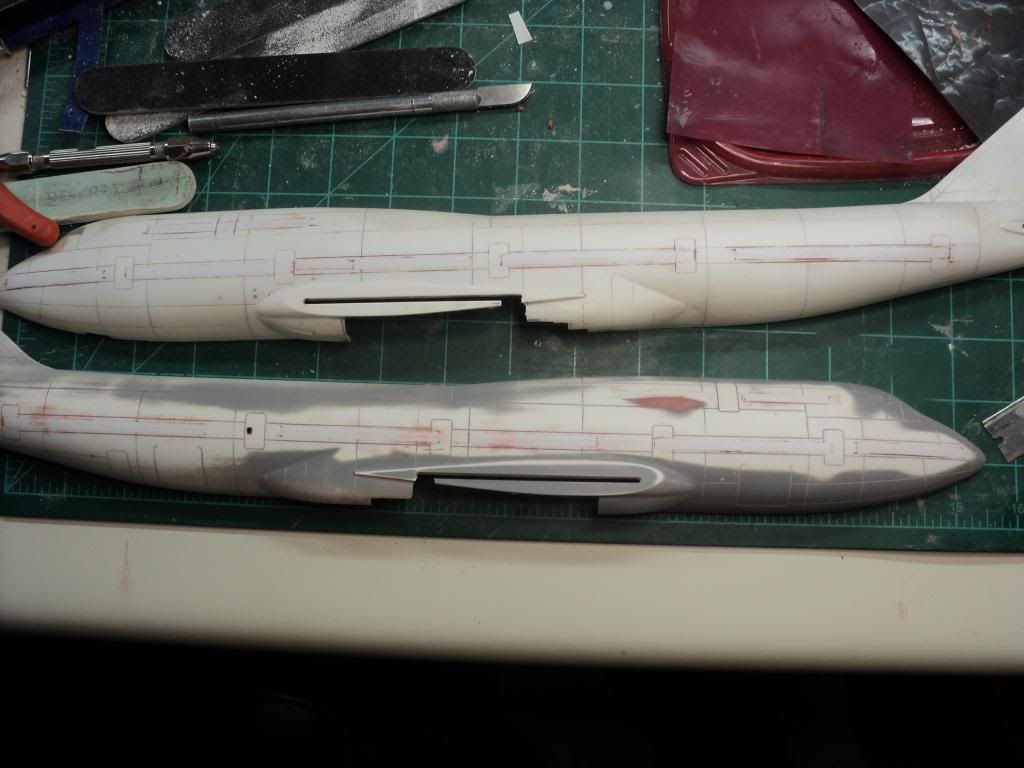
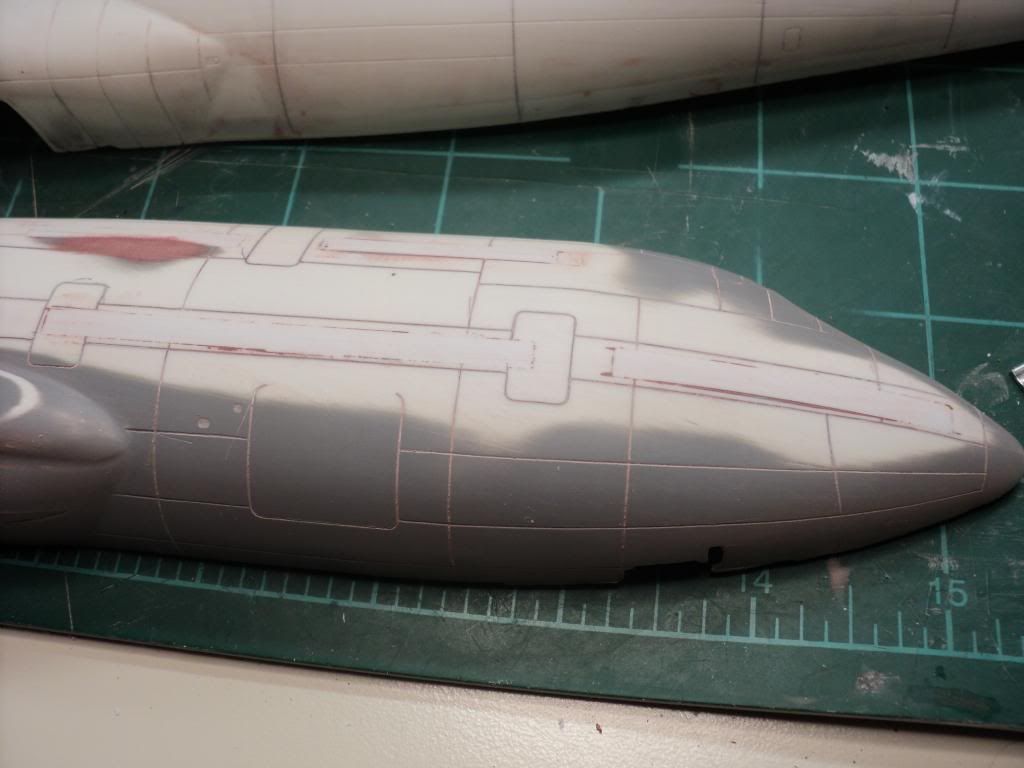
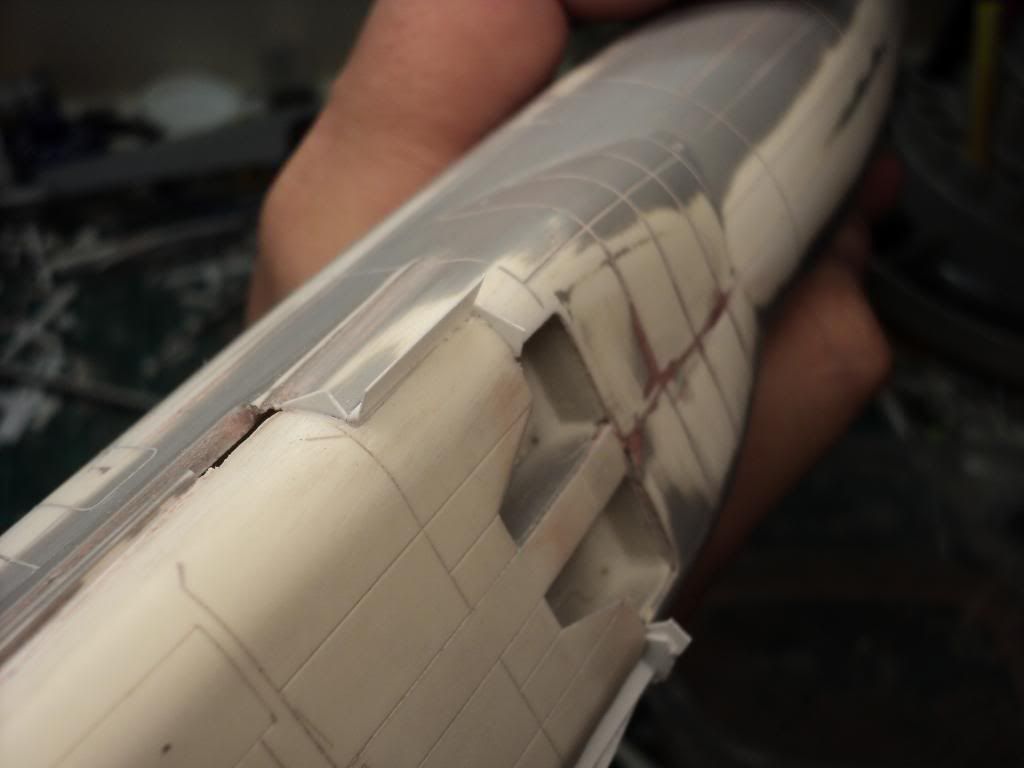
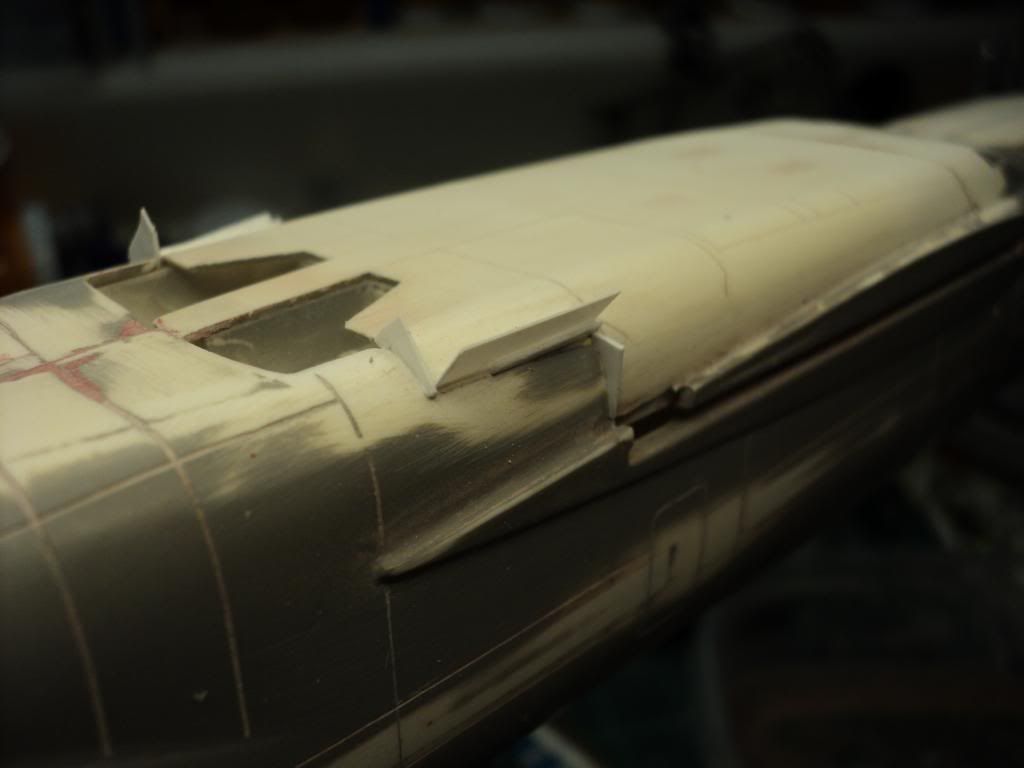
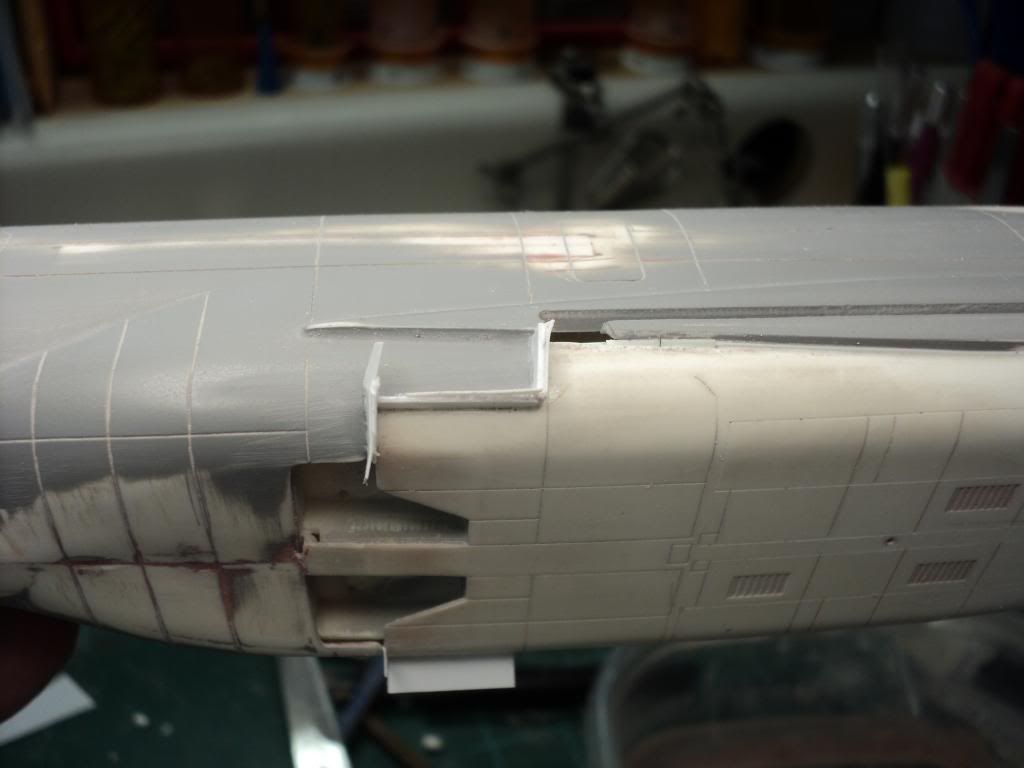
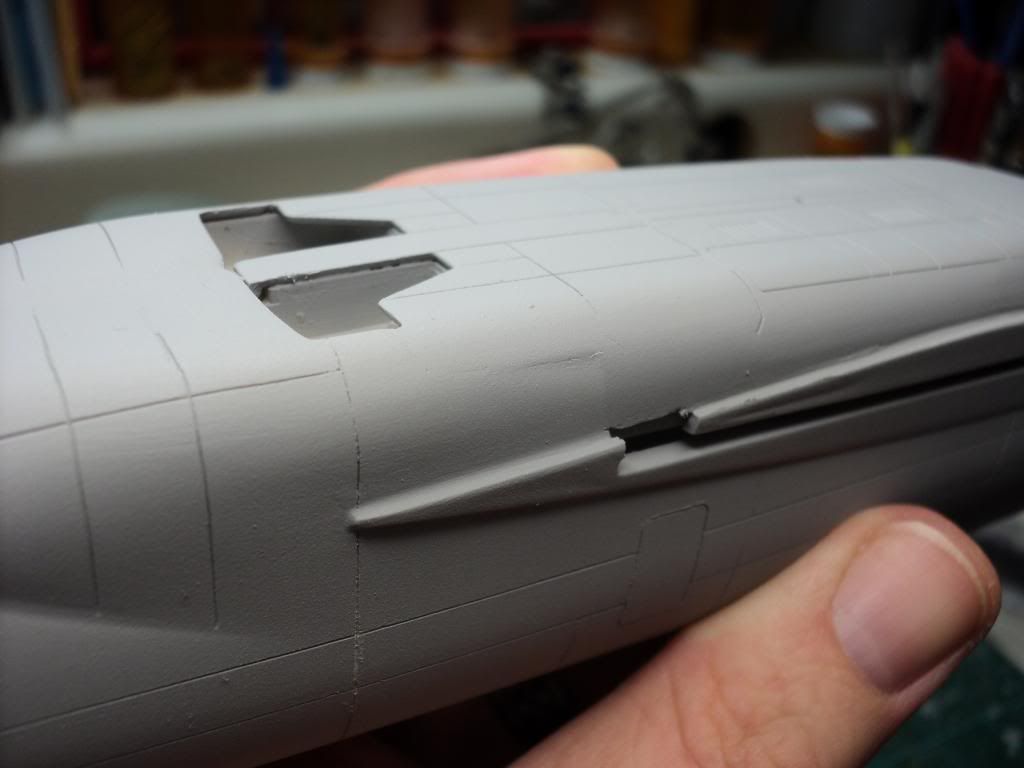
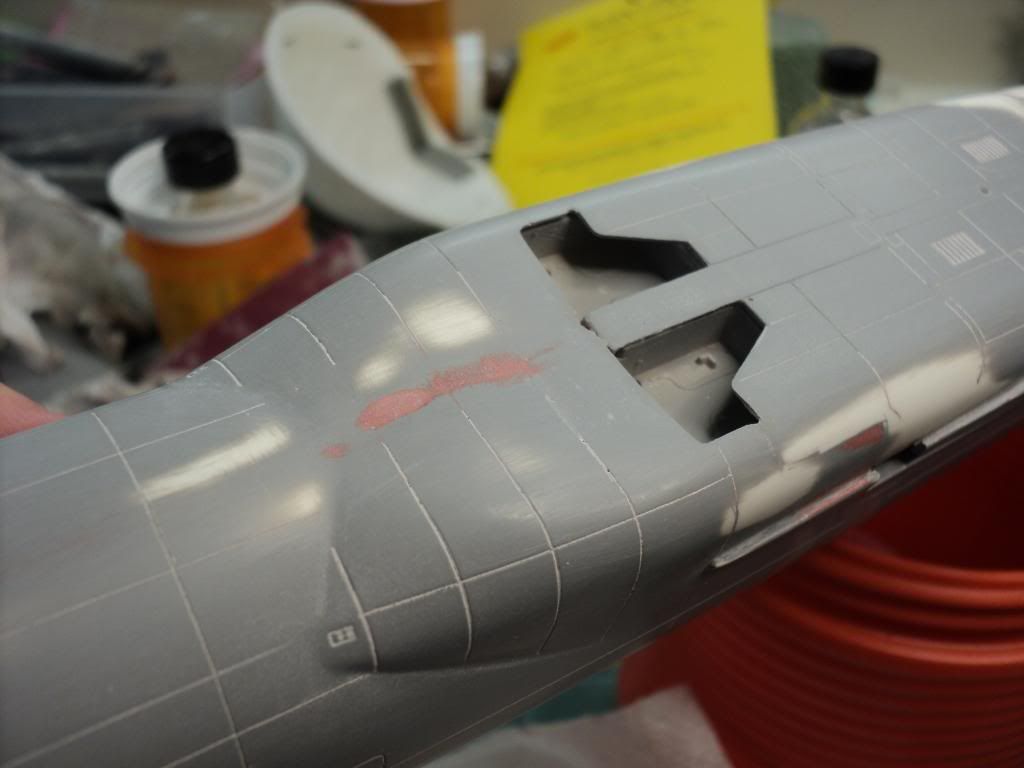
And this is where I'm at now. I think I'm good on the bottom of the fuselage around the MLG bays. But I need to get another coat of primer down to verify it. That will most likely happen today some time. Same thing w/ the fuselage joints. The one area I'm most expecting to still have problems, is the area directly aft of the MLG bays on the fuselage. When originally joining the halves, I found that the plastic in that area was poorly formed on both halves, resulting in some very large holes. To solve this, I backed the area w/ .020" sheet stryene when I glued the halves together. I then reinforced it w/ square stock, just so it wouldn't move. I then filled the openings w/ putty. Its taken a couple of applications, but the holes are finally starting to blend in. You can see the area in the 2nd pic below.
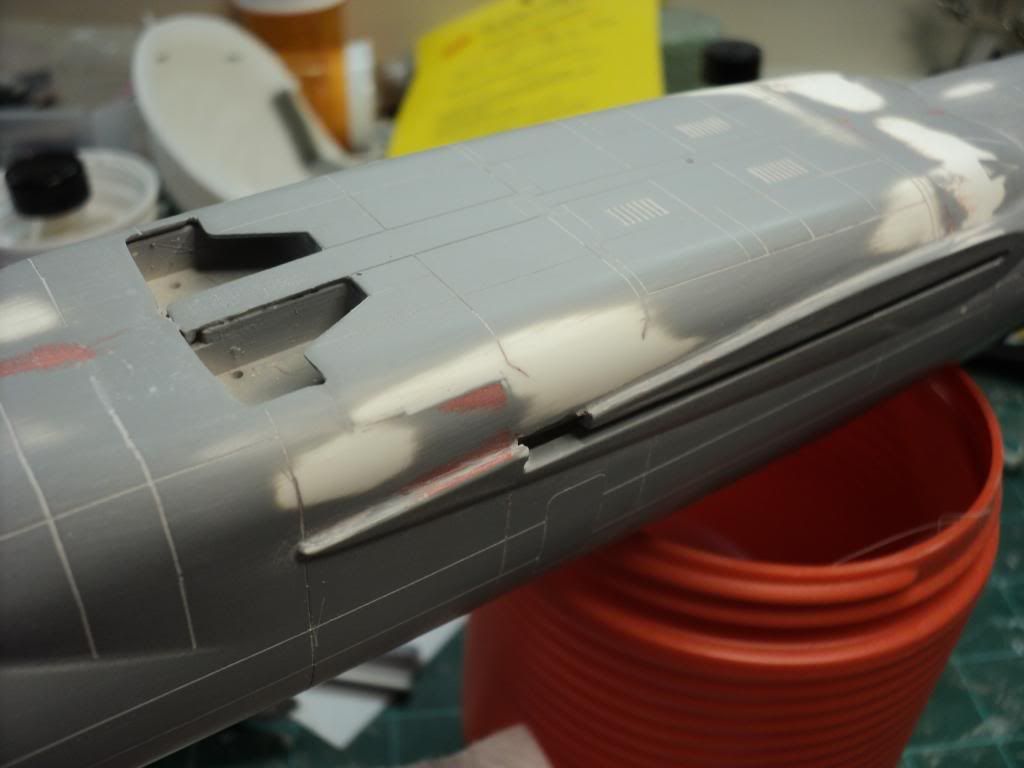
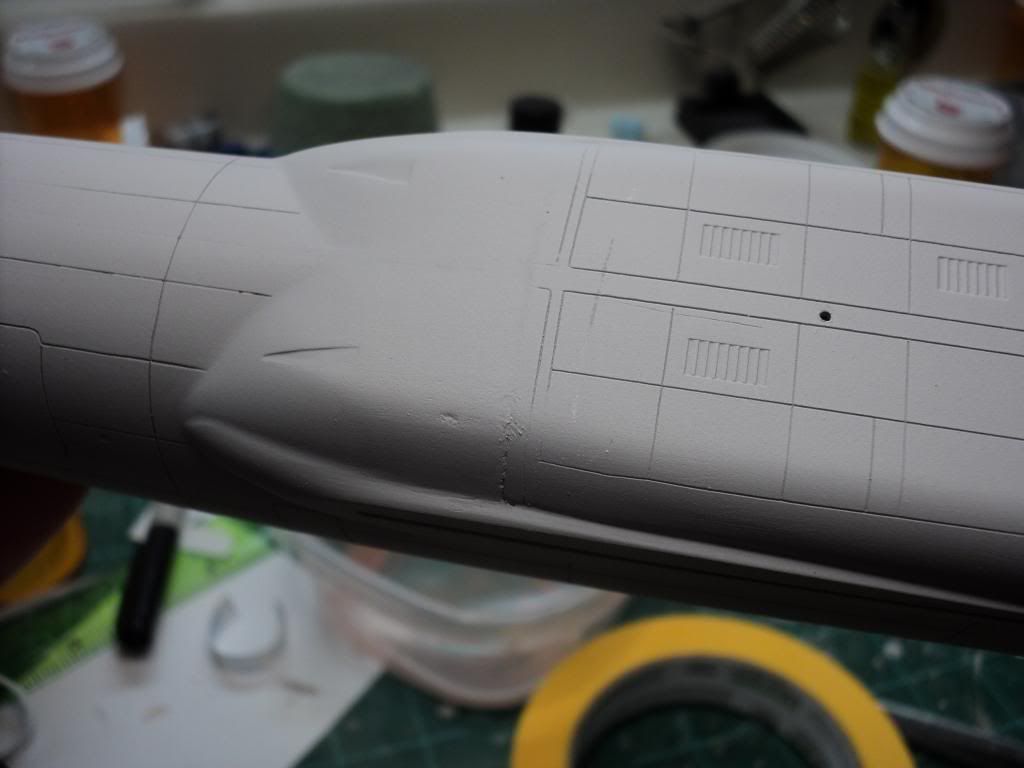
Finally getting very close to being done w/ the fuselage. I also have a bit of work to do around the tail, that I haven't quite figured out yet. It has a lot of raised detail that will be lost when I start cleaning it up, that I'm not sure whether to just sand down and leave smooth, or attempt to fix the detail in that area too by engraving it lightly. I'm leaning toward attempting to engrave it, but we'll see I guess. And then it will finally be on to working on the wings and getting them attached to the fuselage. I can already tell that the wing to fuselage gaps are going to be a really fun adventure to fix.
Last update ended w/ the install of the bottom plate w/ the MLG bays. I was left w/ a very large step across the leading edge, and some huge gaps across the trailing edges around the MLG bays.
To solve the large gaps, I filled all of them w/ pieces of .010" & .030" sheet styrene, and then flooded it liberally w/ Ambroid to get the plastic to melt, to fill any small gaps between the styrene.
Once dry, I scraped the plastic down smooth and sanded the area, and was pretty happy w/ the results. Still had a bit of a step, but the use of putty to fill the area, along w/ the leading edge of the plate, helped a lot to fill the area in. I also puttied over a few trouble areas around the windows, to fill gaps I found w/ the last round of primer. Thankfully none of them were major issues. Just putty & sand.
Once that was done, I primed it again to check things, and found that the windows are now completely finished. I'm extremely happy to finally reach this point.
W/ the primer, I found that I still had a few area's to work on.
Again, a bit more putty, and some sanding, and it's looking good again. I was kind of surprised to find out how much work I had to do along the joint between the fuselage halves. I thought I'd done a much better job on that, but thankfully it was still fairly minor. Again, more putty, and sanded smooth.
And this is where I'm at now. I think I'm good on the bottom of the fuselage around the MLG bays. But I need to get another coat of primer down to verify it. That will most likely happen today some time. Same thing w/ the fuselage joints. The one area I'm most expecting to still have problems, is the area directly aft of the MLG bays on the fuselage. When originally joining the halves, I found that the plastic in that area was poorly formed on both halves, resulting in some very large holes. To solve this, I backed the area w/ .020" sheet stryene when I glued the halves together. I then reinforced it w/ square stock, just so it wouldn't move. I then filled the openings w/ putty. Its taken a couple of applications, but the holes are finally starting to blend in. You can see the area in the 2nd pic below.
Finally getting very close to being done w/ the fuselage. I also have a bit of work to do around the tail, that I haven't quite figured out yet. It has a lot of raised detail that will be lost when I start cleaning it up, that I'm not sure whether to just sand down and leave smooth, or attempt to fix the detail in that area too by engraving it lightly. I'm leaning toward attempting to engrave it, but we'll see I guess. And then it will finally be on to working on the wings and getting them attached to the fuselage. I can already tell that the wing to fuselage gaps are going to be a really fun adventure to fix.
Lots of work there Adam
phantom II
Master at Arms
This is could be called plastic surgery :hmmm Wow, it's starting to look like something .
Cheers, Christian B)
Cheers, Christian B)
Adam Baker
Active member
Thanks guys.
Its definitely been a ton of work to this point, and unfortunately I can already tell that joining the wings to the fuselage is going to be a ton of work as well. I'm already looking at how to try minimizing the amount of work, but I'm not sure how much I can reduce that w/o major surgery to the wings. I've already got them glued together, but I may try splitting them apart, similar to what i had to do to the fuselage, to try correcting the problems.
I'm hoping to start on the wings today. Got another coat of primer down on the fuselage after posting my progress yesterday, and it looks like all the seams and such are good to go. Might have a couple of areas that I might try working a bit more, but I'm not sure. I'm trying to not cut any corners or rush things b/c I'm getting kind of tired of fixing the problems, but I feel that w/ as much work as I already have in it, working the problem areas one more time to make them better, is probably worth the time spent on them.
Adam Baker
Active member
Well, a minor update finally.
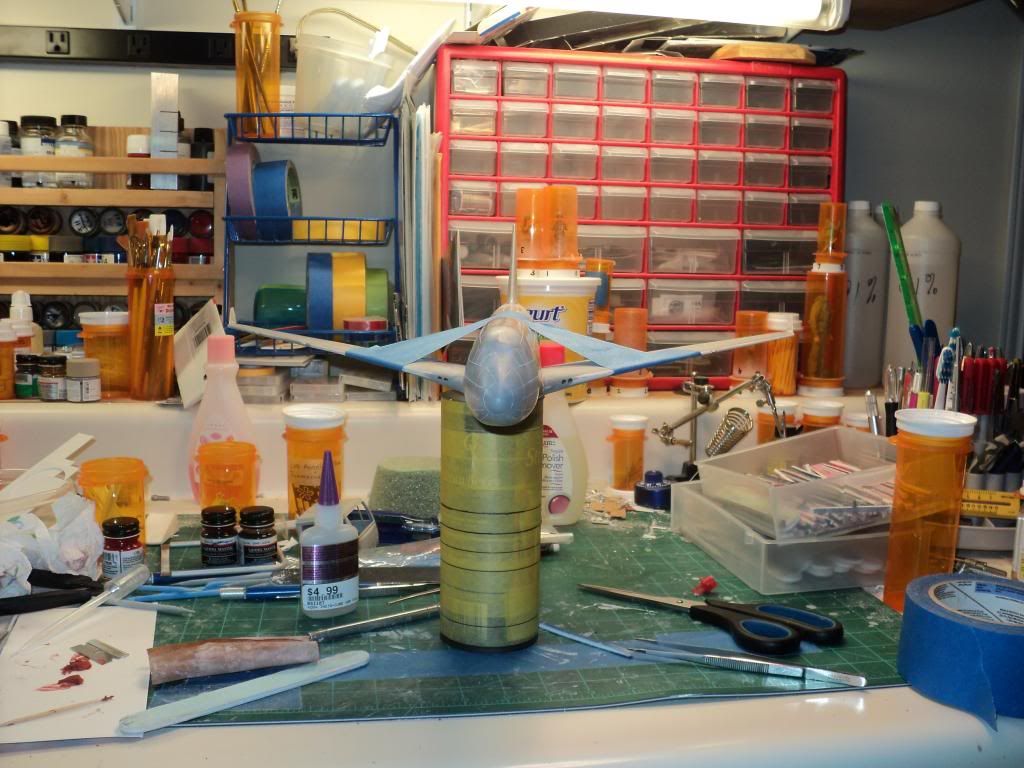
Tonight I decided it was time to finally glue the wings on. I spent some time earlier today working on cleaning up the join where the winglets met the wings, put some putty on them then smoothed it out. And then glued the wings on.
Surprisingly, it almost looks like the wings are pretty close to being level, which was a huge surprise. Will have to wait till tomorrow for it to be completely set and I remove the tape, to know for sure. I'll probably work on assembling the landing gear so that I can get a good idea of just how badly its going to be to try getting all of the wheels to touch at hte same time. Not holding my breath on that one.
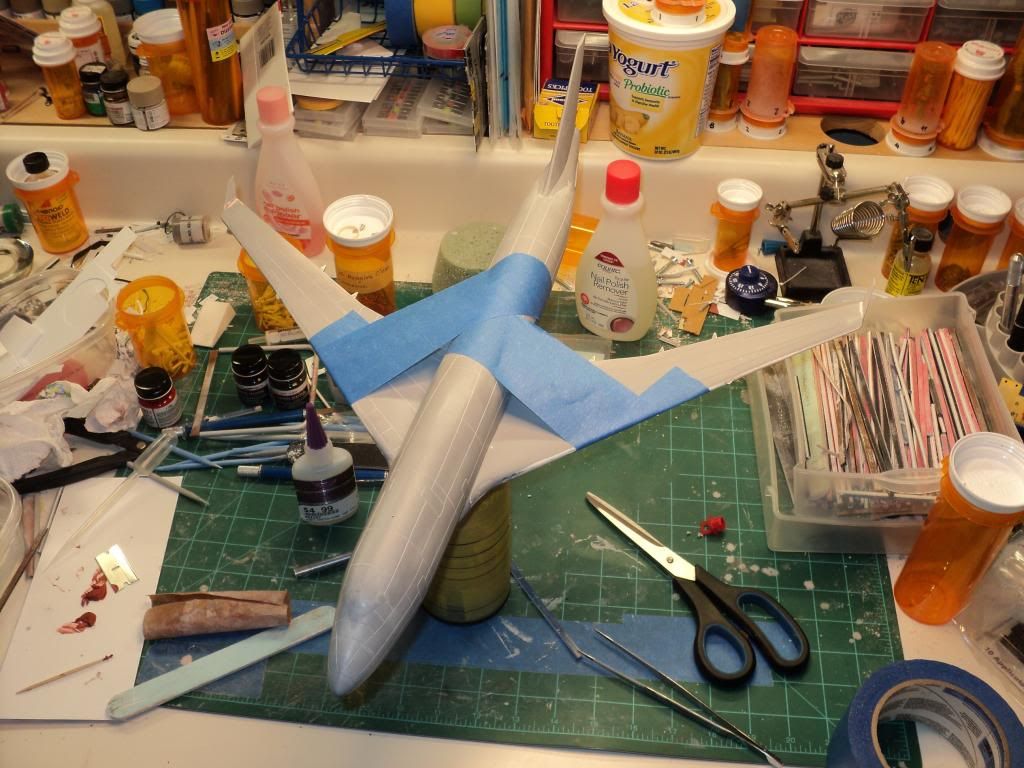
Similar threads
- Replies
- 7
- Views
- 705
- Replies
- 104
- Views
- 21K