• Modelers Alliance has updated the forum software on our website. We have migrated all post, content and user accounts but we could not migrate the passwords.
    This requires that you manually reset your password.
    Please click here, http://modelersalliance.org/forums/login to go to logon page and use the "Forgot your Password" option.

Italeri Pak 38

Yup I've remembered the all important wheels ;) Yeah I've started to build a little mini-dio just to make it more interesting that just sitting on its shelf. Nothing fancy, just something to set the scene
 
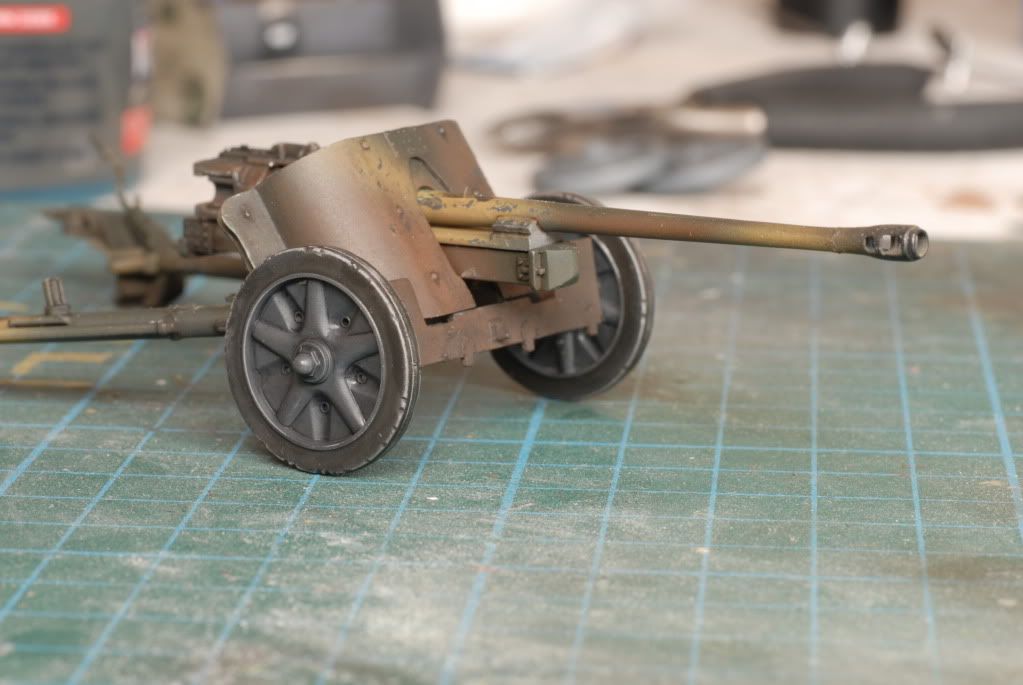
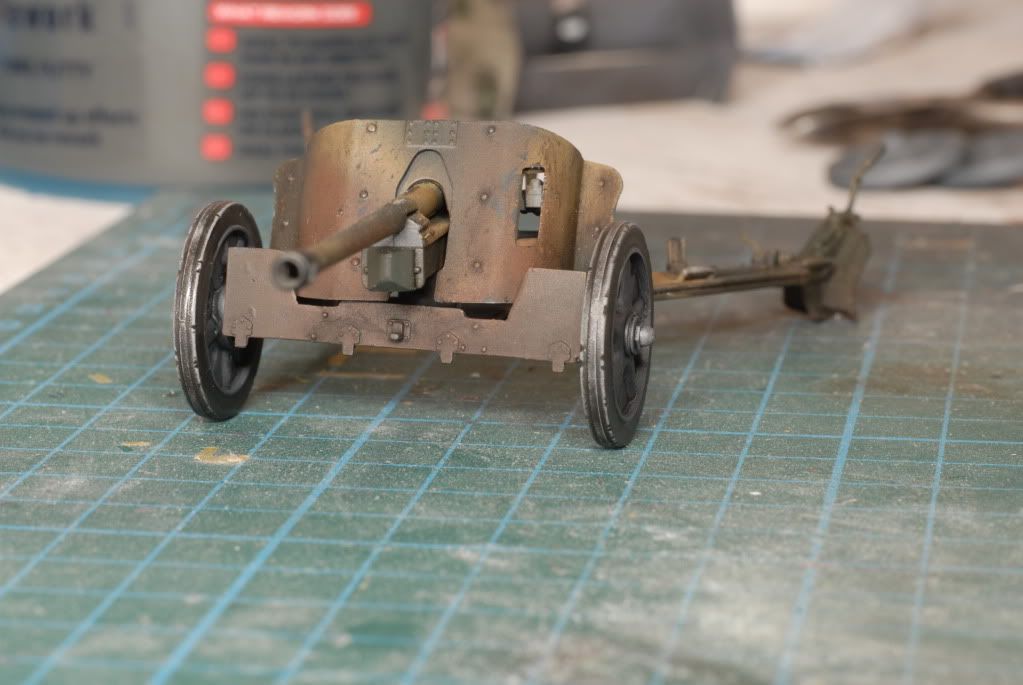
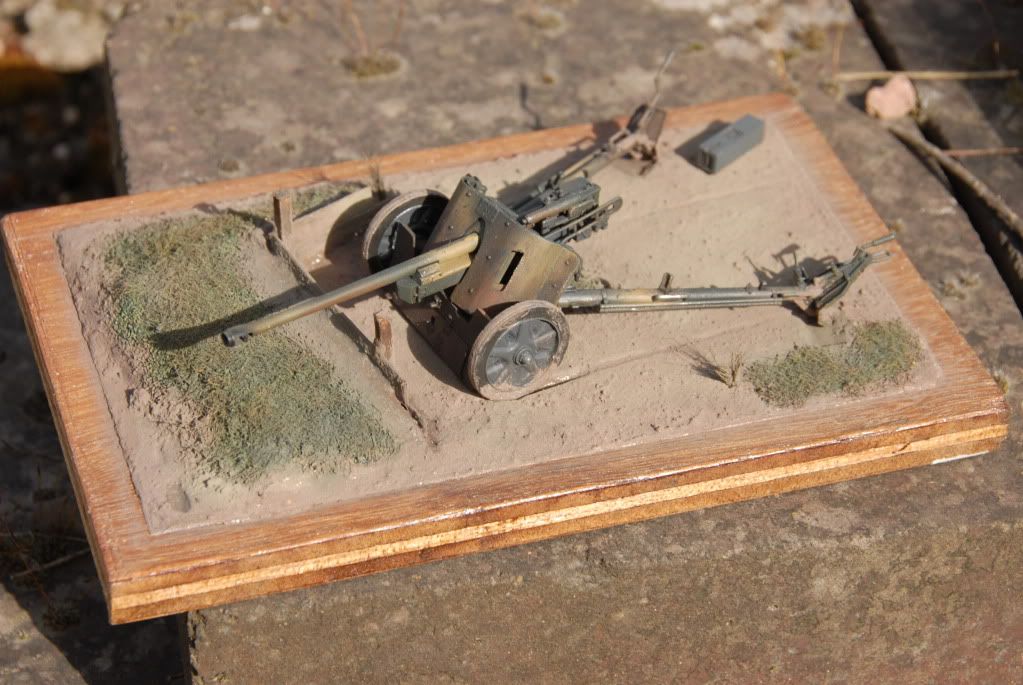
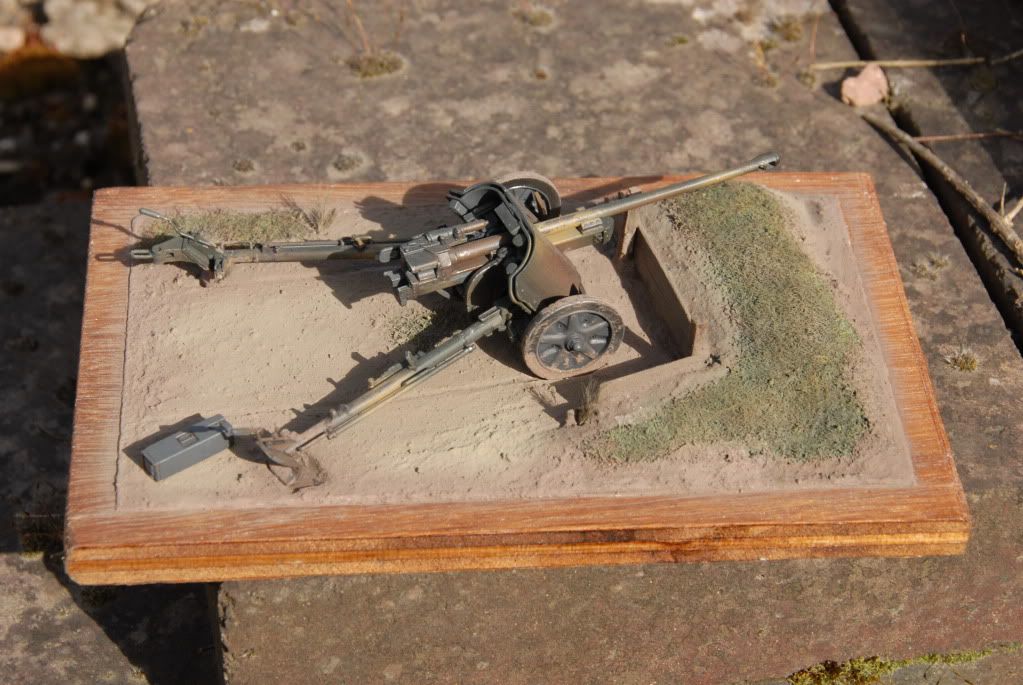
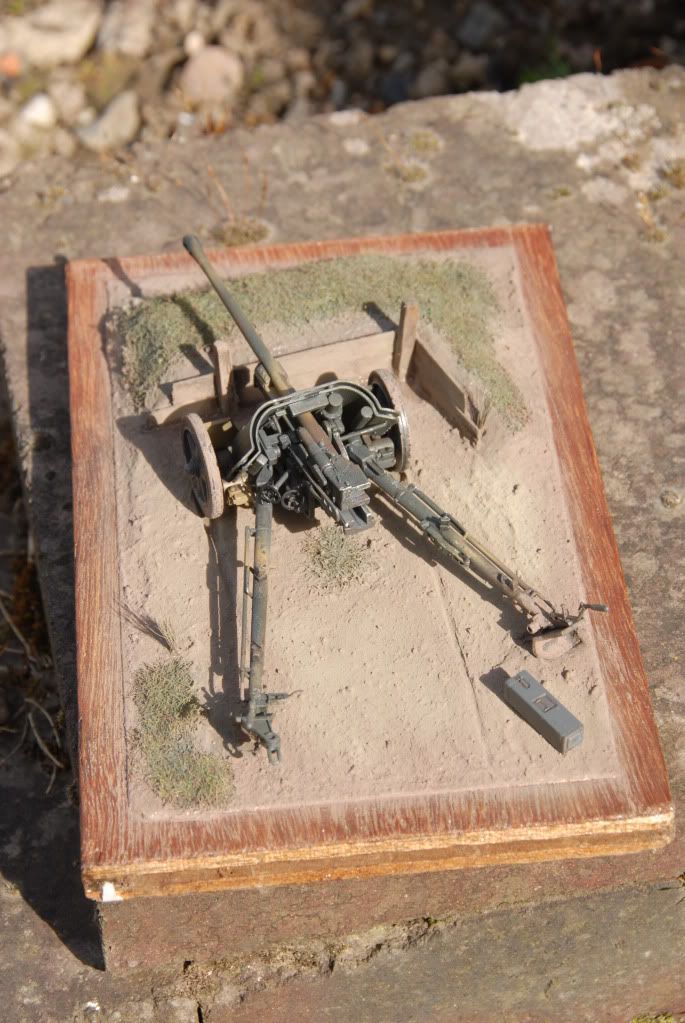
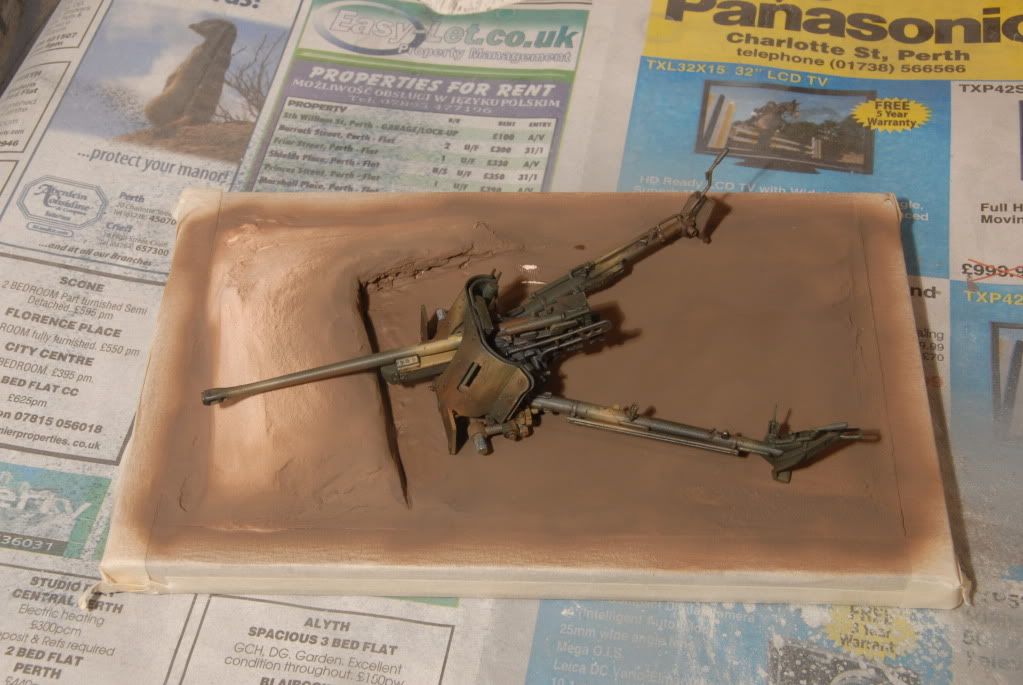
Righto then chaps. Got a little update for you. So I've got matt coat on the Pak and I'm just waiting for wheels and I'll scuff it with pigments quickly.. While that's in the works, I've started a small dio base for it.


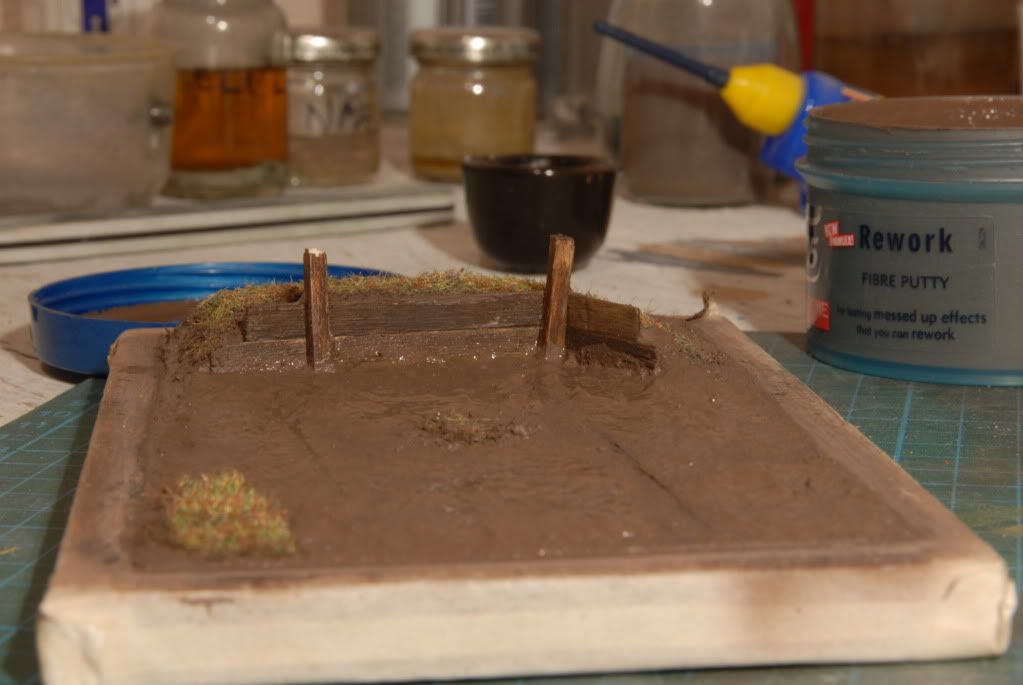
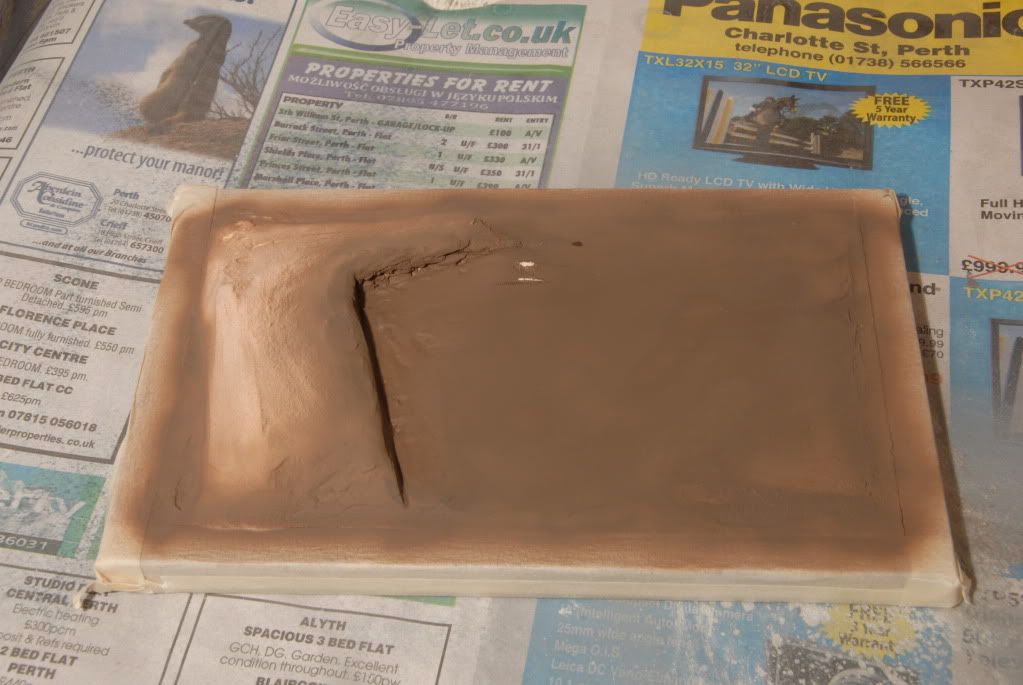
It's varnished thick plywood with the edges masked, some polystyrene and plaster to make the basic shape.

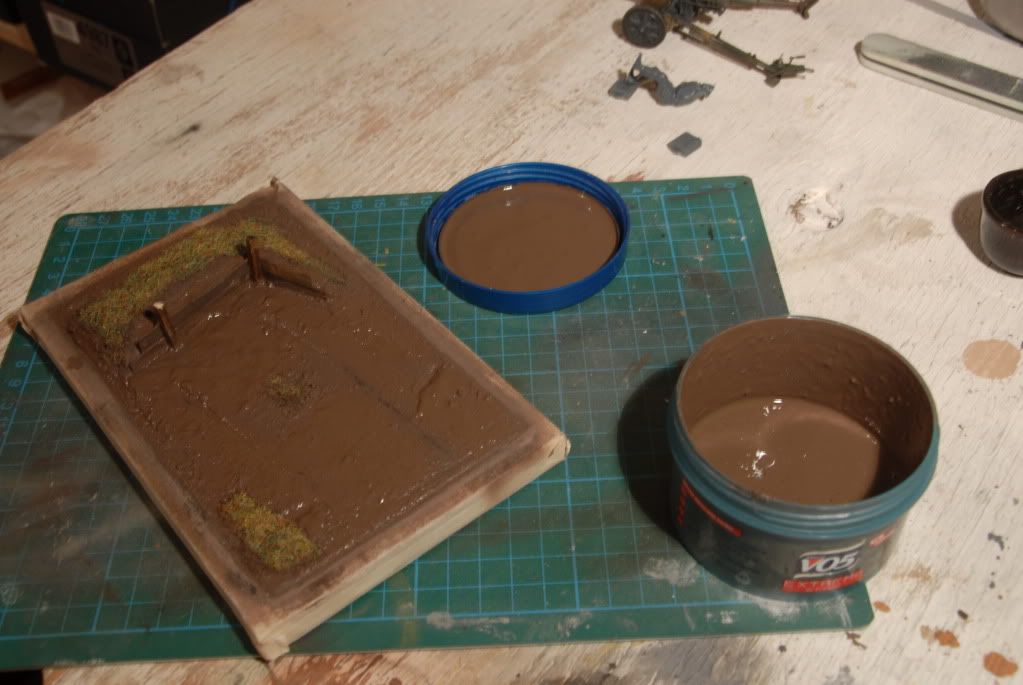
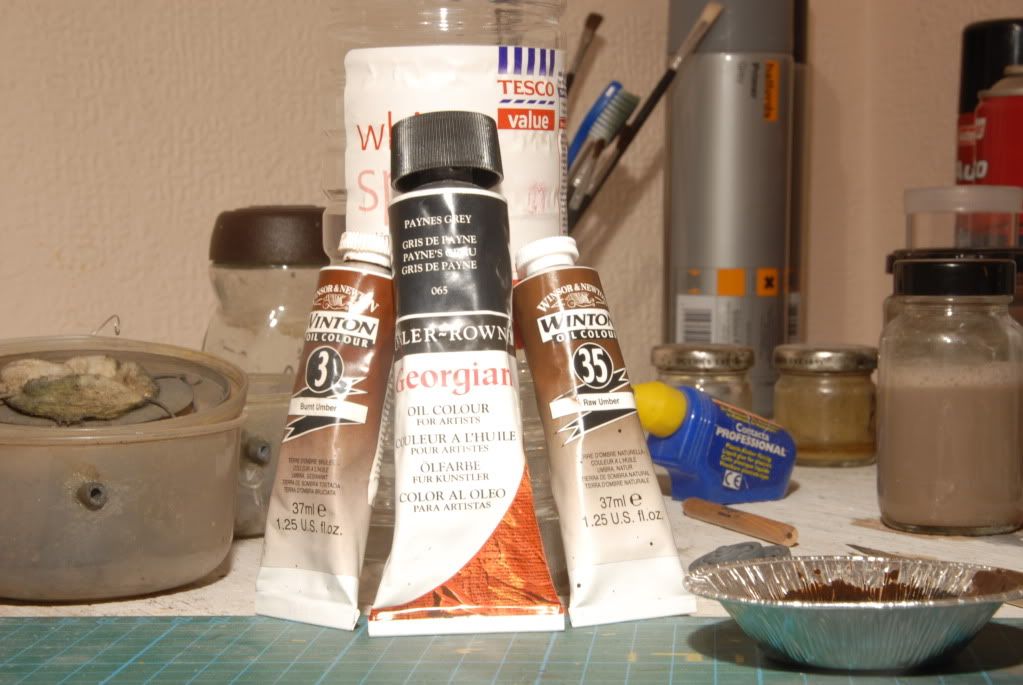
Then with 3 different variations of these


DSC_0003Dio1.jpg


sprayed onto the base in random patterns, we have this


DSC_0004Dio1.jpg


Looking toward something like this


DSC_0005Dio1.jpg


Then with 2 varieties of these (again, unmeasured...)
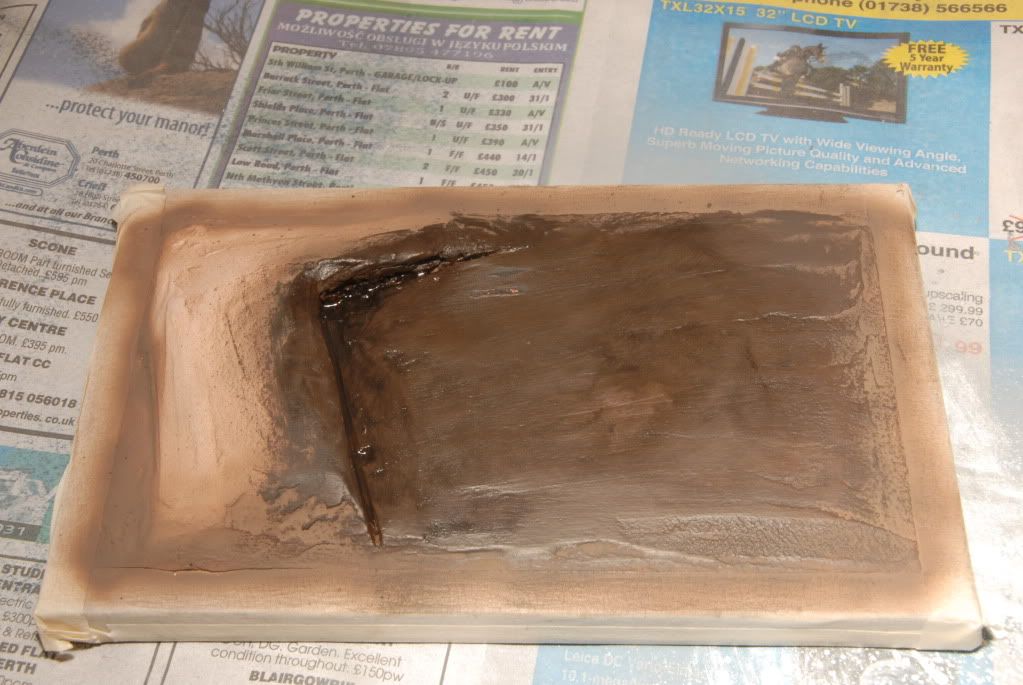


DSC_0005Dio2.jpg


We have this


DSC_0003Dio2.jpg


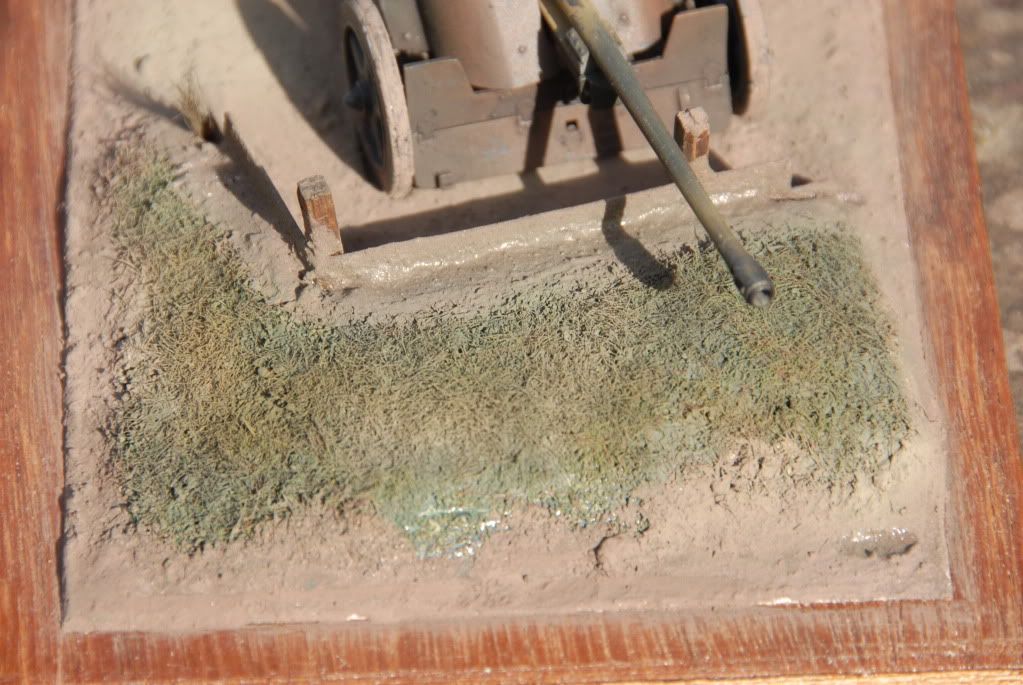
It has however covered up most of the sprayed colour, but it was only used to provide a base colour. There are going to be a lot of colour variations on this, provided my patience holds up. The remaining pink sections are just bare plaster and are to be base-coloured green, as they are to be grassed over. The brown part is going to be the muddy remains of the crew having scraped their dug-out from the mound. I also have a planked revetment for the sheer side of the mound. I'm going for a prepared, long-term position, not a hastily dug-in one.


This is my first attempt at a dio, so any tips, comments, criticism etc all welcome.


Stuart
 
Hi Stuart.

It is looking like a real nice base for the Pak. The diffrence in colors and tones is good for the ground work. The suggestions I would make if they are not to late is mostly to dig some holes in the groundwork where the spades on the trail arms rest. If this is a more permanant emplacement, the crew would have "dug it in" so to speak. Otherwise, the first time they fired the gun, it would roll back quite a distance if the spades were not set in the ground. Then it is just about puting on the grass that you were talking about and maybe some brush or bushes etc. And of course maybe some wheels :silly: 
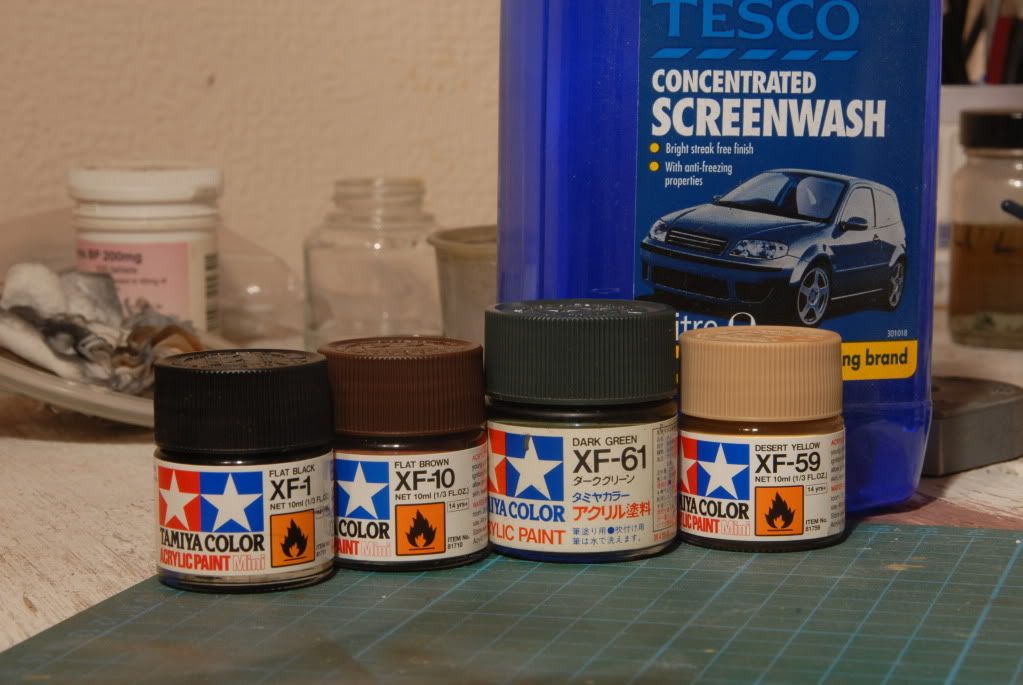
. But that is up to the postman it seems :pinch: .

But it is looking good so far.

Gary B)
 
Good point Gary, I'd thought of the wheel marks, but not the spades! Nice one I will do that before i finalise the paint!! :) Thanks

Stuart
 
Righty then... update time

Got the Pak finished thanks to the generosity of a shark-based lifeform :P It's missing the sill at the bottom of the shield, but it's all in hand

DSC_0010Pak5.jpg


DSC_0008Pak5.jpg


DSC_0005Pak5.jpg


DSC_0006Pak5.jpg


The tyres still need touching up, but I'll sort that with a pastel wash methinks

...And the dio is coming along, I glued some Javis "Coarse Green" and "Autumn mix" down with PVA, glued in the revetment planks and supports, again with PVA.

Then after cutting some tracks for the tyres and spades, mixed up some plaster, real dirt, burnt umber acrylic poster paint, some old lumpy tamiya red-brown, some "Miniature Paints" earth brown and dark grey, black and brown chalk pastels, Russian Earth and Dark Earth Mig pigments, PVA and water, made some mud flavoured soup to dab on with some old brushes...

DSC_0001Dio3.jpg


DSC_0004Dio3.jpg


I'm pretty happy with the result, but we shall see what happens on drying...

Thanks for watching!

Stitch
 
Nice going so far! For the mood of the scene, debris? Empty ammunition boxes? Spent ammo? Soldier's gear? Bloodied bandages?

For dimensions of the ammunition box:
http://wehrmachts.kisten.free.fr/50mm_%20pak38.htm

Details are here:
http://wehrmachts.kisten.free.fr/50mm_%20pak38_2.htm

Regards,
 
Thanks Saul,

There are ammo boxes with the kit but they look nothing like the ones in the link, and are poorly moulded anyway.. gona have to get some resin or spare styrene ones! I was goin to put some water cans and maybe some home comforts as much as can be expected. I'm still to decide on exactly what though.
 
You need not buy new items. The site gives you dimensions but only shows you the metal containers. There were also wooden ones as seen in this photo shown on that very site:
photo_pak38.gif

On the right side, look at the two wooden containers to the left of the metal one all the way on the right.

Regards,
 
Hmm possibly easy to scratchbuild then! The ones in the kit are more akin to gramophone cases, or even 37/40mm AA ammo, nothing like these ones!!
 
Li'l update for y'all!

I've added some long grass (brush bristles, not entirely happy with how it looks, any tips welcome), painted the shorter grass in various shades of green etc, painted up the ammo box, added small areas of wet mud (coating of Klear) and I'm in the process of doing the figures (only using gunner and loader, due to space constraints.

DSC_0001Pak6.jpg


DSC_0002Pak6.jpg


DSC_0003Pak6.jpg


DSC_0004Pak6.jpg


DSC_0005Pak6.jpg


Forgive the overexposed shots, the mud is darker in reality than in the photos, D'oh!

Stitch
 
Yeah I dunno why, but in our previous posts about it, i totally forgot the kit also had this one along with the gramophone/lunch box shaped ones.....
wierd! Ah well it's there now
 
Back
Top