• Modelers Alliance has updated the forum software on our website. We have migrated all post, content and user accounts but we could not migrate the passwords.
    This requires that you manually reset your password.
    Please click here, http://modelersalliance.org/forums/login to go to logon page and use the "Forgot your Password" option.

IAR 81C

Thanks, guys! The rest of that review should be up on Aeroscale soon. I'll add an addendum about washing the nickel-plated brass as soon as I can test it out. Big thanks to you, Paul! You've just saved a lot of us from a boatload of frustration.

Moon, I'll get me some of that, thanks! I've gotten used to "chipping" solder, but apste will be very useful as well. Think of slat armor cages... ;)

Mike, those articles were what launched me into doing proper soldering for the very first time. I can't claim to be an expert in the least, but I've gained to confidence to experiment- and it's really fun! As long as you don't grab the wrong end of the iron. Ow....

I have been using the Eduard PE in my Ju88 build and had been running into problems with the CA not holding the PE very well. I found that if I dipped and swished the parts in the solvent and dried them that they seemed to hold a LOT better. It would not surprise me if there was some kind of a coating on the PE. All I know is that once cleaned the parts can be a devil to pop back off even if it is only the edge attached.

For soldering you might also need to slightly etch the nickle surface to get it clean though nickle does take solder quite nicely. I usually just use Kester flux and some good old 60/40 electrical solder with rosin core and a 30W solderig iron. Yes can even do micro parts, but then I have about 15 years of experience with that so it is old hat.

Oh, and if you need to etch the PE you might try a 1 or 2 min dip in white vinegar. Try that only if you are having issues after the other cleaning has been done.
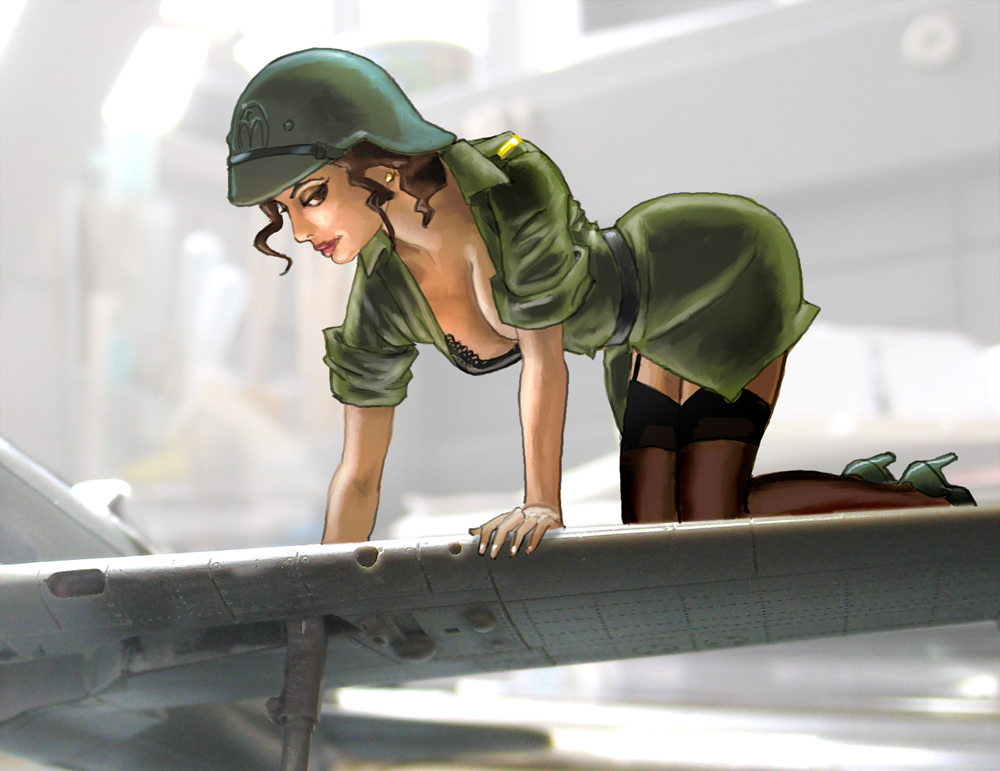
 
As a matter of fact....yes.

Easy as 1 2 3
https://www.modelersalliance.com/component/content/article?id=64

https://www.modelersalliance.com/component/content/article?id=67

https://www.modelersalliance.com/component/content/article?id=68

Watanabe-san created these for us years ago. If you have any questions don't hesitate asking, lot of us have some experience in it.


Thanks MP! Got these suckers bookmarked.

And thanks for letting my hijack your build Chuck! As always - can't wait for the next installment.

Mike
 
No worries, Mike- that's how MA works. We help whenever we can! :v

Whoa! An update at last! Marina is beside herself with excitement- read on!

IAR_091.jpg


IAR_092.jpg


IAR_093.jpg


IAR_094.jpg


IAR_095.jpg


IAR_096.jpg


IAR_097.jpg


IAR_098.jpg


IAR_099.jpg


IAR_100.jpg


Marina_02.jpg
 
That resistance soldiering station paid off on this, you couldn't have done that with a regular gun and I know my blow torch would have toasted all the other joints. Great work Chuck! :notworthy :notworthy
 
I'm not sure what I admire more...your skill or your patience while working on steps like these. If I could possess even just a modicum of either I would be much the better for it ;)

~Mike
 
VERY NICE work there Chuck!! I know how tedious fine soldering work can be and you did an amazing job. (y)

:drinks Take a well deserved break.

:beer
 
Thanks, everyone! I still can't believe I pulled that off, to tell the truth! Each one of the upper cowl struts will get a vee connection to the corresponding engine cylinder behind it, And each vee on the cooling gill ring will get a single strut going forward to it's corresponding cylinder. The whole thing will be marvelously busy, don't you think? ;) BTW, the rudder is just press fit in that last pic- I won't glue it on until it's painted and decal-ed. I guess it's time to start thinking about the landing gear- and I'm still pondering how to do the bloody prop spiral for "Nina." No decals for that!

Oh, and I've got to dope out the bomb-release bits that were on this aircraft as well. Not all carried them- at least Nina didn't carry the trapeze portion.

Cheers!
chuk
 
Something you might consider trying Chuck is to pre-tin the parts and connection points. Having the solder on the joint parts before trying to attach them makes it where it only takes a fraction of the heat application to join it than it would take for you to get the solder to flow on the clean metal parts.
 
Oh man.... oh man, I feel so inadequate! All I do is just slap plastic together and paint it. Wow, I'll never ever be as good as this. Chuck, you are truly DA MAN! :notworthy :notworthy :notworthy :notworthy :notworthy
 
Wow, incredible work. Your R/C building background really shows on this type of work. I often get the most out of your tutorials by first trying to figure out how I would solve the problem and then reading through. It's really helped the way I solve my own problems - like the one we just fixed.
 
Thanks very much, my friends!

It's been a while, and with reason. It's been a tough summer for my wife and I- we each lost our mothers in the space of seven weeks. Nothing was unexpected, but that did not make anything easier. To top it off, I've been struggling with health problems- but I have hopes that all will resolve without dire consequence. All in all, though- it's been a rough ride- and I appreciate your patience.

Cheers!
chuk

IAR_101.jpg


IAR_102.jpg


IAR_103.jpg


IAR_104.jpg


IAR_105.jpg


IAR_106.jpg


IAR_107.jpg


IAR_108.jpg


IAR_109.jpg


click for link

Lili_004.jpg
 
Back
Top