• Modelers Alliance has updated the forum software on our website. We have migrated all post, content and user accounts but we could not migrate the passwords.
    This requires that you manually reset your password.
    Please click here, http://modelersalliance.org/forums/login to go to logon page and use the "Forgot your Password" option.

Fw 190D-9 and Ta 152C in-progress

matrixone

Active member
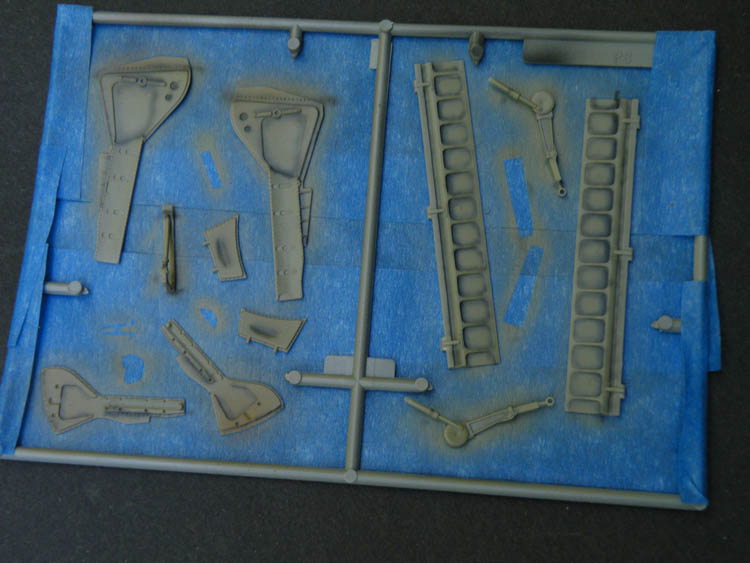
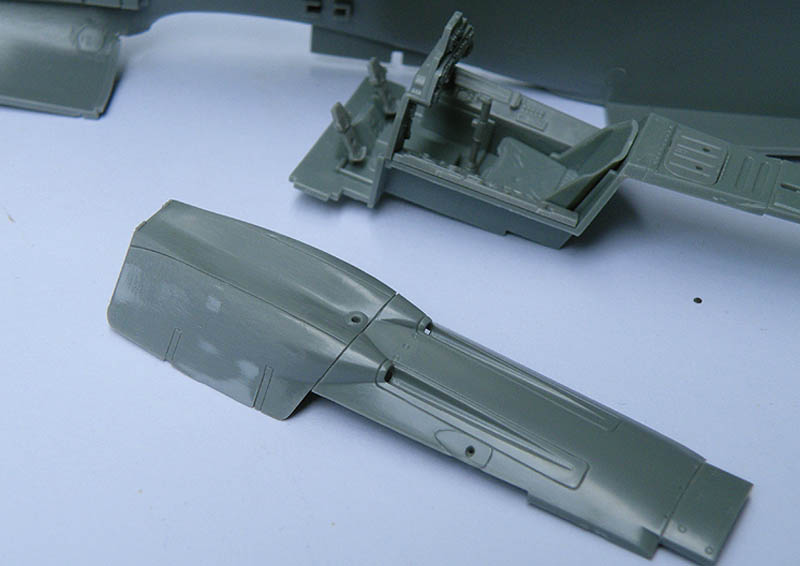
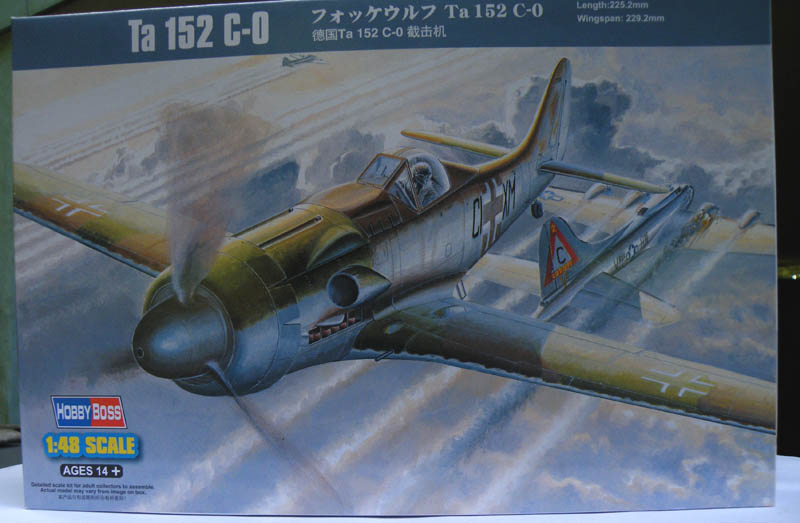
Here is a couple Focke-Wulfs that were started the other day, the Dora is being built from the 1/32 scale Hasegawa kit, and the Ta 152C is from the 1/48 scale HobbyBoss kit.

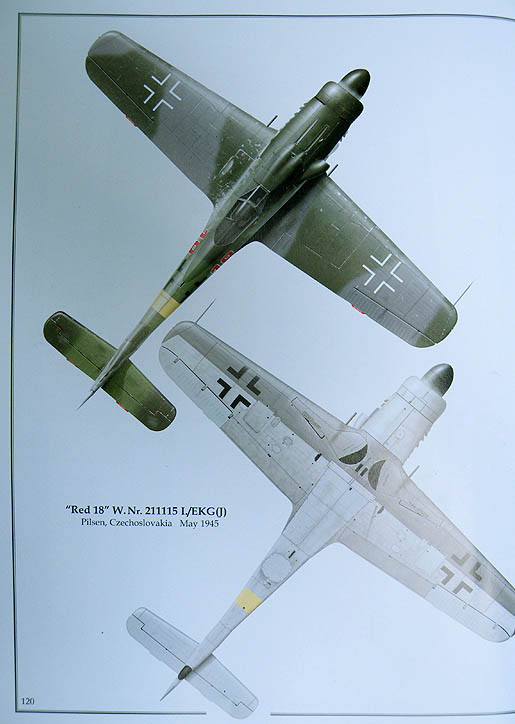
Here is the markings I intend to put the Dora in.

h820d623.JPG


h4bbb986.JPG

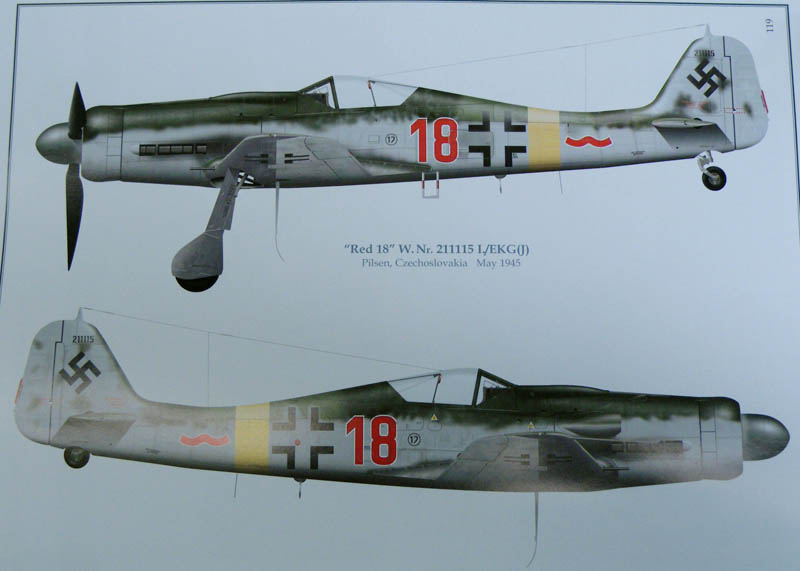
I have the EagleCal sheet for the markings of ''red 18'', sadly the decal sheet does not have the distinctive small black 17 in the circle that was on both sides of the fuselage so I will have to come up with something. :idonno
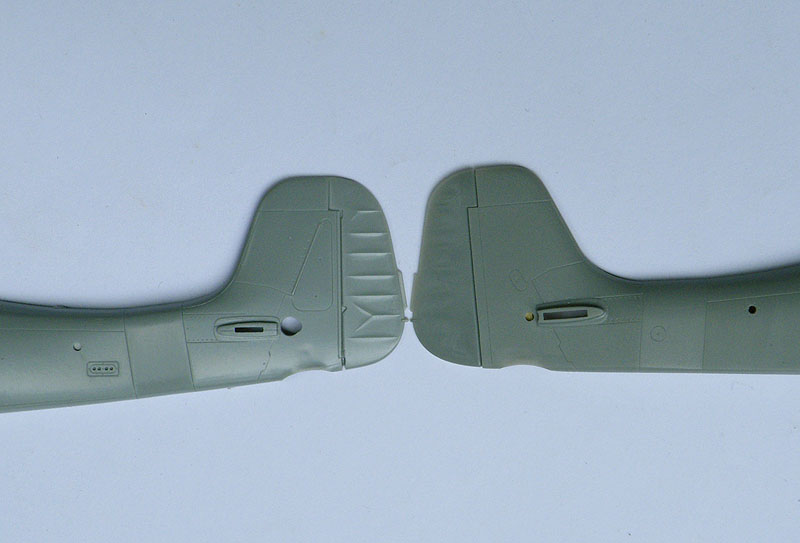
I had to modify the gun cowl by filling some panel lines and removing the small bulges used on Mimetall built Doras. The matching bulges on the engine cowl were also removed.

h126d8f7.JPG


h0bfe0e1.JPG


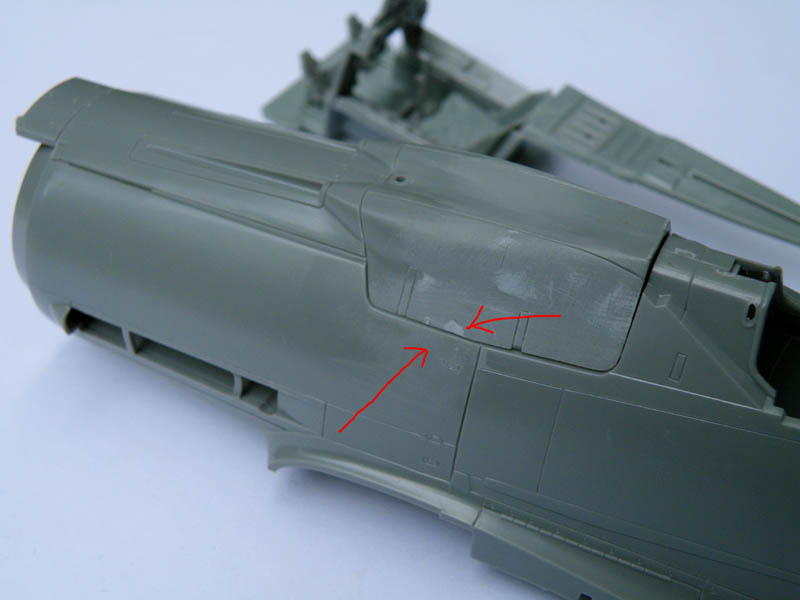
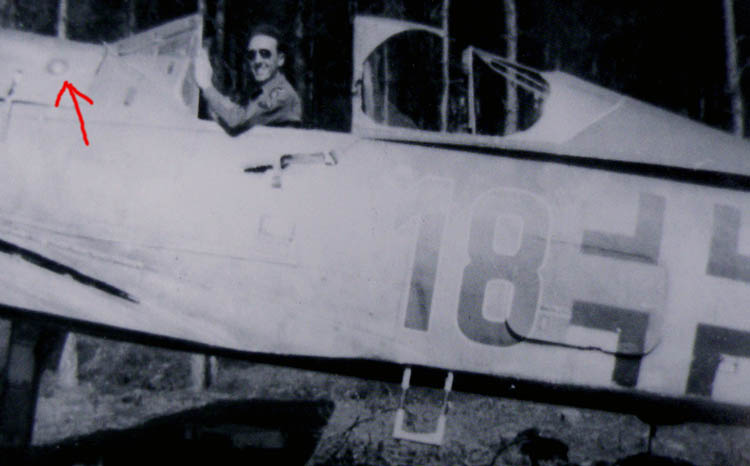
I still have to add the small round bulge to the rear of the gun cowl as seen here in this photograph of ''red 18''.
heedee96.JPG


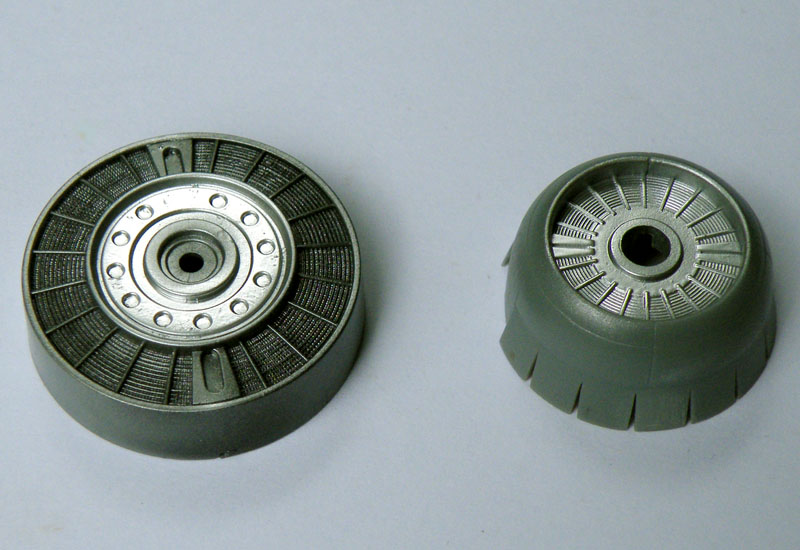
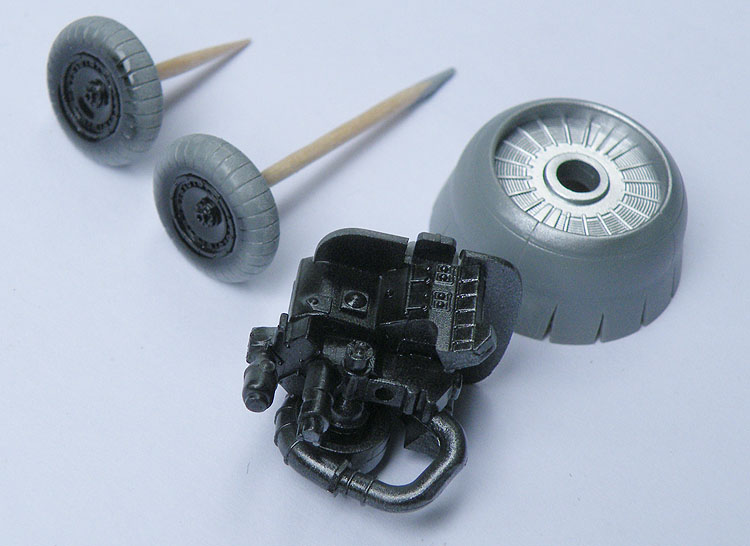
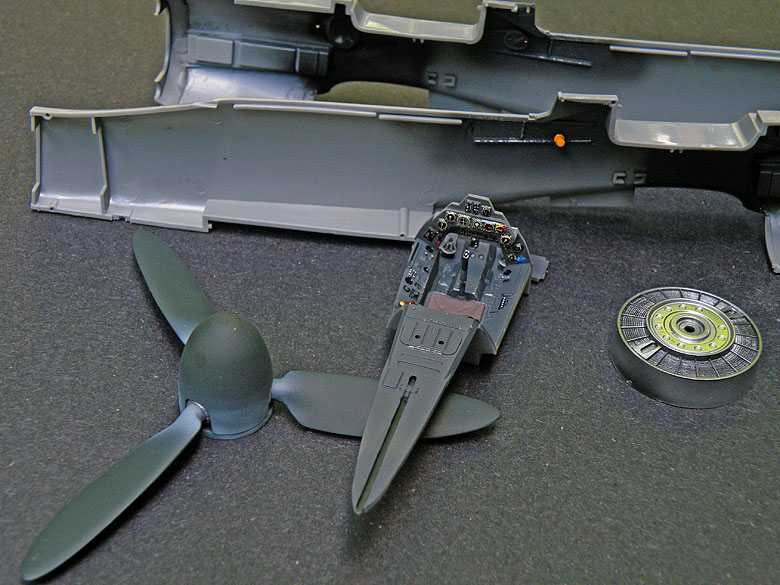
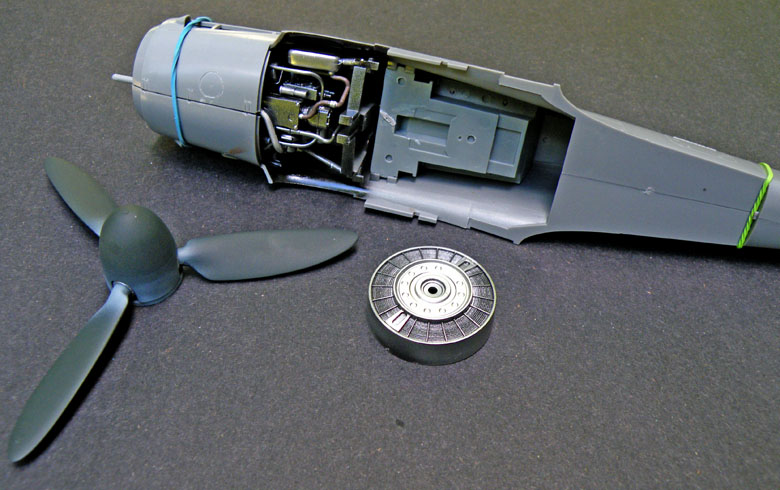
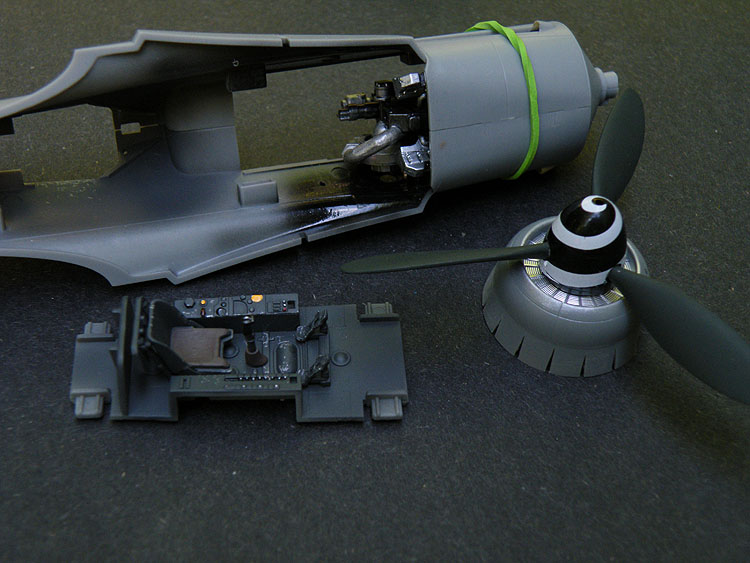
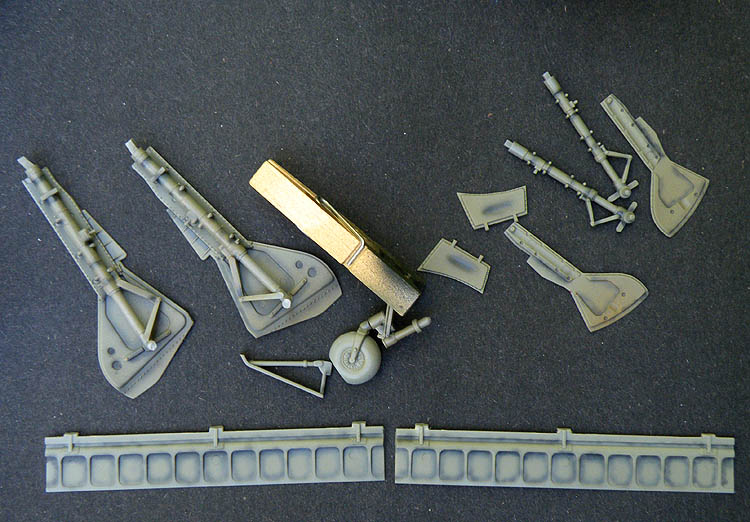
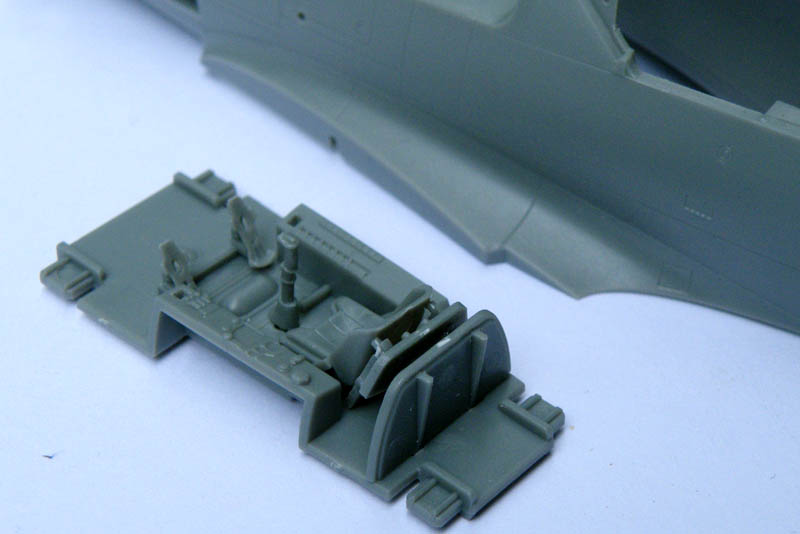
Here is the HobbyBoss Ta 152C, not much done on it yet except for cockpit construction but I am impressed with the cockpit detail, its quite good and should look okay after painting.

h8a5871e.JPG


hcc7cbe9.JPG


h3fff39b.JPG


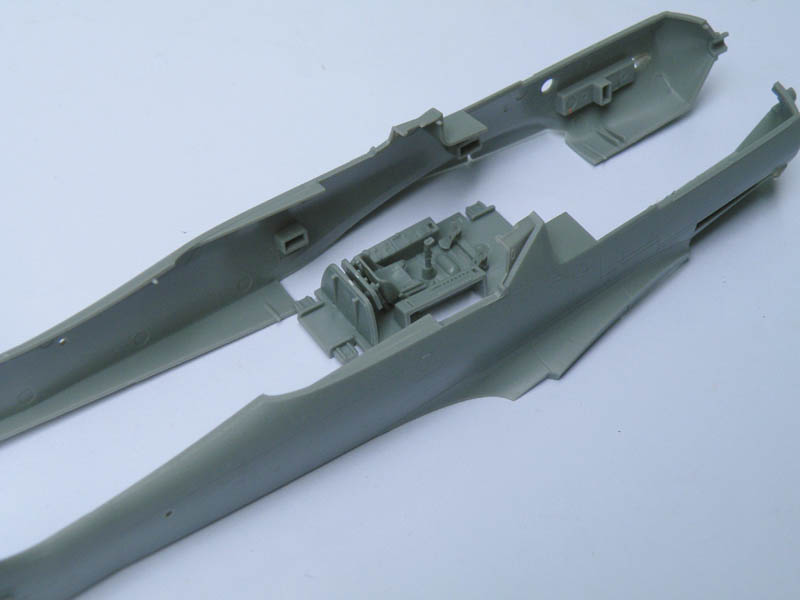
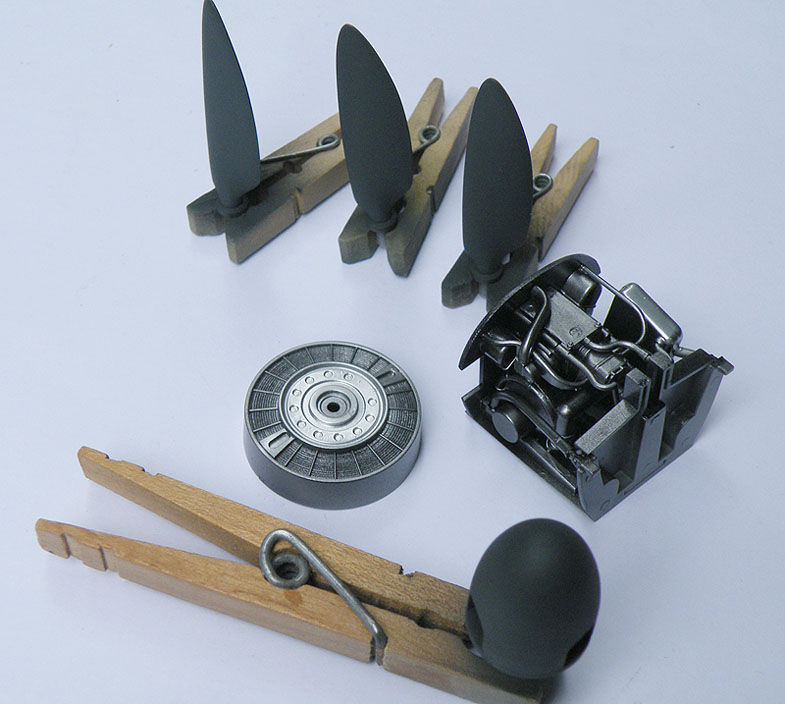
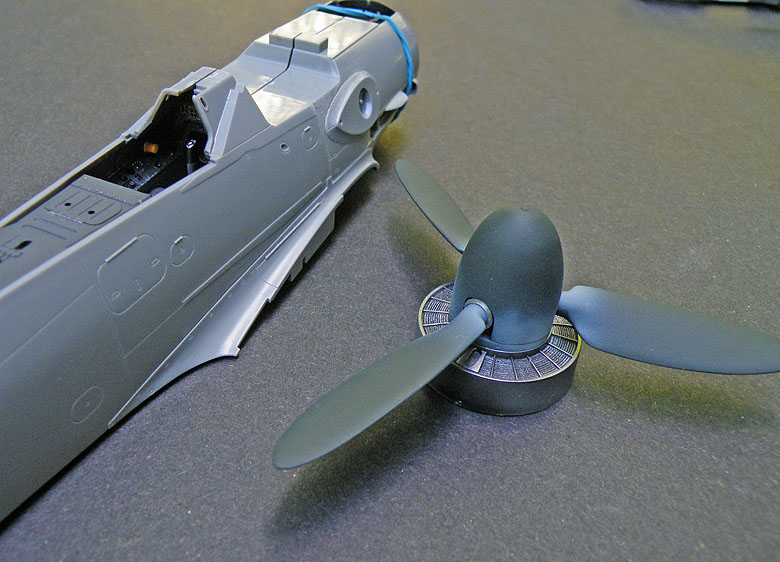
Not so impressive is the shape of the propeller and fin/rudder...they look a bit off to me. :huh:
How can HobbyBoss get some of the simple things like the fin/rudder and prop blades this wrong when there were a number of photographs and drawings available and has been for years.


Matrixone
 
Removing a bulge I can see. Adding one, coming up blank how you can do that but watching with interest. :popcorn
 
Thanks guys! :)

Bob,
I will add the small bulges to the gun cowl with a dab of 5 minute expoxy, I have used this method before with success but there is no room for error.

More work done on these models...

The radiators have been painted, the Ta 152C radiator has been sprayed with Testors Chrome silver and later will be weathered with a wash of some black oil paint. The Dora radiator was first painted gloss black and then with a mist of Chrome solver airbrushed on just heavy enough to bring out the molded in detail...this is a really effective and quick way to paint this part and it really looks like its made out of metal.
h8031736.JPG

More of the Ta 152C

ha22ae65.JPG


he7dbc2a.JPG

Below is a comparison of the HobbyBoss and Dragon Ta 152 tails, the Dragon tail is on the left and is a bit more accurate in shape than the HobbyBoss tail.
hf80dca5.JPG


And here are some of the Dora parts after painting, the engine plug was painted similar to the way the radiator was painted, gloss black followed by a misting of Chrome silver just barely strong enough to highlight the raised areas. After building several of these Hasegawa Dora's I learned to not bother with very much detail painting on the engine plug since little of it will be seen after final assembly and weathering.

h76c1896.JPG


Matrixone
 
Definitely two of my favorites . Please show us more on the bulge . Plastic or resin ?

Not all that surprised about getting things wrong . It is my understanding the two late FW displayed in the US have the wrong set of wings on the fuselage .

Very interesting to me since the paint jobs are considerably different than one to the other. :idonno

Cheers, Christian B)
 
Thanks Christian and Luiz!

Christian,
I will be adding the bulges on the gun cowl with 5 minute epoxy, the gun cowl is slightly modified but is from the kit.

Matrixone
 
Have done more work on these models mostly taking care of the cockpits and engine plugs and getting them ready to be enclosed inside the fuselage halves.

First the Dora pictures.
The propeller has been assembled and painted, the base of the spinner and prop blades on the full size ''red 18'' had some overspray of a lighter color on them and I added this feature to my model too. I suspect ''red 18'' was partly repainted in the field by a member of the ground crew when the overspray occurred.
The cockpit is nearly finished, only a tiny bit of work remains to be done before I can glue it inside the fuselage, the cockpit and engine plug are just dry fitted here. Before the wing is glued on I am going to roughly spray on a spatter of earth colored paint to the engine plug as a form of weathering. I have read this area on operational Dora's could get filthy at times.

h36bd3e3.JPG


h0ee2f4d.JPG


h3e7eb74.jpg


Here is the Ta 152C, I will be giving the engine plug similar weathering as with the Dora engine plug.

h880f073.JPG

The propeller has been painted and attached to the spinner, I used an old spinner spiral decal from an EagleCal Dora sheet, I prefer masking and painting spinner spirals but its hard to deny the spiral decals look better since not all late war Luftwaffe fighters had crudely painted spinner spirals.

h8f1f017.JPG

The HobbyBoss kit propeller looks great, too bad it does not resemble the propeller that was used on the Ta 152C. :bang head

Matrixone
 
Once I figured out how to [paint those spirals I don't mind doing those but depending on the decal my spirals may really be lacking. I have always wanted to ask you Les, is that really RLM 66 in the pit because it looks some what dark to me, maybe its the background that you use. :idonno
 
Paul,
I use Model Master enamel paints and their version of RLM 66 is way too light so I just add some black to it to make it better match my paint color chips. RLM 66 was named black gray and was a very dark color, be wary of restored aircraft in museums as some of them show the cockpits were painted in a lighter shade of gray than the wartime RLM 66. BTW, the RLM 66 being used near the end of the war had a slight greenish cast to it, the formula was changed to make it more fireproof than the earlier version.


Matrixone
 
Have done more work on these models mostly taking care of the cockpits and engine plugs and getting them ready to be enclosed inside the fuselage halves.

First the Dora pictures.
The propeller has been assembled and painted, the base of the spinner and prop blades on the full size ''red 18'' had some overspray of a lighter color on them and I added this feature to my model too. I suspect ''red 18'' was partly repainted in the field by a member of the ground crew when the overspray occurred.
The cockpit is nearly finished, only a tiny bit of work remains to be done before I can glue it inside the fuselage, the cockpit and engine plug are just dry fitted here. Before the wing is glued on I am going to roughly spray on a spatter of earth colored paint to the engine plug as a form of weathering. I have read this area on operational Dora's could get filthy at times.

h36bd3e3.JPG


h0ee2f4d.JPG


h3e7eb74.jpg


Here is the Ta 152C, I will be giving the engine plug similar weathering as with the Dora engine plug.

h880f073.JPG

The propeller has been painted and attached to the spinner, I used an old spinner spiral decal from an EagleCal Dora sheet, I prefer masking and painting spinner spirals but its hard to deny the spiral decals look better since not all late war Luftwaffe fighters had crudely painted spinner spirals.

h8f1f017.JPG

The HobbyBoss kit propeller looks great, too bad it does not resemble the propeller that was used on the Ta 152C. :bang head

Matrixone

Sweet Dora! :pilot
 
Thanks Bob!

While I had the airbrush out during painting of the Matchbox Me 109E I did some painting on some of the Fw 190D-9 and Ta 152C parts as well.
The parts were painted RLM 02 and the pre-shading was added too.

h7064277.JPG


h7fd043f.JPG


Matrixone
 
Thanks guys!

The pre-shading of all these smaller parts seems like overkill but once they are on the model the pre-shading effect will barely be seen and should blend in well with the other weathering effects.


Matrixone
 
Back
Top