Here is a small update on the Dora and Ta 152C.
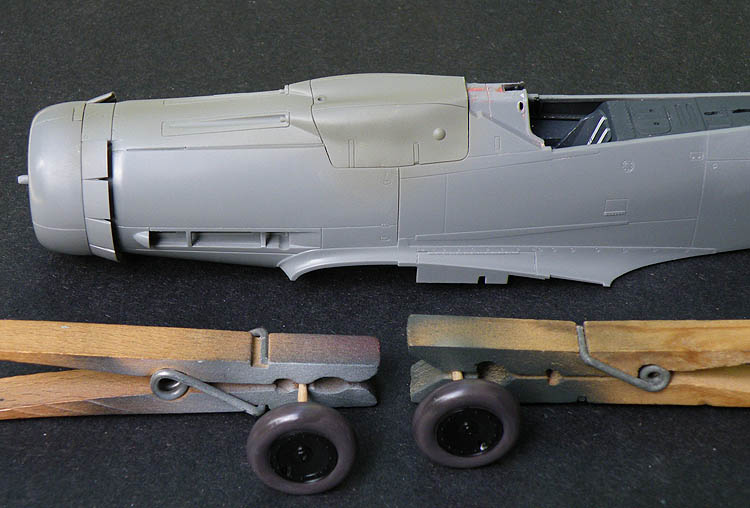
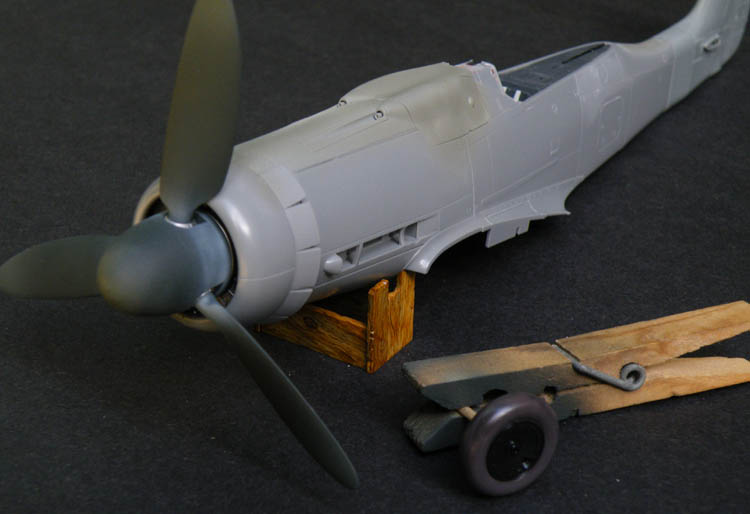
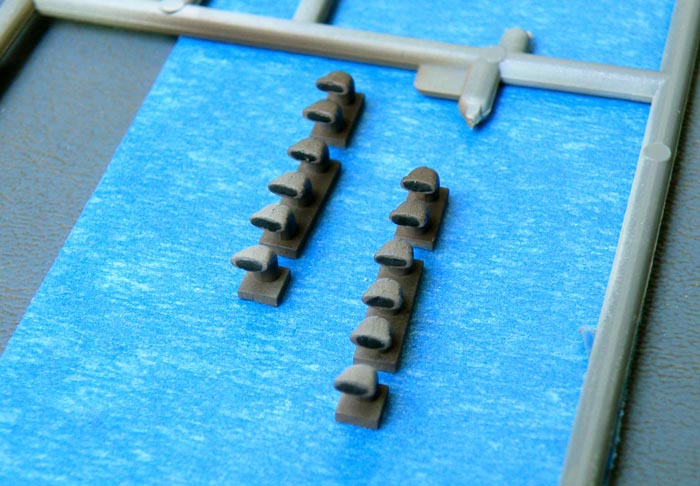
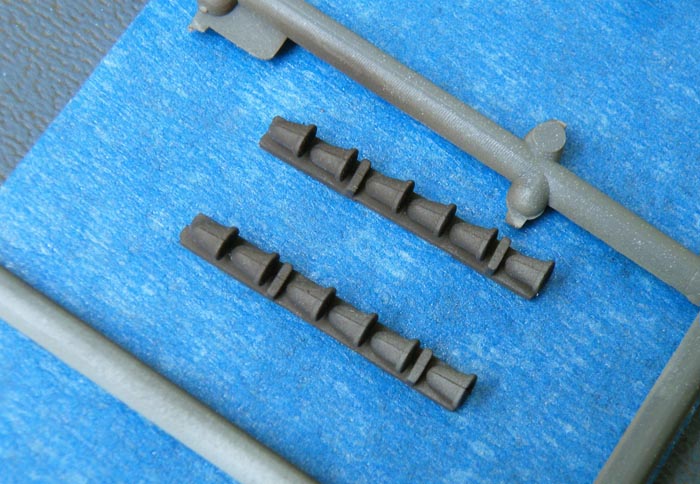
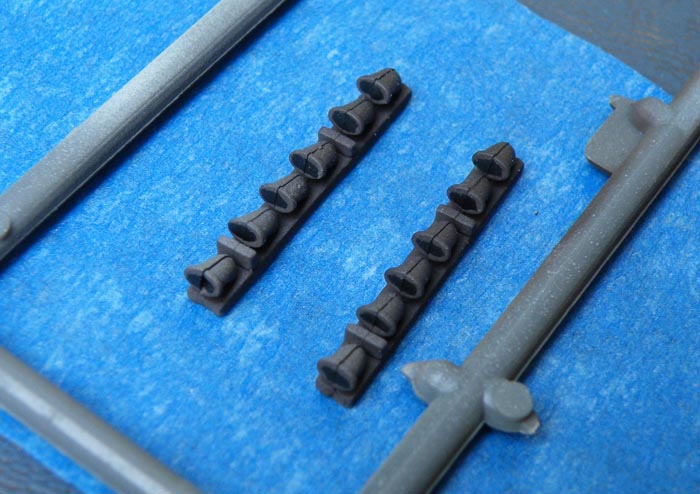
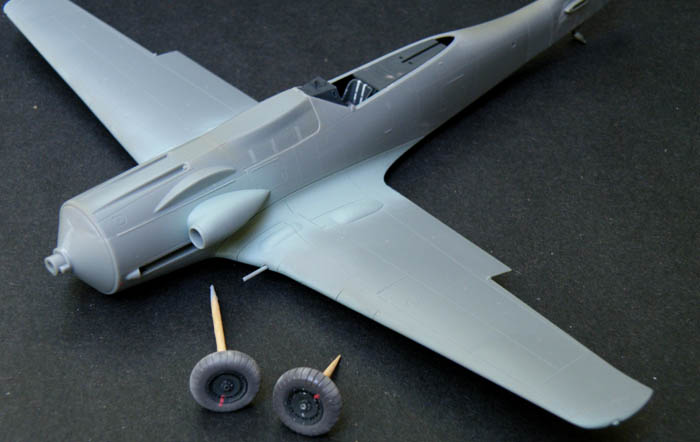
I finished the gun cowl for the Dora, the small bumps to the rear have been added and the entire gun cowl has been given a primer coat of RLM 02.
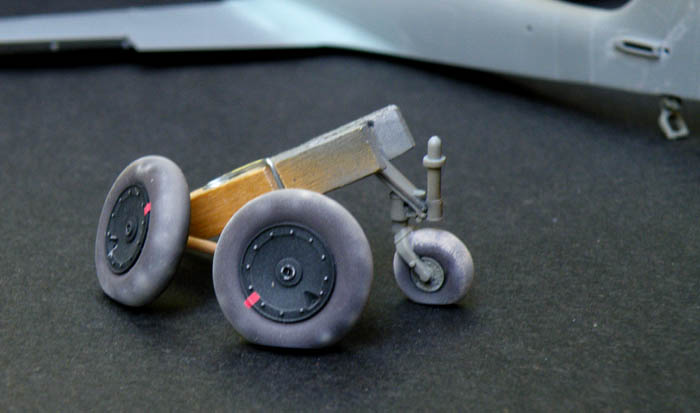
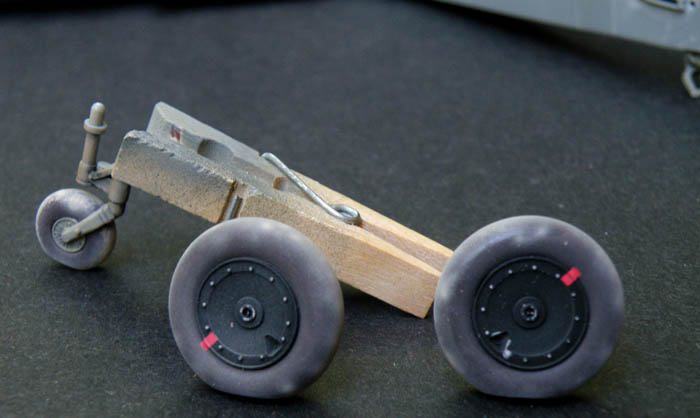
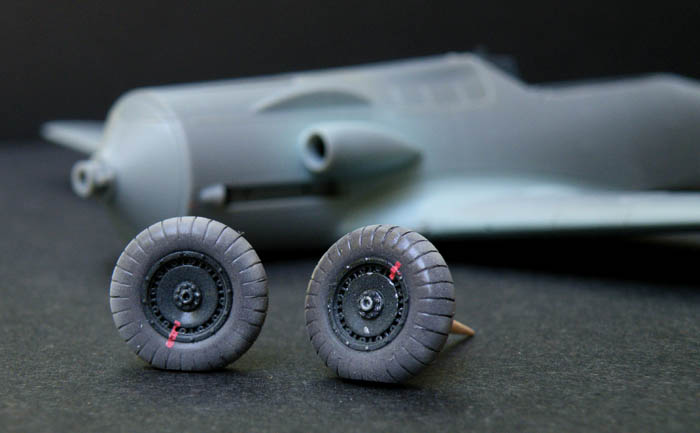
The wheels have also been painted, don't worry, the awful high gloss look to the wheels will be dealt with when they are weathered. I wanted to show the 'before and after' treatment of the wheels.
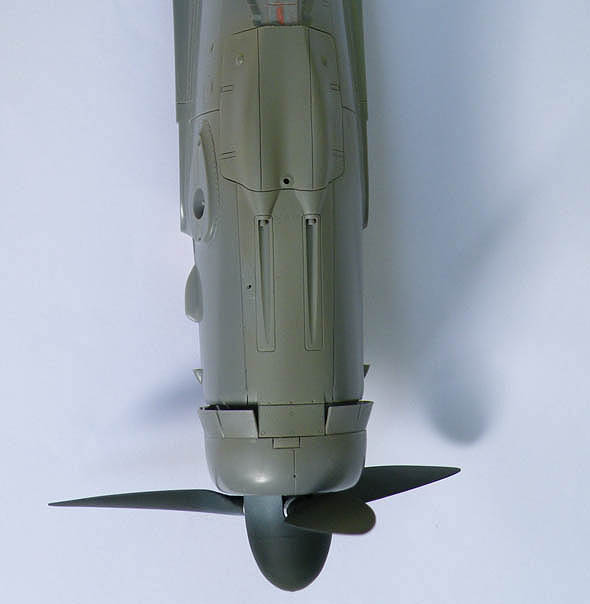
The radiator and propeller are not glued on yet, I wanted to paint the radiator separately from the fuselage and as you can see I am quite a ways away from that.
What is difficult to see in this snap is the weathering done to the spinner and propeller blades, the full size ''red 18'' had a plain RLM 70 painted spinner that looked very faded in places plus there was some paint overspray near the base of the spinner and propeller blades. I used the airbrush and some RLM 70 lightened a little bit to add the paint fading effect...its hard to see the work I did but it does match the photographs of ''red 18''.
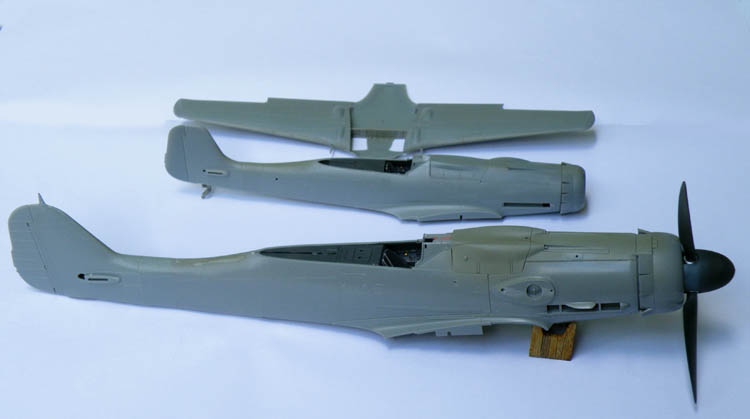
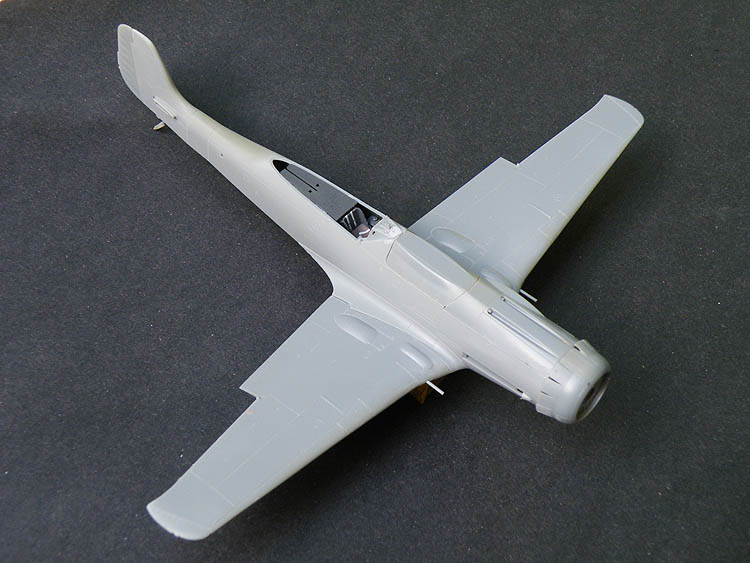
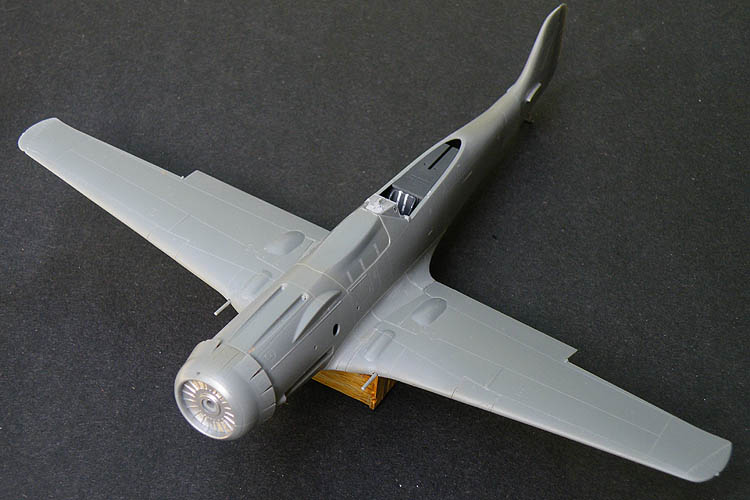
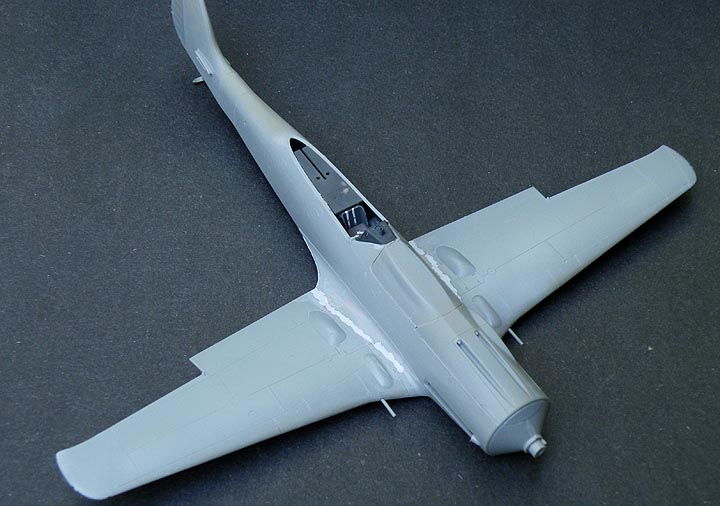
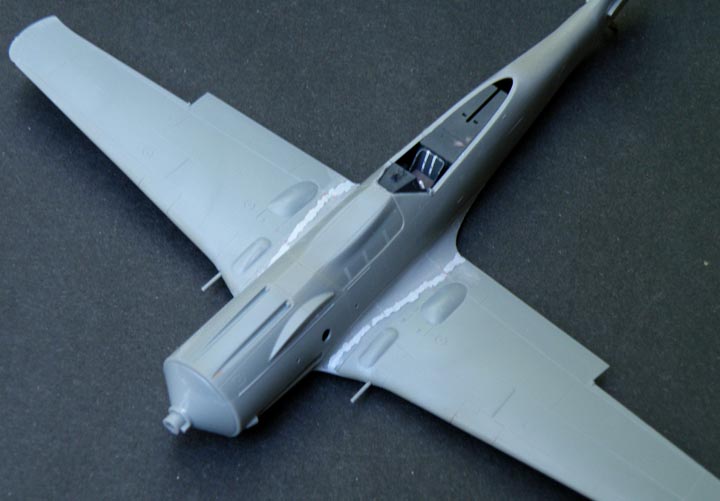
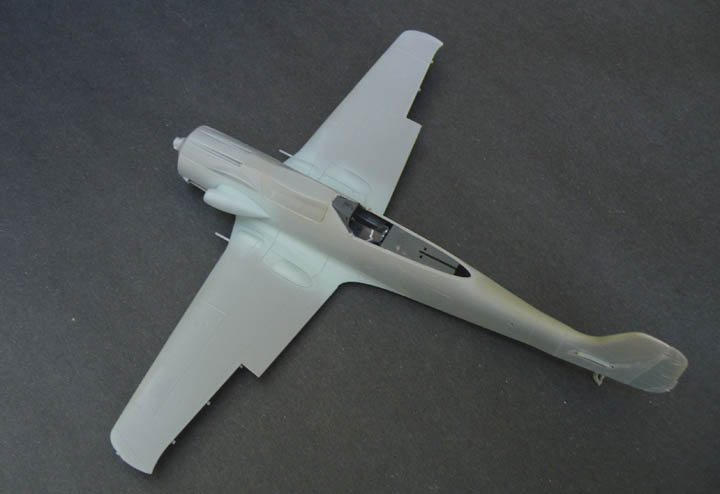
Here are the fuselages of the Dora and Ta 152C.
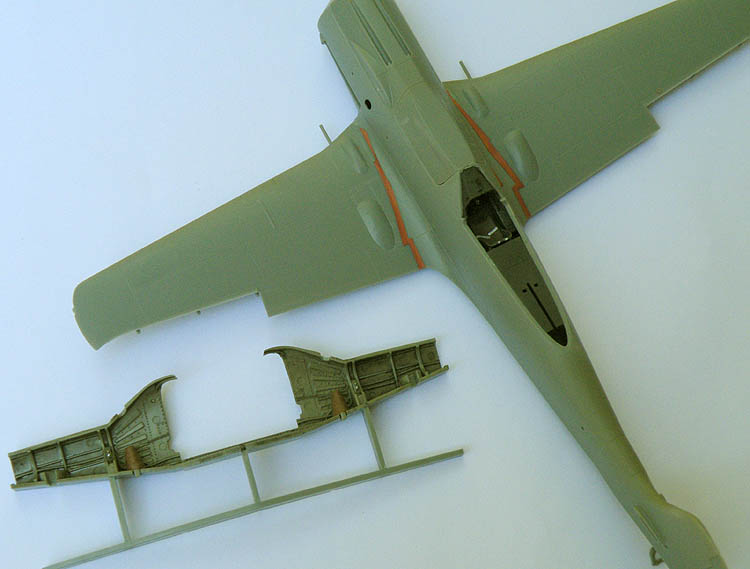
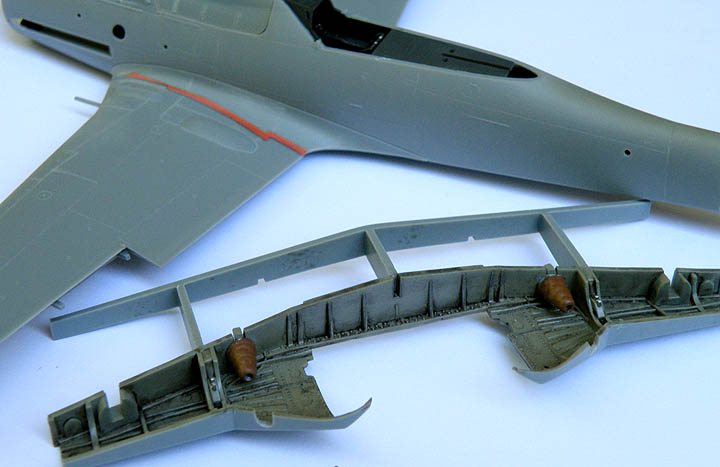
More work has been done on the Ta 152C as well, the fuselage has been finished and the top and bottom halves of the wings have been glued together and the seam line on the leading edges of the wings have been sanded and filled.
The wing is just dry fitted here but its a very good fit and out of all the Fw 190 and Ta 152 models I have built this looks like the best fitting wing root out of all of them.
Matrixone

")