• Modelers Alliance has updated the forum software on our website. We have migrated all post, content and user accounts but we could not migrate the passwords.
    This requires that you manually reset your password.
    Please click here, http://modelersalliance.org/forums/login to go to logon page and use the "Forgot your Password" option.

Ferrari 250 SWB 'Berlinetta'

ij001

Well-known member
Day One


hd4873ff.JPG


hea93af5.JPG


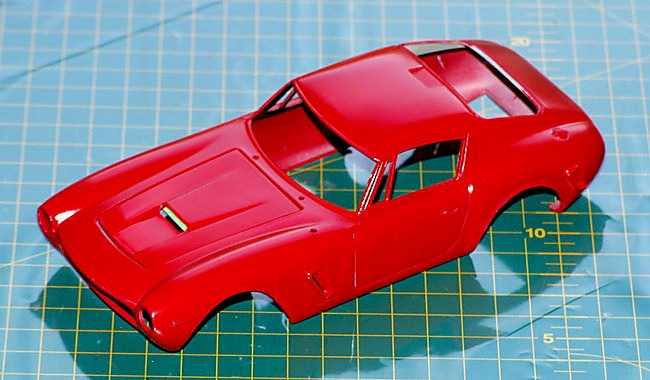
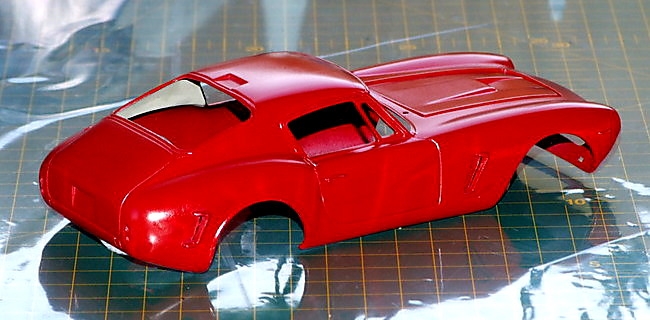
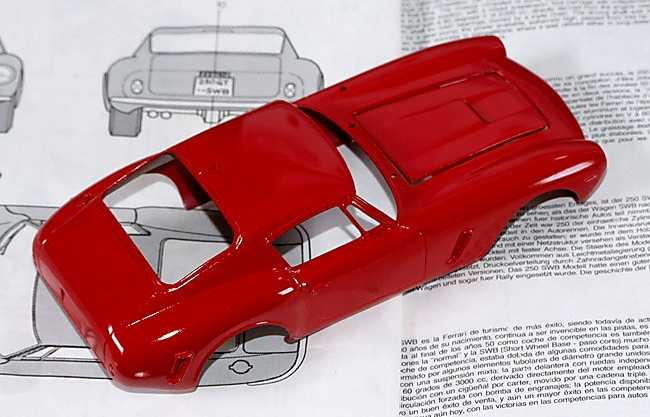
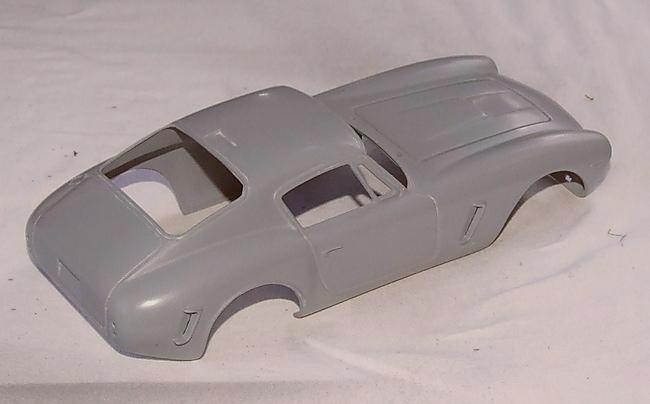
The usual box & contents shot - The Esci plastic dates back to the mid 1980's and is quite soft, massive mould seams running along the top of the wings, then along the roof gutters down the middle of the C-pillar across the top of the rear wings and through the middle of the tail-light bezels.

What a PitA :facepalm

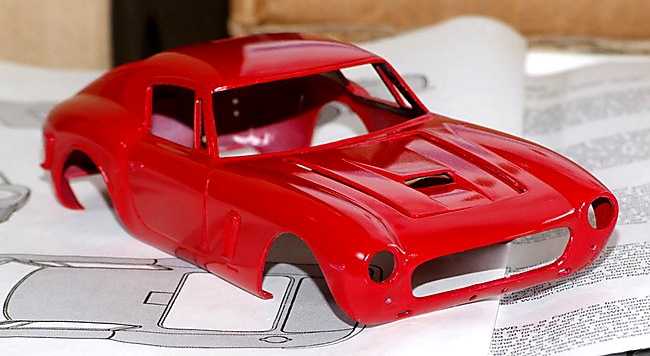
But not as much a pain as the integrally moulded bonnet that you need to cut from the body and that frankly awful thick lip on the bonnet scoop - that will be thinned right down.


hddcaf1c.JPG


h2b1f638.JPG


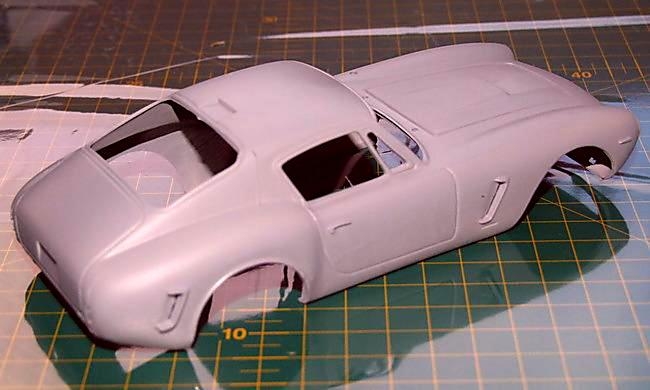
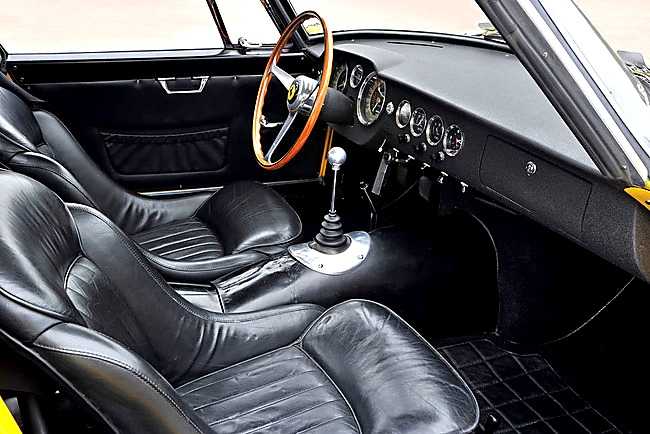
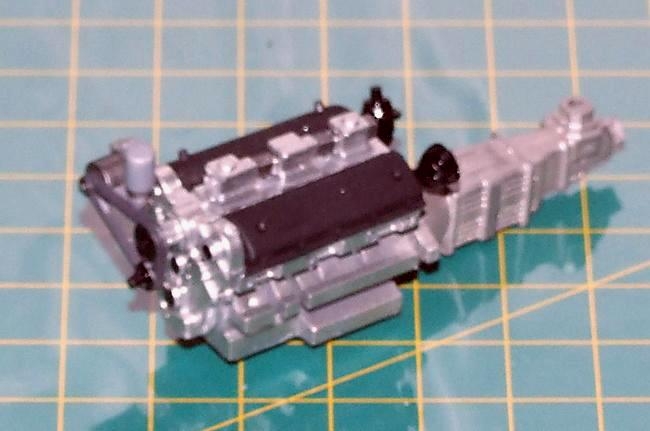
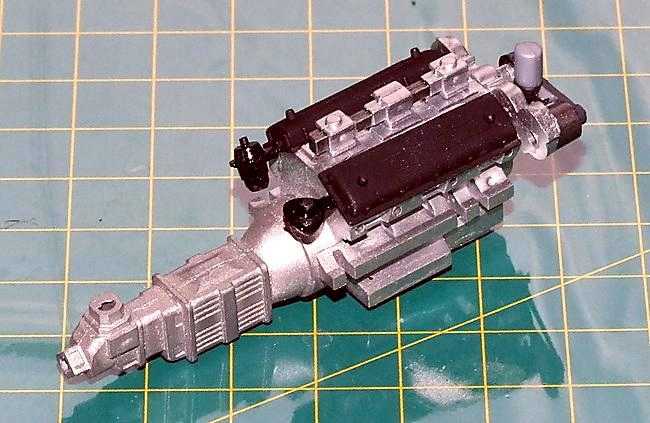
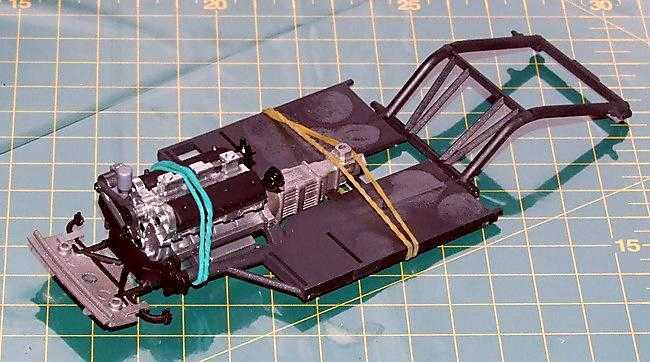
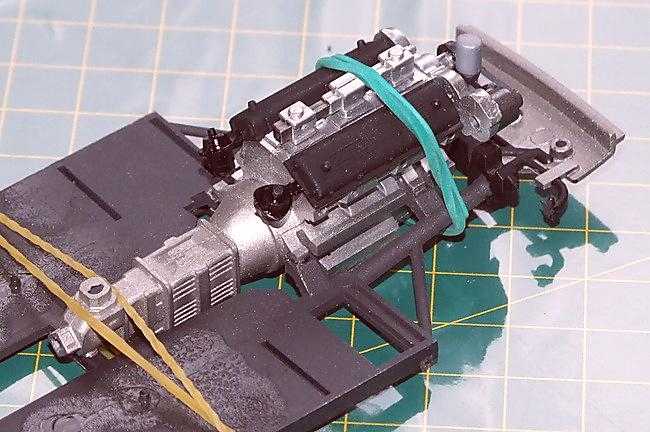
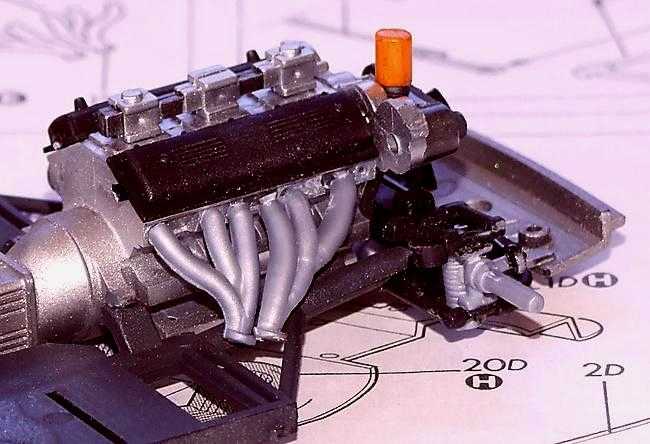
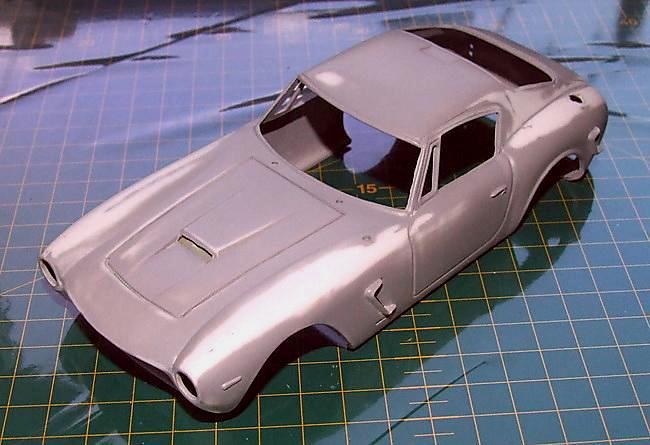
I built-up the engine & trans which sensibly goes together exactly the same way as a Revell or MPC car kit. Interior is multi-part as is the engine bay. I also assaulted the poor wee thing with a coat of Tamiya grey primer straight from the rattle-can ready for some serious seam-removal.

More in a min...

Ian.
 
Day One continued...

Rubbed down the offending seams and polished the plastic with successive grades of Micro-Mesh cloths.


h39f2962.JPG


hdfc02f8.JPG


Once I was happy the seams were completely gone, I shot a second primer coat and waited for four hours for it to be dry enough to work on. I then polished the primer coat with 4k - 8k Micro-Mesh cloths. As this is written the car body is as smooth as glass with no flaws at all in the paintwork. A good couple of sessions today and very pleased with the result.

hbd398a6.JPG


h9a75265.JPG


If it all goes well, hopefully it will look a lot like this one when I'm done.

he92501d.jpg


More tomorrow

Ian.
 
Glad to see another automoblia in the campaign. I plan on building one as well...just haven't figured out which yet. Need to get the Vigi (Naval...late :blush: ) and Dauntless (Pearl) wrapped up first before I dive into another one.

:drinks
 
Brilliant work on this so far. I wish it was just as easy for me to get a smooth, flawless coat on mine. Still trying with my Corvette and Mach 5.

Watching this with great interest.
 
Thanks Mark (et al) it isn't the easiest of kits but it will be worth the effort. Interesting isn't it that the Esci kit does come-up from time-to-time on eBay but the superior Italeri one almost never... Similarly with their 'Racing' 365 Daytona - I'd sell one of my legs for one of those !!.

Today was a relatively dull day at the bench, hence no pics. Got the chassis/pan & engine bay sub-assembly sprayed my own mix of 'iron black'. Fuel cell sprayed dark aluminium, sump guard is now flat aluminium as is the transmission. The headlining and inside of the c pillars was sprayed Tamiya 'Deck Tan'. Also matt blacked the instrument shroud, rocker covers and some other wee bits'n pieces.

Tomorrow I'll spray the block, diff etc. Hope to make a start on the interior aswell. Going for classic black like these:

hcefc782.jpg


ha8f6351.jpg


Thanks for looking-in, feel free to make any comments or ask any questions.

Ian.
 
...and from todays session, here's some self-explanatory photos:

h4f8e5f7.JPG


h58311bf.JPG


h2a26c31.JPG


h843a12e.JPG


At this stage the block is a WiP. Because I want to build this one exactly as it comes from the box for a competition further down the line, there's be no wiring and plumbing this time. Tamiya Flat Aluminium for the trans and AK's 'Xtreme Metal' aluminium for the bock - I'm a recent convert to this product and trust me it's bl**dy superb !!

I couldn't face wrestling with the interior this afternoon so masked-up the interior (Tamiya 'Deck Tan') and broke-out the Tamiya 'Italian Red' rattle can. Warmed it in a bowl of boiled water then shot two coats and left it in the spring sunshine for 30 mins.


h9d4cf03.JPG


hfe1a23c.JPG


So next I'll force myself to finish the interior and then start on the suspension such as it is. Have a great weekend everyone, see you on Monday.

Ian.
 
There was a run on the right door but I caught it after the first coat. Nothing on the rear except reflections. Remember guys this finish hasn't been polished or 'cleared' yet it's just what came from the rattle-can.

Ian.
 
You did far better on it the first time around than I did! Well done! I can't even dream of getting a first coat looking that good!
 
Day Five.

Spent time this morning wrestling with the front suspension and the pipes !!


hd88031a.JPG


h7ca108b_2016-11-20.JPG


I think I won, but I may amend that... letting it all settle & set overnight and paint it tomorrow. Stick-with-me !!

Ian.
 
Day six & seven

Four coats of Tamiys 'Italian Red' with two coats of Tamiya clear varnish sitting on top to keep it safe and give it depth.


h4d7b04f.JPG


hd44bf42.JPG


hb13053b.JPG


Next I'll leave it to cure, not just dry, at least a week, then start with the 6/8/12k Micro Mesh cloths followed by some auto polish. Thanks for taking the time to look and/or comment. More late next week.

Ian.
 
Back
Top