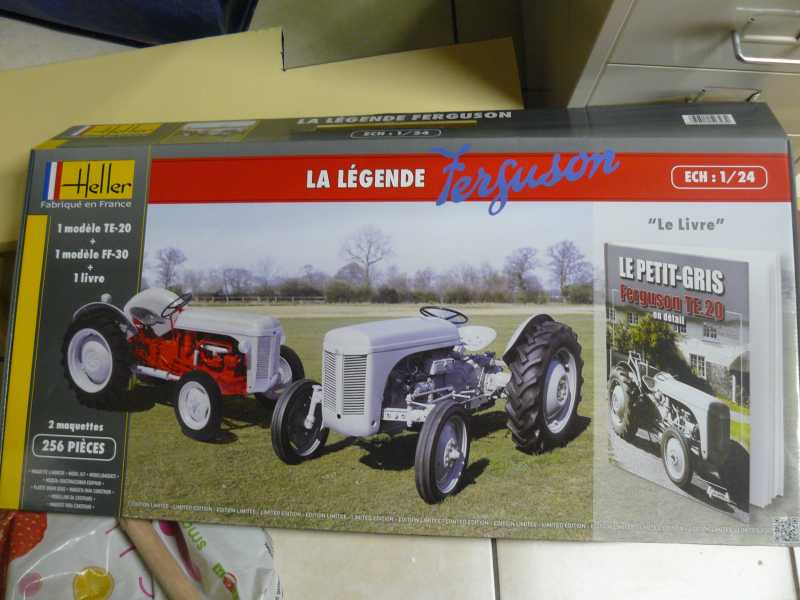
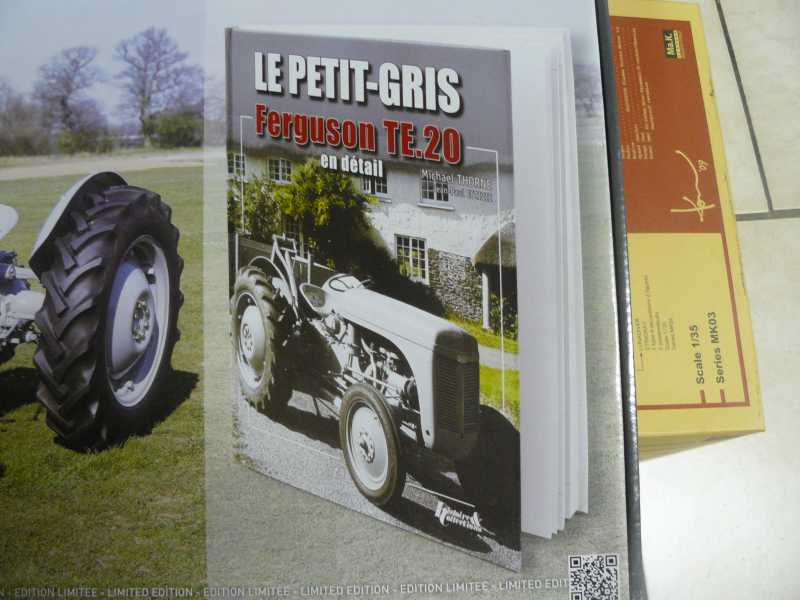
Mats... looks like some good reference material came with yours! I hope you get inspired to build 'er up!
------------------
So, this is a 'big' scale kit for me at 1/24 (I try to stick with 1:35). Being this big, I see it as an opportunity to fill-in the gaps where details were omitted or simplified. I think it stands out otherwise.
First thing noticed, the lack of bolt heads and pin heads on the lifting arm. Fixed with some styrene rod and hole punch knock outs...
 Ferg update 1
That oil filler cap must have been overlooked....
 Ferg update 1
Here's what one should look like...
 Ferg update 1
So with some styrene and hex punched slugs it goes from:
 Ferg update 1
to...
 Ferg update 1
The whole load balancing/hydraulic action (that which makes the Ferguson 3-point hitch so effective) looked half baked. They put some holes in the 'casting' for pins... but didn't follow through. But, it makes for the perfect starting point if you want to add these things..
 Ferg update 1
Cross drilled with a fixturing wire..
 IMG_0934
Skipping ahead a few steps, here's a pin with cotter pin retainer. I like this big scale stuff!
 Untitled
 Untitled
The entire axle arrangement is not well thought out. Here I was trying to make an extended axle for better glue joint engagement. The supplied axle holds the large rear wheel onto the unit by a single tiny point. In the end, it's not going to be a rolling toy... so I eliminated the inner axles and will glue the rims to the hubs..
 Ferg update 1
Axle alignment and parallelism and squareness is as important as airplane wing dihedral!
(also note: added dipstick on the port on the right side..just visible)
Also note: the fender mounts have holes provided in the flanges already....
 Ferg update 1
So I made the mounting studs and nuts that would hold the fenders on (at least the part that will be showing) (It seems to look lumpy here...not so much so in person...I promise!)
 IMG_1006
 IMG_1004
The distributor is drilled for wires...
 IMG_0929
So is the coil. The Starter got some lug bolts for wires and a side screw impression...
 IMG_0933
Dry fit wires (the thick ones anyway). Thin wires will be added later, but drilled ahead of time.
 IMG_6038
 IMG_6039
The sediment bowl needed to be clear. A fuel line is also ready to go between it and the carburetor.
 IMG_0928
more to follow..........


 https://flic.kr/p/WKuJ4g


 https://flic.kr/p/WKuJ4g


