• Modelers Alliance has updated the forum software on our website. We have migrated all post, content and user accounts but we could not migrate the passwords.
    This requires that you manually reset your password.
    Please click here, http://modelersalliance.org/forums/login to go to logon page and use the "Forgot your Password" option.

Double D's :)

Thanks Luiz and Ian!

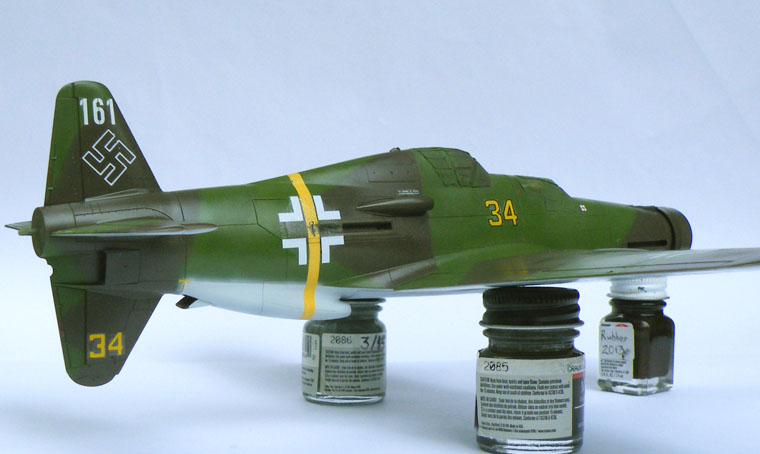
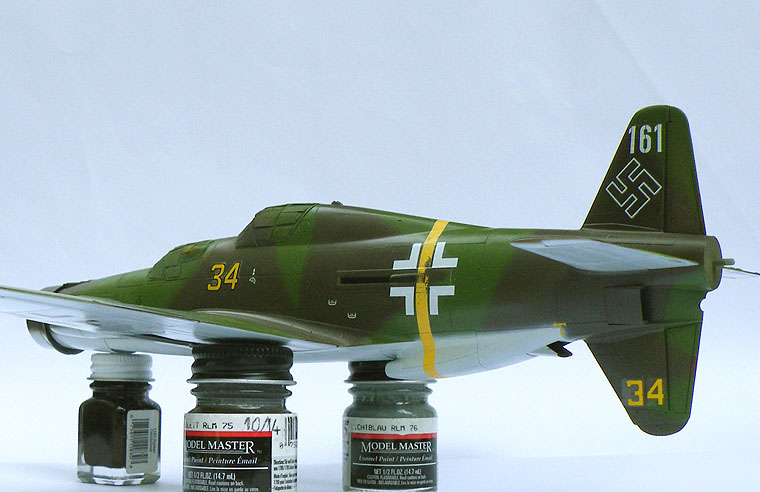
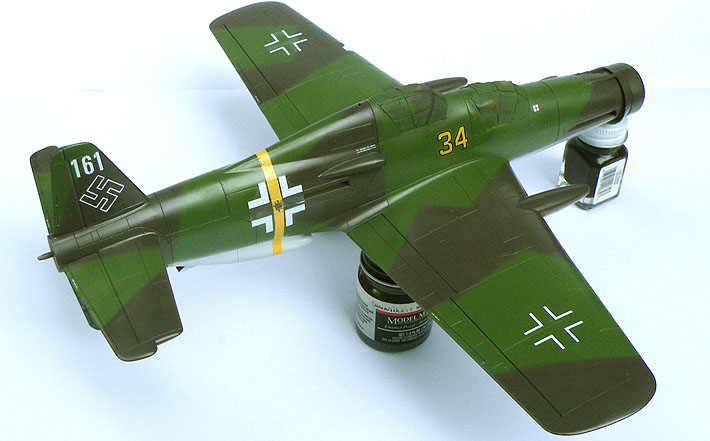
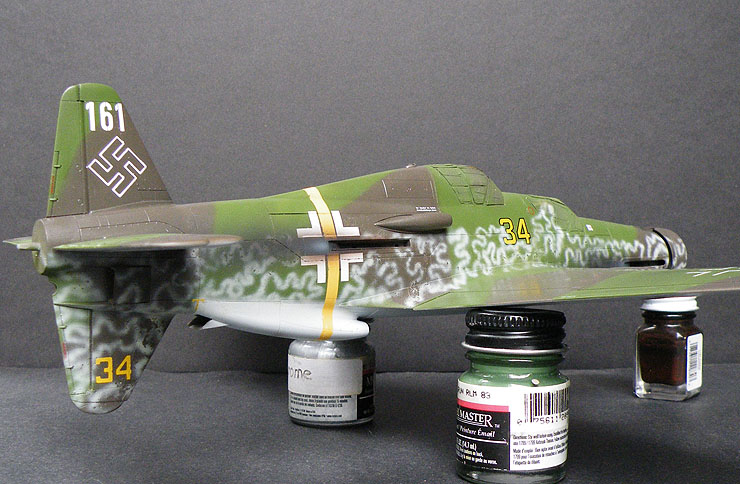
Just a few minutes ago the first coat of Future was sprayed on, by this time tomorrow I should have the decals on it.
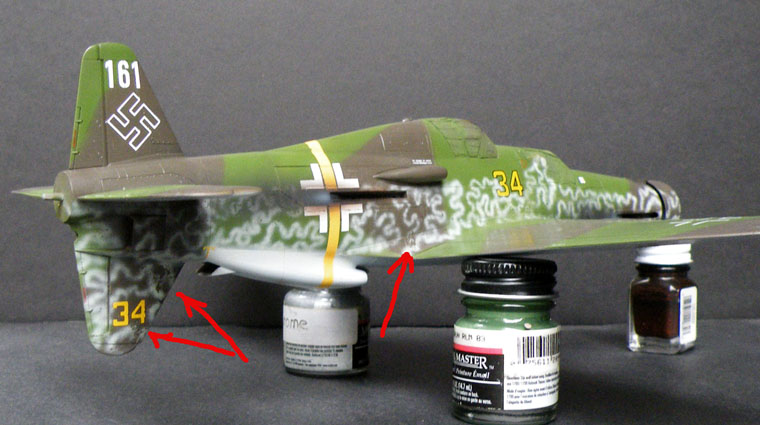
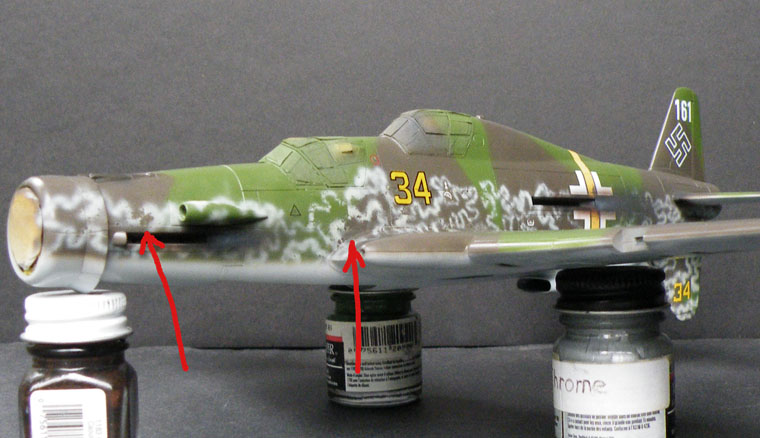
After the markings are on I can go ahead and add the last camouflage color, the effect I am after is if the ground crew had modified the factory camouflage scheme by spraying on a third color to help break up the shape of the aircraft viewed from a distance.

Matrixone
 
Thanks for looking Luiz!

All the decals are on the Do 335B-12, in these pictures it looks like some of the decals have silvered but that's simply those that have not had any setting solution added yet, it will be done a bit later today.

hbfd52e0.JPG


h1a9566c.JPG


h21f8cf8.JPG


hbc77ff2.JPG


h66c5f6e.JPG


When the decals are 100% dry I will finish painting the camouflage scheme, I needed to do it this way because I want the other camouflage color to be sprayed right next to some of the markings but not underneath them.

Matrixone
 
Thanks guys!

Here are some in-progress pictures of the Do 335B-12.

The final camouflage color has been sprayed on the lower fuselage sides. Before I sprayed on the scribble I used the salt weathering technique to give the impression the field applied paint had flaked off in a few places.
The red arrows point to some of the places where the paint is worn off.

h818efd2.JPG


h4953d04.JPG


I also went ahead and sprayed on the exhaust stains.

hf0941d3.JPG


h86a8786.JPG


h0827b0c.JPG


h064846c.JPG


Next I will add some light paint chipping near the wing roots before I spray on a thin coat of Future in preparation of the weathering to come with oil paints.

Matrixone
 
Top work, friend. Don't envy you trying to get that yellow band around the lower intake, I know it's do-able but it would certainly strain my patience. Kudos to you for that, Les.

Ian.
 
Thanks Piet, Bob, Ian, Ed, and Mike!

No pictures today, I added some paint chipping along the wing roots just a short time ago and later today will give the model a thin coat of Future to seal the decals and to protect the painting that was done after the decals were put on.
As is usual with my models I like to add paint chipping at different stages of weathering in an attempt to give the wear and tear a more natural look.


Matrixone
 
Looks like you're approaching the home stretch now. Tremendous work Les, this is going to be one of the stars of your shelf!
 
Back
Top