• Modelers Alliance has updated the forum software on our website. We have migrated all post, content and user accounts but we could not migrate the passwords.
    This requires that you manually reset your password.
    Please click here, http://modelersalliance.org/forums/login to go to logon page and use the "Forgot your Password" option.

DML 1/35 M-46 Patton

Adam Baker

Active member
Dragon's M-46 Patton in a Korean War scheme.
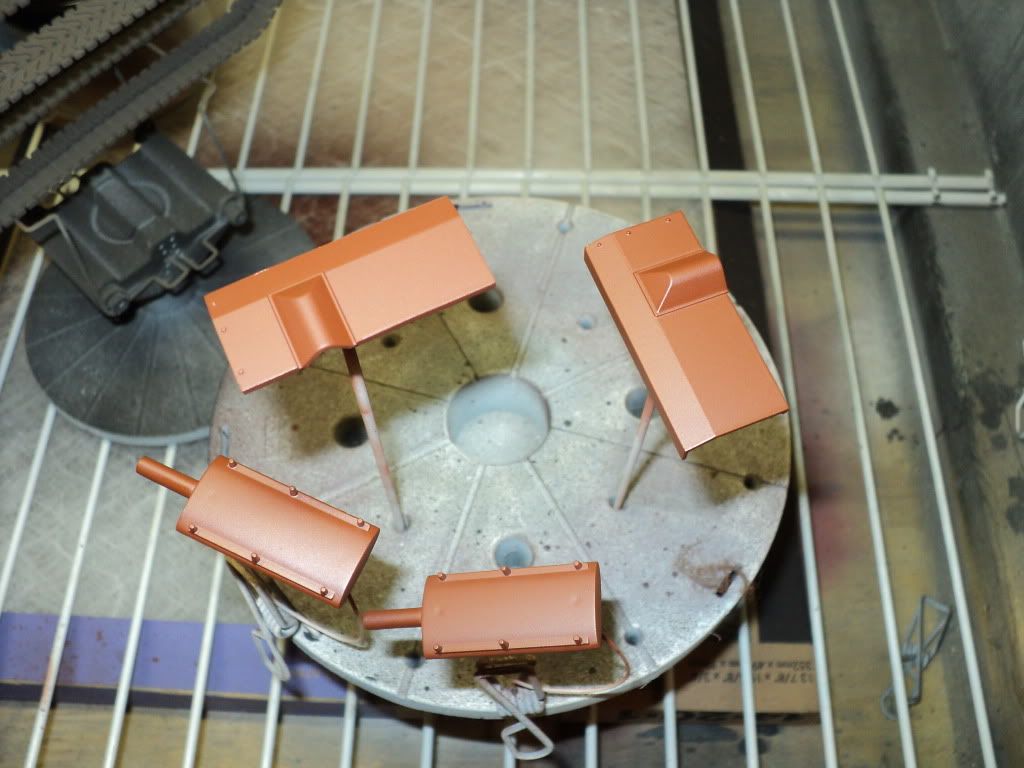
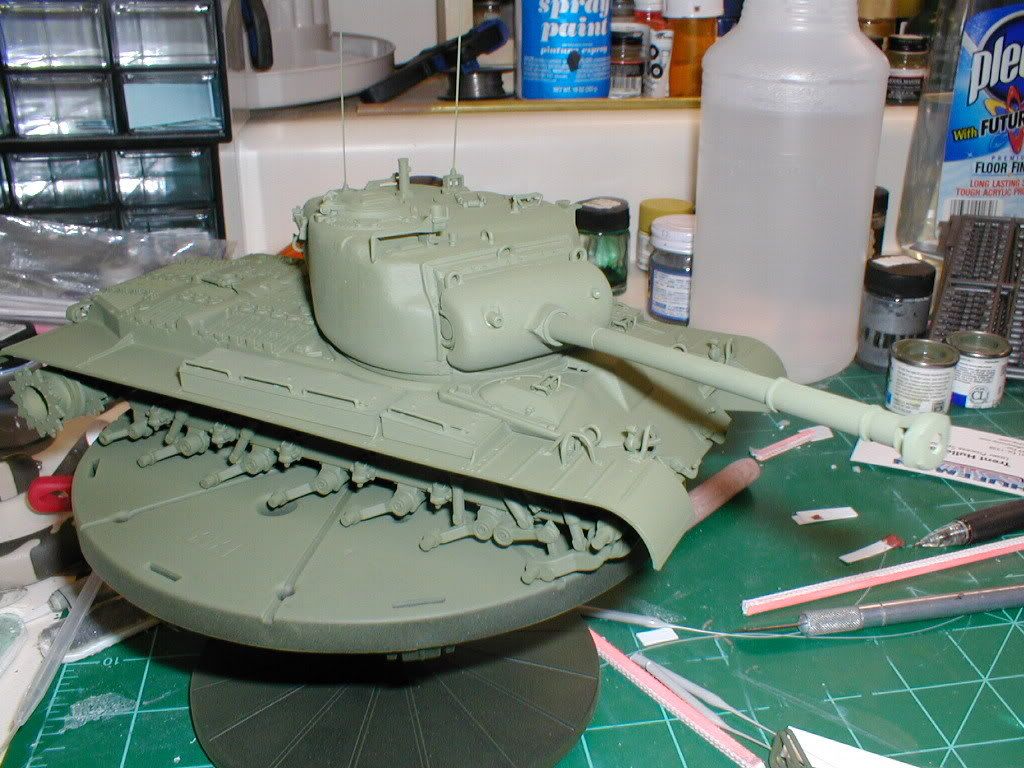
Prior to paint

M46_01.jpg


First coat of paint

M46_14.jpg


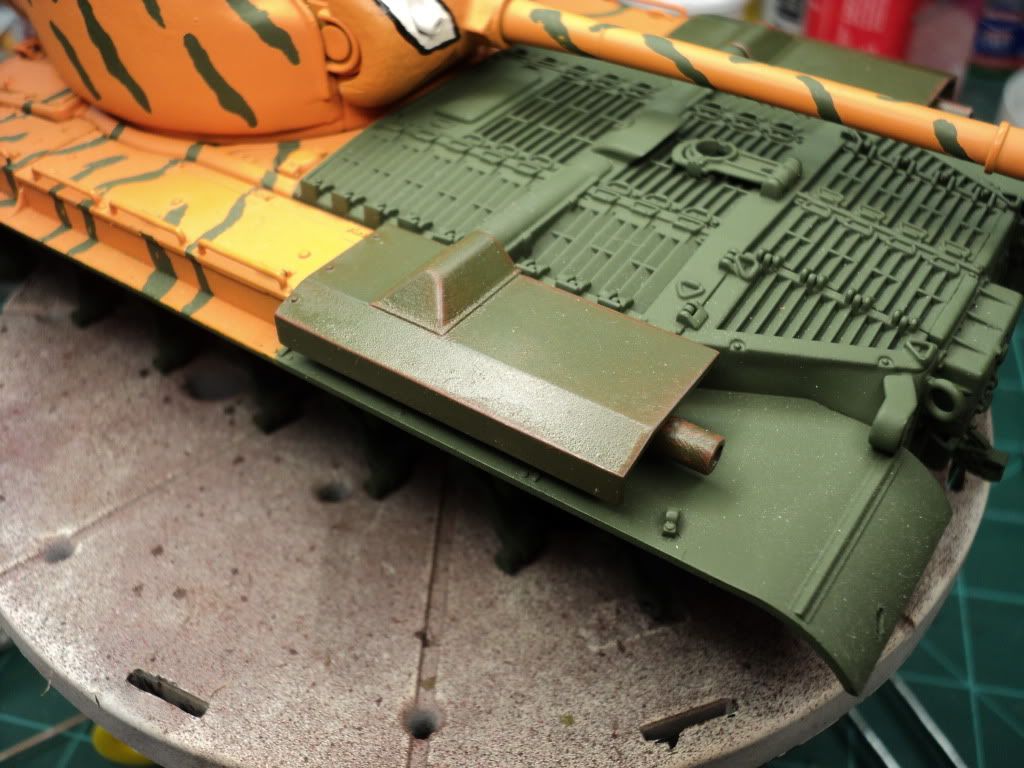
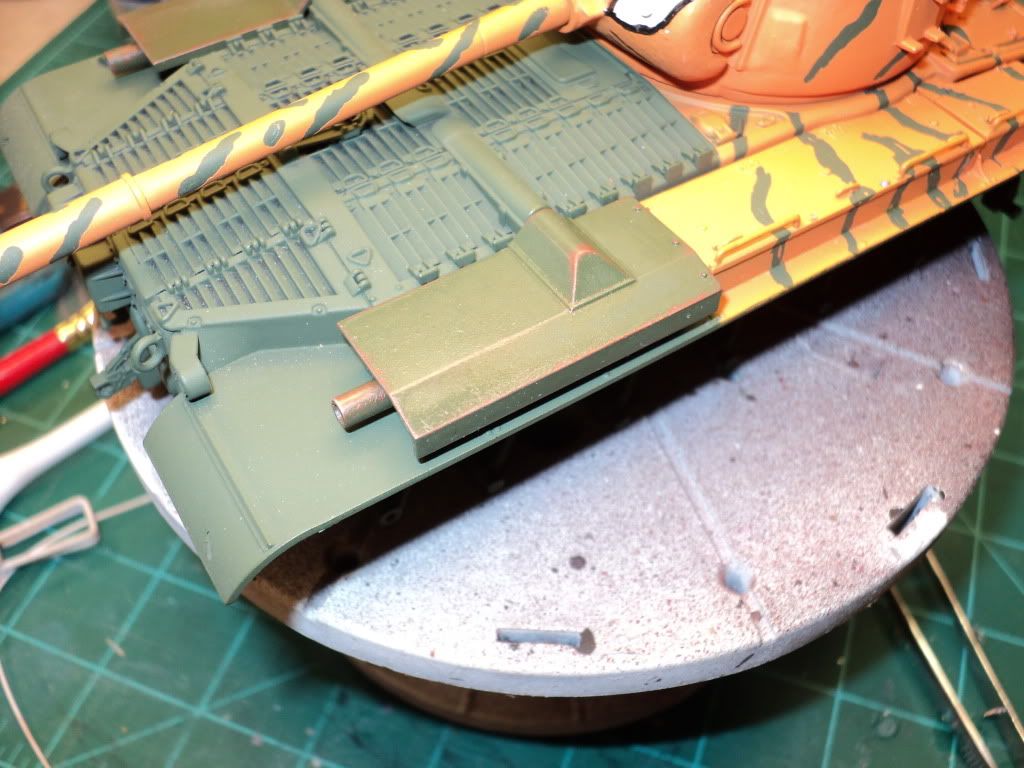
Started working on the Tiger Scheme

Custom Mixed orange

M46_30.jpg


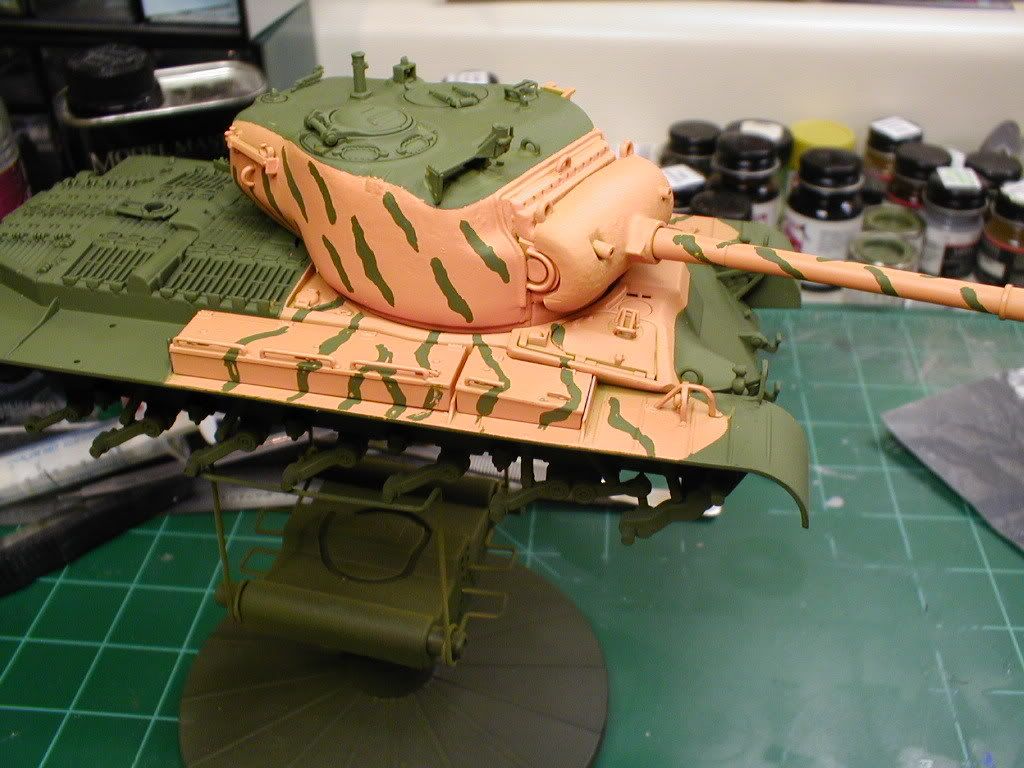
And then the Tiger Face painted on.

M46_41.jpg


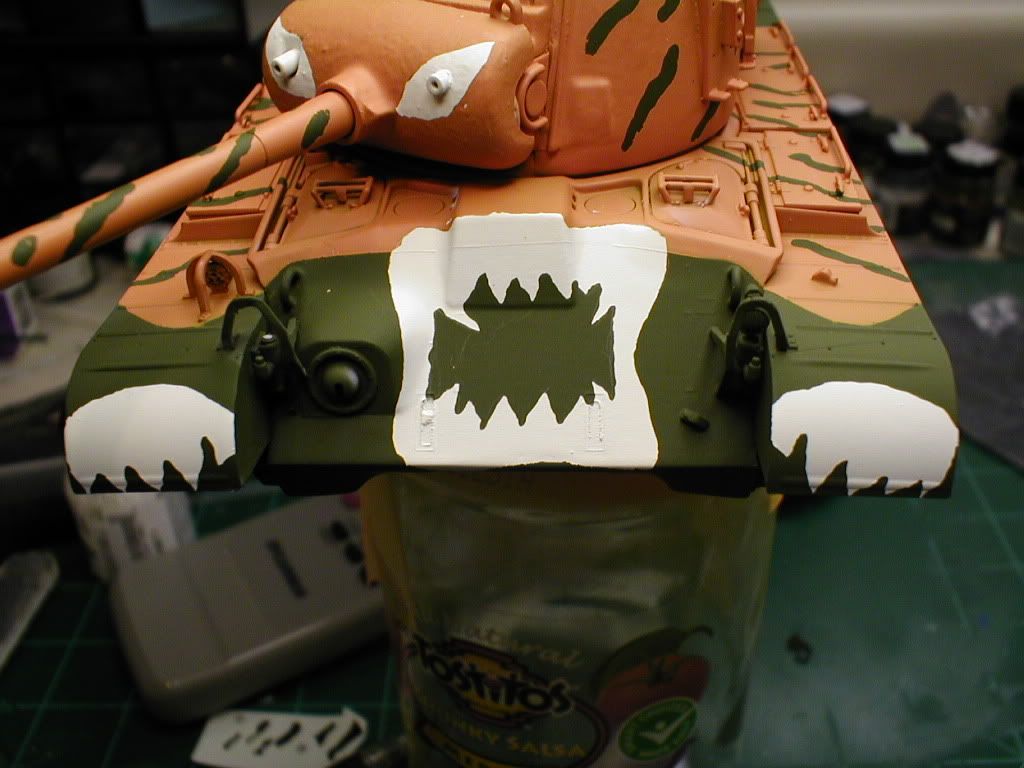
This is about where it sits right now. I outlined the tiger face parts in black, but I dont like how they look, I did them w/ a brush, but the striping is too large, so I'm trying to figure out how to fix it, but havent decided yet.

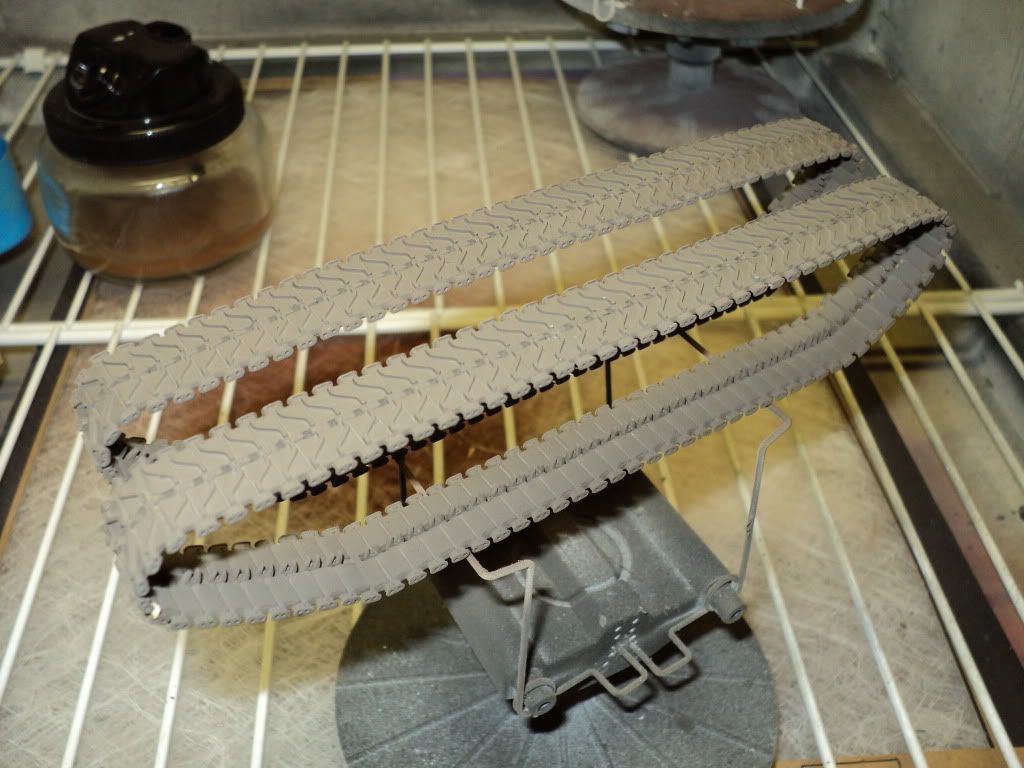
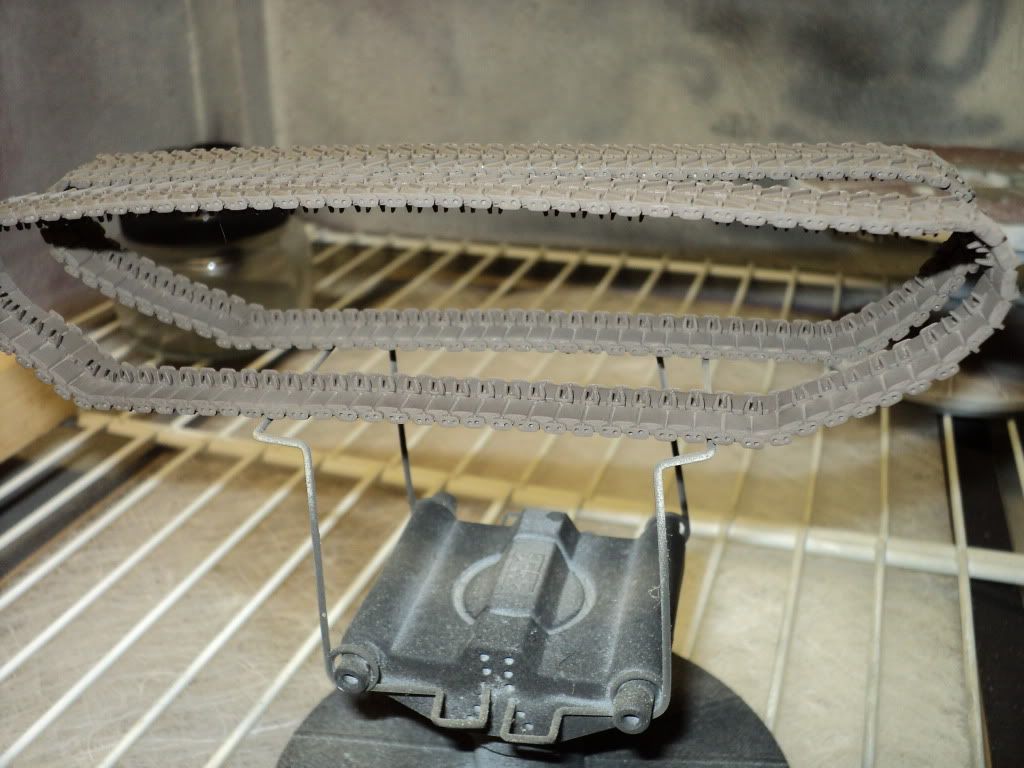
The kit has individual links and I have both sides strung together, but there are individual guide teeth as well which make the already frustrating links, even worse.
 
Chicks dig it!

The_Andrews_Sisters.jpg


You've go the hard part whipped, knock out those tracks!! (y)
 
Pulling this one back up from the briney depths.

Now that I've completed my Kugelblitz, I've started working on this one again. Last weekend, I finally got around to finishing w/ all the individual guide teeth for the tracks, I had a couple dozen left, at least, that still had to be sanded to remove the sprue marks from cutting them all loose, and then I had to glue them in place.

I also had to glue on about 40 hinge plates on one of the tracks b/c I had the bright idea of removing them in an attempt to make the tracks look better where they went over the sprockets & return rollers. Thankfully I only did it on one side.

So anyway, last week I stopped at the hobby shop, and picked up 2 bottles of Model Master paints, Track Brown and Oiled Metal. I've based the tracks w/ the Track Brown, and then once I future them, I'll dry brush them real good w/ the oiled metal, and give them a nice dark wash to bring out the detail.

M46_46.jpg


M46_44.jpg


And then tonight, I started working on the exhaust components. Last night I got a bottle of Model Master Rust from the hobby shop. Mixed a small batch right into the cup on my airbrush, and away I went. 2 good coats of paint, I think it looks pretty good for a rust base coat. Going to put them into the dehydrator tonight, and then hopefully tomorrow night I might attempt the hair spray method for the first time, to get a nice distressed rusty appearance on these parts.

M46_43.jpg
 
Nope, the kit uses individual link tracks. It was real fun since each track had a separate guide tooth that had to be glued on.
 
Progress!

Used the hair spray method today, to achieve some pretty decent results I think, to obtain rusted exhaust components.

M46_66.jpg


M46_69.jpg
 
Thanks guys. I kinda feel like I'm getting some of my modeling mojo back, so its nice to make progress on things. Unfortunately I made no progress on it today. Worked on another build that kinda backfired, and it killed the motivation I had today.

Hopefully this week I'll get it futured so that I can start on the weathering.
 
Amazing buind, this paint job looks to be "intense"...
keep going mate!
We'll wainting for you!!! :drinks
 
Adam, MOJO is a false state of mind, you only lose your train of thought for a time. :geek

Concentrate Buddy
Tony lee :)
 
Back
Top