I need to try the new Alclad stuff since my SNJ paints are... umm... dry.
Regards,
This plane brings a smile each time I see it. Nice!

Regards,

Modelers Alliance has updated the forum software on our website. We have migrated all post, content and user accounts but we could not migrate the passwords.
This requires that you manually reset your password.
Please click here, http://modelersalliance.org/forums/login to go to logon page and use the "Forgot your Password" option.
This plane brings a smile each time I see it. Nice!
 Cheers, Christian B)
 . Can any one give me some tips on how to best get a good looking mottle on this airplane?
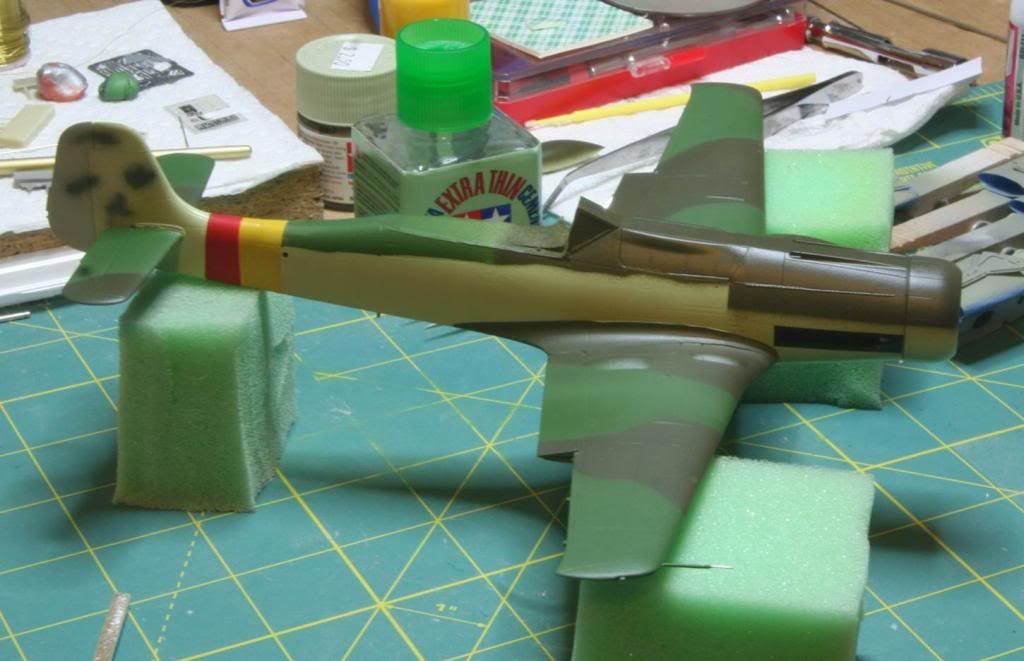
")
Hey guys. Sorry for the delay. I was out of town last weekend hadn’t got as far as I wanted to. Thanks you all for the kind words. And thanks for all the advice on the mottling. More practice is on the way.
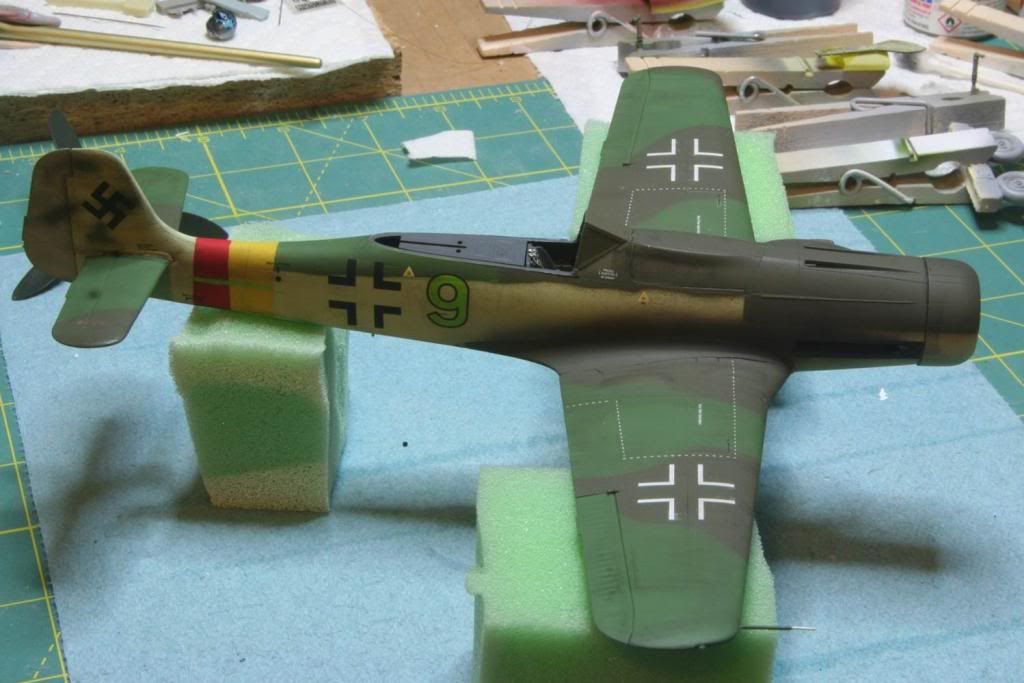
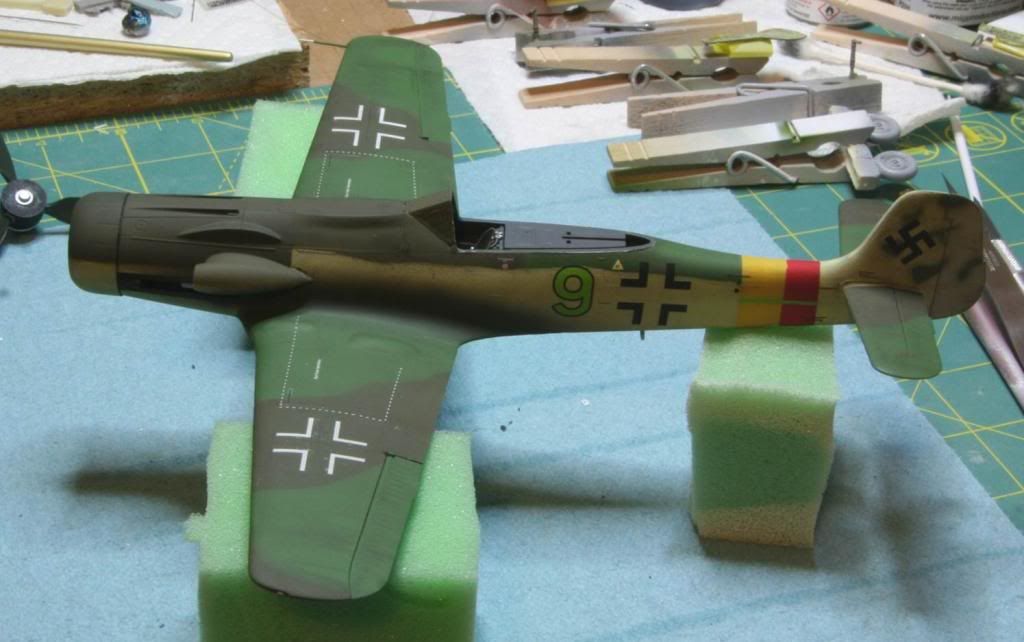
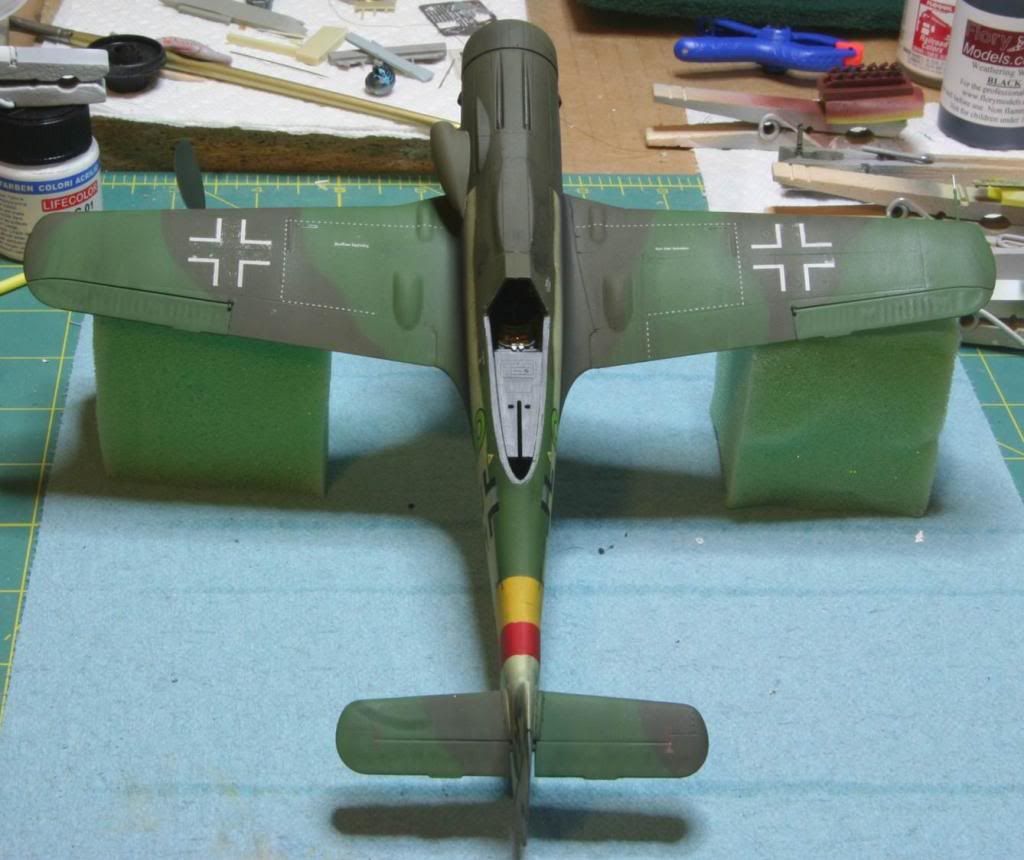
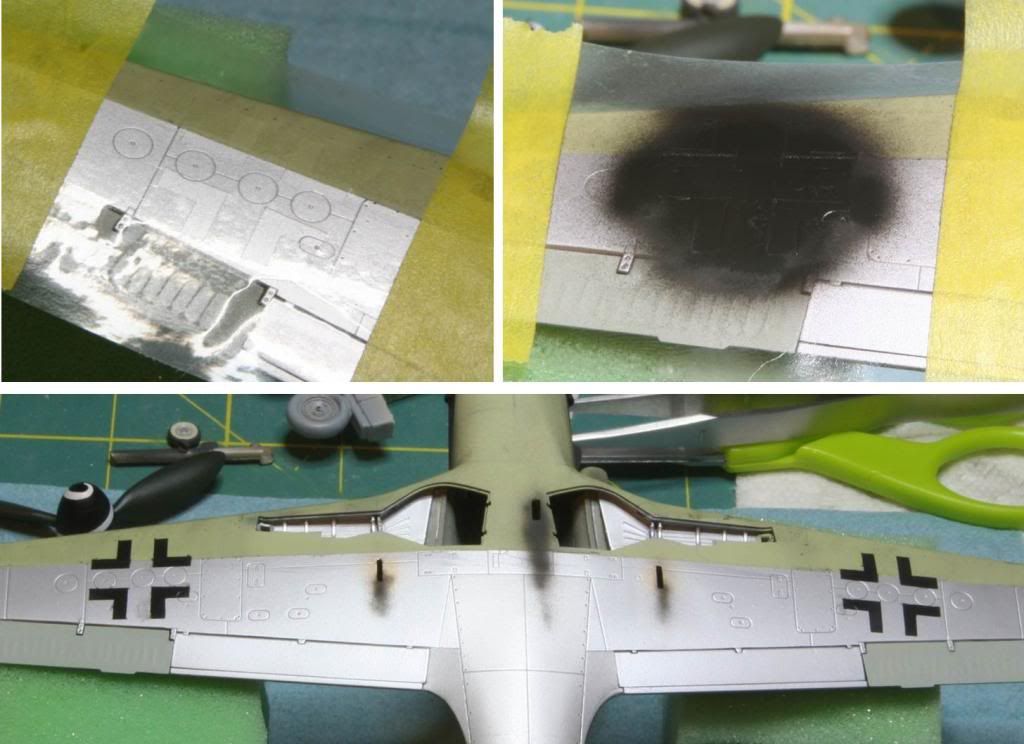
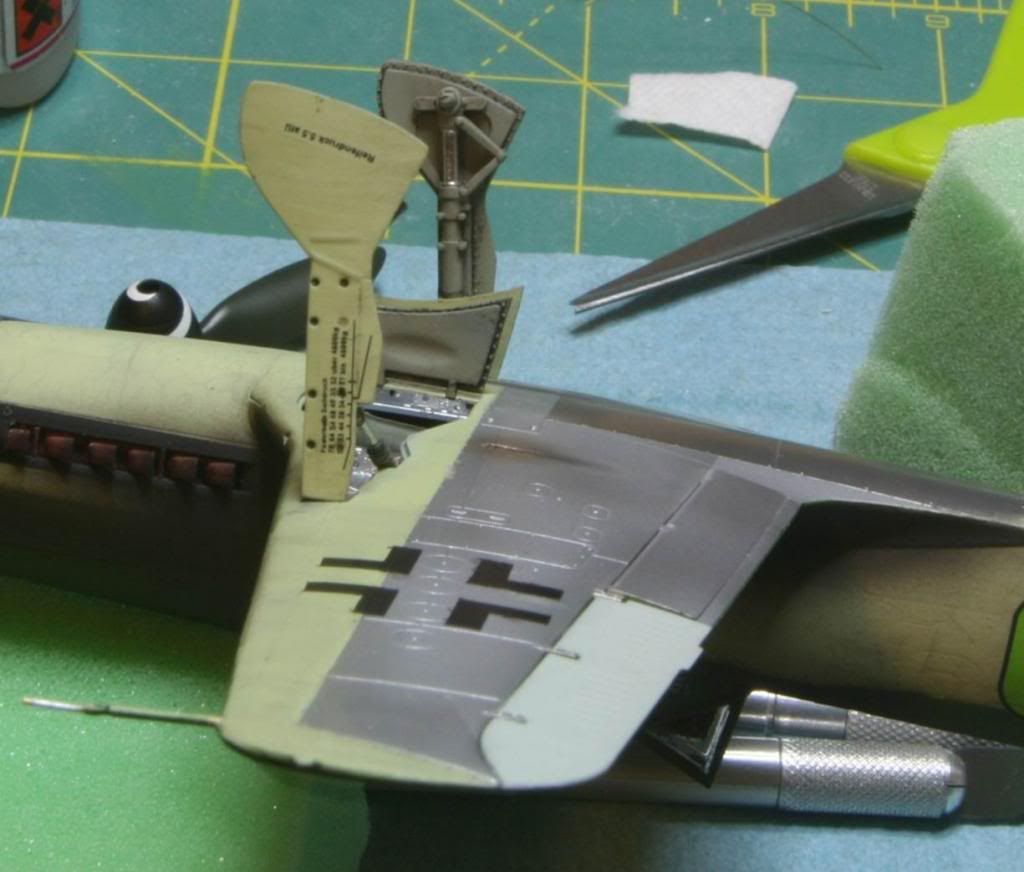
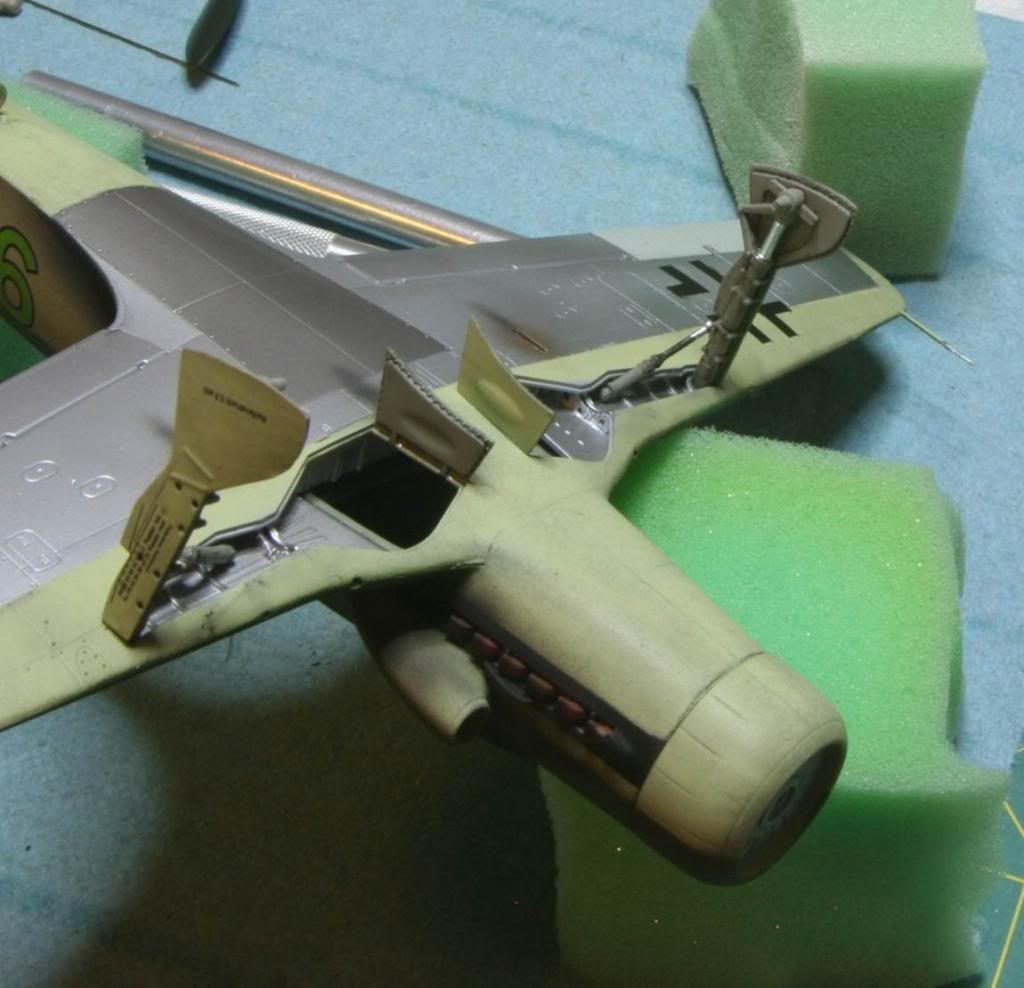
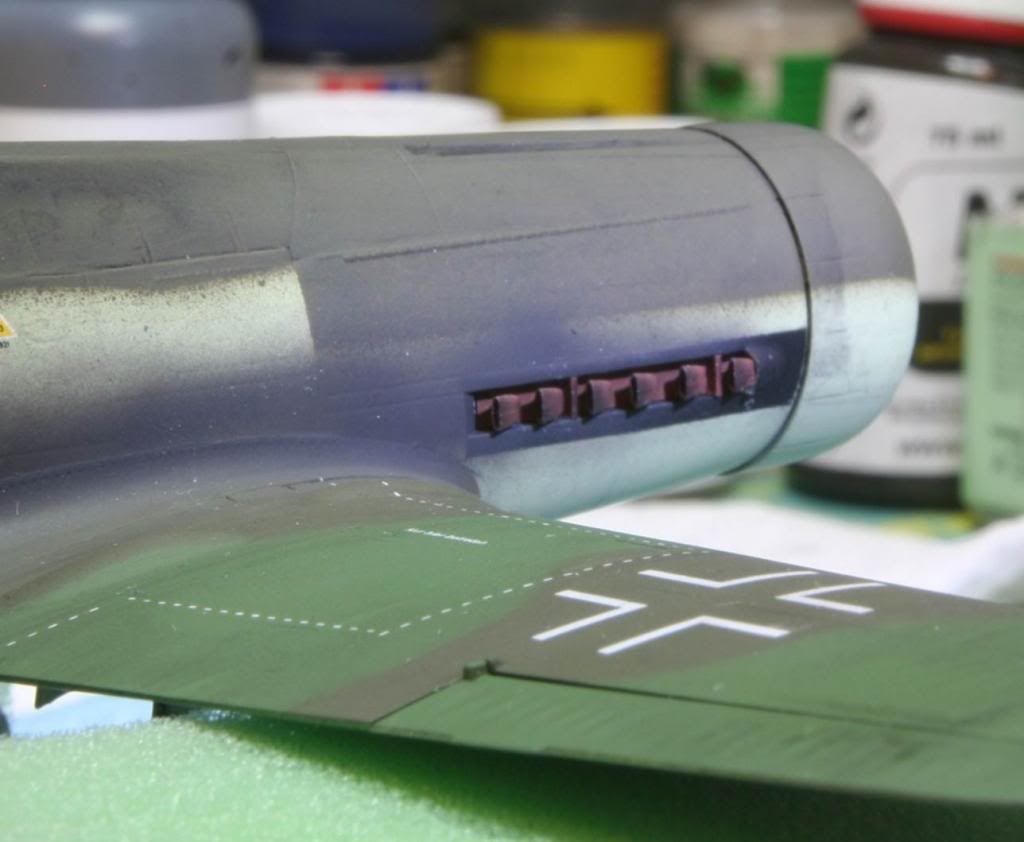
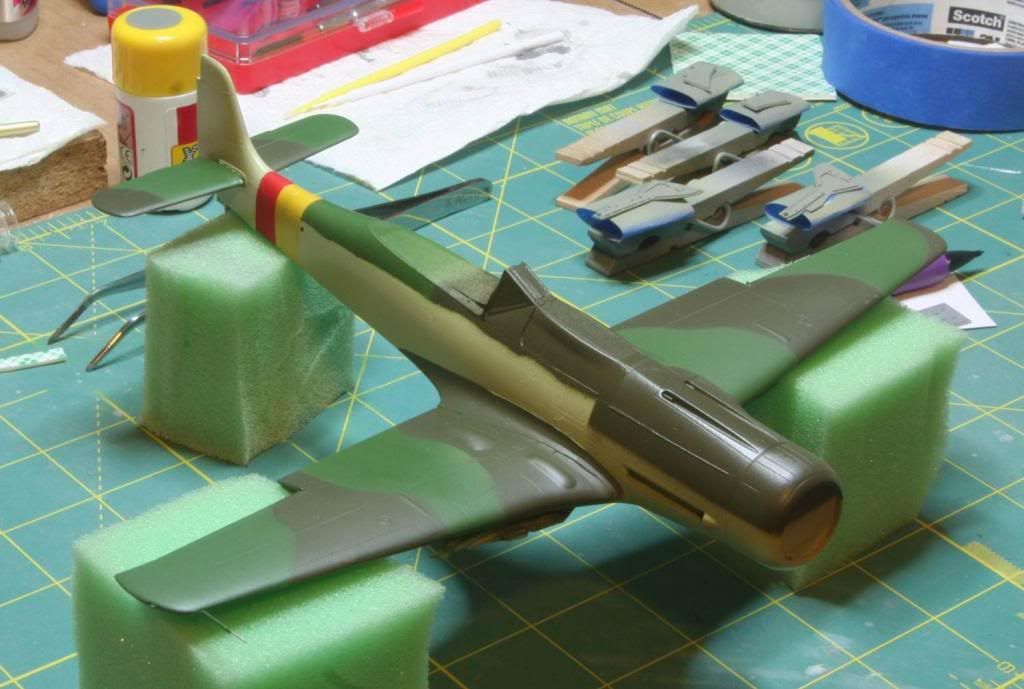
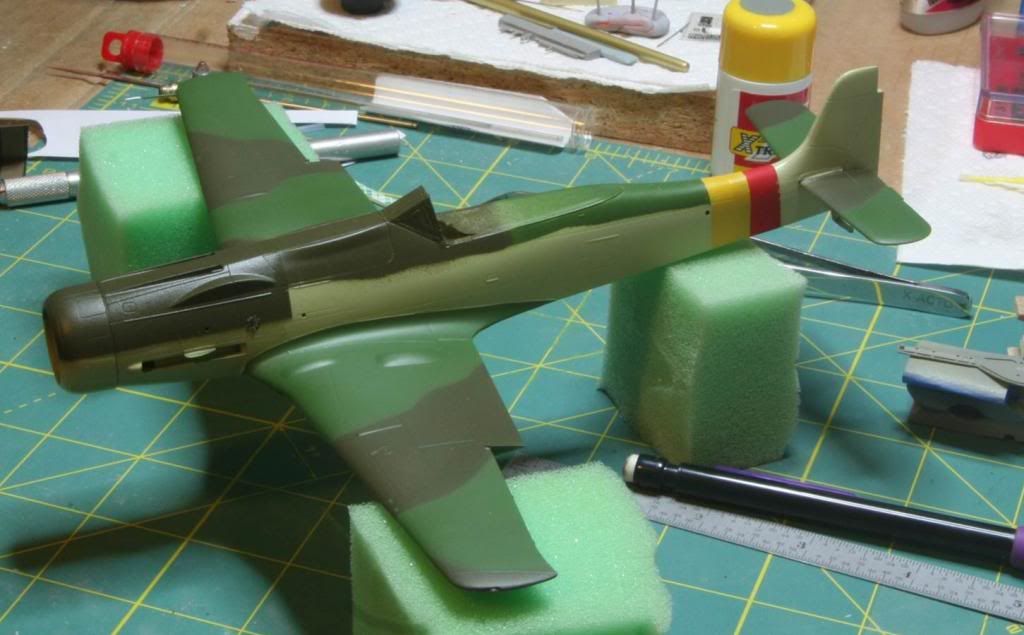
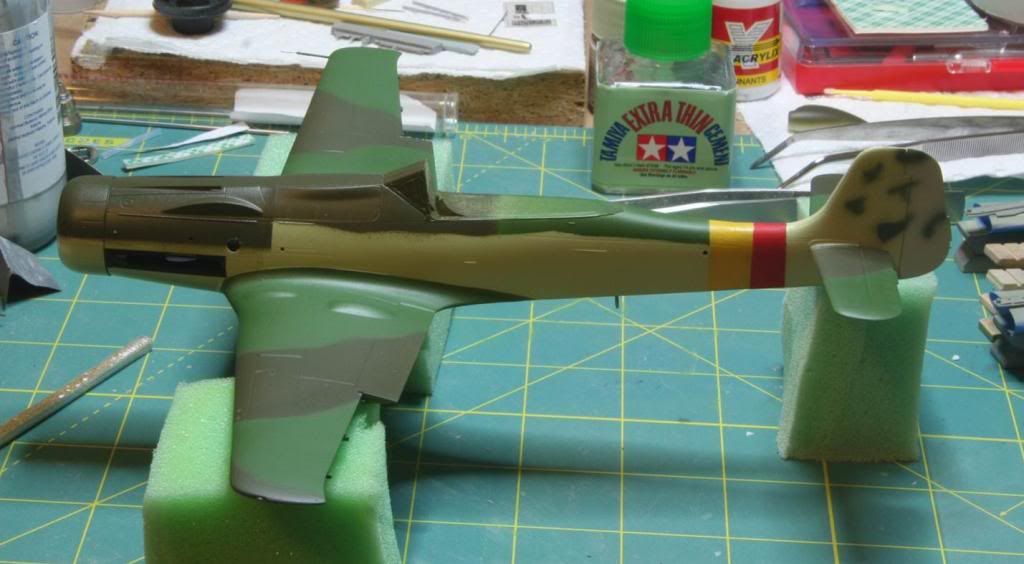
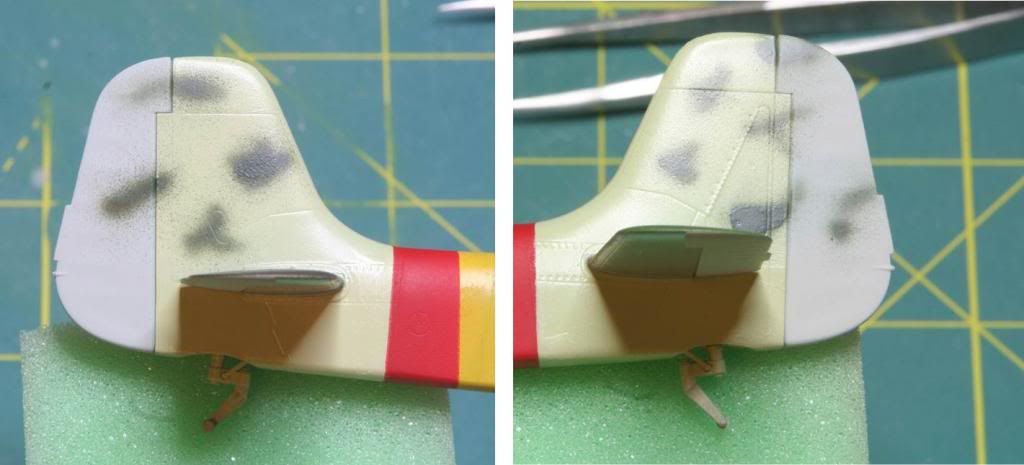
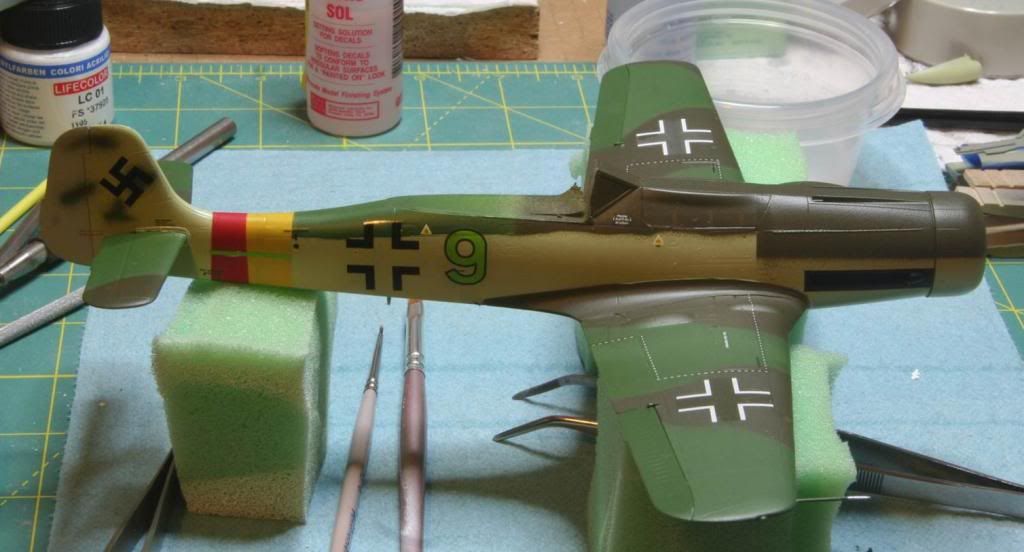
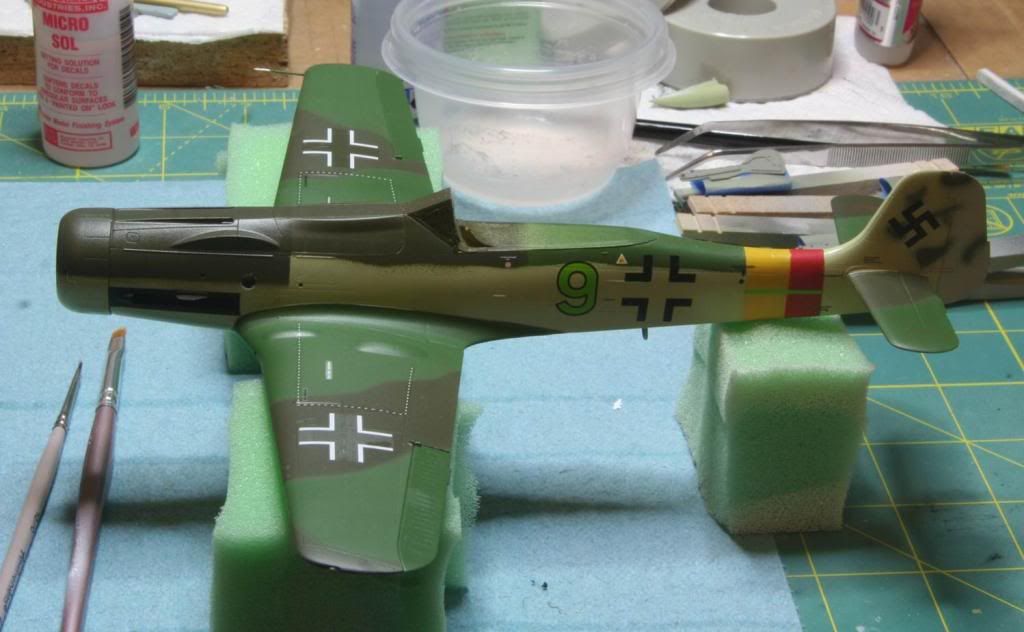
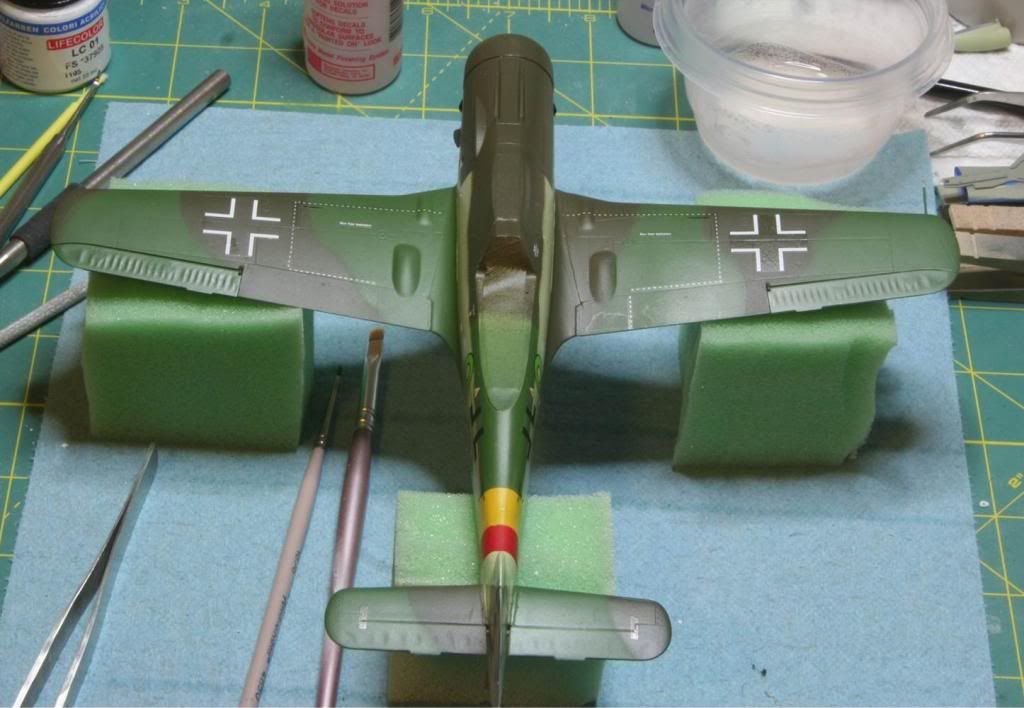
For today’s update I have the decals completed. I used a combination of decals from a variety of places. The stenciling and the national insignias are all from a spare Eduard Fw-190d-9 sheet I had, which are printed by Cartograph. I gave the model a full set of factory stencils based on my references. The wing walkway markings were from the kit. Unfortunately these were really bad. They pretty much disintegrated and wouldn’t move around on the kit. You can see that that there is a missing piece, cause this one blew up on me. The wing for the Ta-152C is different from the D-9 so the Eduard walkways wouldn’t work. Unfortunate, but I’m not going to get too worried about it. I was also going to use the kit supplied green 13, but the green is really dark. Like a dark forest green and I didn’t like it. Also Hobby Boss did not include a matching green squadron bar, so I decided to use the green 9 from my Dragon Ta-152H kit. I have after-market decals for that kit. Green 9 was a H model but really nobody knows that, at least no one that sees my model cabinet! :pp The Dragon decals are also printed by Cartograph. I used Micro set and Micro Sol for all the decals and they all responded well.
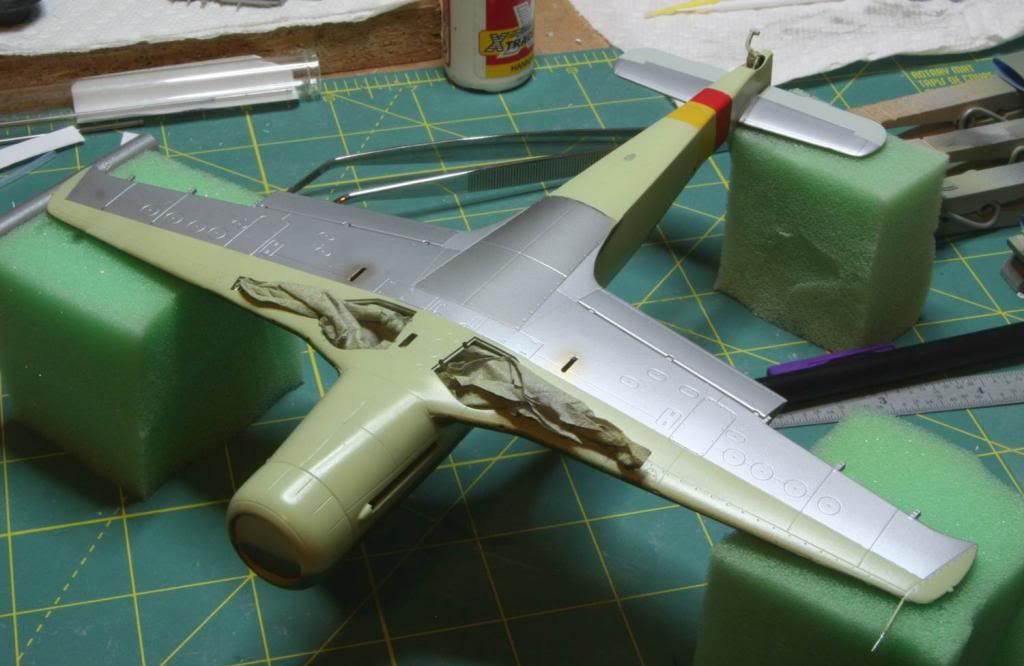
I haven’t put the crosses on the bottom of the wings yet. I’m nervous about decaling over the Alclad and losing the metallic affect so once the weathering is done and the flat coat is on, I’m going to make masks and spray on my own. Should be fun.
Here are the photos!
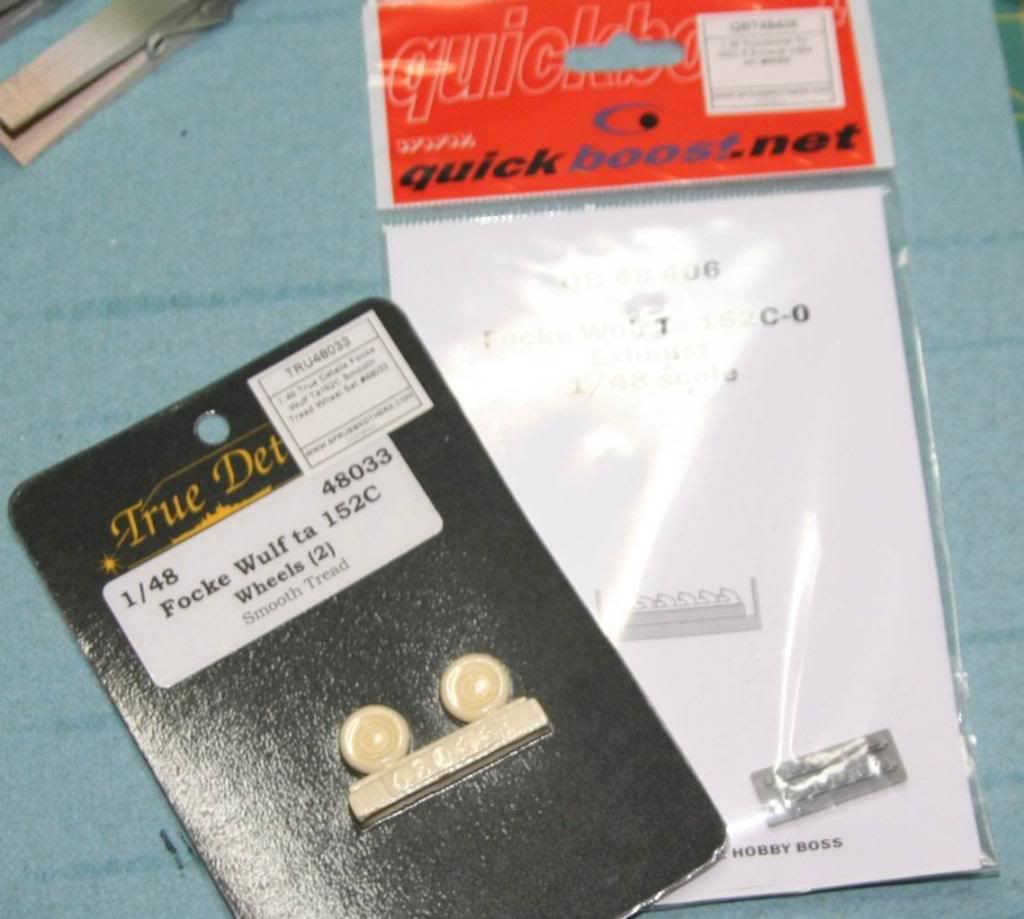
Next step will be a coat of future to seal in the decals followed by some washes to dirty it up a bit. I’ll also be finishing all the remaining piece parts.
Stay tuned
Mike