Duke Maddog
Well-known member
Well, it’s the week after Hobby Day and I’m very happy with the progress I made this weekend. What a great couple days! Here is my latest work, starting with my helicopters and aircraft.
First, I spent time adding all the windows and clear parts to the fuselage of the German Gotha:
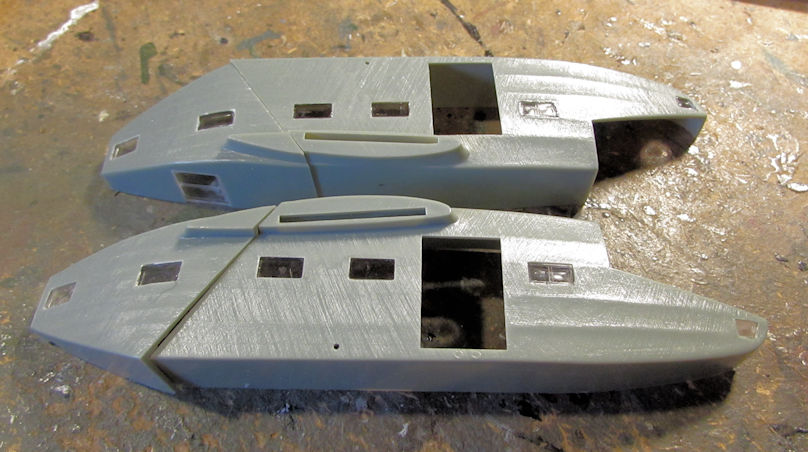
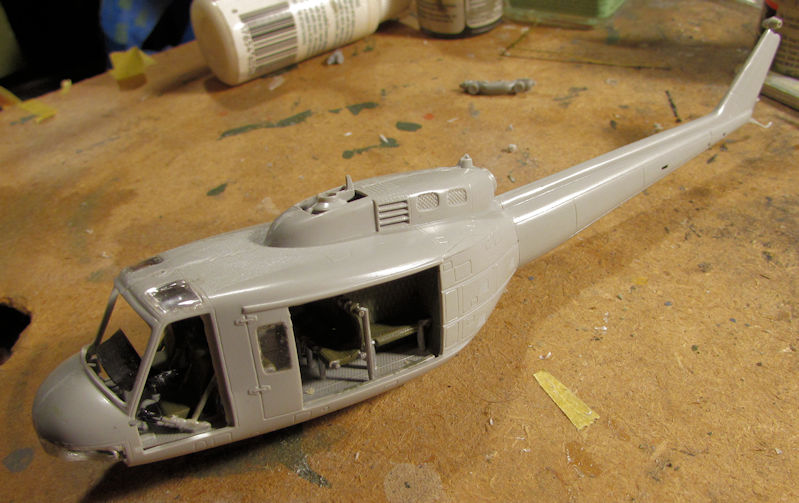
…and to the Huey Hog:
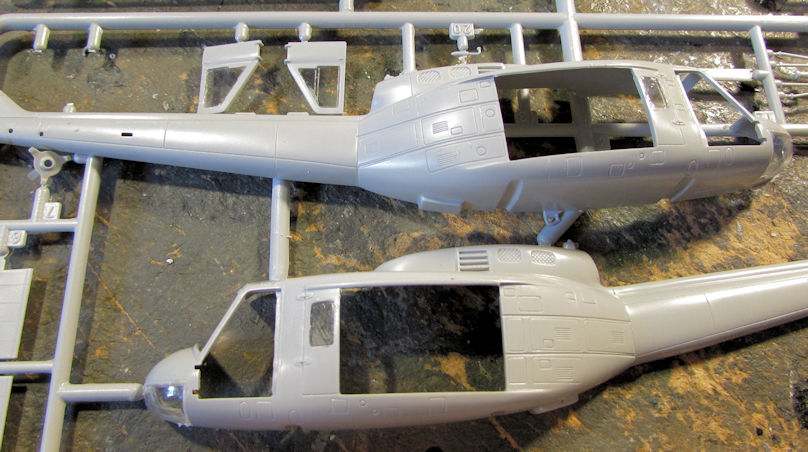
I had already done the same with the HUP 1, so I added the interior to the right fuselage:
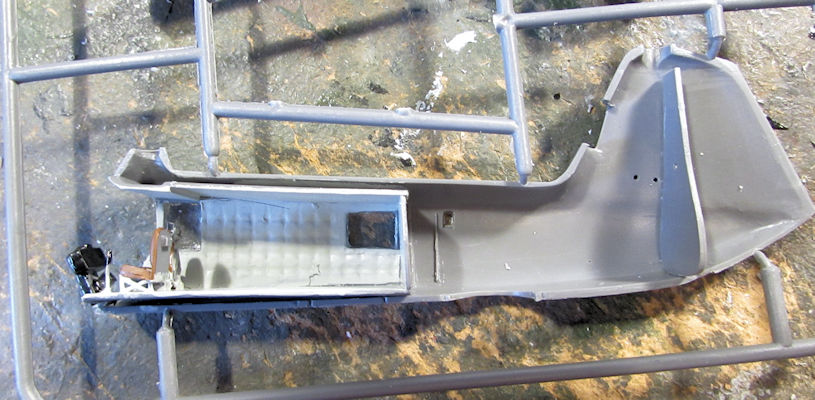
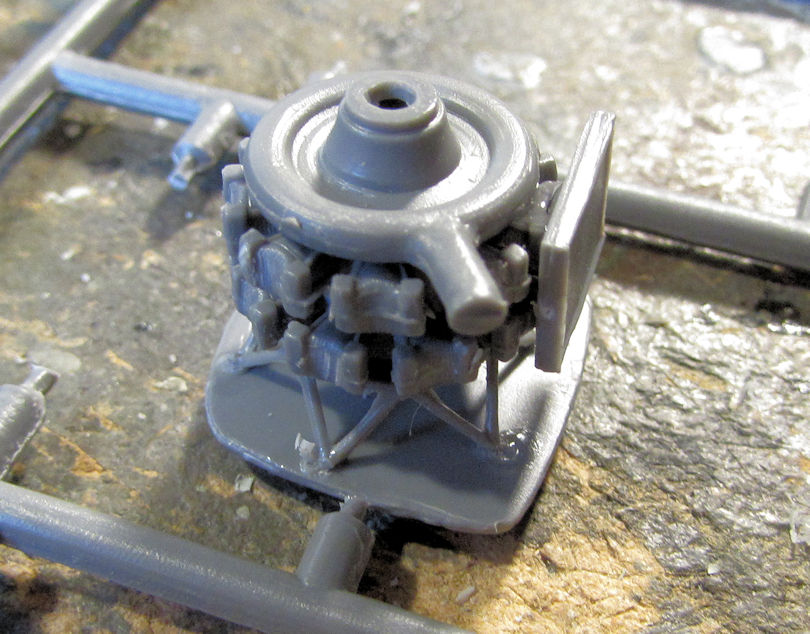
I then built up the engine for this little bird:
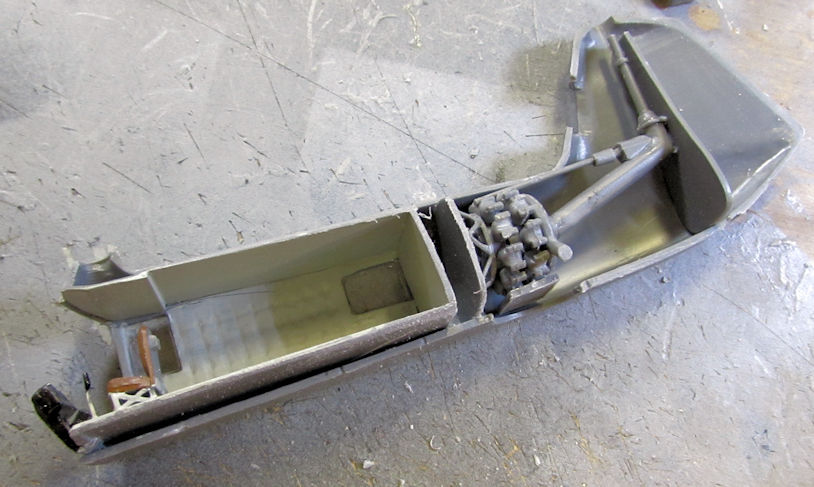
When that was dry, I installed it in with the transmission rods. I didn’t paint it because so much of it won’t be seen:
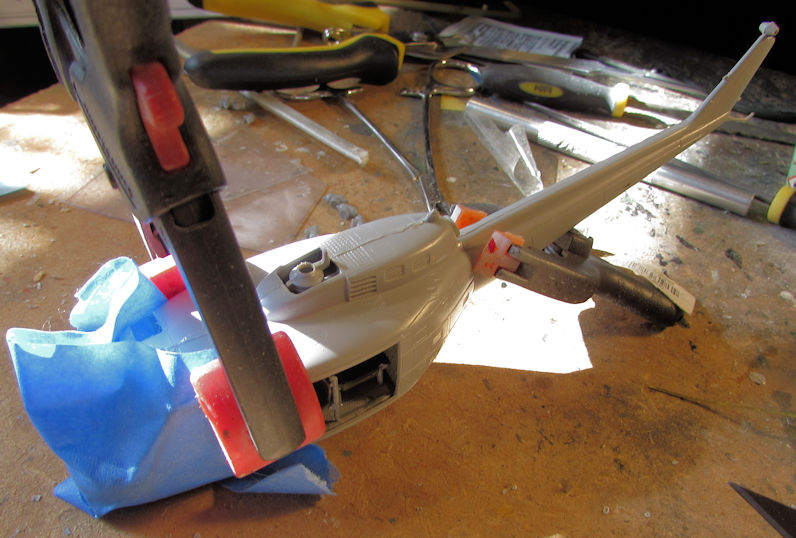
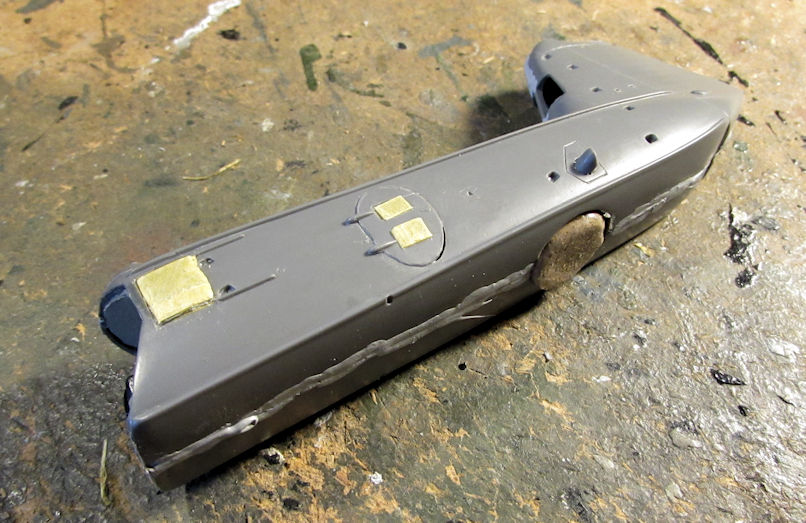
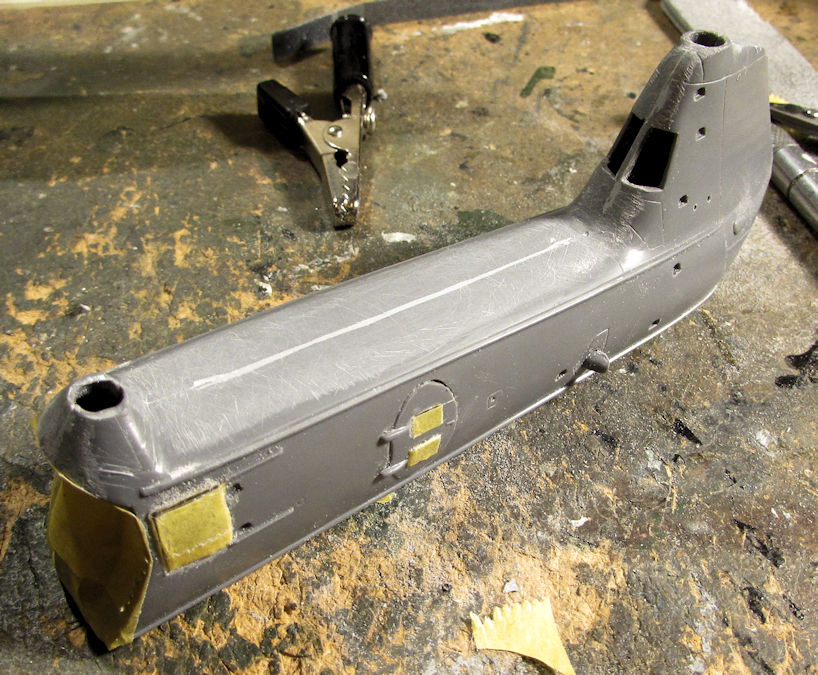
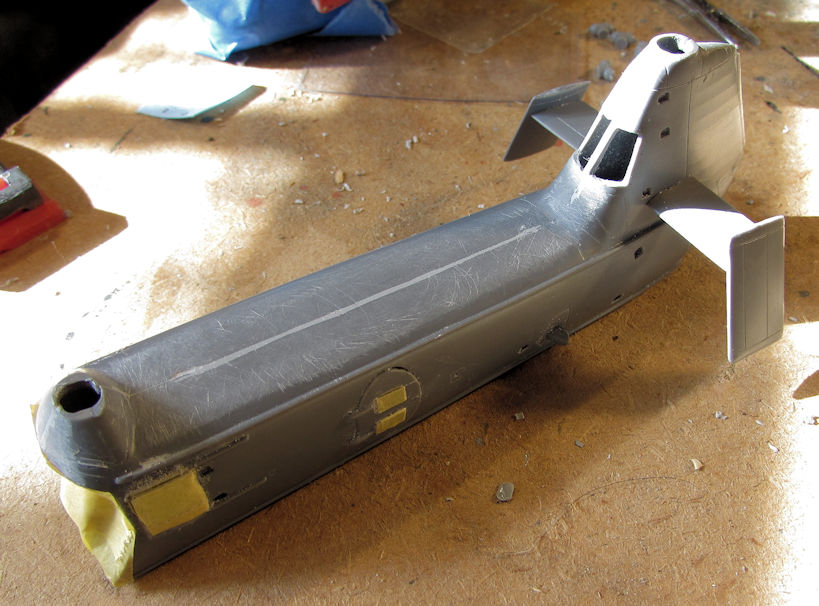
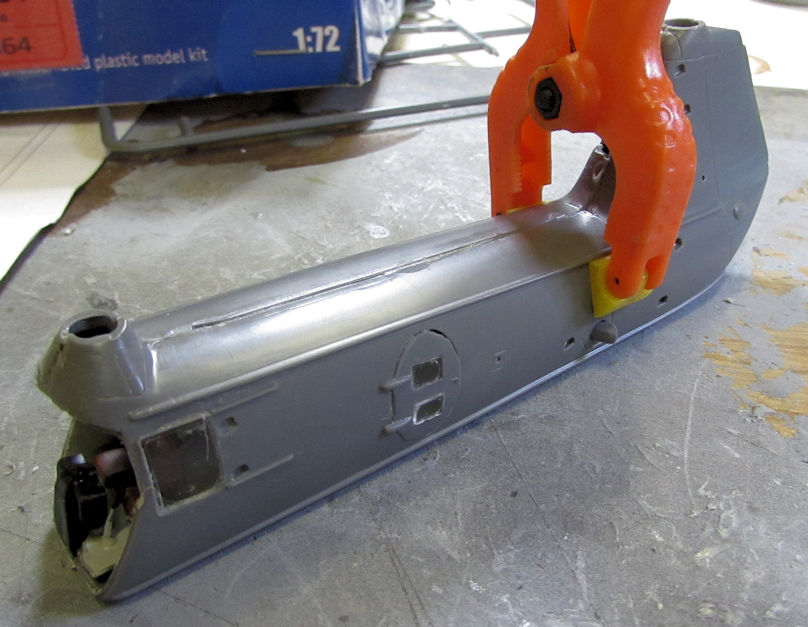
After that, I closed this bird up. You can see there’s a lot of seam filling work ahead of me. I also will have to paint some of the engine interior and transmission rods that can be seen through the open holes:
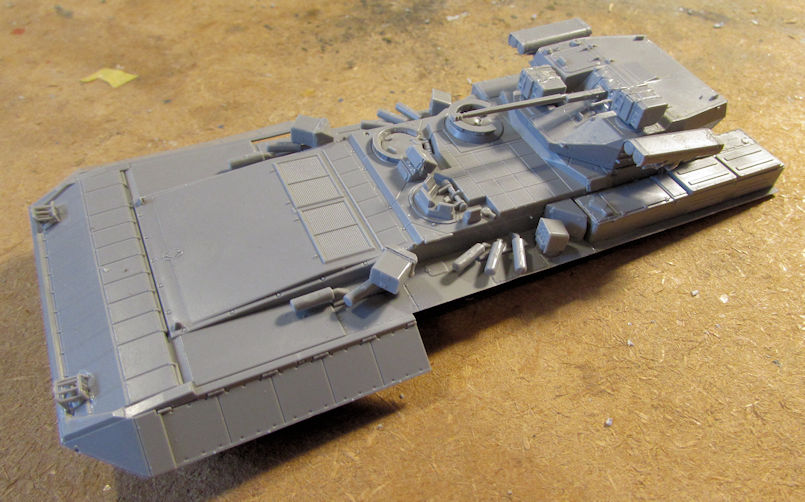
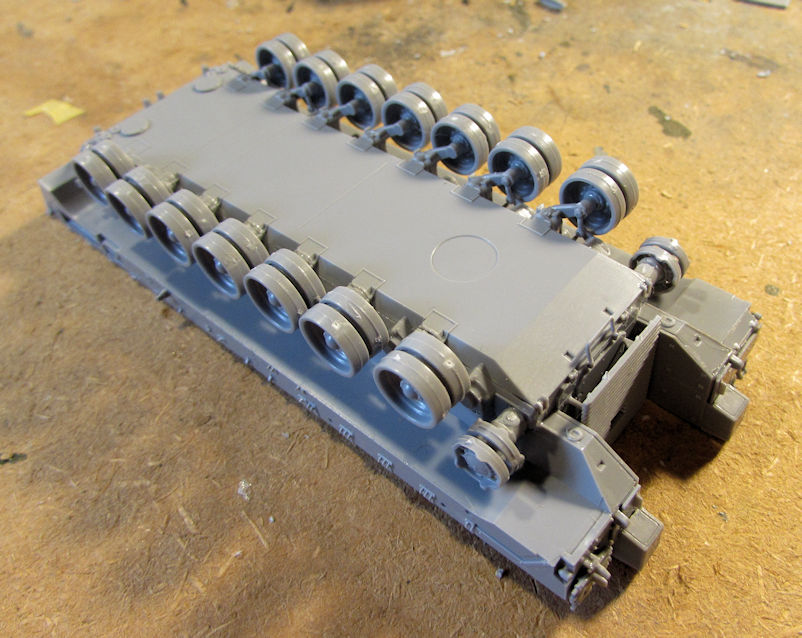
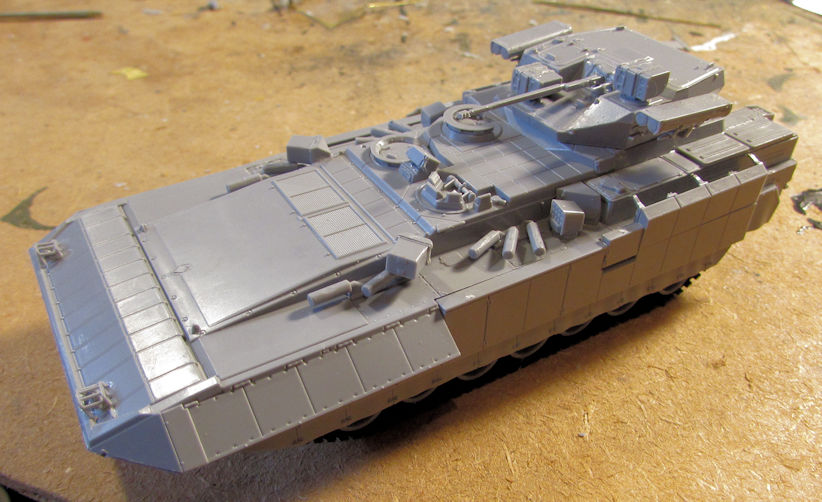
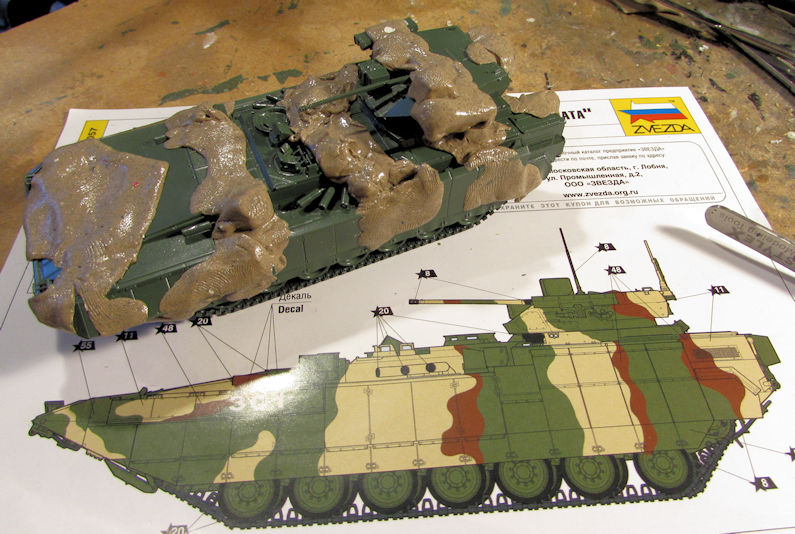
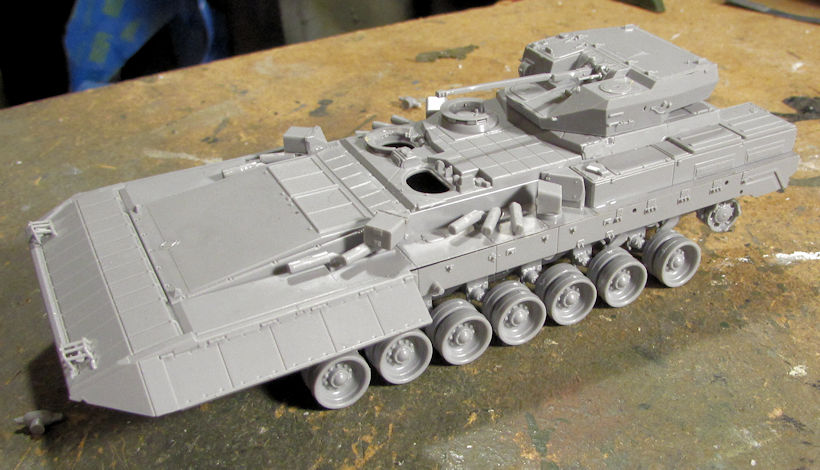
Now moving on to my armor, I first added the detail parts to the turret and then added the roadwheels and sprockets to bring my T-15 Armata closer to paint:
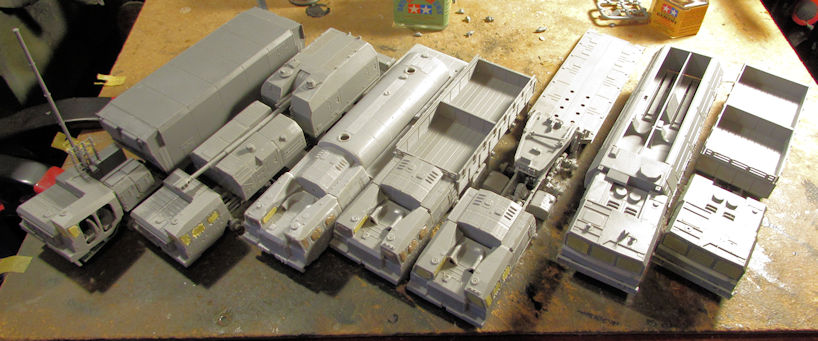
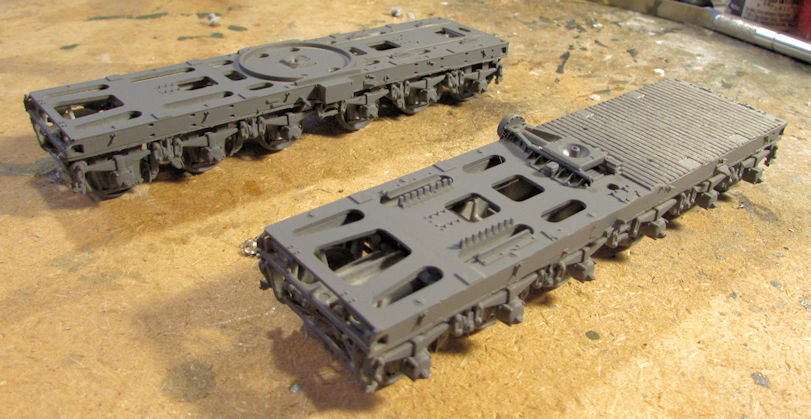
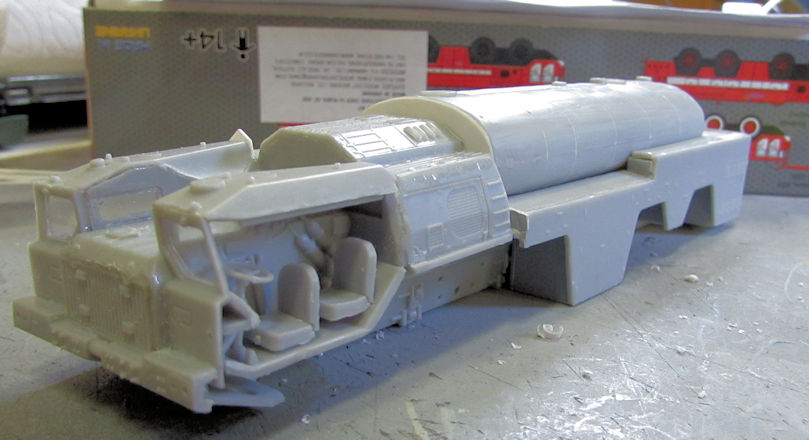
Next it was time to move on the rest of the Russian eight-wheeled trucks. First off, I started work on the AA-60 fire truck/crash tender. This needed the cab added to it. So, I assembled three sides to each cab; after having built the interiors, and then cemented them onto the chassis where they were supposed to go:
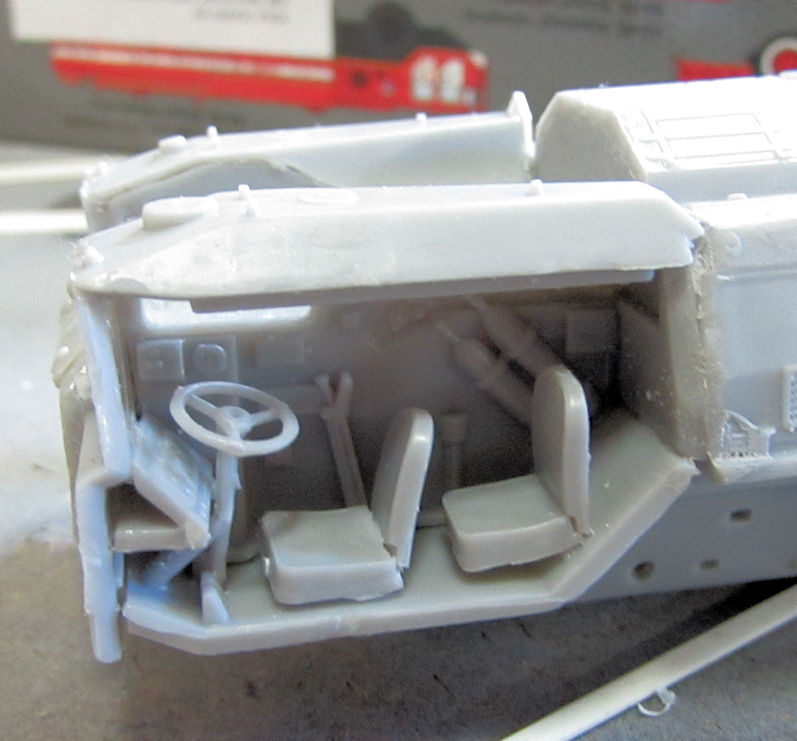
Here you can see the interior of the driver’s cab:
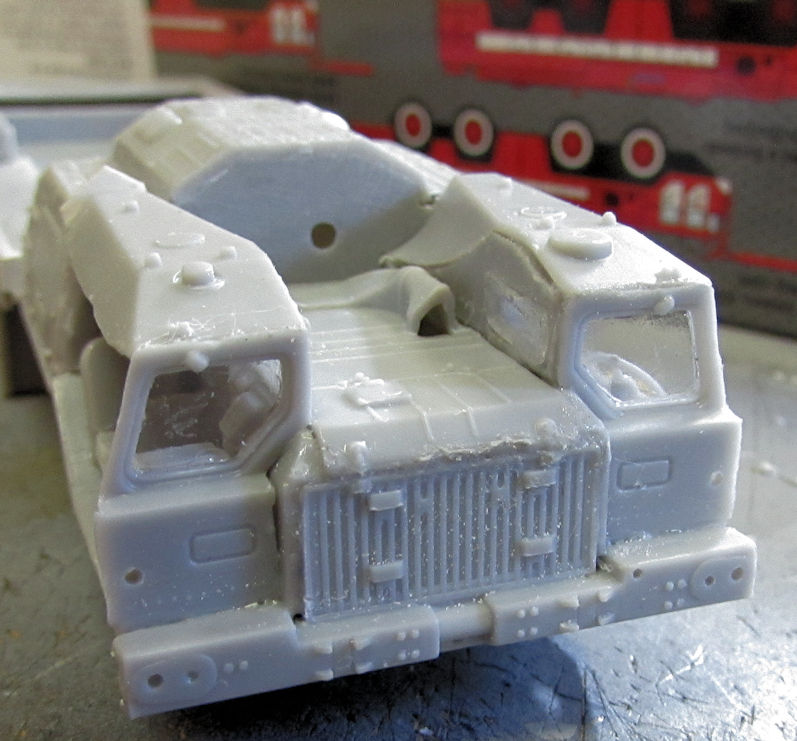
The middle engine cover and front grill needed to be installed at the same time as the cab sides since they were separate parts. You can see here once again how short-run this kit is:
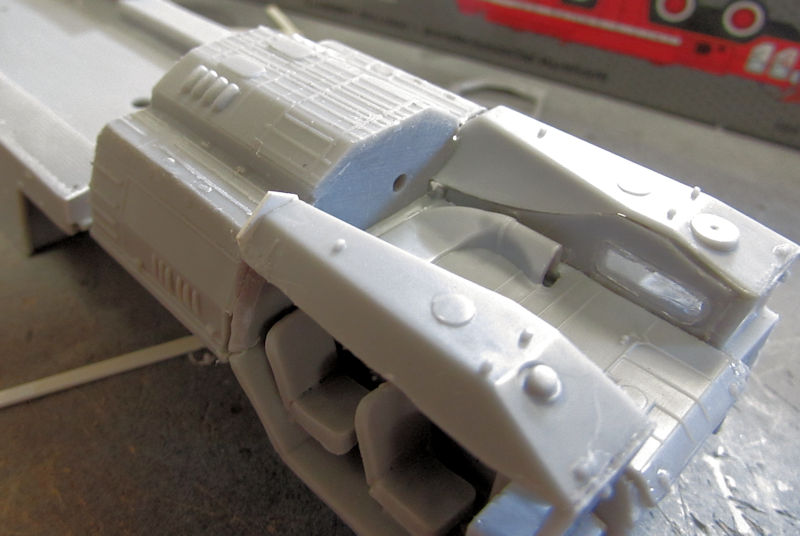
And because of my lack of checking first, I had mistakenly removed a vital section of the rear of the cab, so I had to close it up again with some more sheet styrene. You can see it sticking up at the left of the pic:
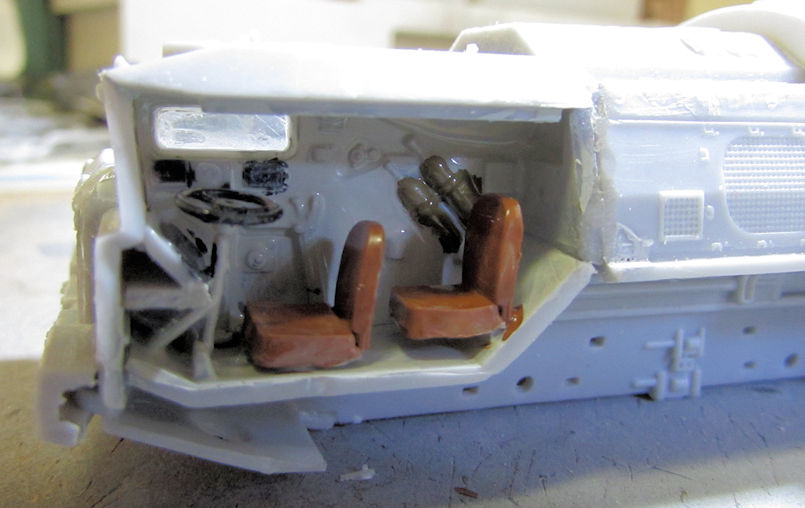
Next I painted the interiors of the cabs in preparation for closing them up. I did a crude job, but once these are closed it won’t be so obvious to anyone looking at this. Here’s the driver’s side:
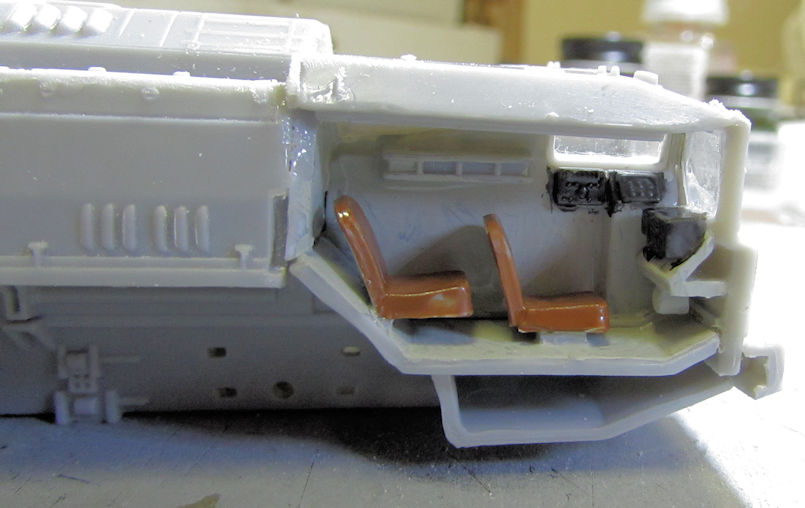
And the other side:
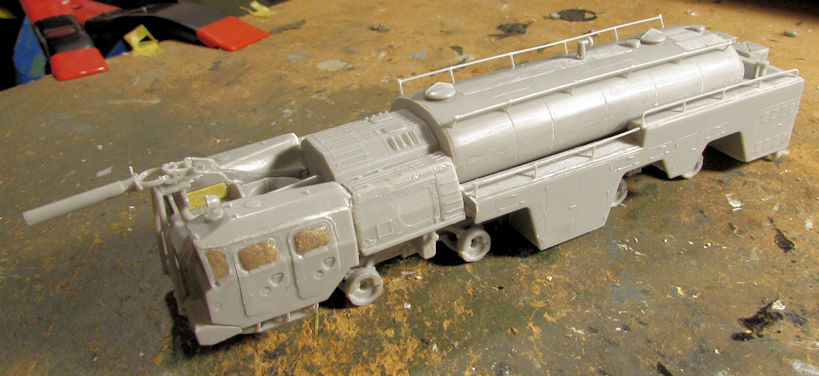
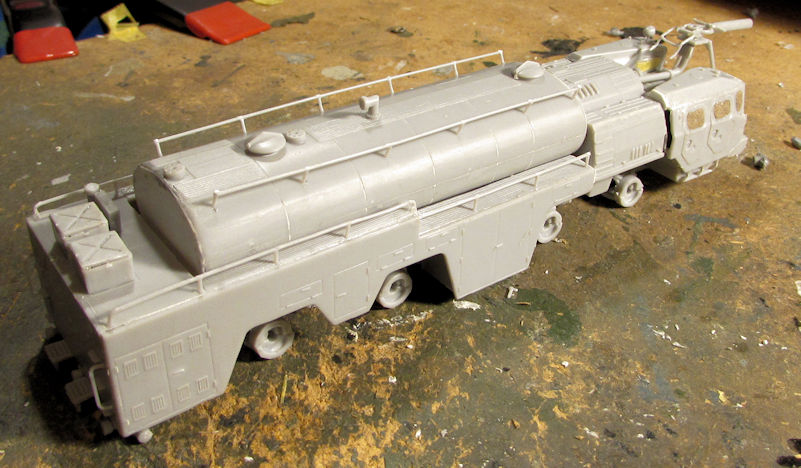
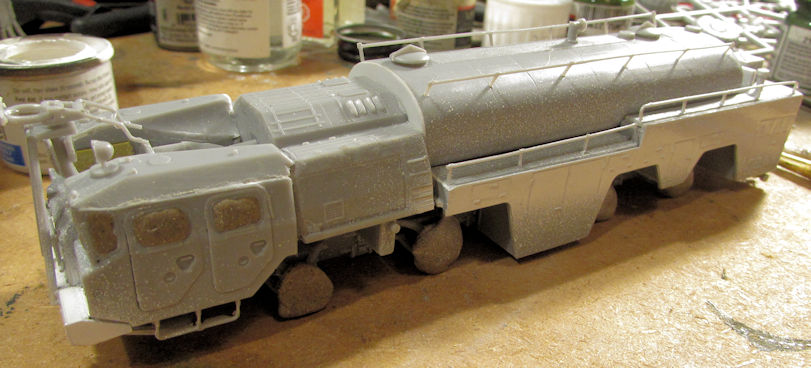
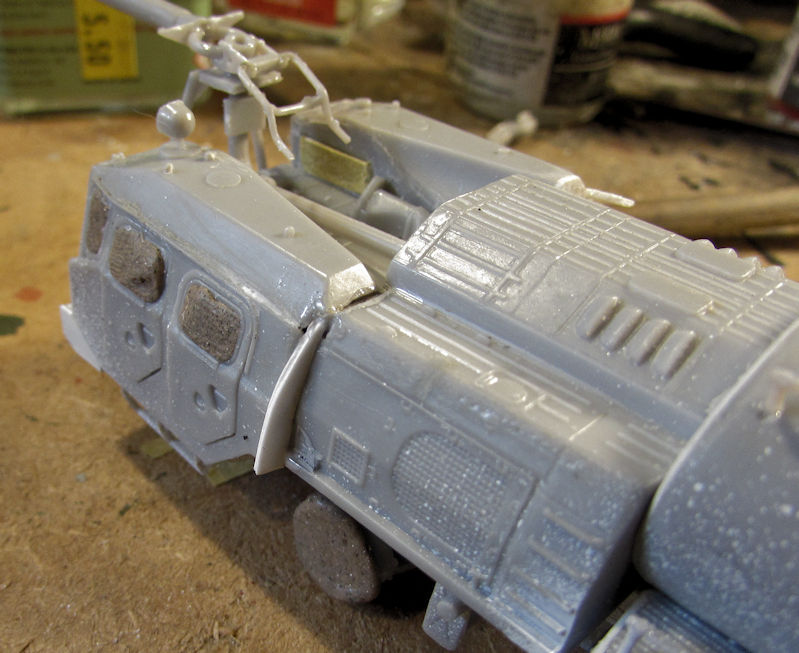
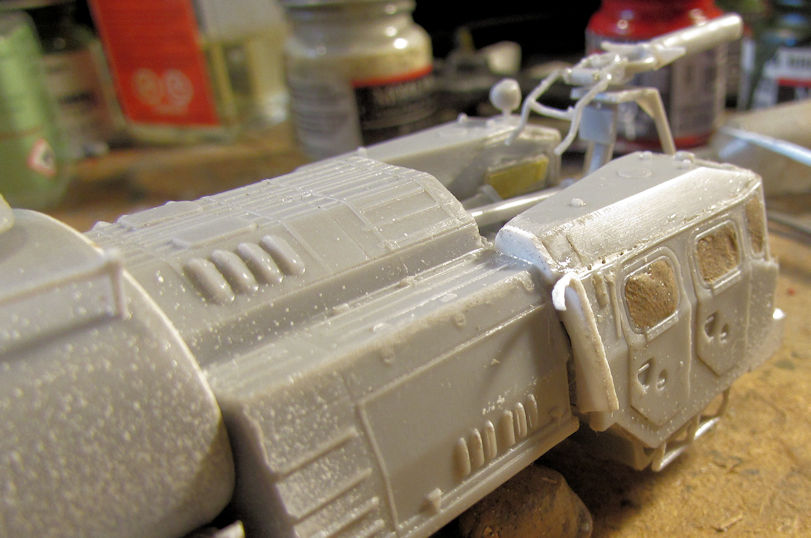
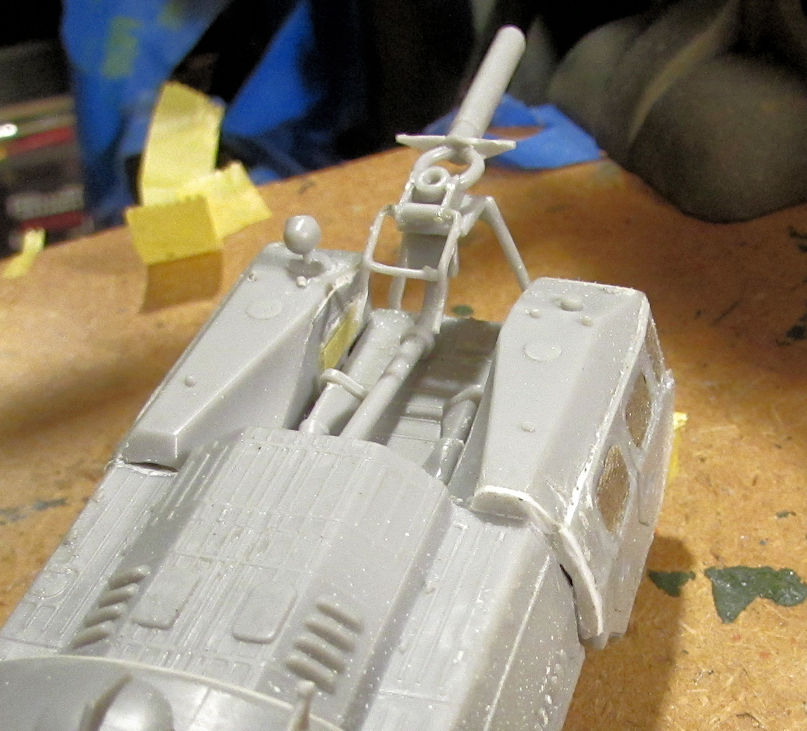
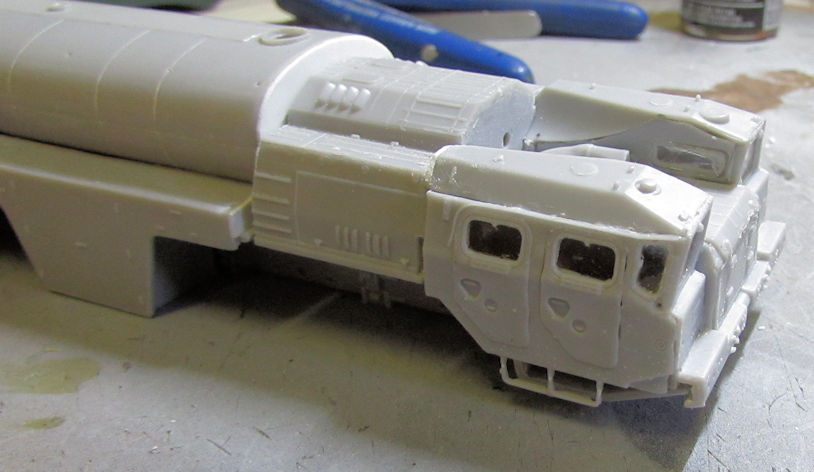
And finally, I did some sanding and adjustments and then closed up the cabs. Here it is all assembled. You can see from the right and left side shots that this had some tough fit issues that will need to be addressed:

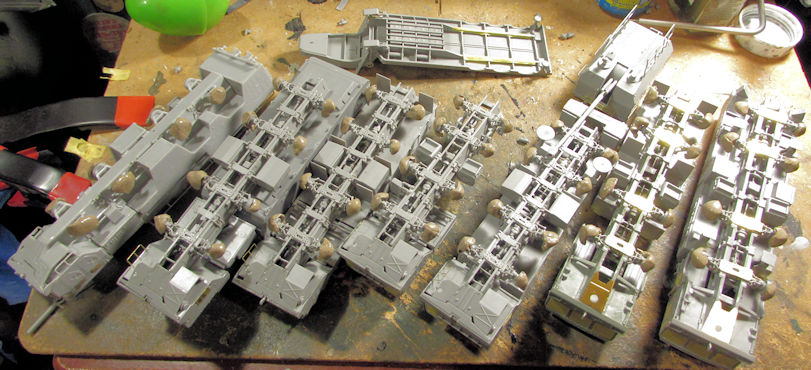
Next I added the highly simplified axles to the chassis. After all the crazy assembly from the other five trucks; this was a breeze, despite the difficult fit:
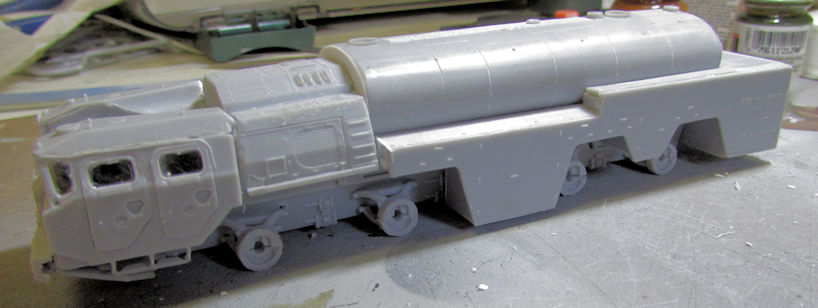
Here’s a better shot:
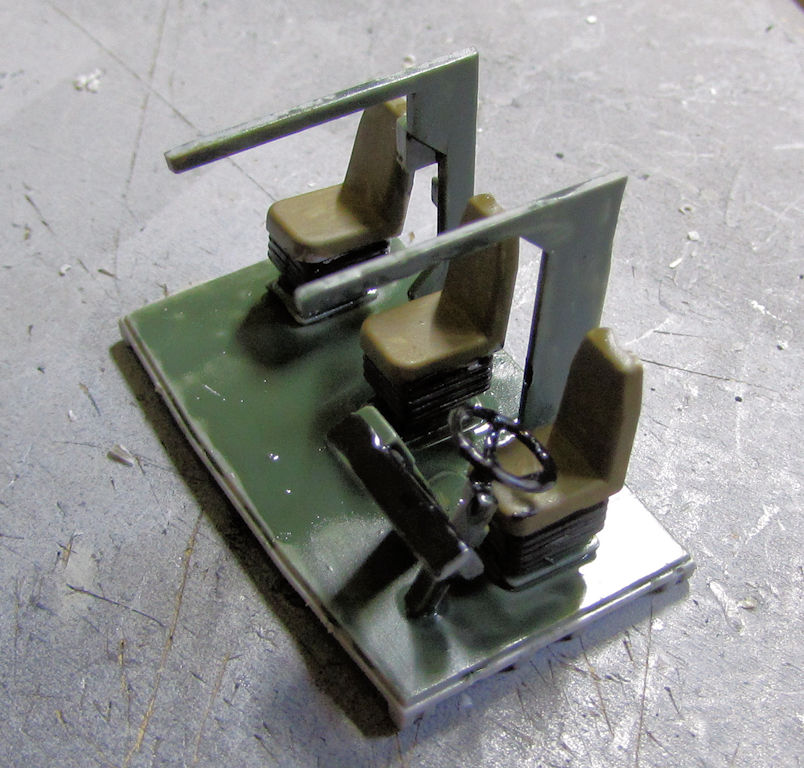
Next up was the Iskandr on the KZKT chassis. First I needed to assemble the cab, so I painted the interior first:
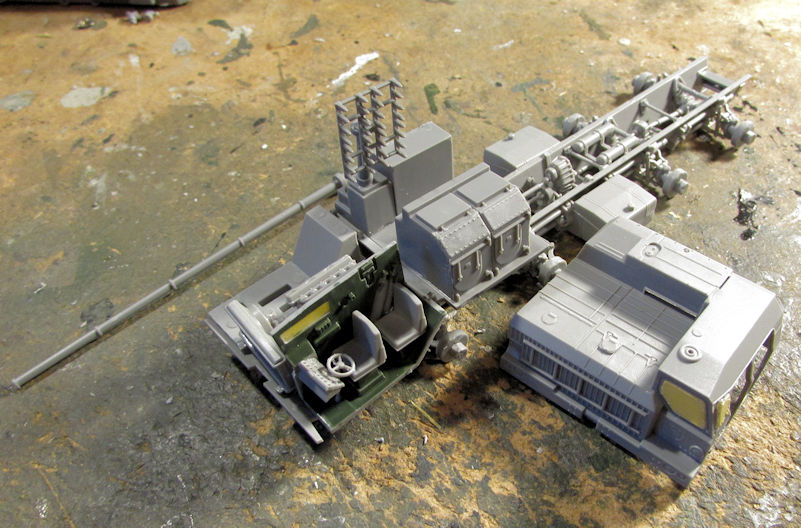
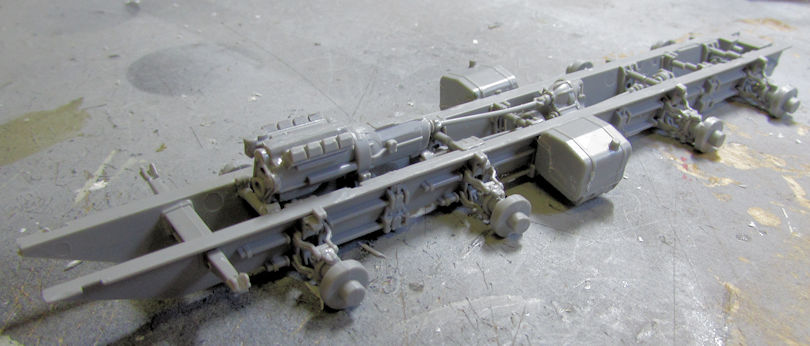
Again, a bit crude but it won’t be that clear when it’s together. While that was drying, I added the axles and fuel tanks to the chassis to complete it:
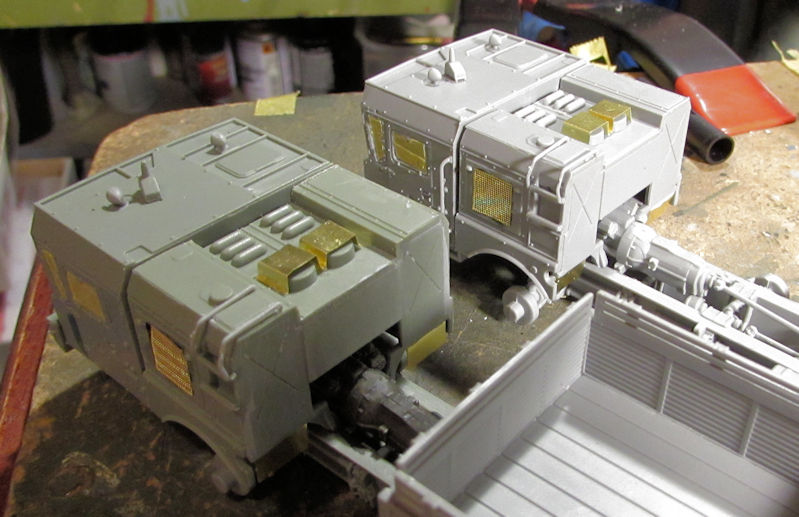
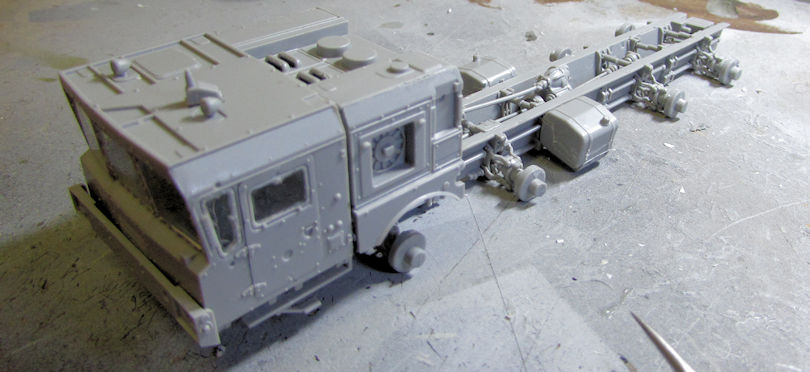
I then assembled the first and second cabs and added them to the chassis:
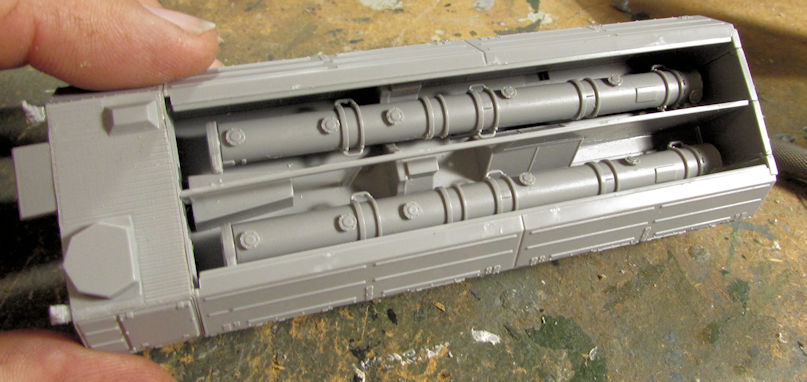
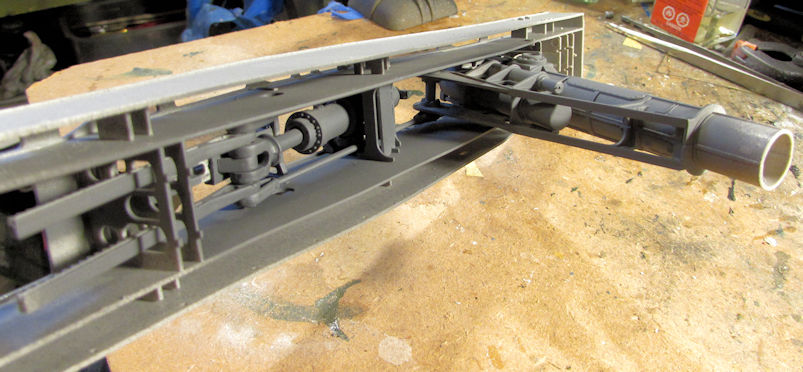
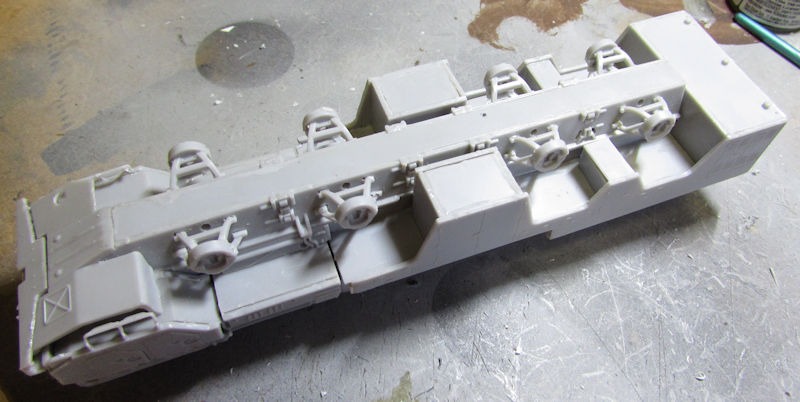
After that it was time to work on the missile cabin in the back. First thing I did was to assemble the elevating arms for the missile tubes. They are the long thin things at the bottom of the plate:
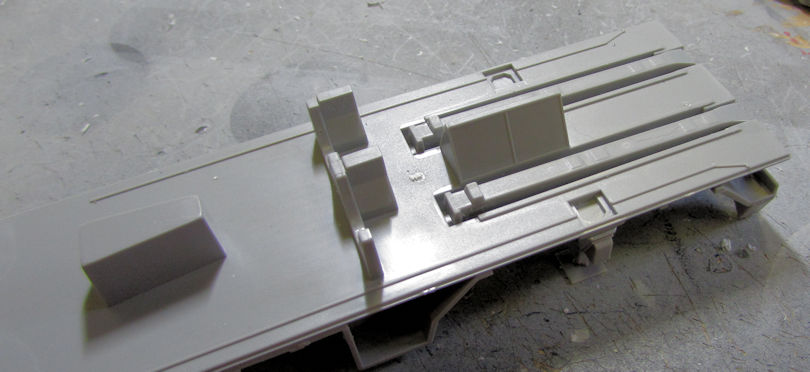
These were made so you could elevate them if you wanted, so I did:
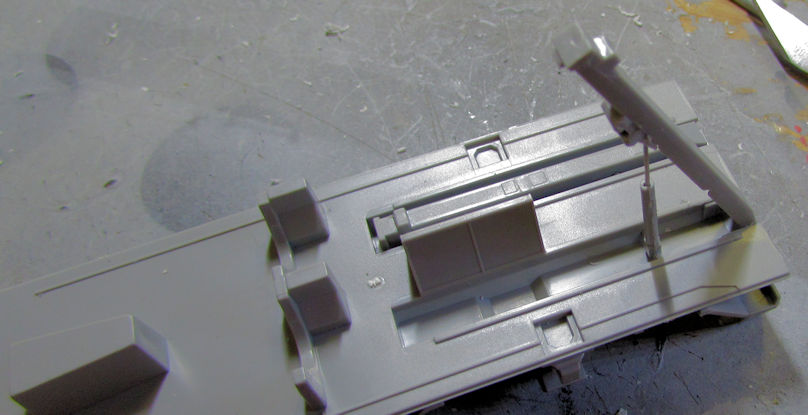
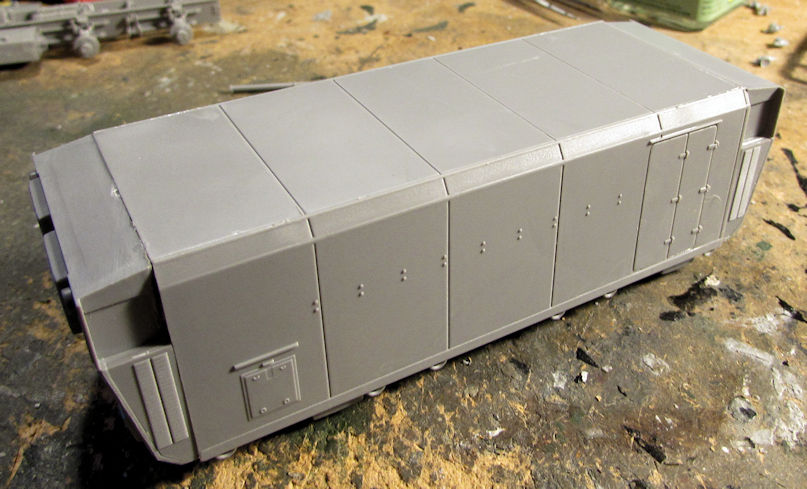
Next I built up the rest of the rear cab minus the hinged lids, which are not hinged:
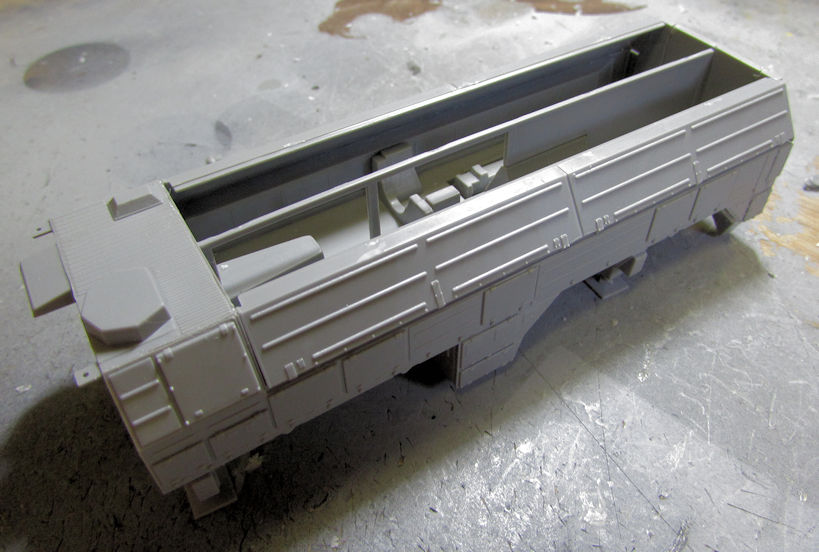
And finally, here it is all dry-fit on the back of the chassis:
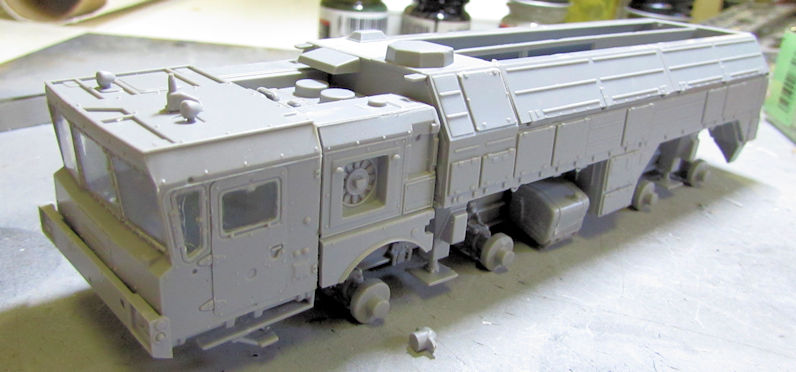
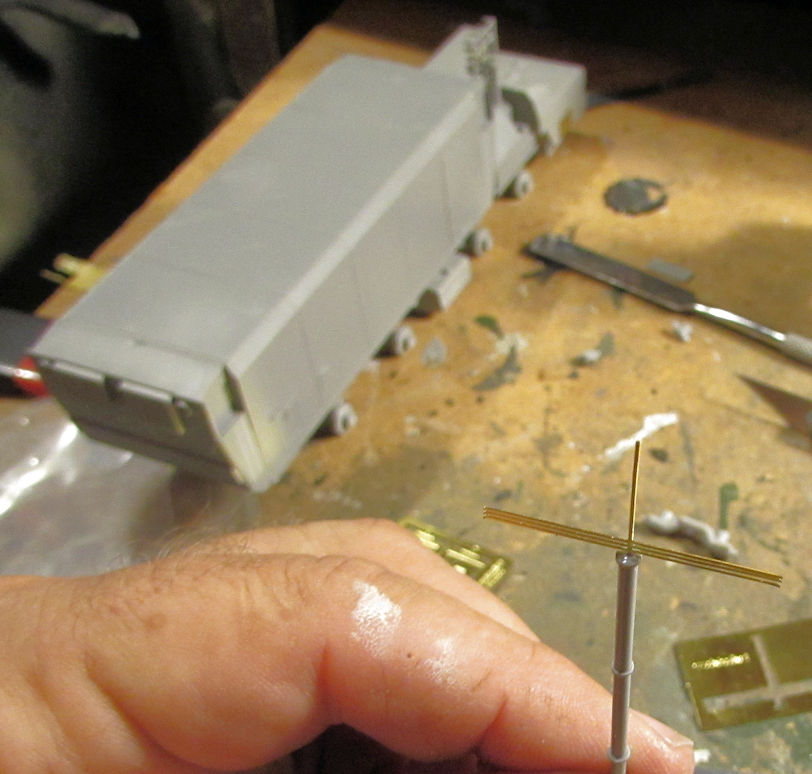
After some more work adding the missile tubes and the photo-etch details as well as some smaller parts, this will be ready for paint.
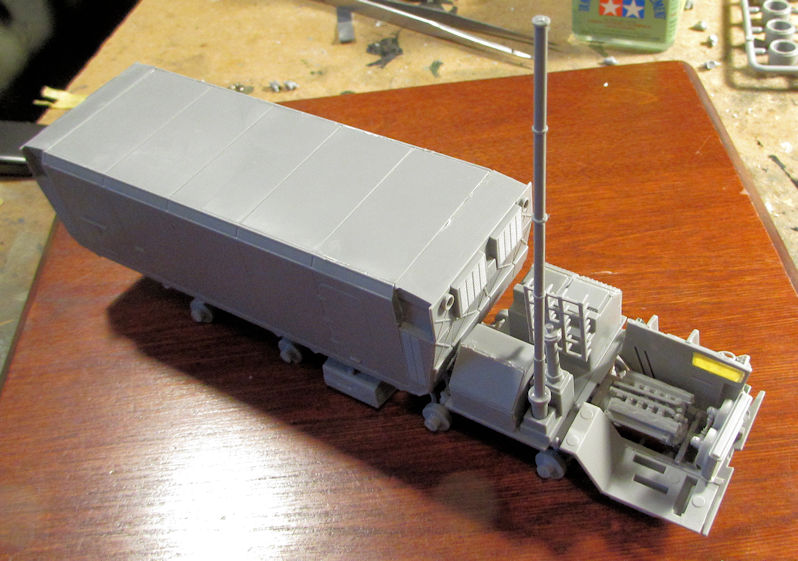
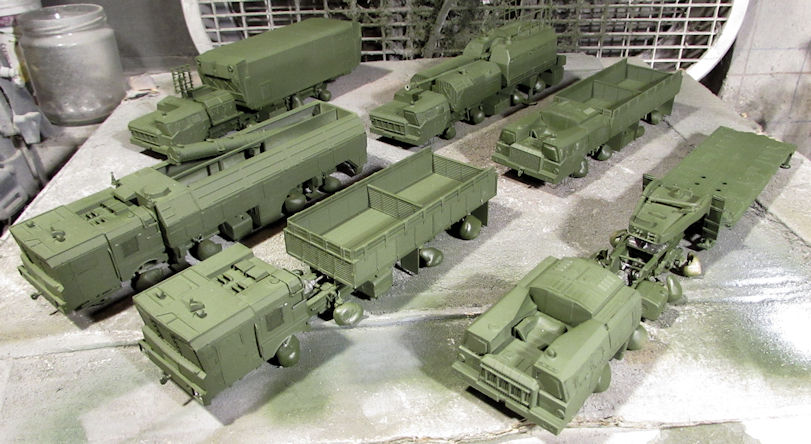
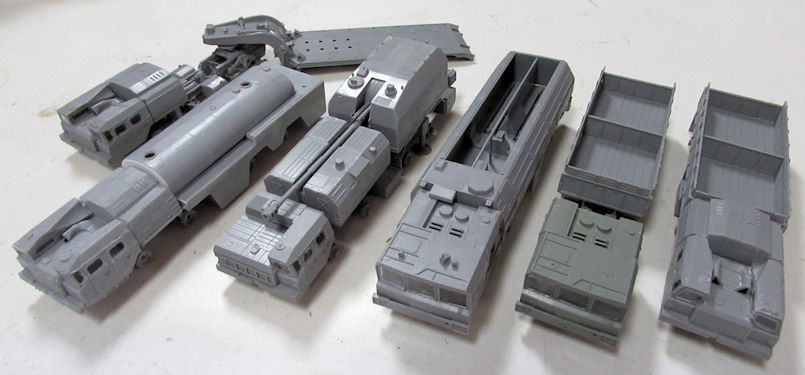
To close this latest update, I’ll leave you all with a pic of all six Russian eight-wheeled trucks almost ready for paint:
I hope you all enjoyed this latest run though the factory floor. Thanks all for looking in, comments are welcome.
First, I spent time adding all the windows and clear parts to the fuselage of the German Gotha:

…and to the Huey Hog:

I had already done the same with the HUP 1, so I added the interior to the right fuselage:

I then built up the engine for this little bird:

When that was dry, I installed it in with the transmission rods. I didn’t paint it because so much of it won’t be seen:

After that, I closed this bird up. You can see there’s a lot of seam filling work ahead of me. I also will have to paint some of the engine interior and transmission rods that can be seen through the open holes:

Now moving on to my armor, I first added the detail parts to the turret and then added the roadwheels and sprockets to bring my T-15 Armata closer to paint:

Next it was time to move on the rest of the Russian eight-wheeled trucks. First off, I started work on the AA-60 fire truck/crash tender. This needed the cab added to it. So, I assembled three sides to each cab; after having built the interiors, and then cemented them onto the chassis where they were supposed to go:

Here you can see the interior of the driver’s cab:

The middle engine cover and front grill needed to be installed at the same time as the cab sides since they were separate parts. You can see here once again how short-run this kit is:

And because of my lack of checking first, I had mistakenly removed a vital section of the rear of the cab, so I had to close it up again with some more sheet styrene. You can see it sticking up at the left of the pic:

Next I painted the interiors of the cabs in preparation for closing them up. I did a crude job, but once these are closed it won’t be so obvious to anyone looking at this. Here’s the driver’s side:

And the other side:

And finally, I did some sanding and adjustments and then closed up the cabs. Here it is all assembled. You can see from the right and left side shots that this had some tough fit issues that will need to be addressed:


Next I added the highly simplified axles to the chassis. After all the crazy assembly from the other five trucks; this was a breeze, despite the difficult fit:

Here’s a better shot:

Next up was the Iskandr on the KZKT chassis. First I needed to assemble the cab, so I painted the interior first:

Again, a bit crude but it won’t be that clear when it’s together. While that was drying, I added the axles and fuel tanks to the chassis to complete it:

I then assembled the first and second cabs and added them to the chassis:

After that it was time to work on the missile cabin in the back. First thing I did was to assemble the elevating arms for the missile tubes. They are the long thin things at the bottom of the plate:

These were made so you could elevate them if you wanted, so I did:

Next I built up the rest of the rear cab minus the hinged lids, which are not hinged:

And finally, here it is all dry-fit on the back of the chassis:

After some more work adding the missile tubes and the photo-etch details as well as some smaller parts, this will be ready for paint.
To close this latest update, I’ll leave you all with a pic of all six Russian eight-wheeled trucks almost ready for paint:

I hope you all enjoyed this latest run though the factory floor. Thanks all for looking in, comments are welcome.

