-
Modelers Alliance has updated the forum software on our website. We have migrated all post, content and user accounts but we could not migrate the passwords.
This requires that you manually reset your password.
Please click here, http://modelersalliance.org/forums/login to go to logon page and use the "Forgot your Password" option.
You are using an out of date browser. It may not display this or other websites correctly.
You should upgrade or use an alternative browser.
You should upgrade or use an alternative browser.
Bristol 170 Freighter
- Thread starter Stoneboat
- Start date
Thanks for the kind comments fellas. 
I wont rescribe the panel lines, but I will make some rudimentary hinges for the clamshell doors, then scribe the outlines. I've got some paint on it, the wings, stab, and the engines. Another couple of weeks...
Chris, do you remember the ATR from Inter Canadian that shed a prop blade on the right side while on a flight from Val D'or to Montreal? Luckily no one was in the propeller row of seats so there was no injuries, but that'll get the attention of the guys up front. That happened in the winter, and darned if some guy on a snowmobile didn't find the blade later that spring in a snow bank on a lake.
...What is your plan with raised details, will you rescribe?
I wont rescribe the panel lines, but I will make some rudimentary hinges for the clamshell doors, then scribe the outlines. I've got some paint on it, the wings, stab, and the engines. Another couple of weeks...
Chris, do you remember the ATR from Inter Canadian that shed a prop blade on the right side while on a flight from Val D'or to Montreal? Luckily no one was in the propeller row of seats so there was no injuries, but that'll get the attention of the guys up front. That happened in the winter, and darned if some guy on a snowmobile didn't find the blade later that spring in a snow bank on a lake.
Chris, do you remember the ATR from Inter Canadian that shed a prop blade on the right side while on a flight from Val D'or to Montreal? Luckily no one was in the propeller row of seats so there was no injuries, but that'll get the attention of the guys up front. That happened in the winter, and darned if some guy on a snowmobile didn't find the blade later that spring in a snow bank on a lake.


chrispisme
Well-known member
Hi James
Great work here! As always. I do remember the prop incident but wasn't aware the blade had been found. That's just weird!
I've seen what holds those blades in the hub...Spending my life as an automotive mechanic I wouldn't trust that assembly! Plus 14 quarts of oil under pressure in that hub!?
I hit a wall on my ATR build called mojo failure, working on the Airfix 1/24 Hellcat right now for a change of pace.
working on the Airfix 1/24 Hellcat right now for a change of pace.
No pictures it didn't happen.
Thanks for the kind words fellas. 
Well, this one's done and dusted and it's Yukon Ho! as of Monday. More pics later, but here's how I did the tailwheel and ADF sense antennas.
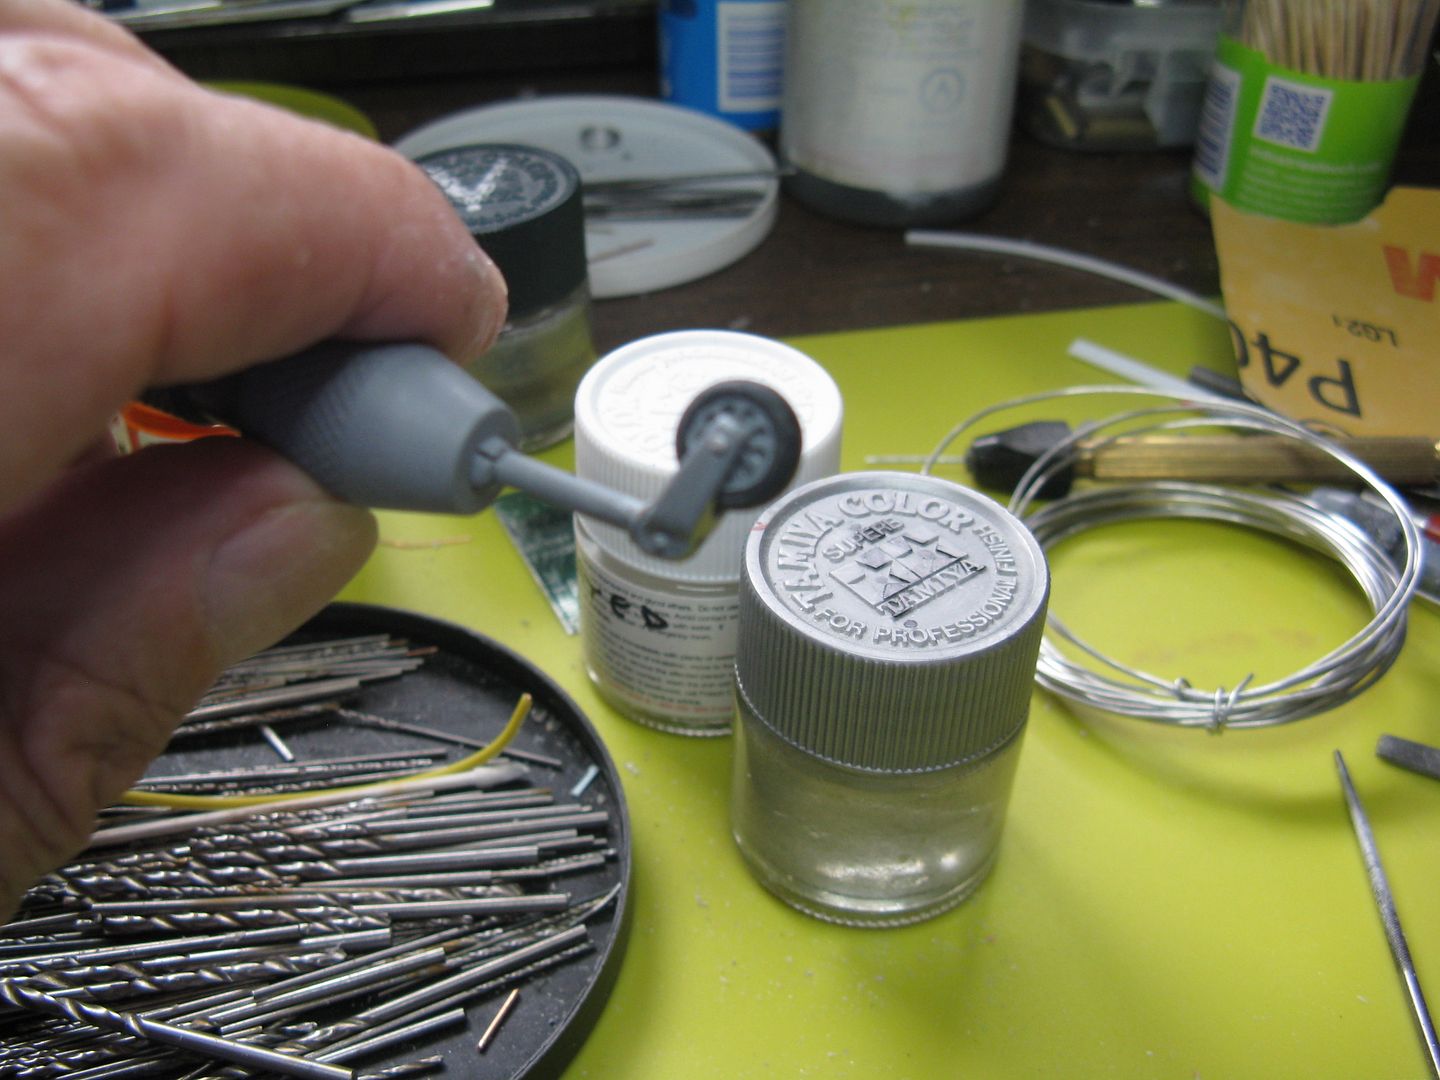
The kit tailwheel is underdone for an airplane of this robust nature...
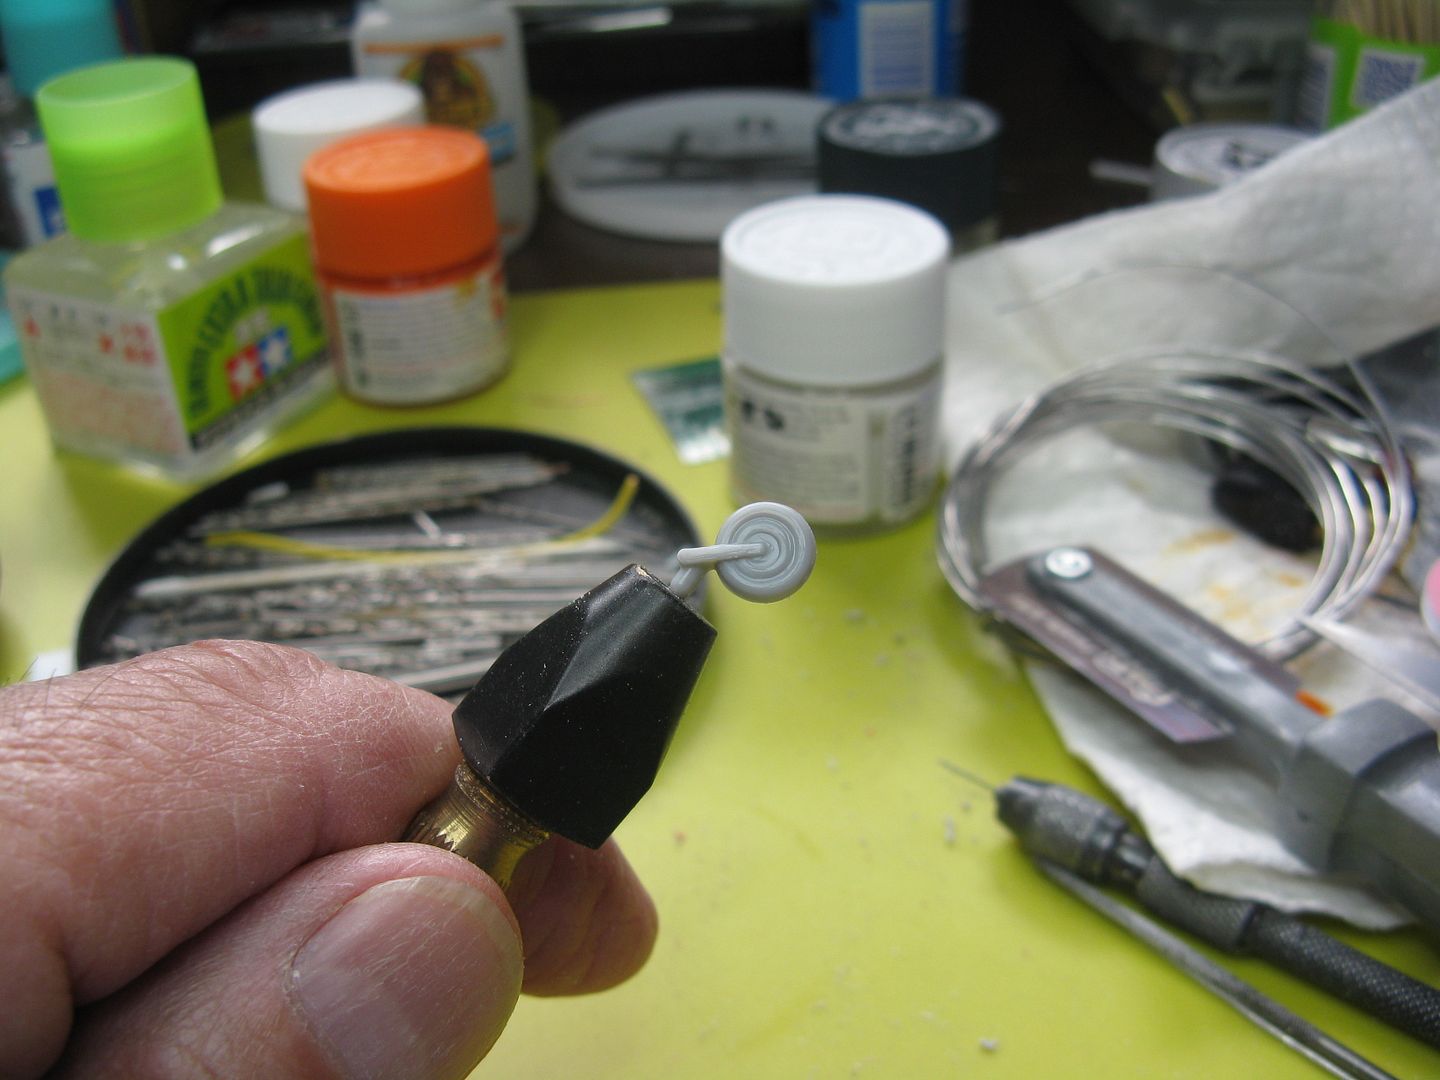
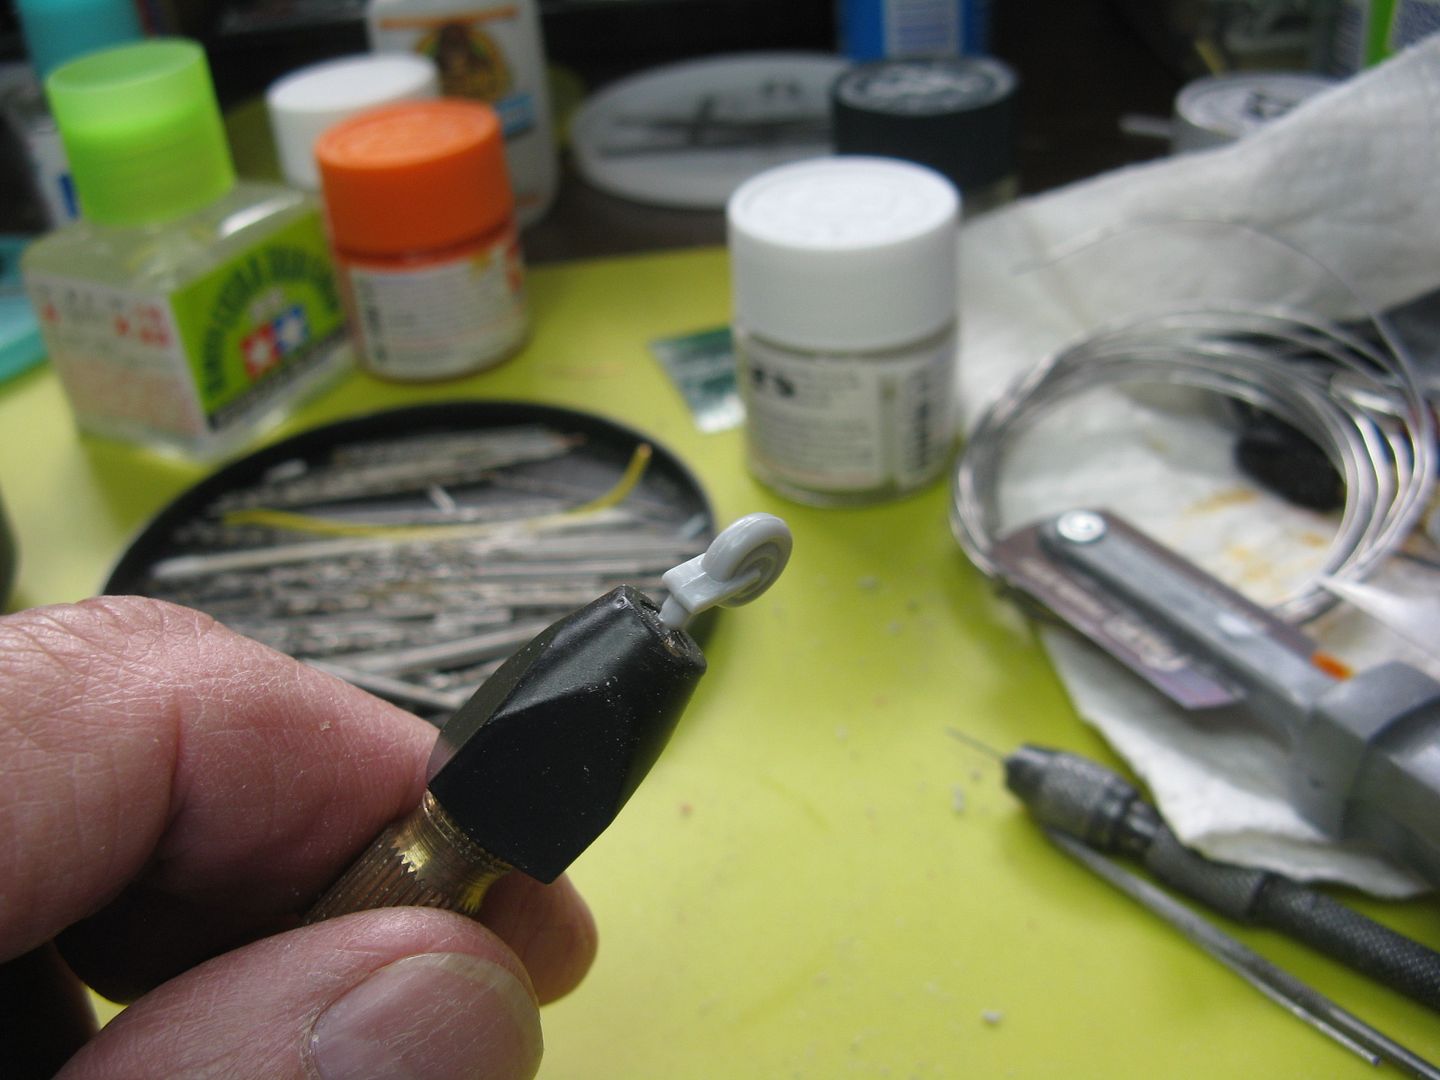
…So I cobbled together a new fork from some scrap plastic and took an out of focus picture of it.
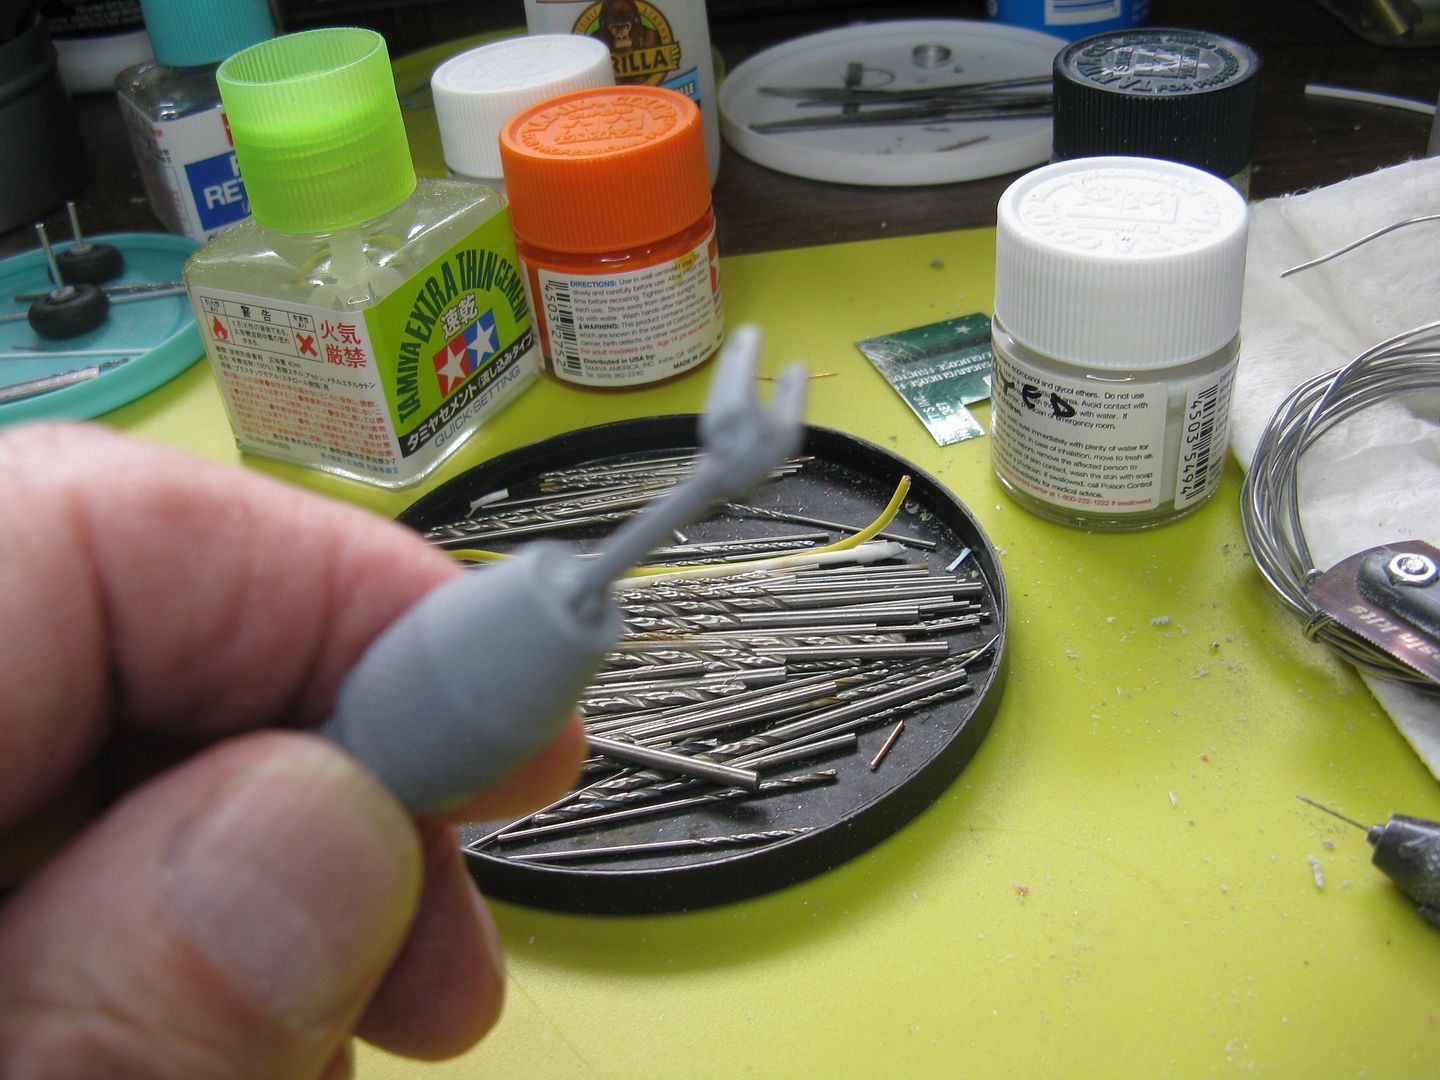
With a new tailwheel from the scrap box...
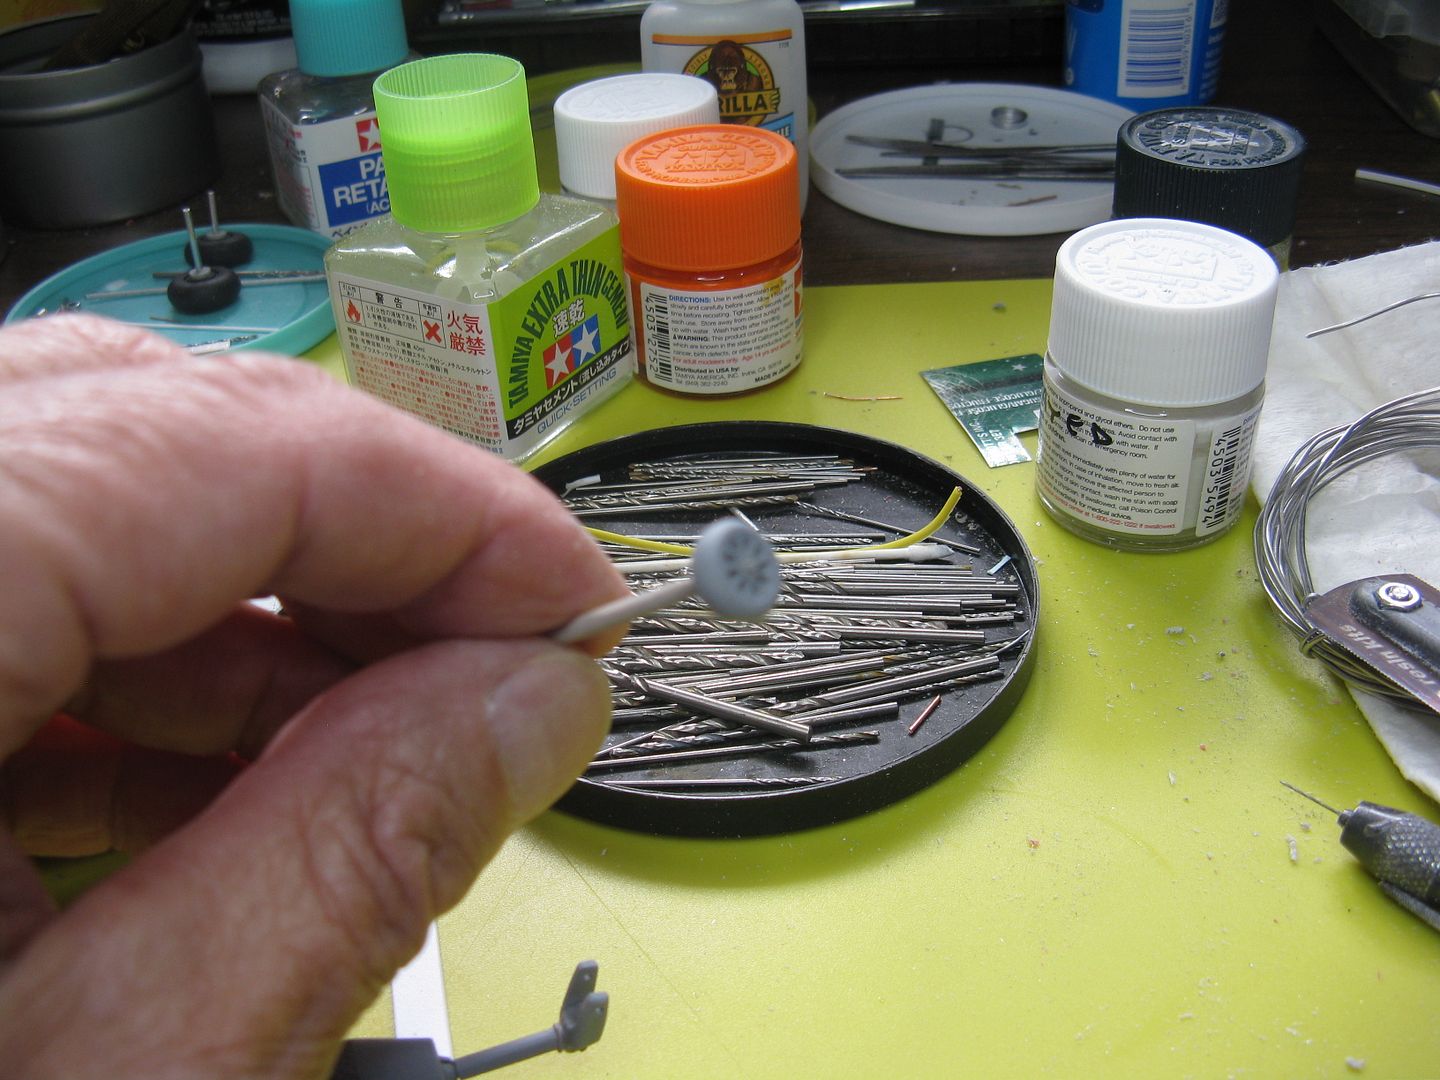
…And a lick of Model Master Stainless Steel it fills the bill nicely.
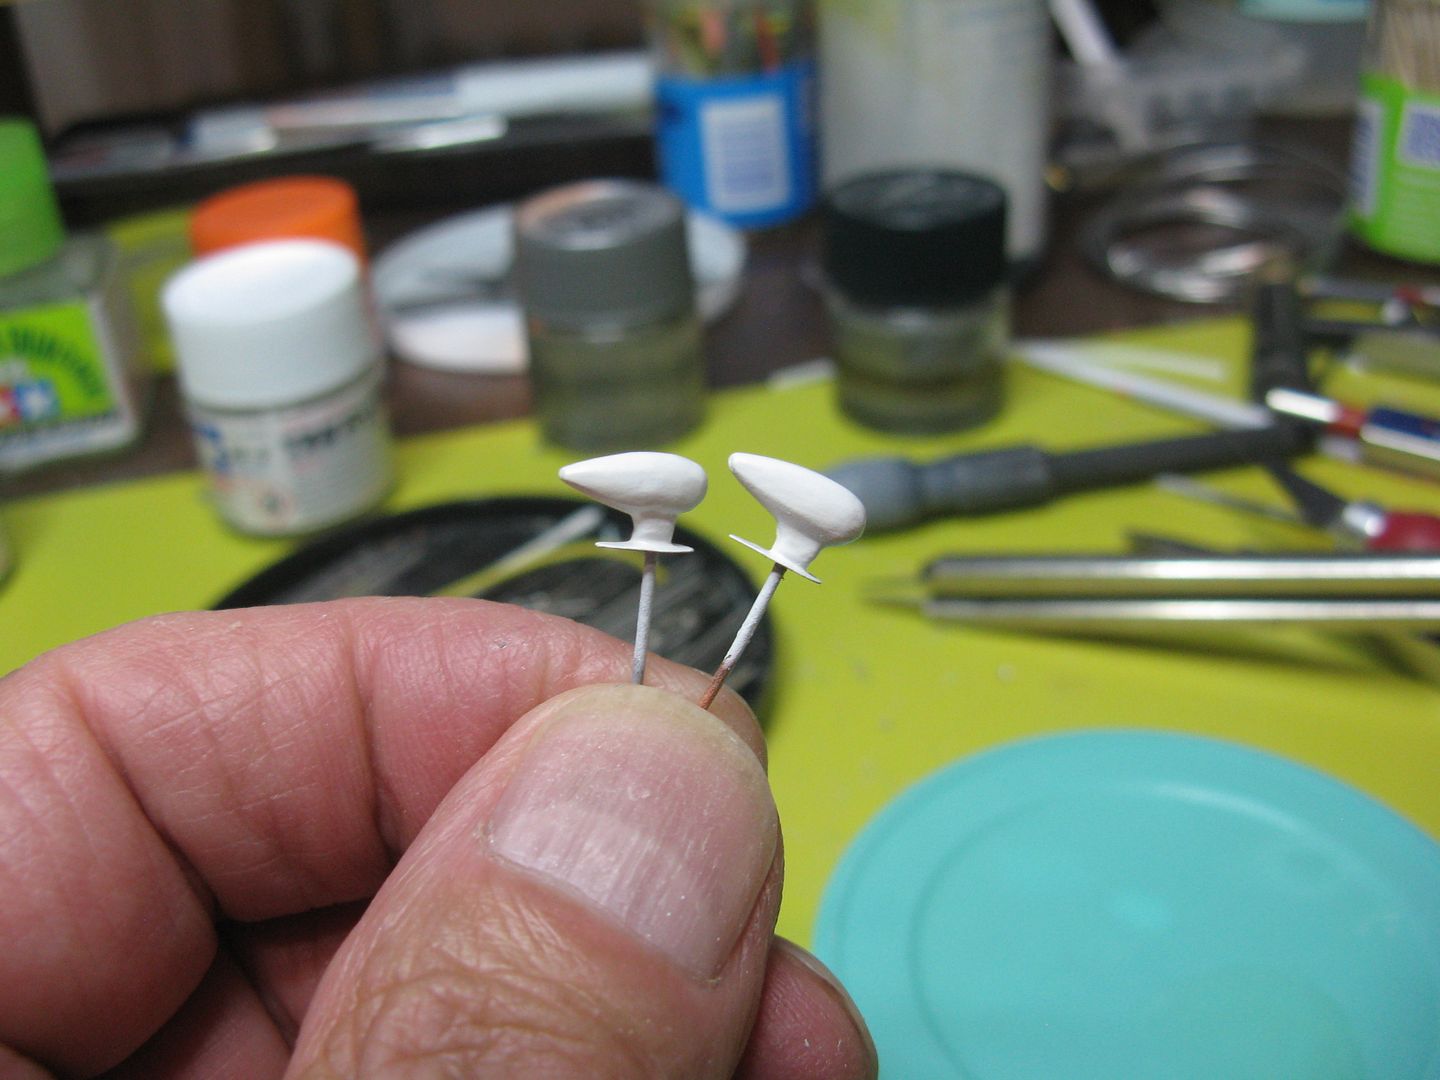
There is one ADF sense antenna with the kit, but I was able to scrounge another from the scrap box. On this airplane they are located on the cockpit roof and painted white. I added a little metal doubler from some scrap beer... err.. beverage can aluminum to give a little more authenticicy.
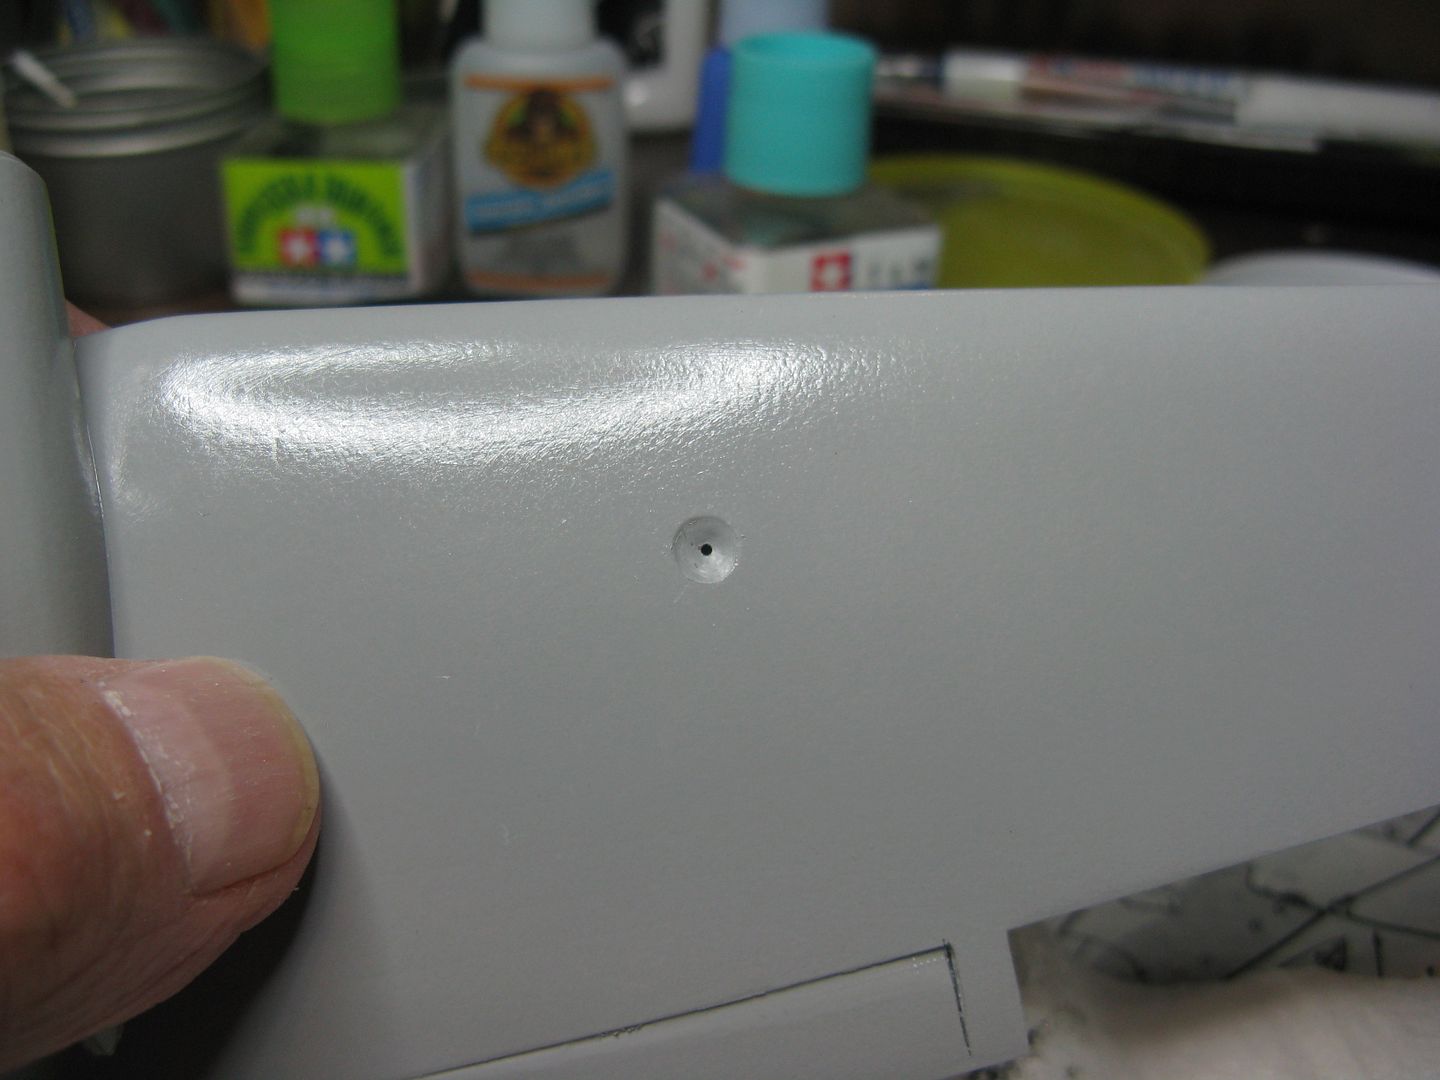
The landing lights are retractable affairs located outboard of the engines under the wing. Here's how I make 'em.
Drill out a pilot hole - in the correct location - that goes all the way through the lower wing half. Then using a drill the size of the light itself - in this case 3/16" - drill a depression into the lower wing material using the pilot hole as a center, taking care not to go all the way through.
Knock out a round of chukw tape the same size as the drill...
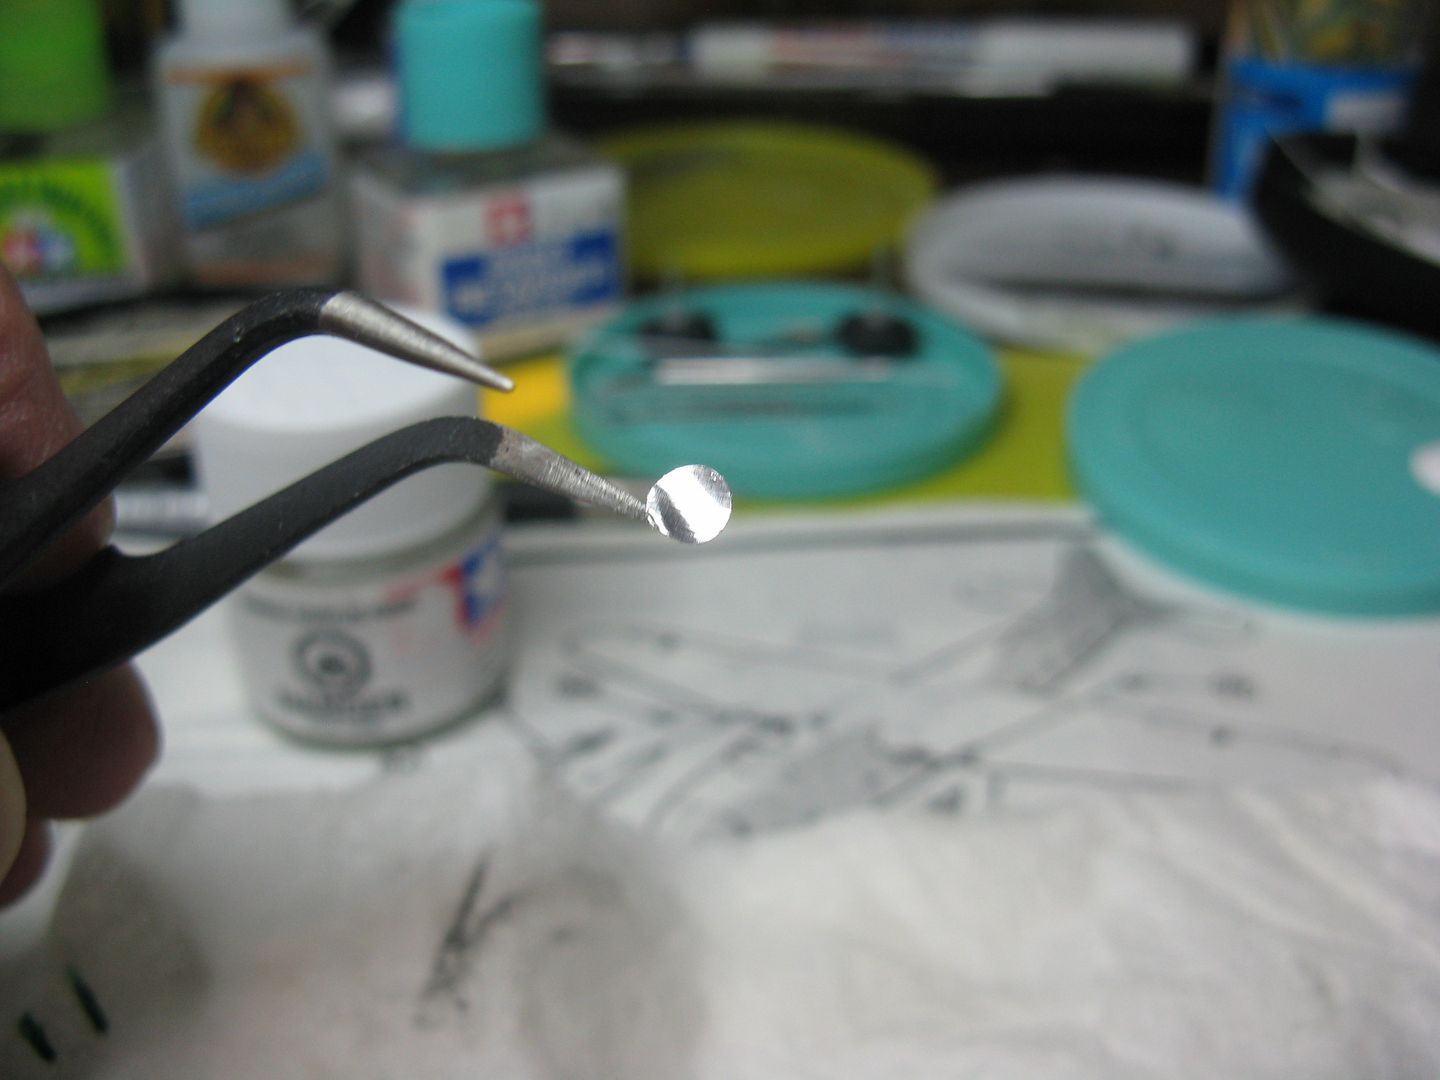
…And very carefully center it in the larger hole (depression) and burnish it down, taking care not to mar the tape or worse, tear it.
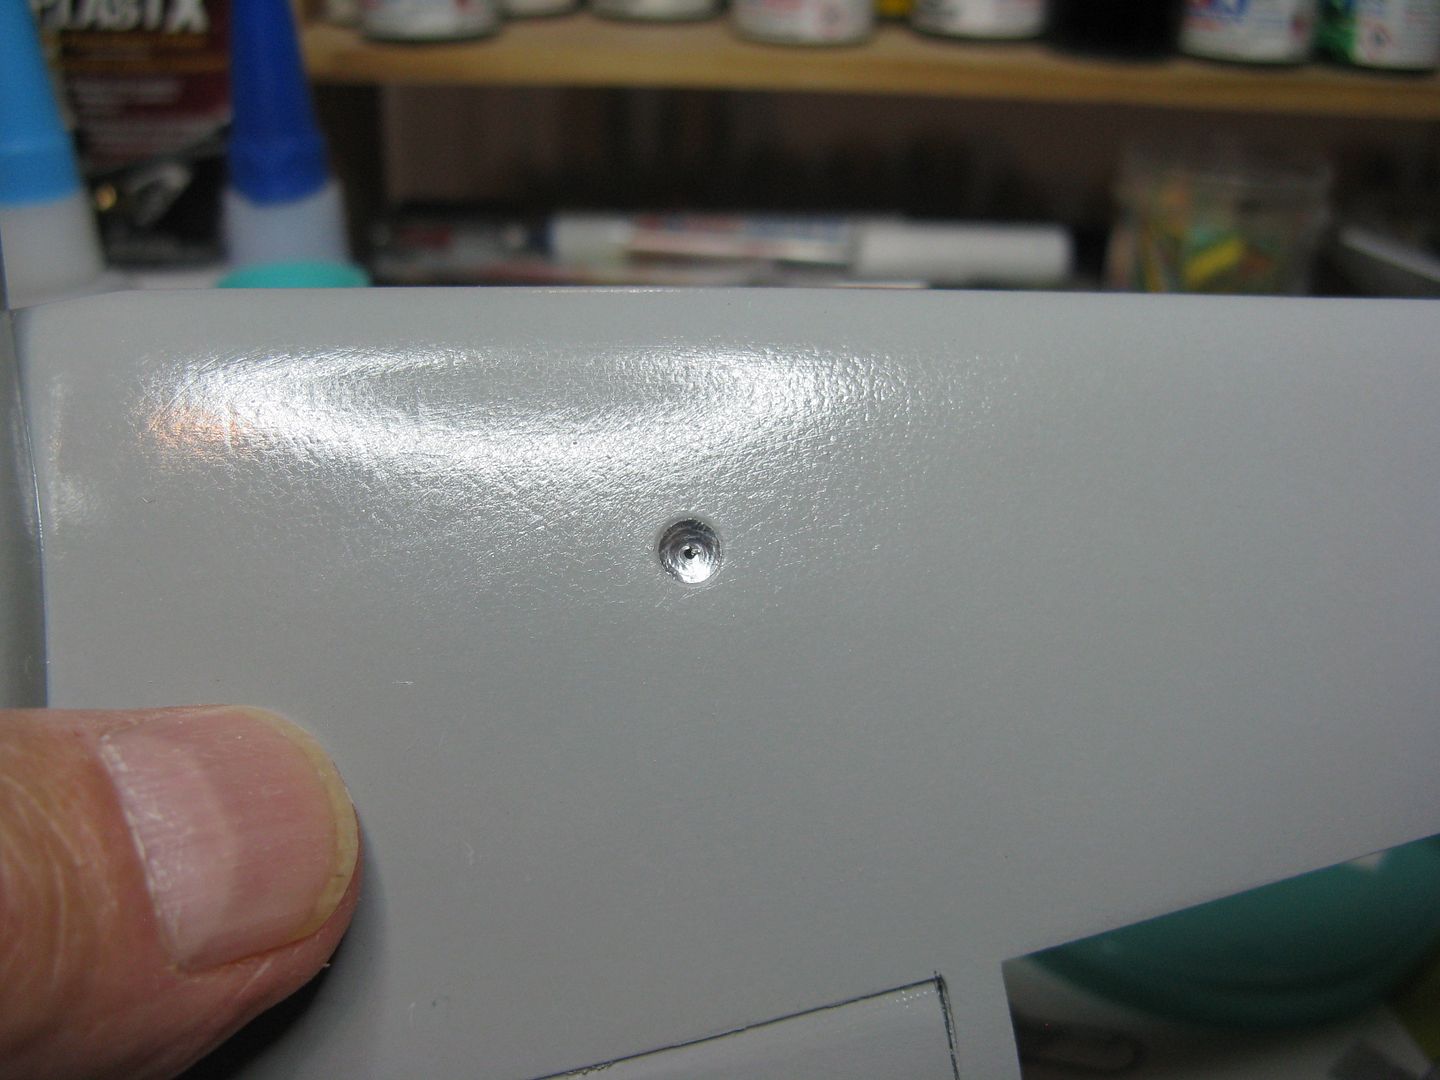
Polish the end of a short length of aluminum wire...
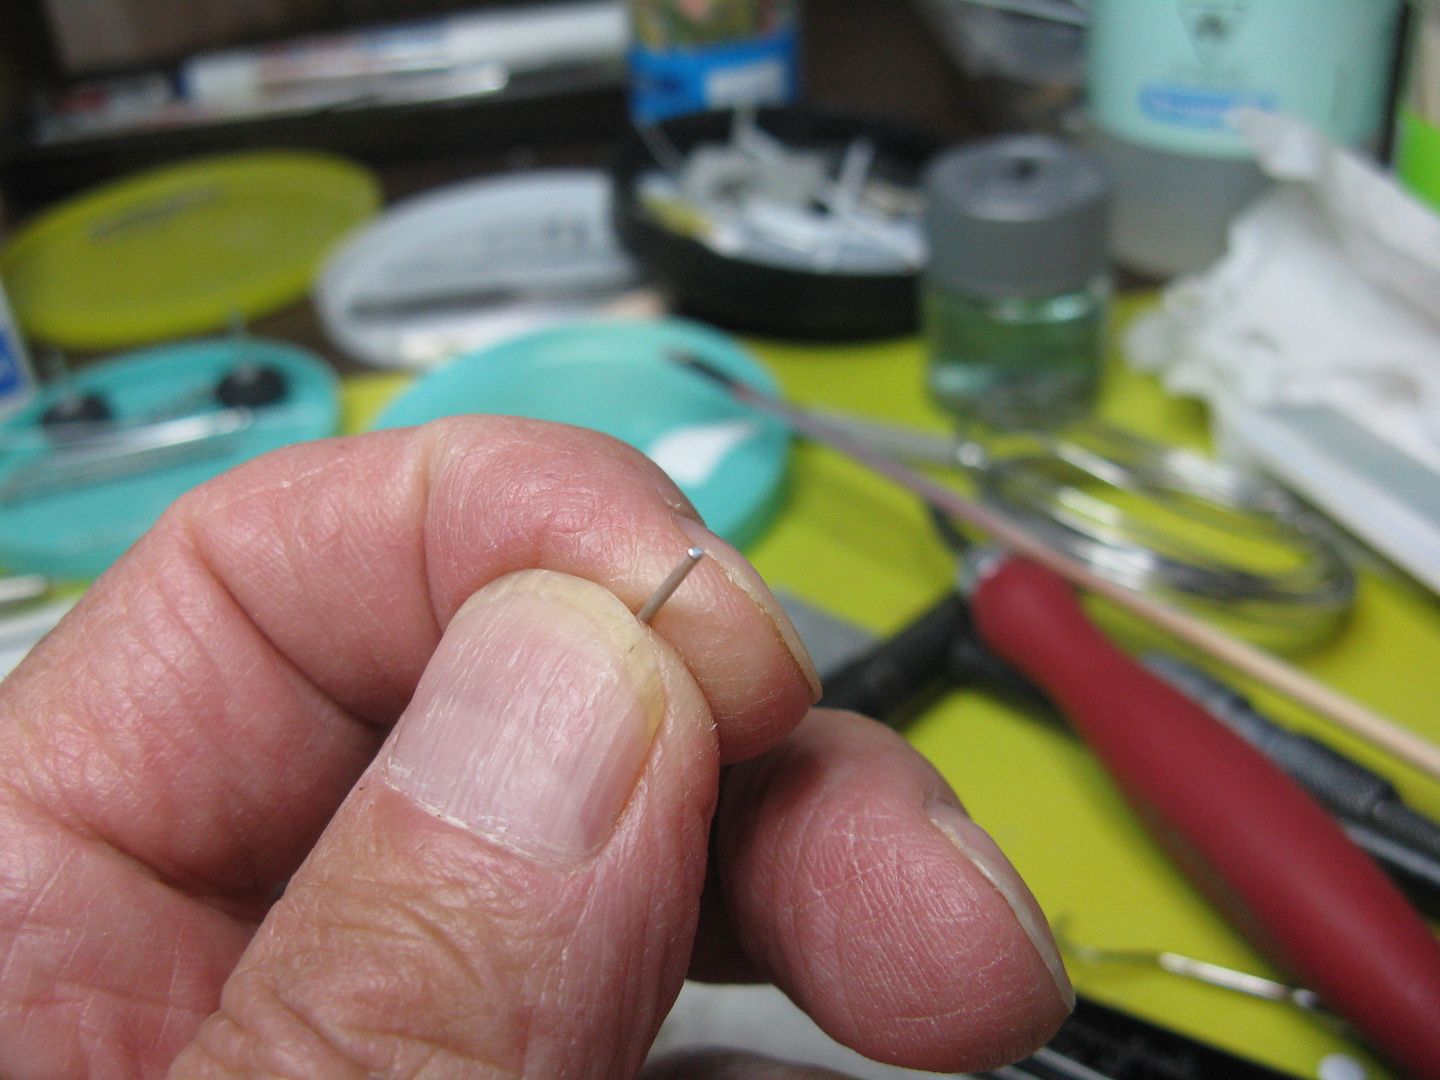
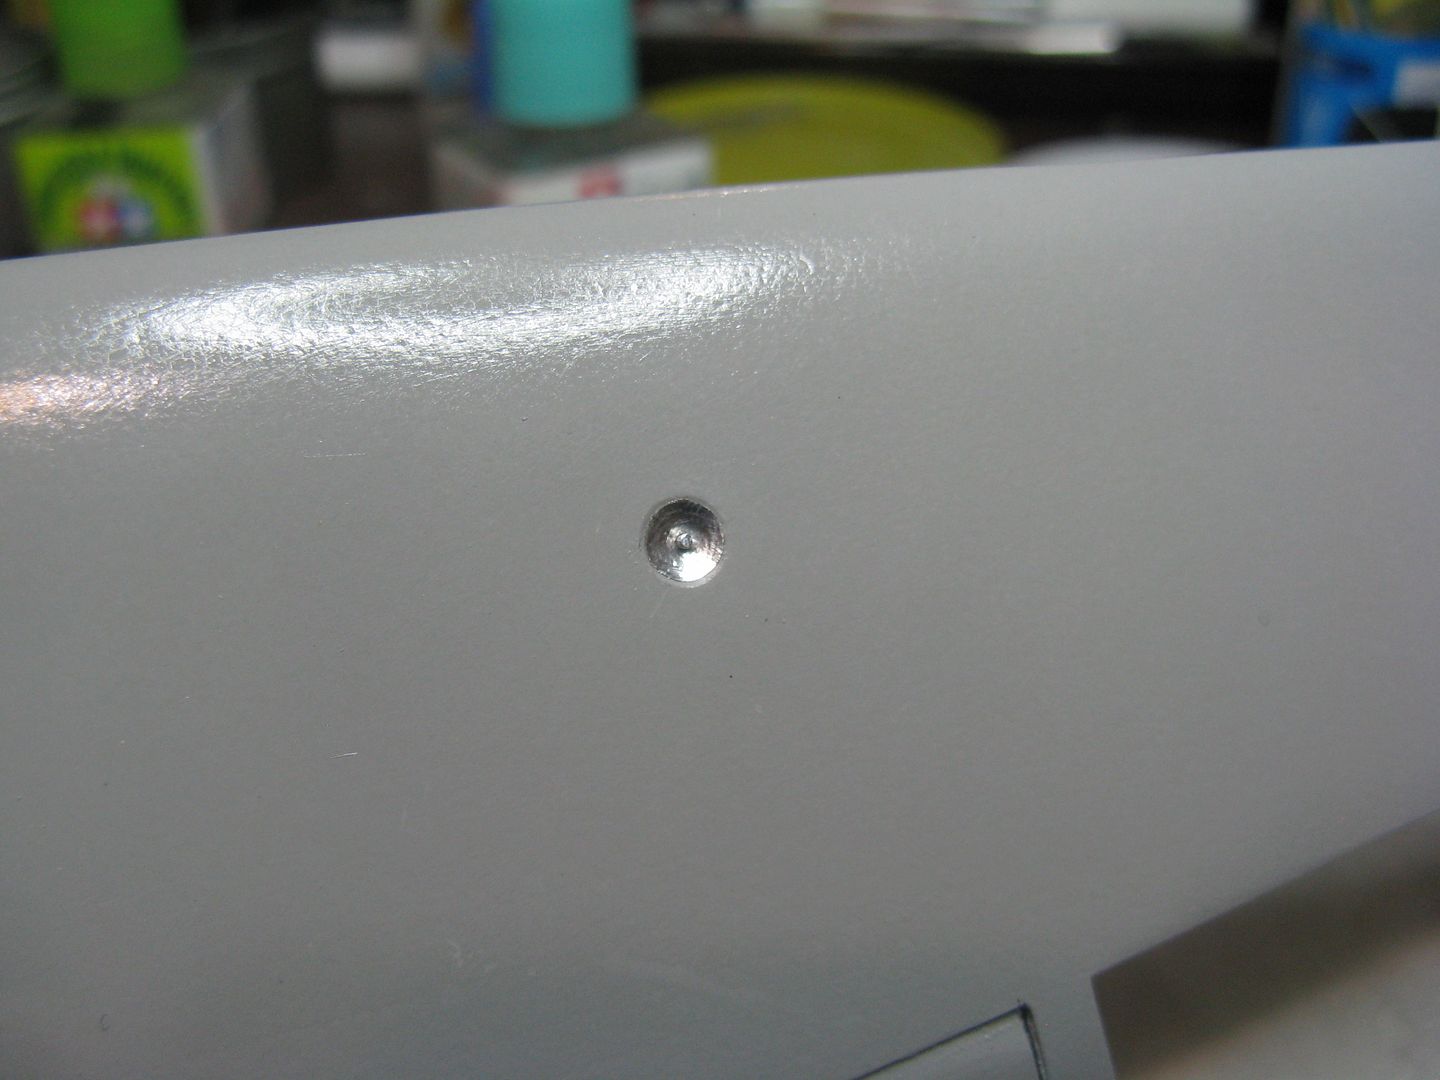
…And glue it in the pilot hole you cleverly drilled to the size of the wire. You now have a landing light bulb and a reflector.
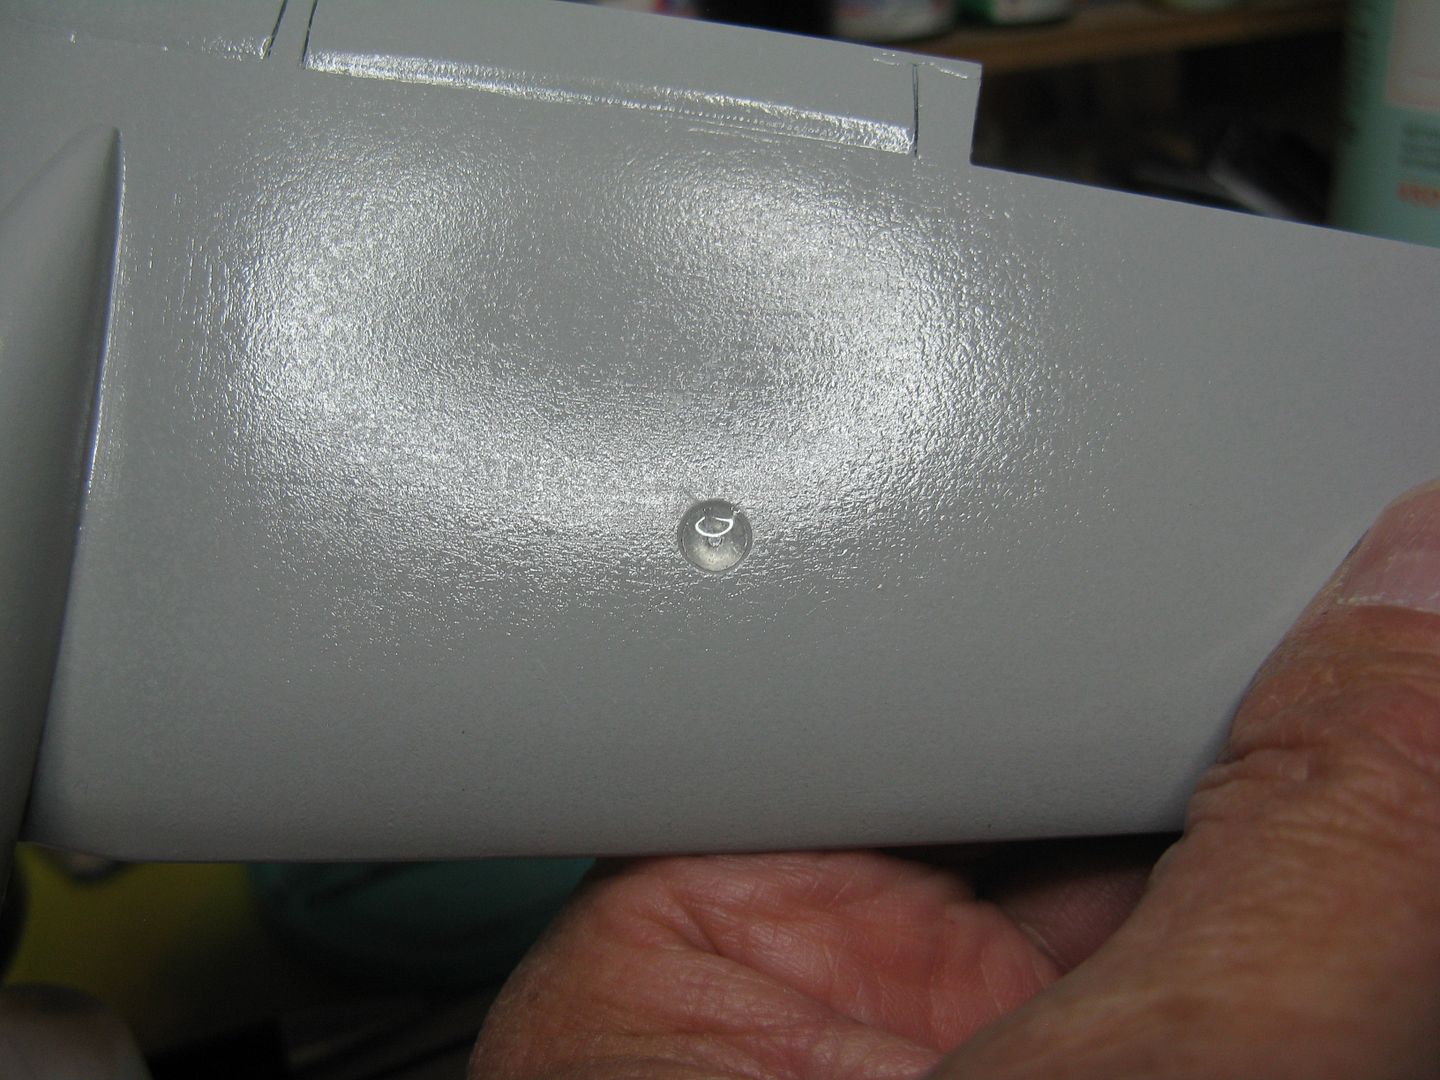
Needs glass. Simply add a dollop of five minute epoxy. Allow it to dry, and Viola! one landing light. Repeat for as many as the instructions call for.
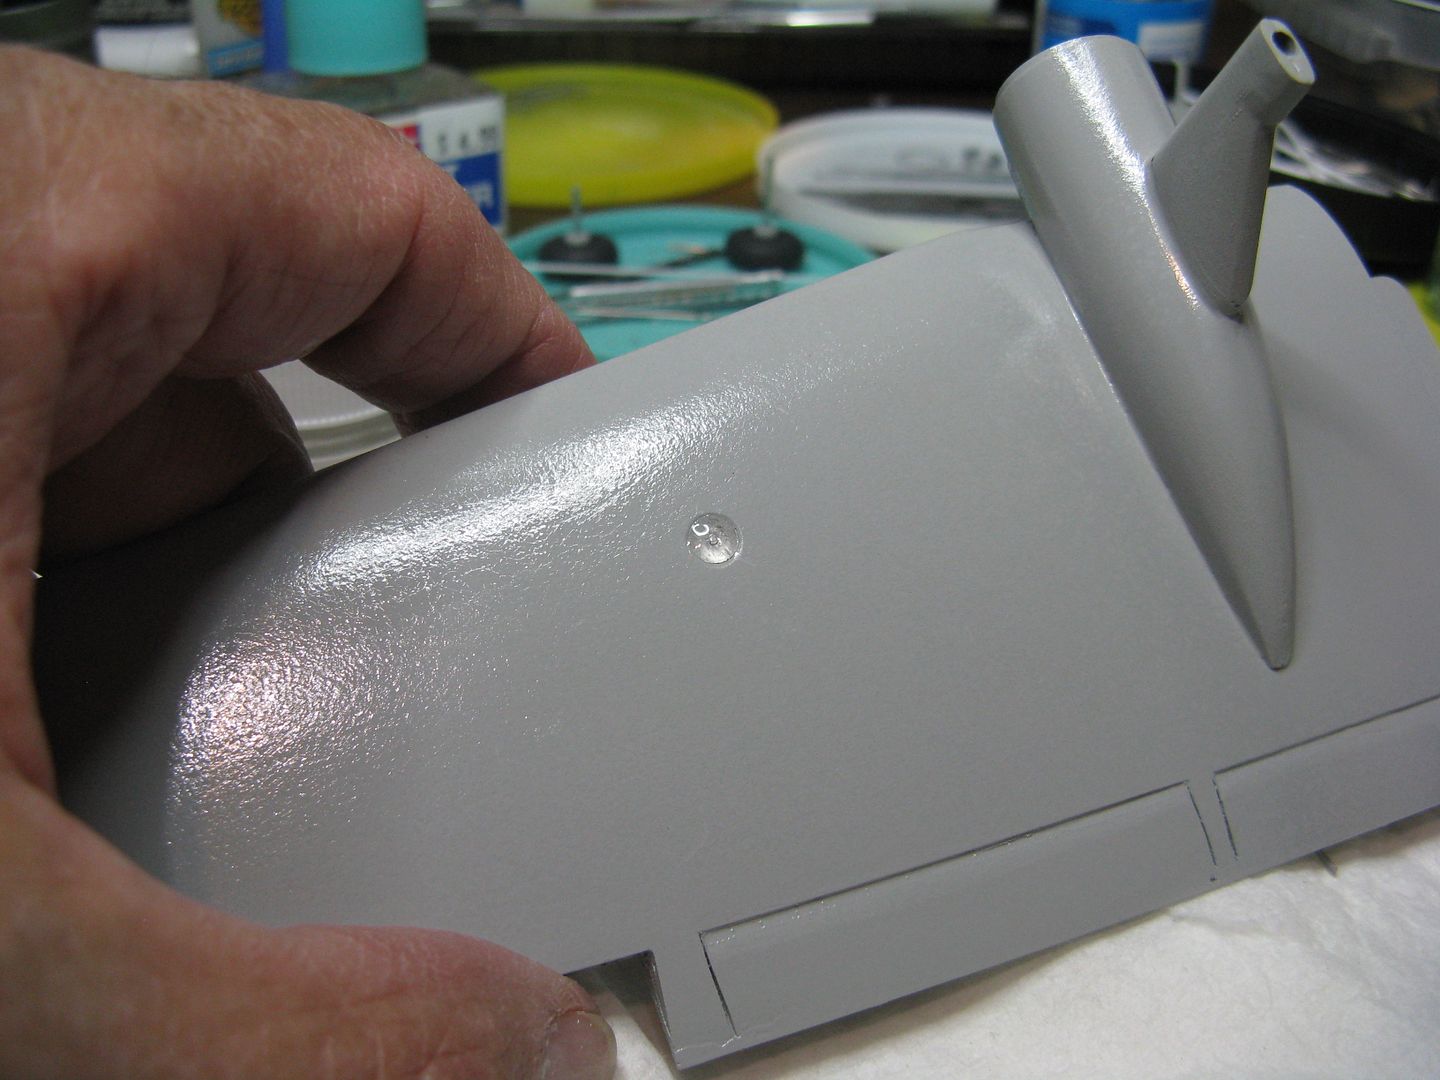
Back later with a few shots of the finished product.
Well, this one's done and dusted and it's Yukon Ho! as of Monday. More pics later, but here's how I did the tailwheel and ADF sense antennas.
The kit tailwheel is underdone for an airplane of this robust nature...


…So I cobbled together a new fork from some scrap plastic and took an out of focus picture of it.

With a new tailwheel from the scrap box...

…And a lick of Model Master Stainless Steel it fills the bill nicely.

There is one ADF sense antenna with the kit, but I was able to scrounge another from the scrap box. On this airplane they are located on the cockpit roof and painted white. I added a little metal doubler from some scrap beer... err.. beverage can aluminum to give a little more authenticicy.

The landing lights are retractable affairs located outboard of the engines under the wing. Here's how I make 'em.
Drill out a pilot hole - in the correct location - that goes all the way through the lower wing half. Then using a drill the size of the light itself - in this case 3/16" - drill a depression into the lower wing material using the pilot hole as a center, taking care not to go all the way through.

Knock out a round of chukw tape the same size as the drill...

…And very carefully center it in the larger hole (depression) and burnish it down, taking care not to mar the tape or worse, tear it.

Polish the end of a short length of aluminum wire...

…And glue it in the pilot hole you cleverly drilled to the size of the wire. You now have a landing light bulb and a reflector.

Needs glass. Simply add a dollop of five minute epoxy. Allow it to dry, and Viola! one landing light. Repeat for as many as the instructions call for.


Back later with a few shots of the finished product.
I almost forgot the props. They look more like ceiling fans than propellers, so they required some cosmetic surgery. I glued some strips of scrap plastic to the trailing edges where they join the propeller boss...
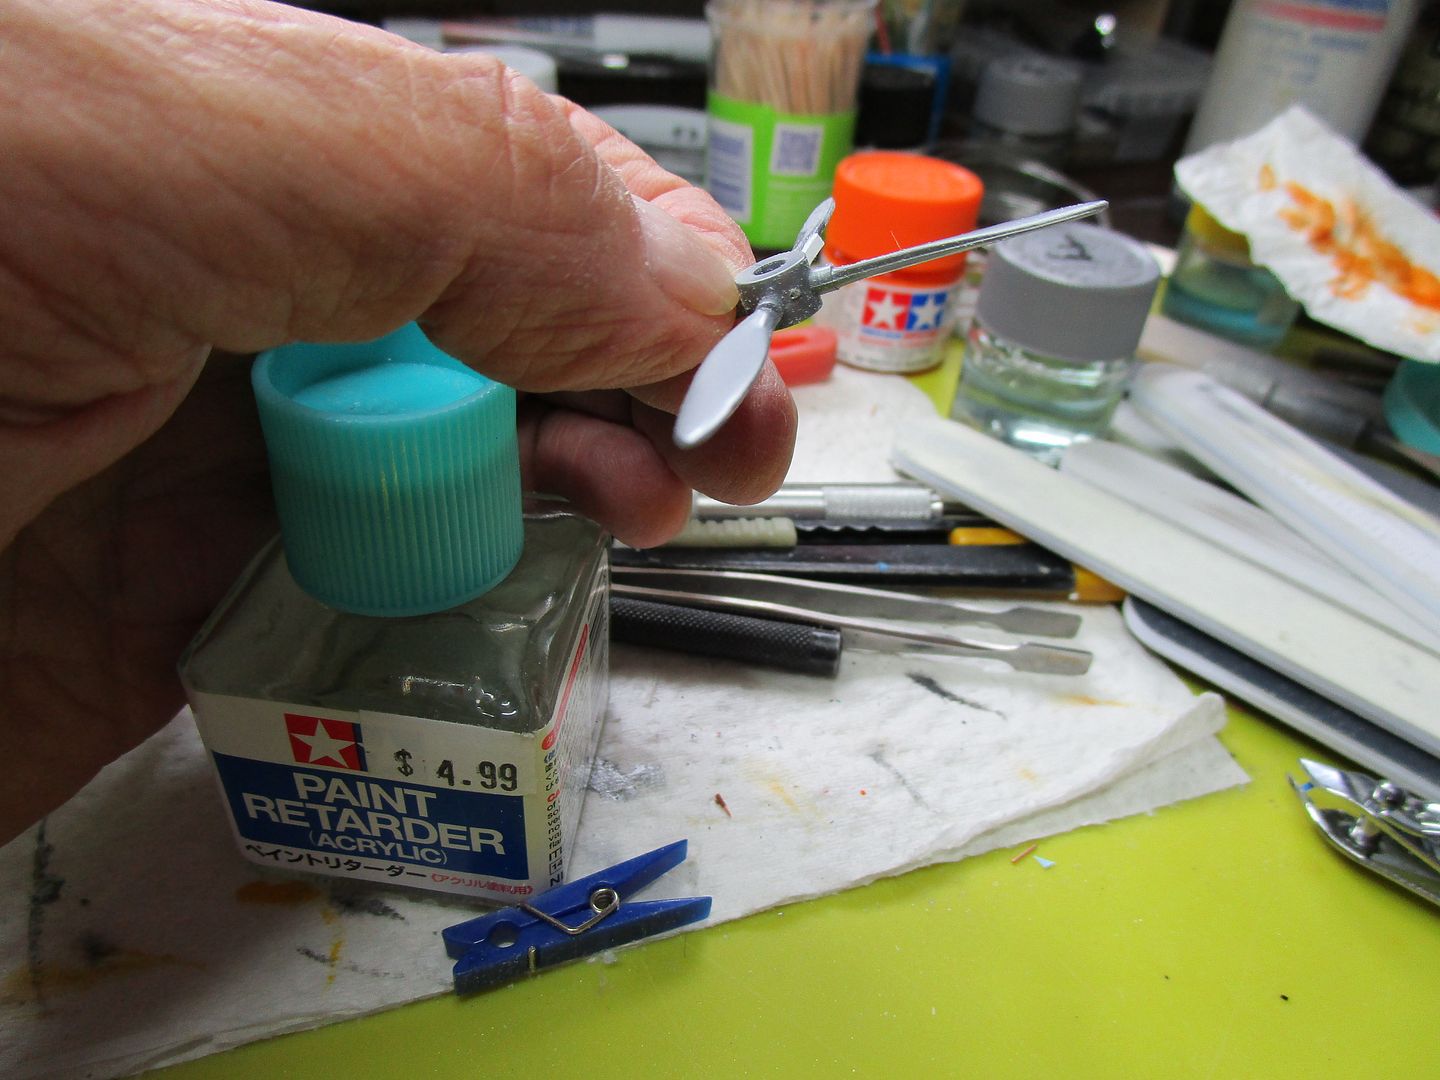

…Then firkytoodled the living heck out of the blades to arrive at something resembling a propeller. It's also worth noting that these props turn backward from what I'm used to. I had one blade all ready to go, then realized what I'd been shaping as a leading edge was in fact the trailing edge. Back to the old drawing board. :S
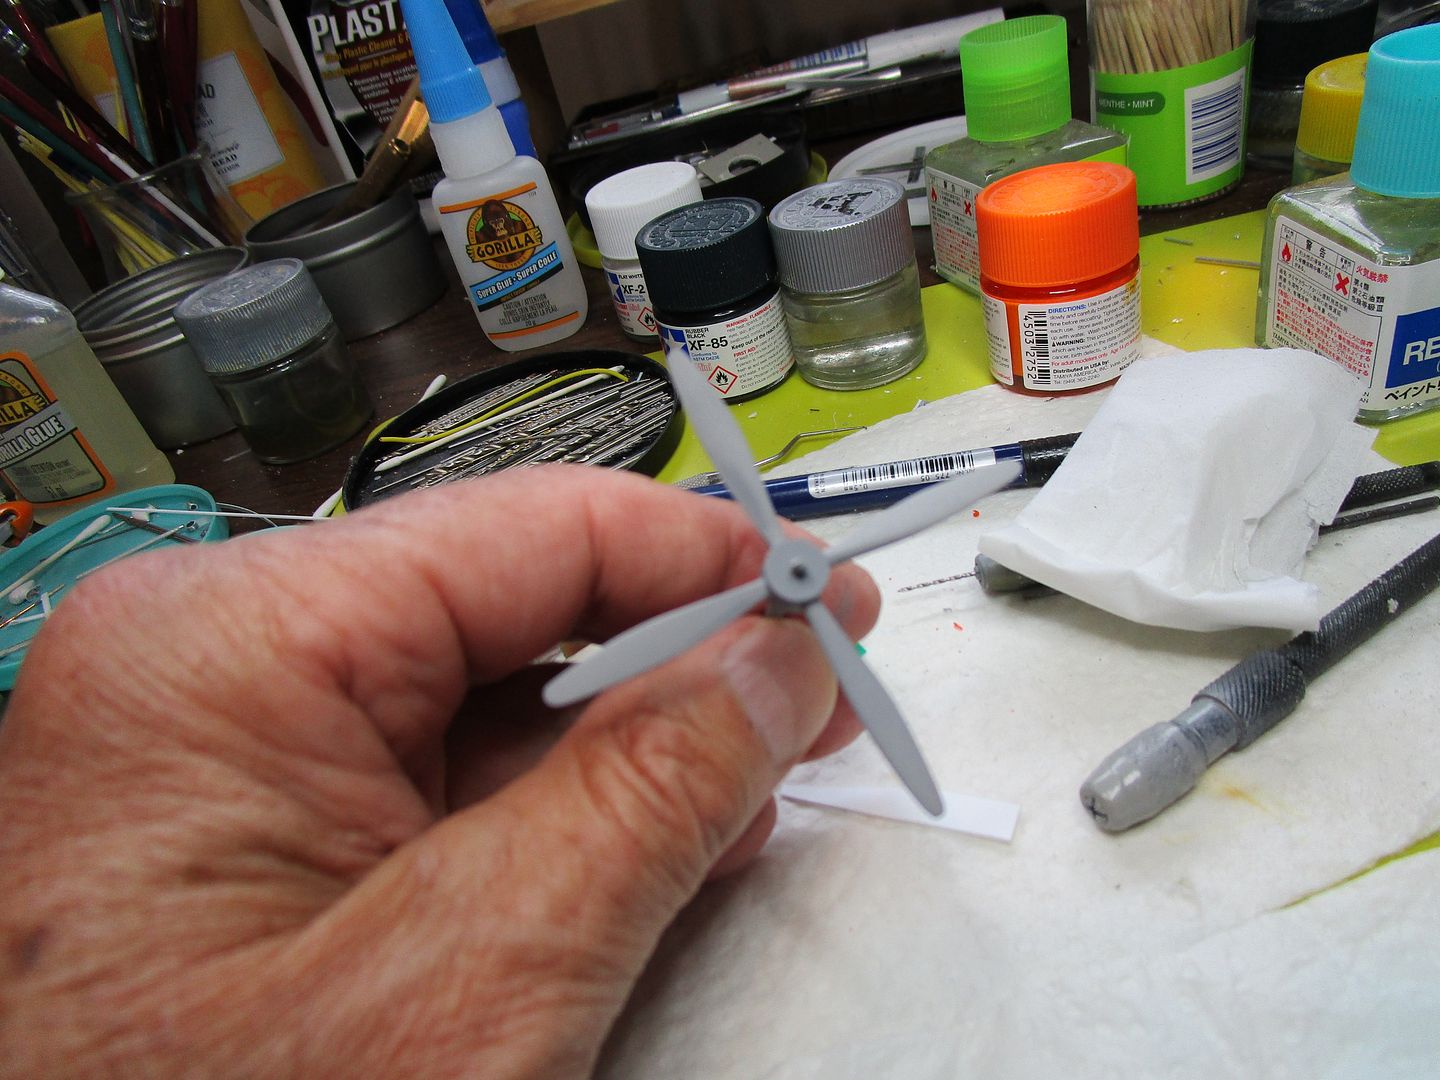
Anyway, after all that, primed and with a couple of coats of flat aluminum and a shot of Future. It looks right at home.
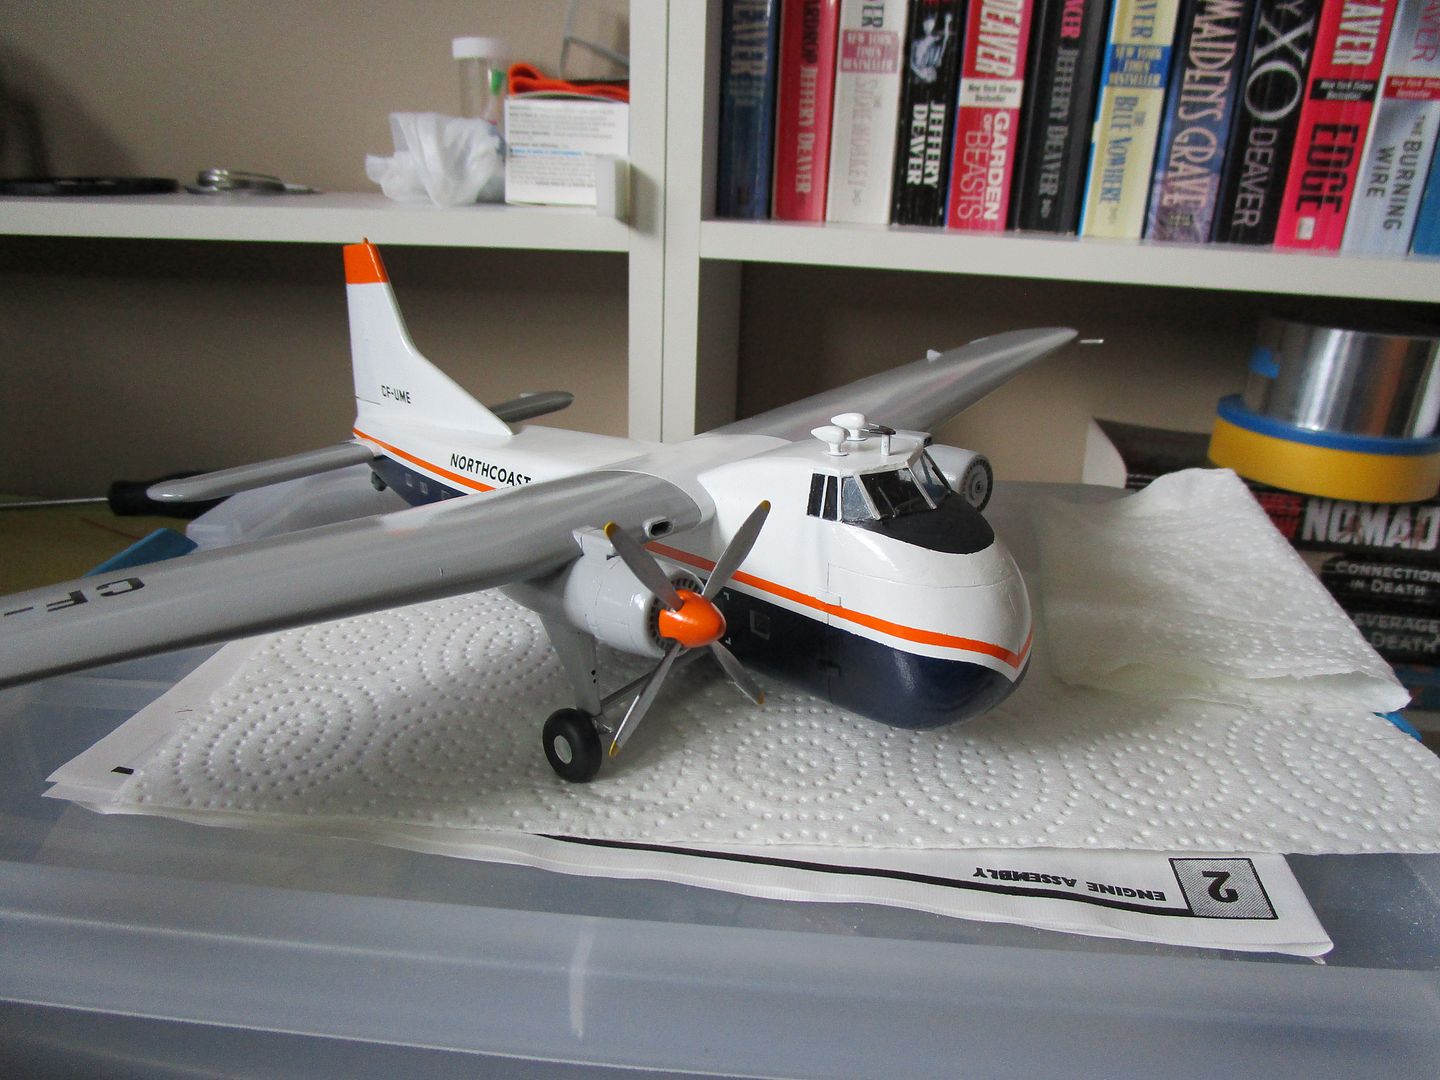
Annnnd the finished product, on its way to the Yukon as we speak.
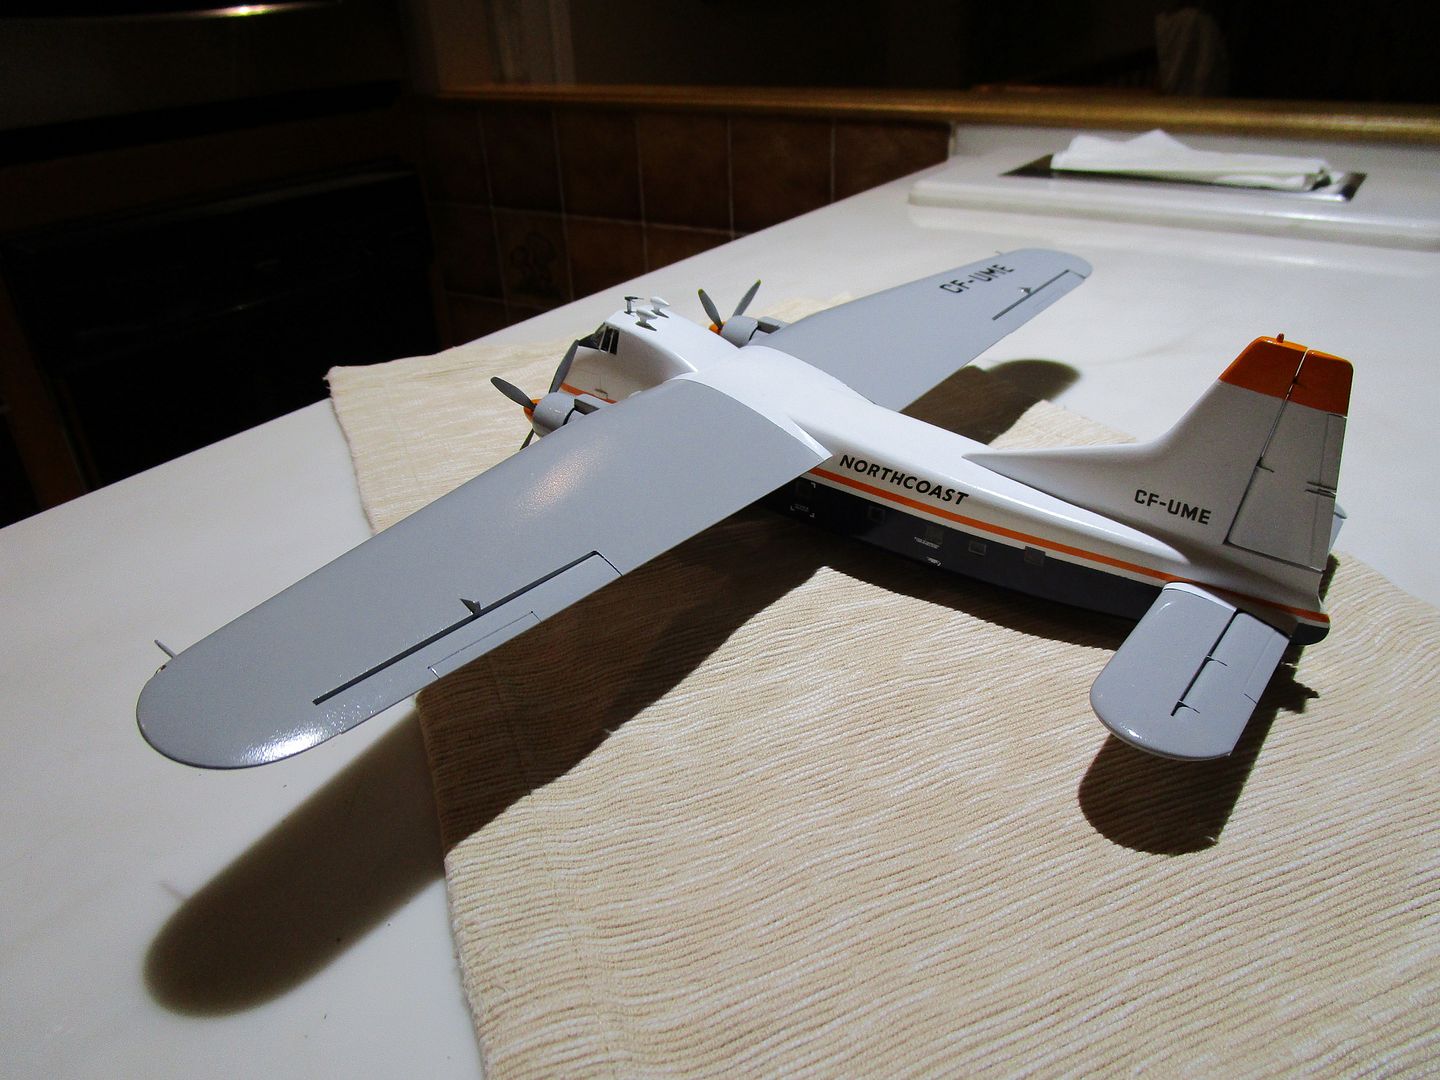
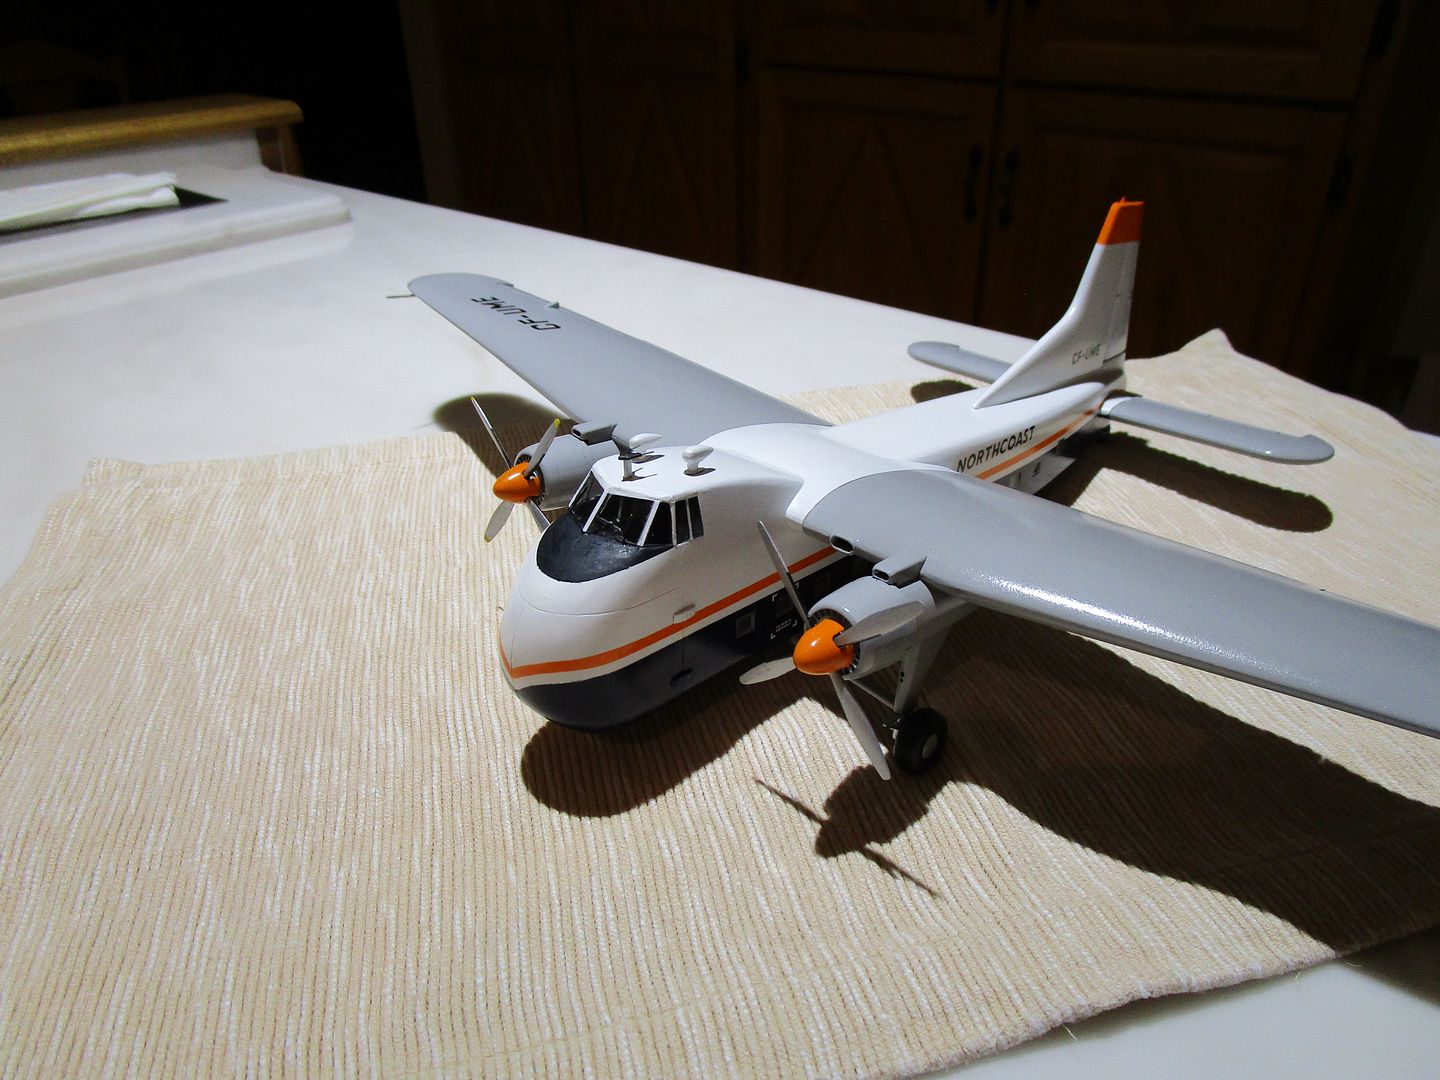
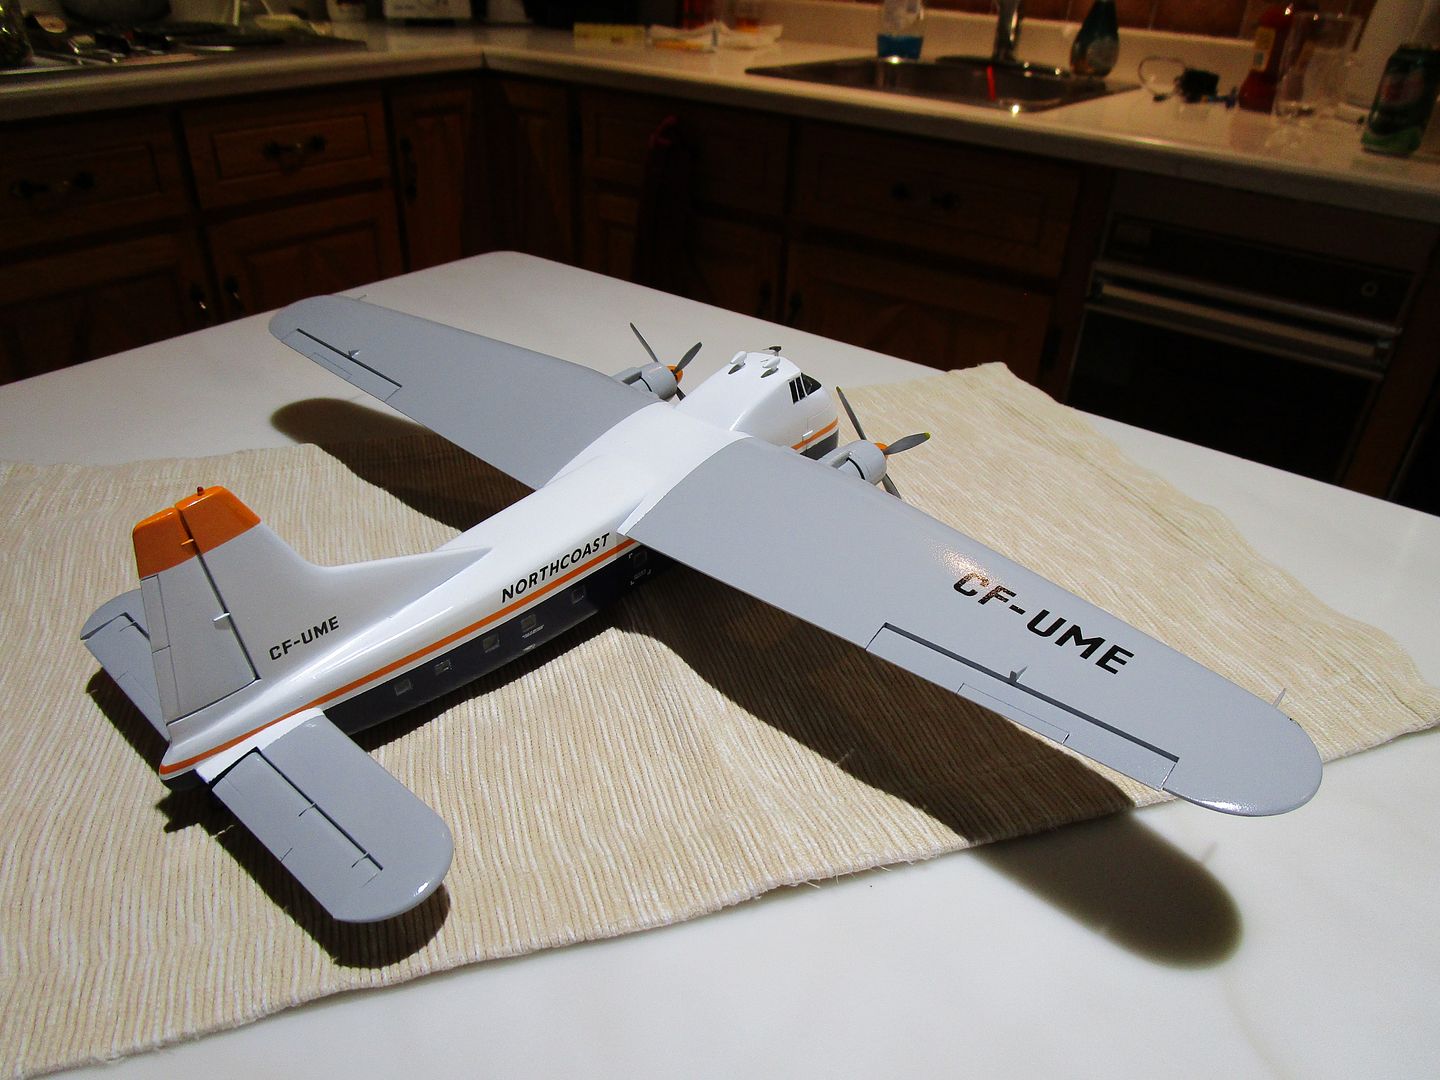
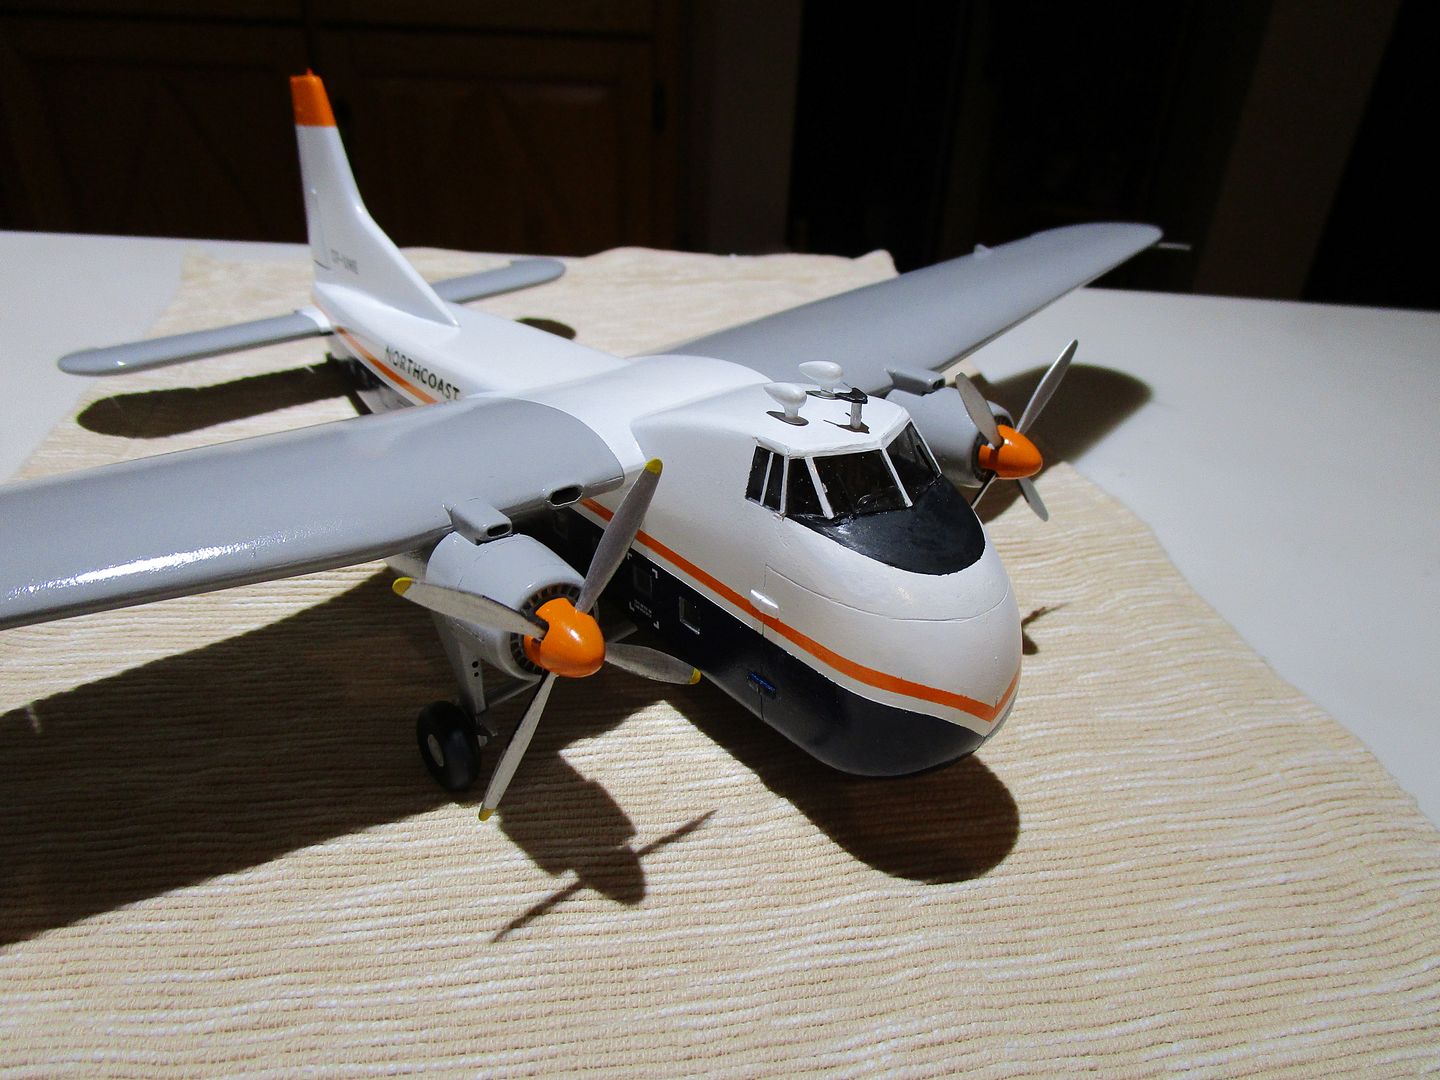
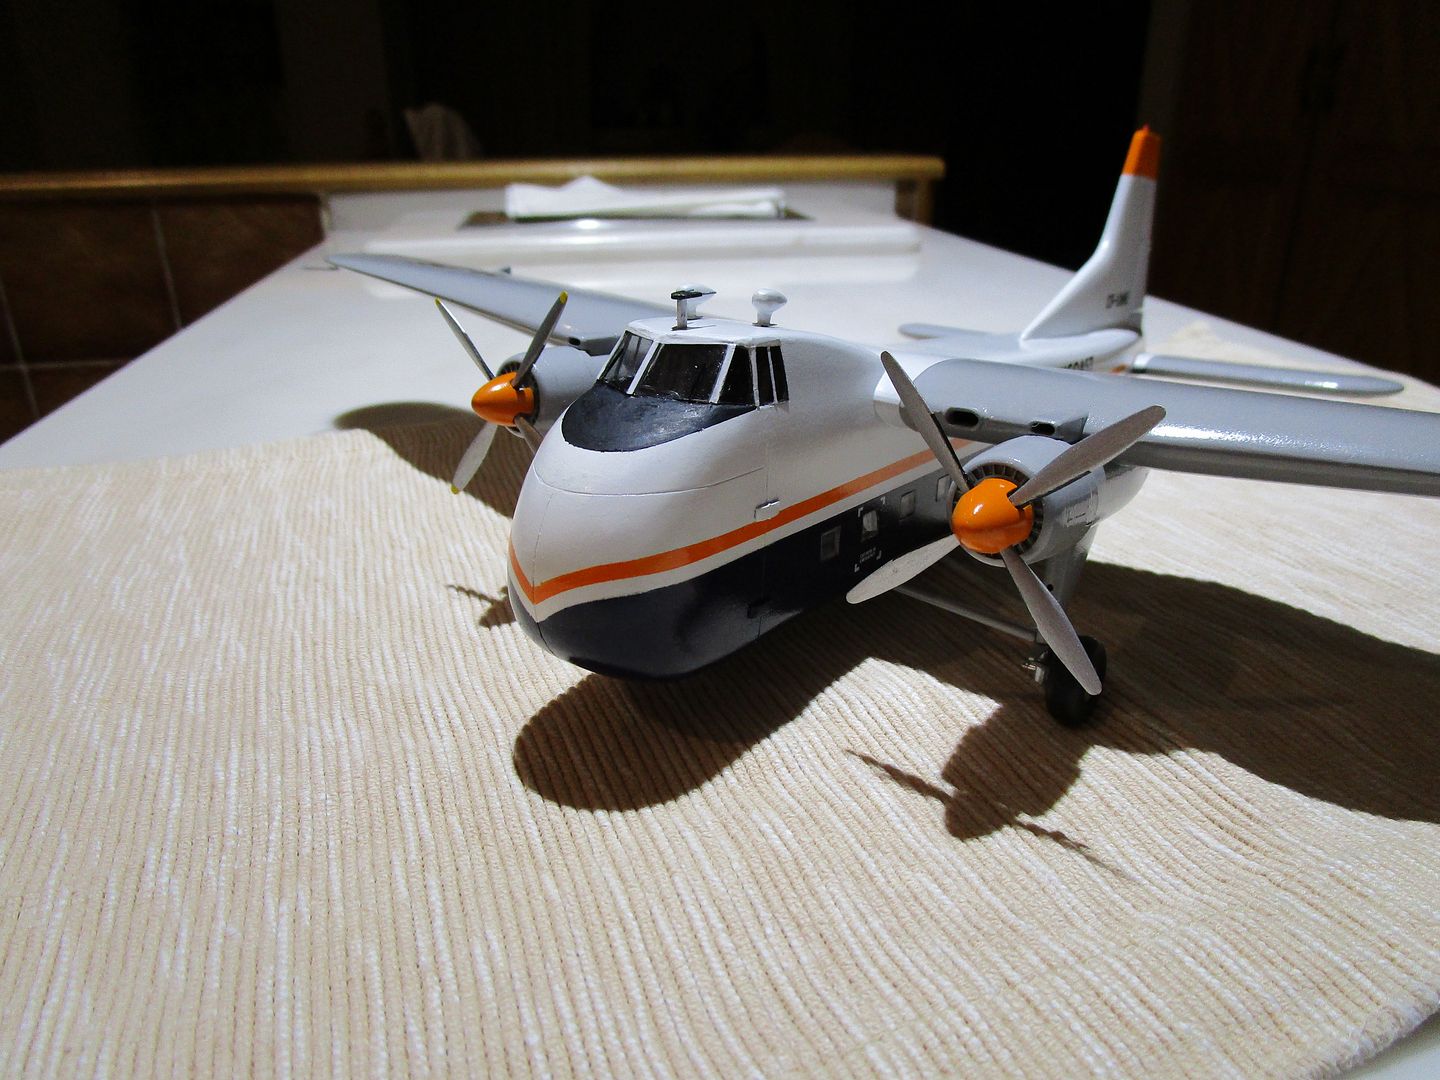
It was an interesting build. Originally I thought to open the nose doors, but one look at the resin parts and that idea went out the window. I think it turned out well though, due in no small part to the great decals from my buddy at J-Bot. Thanks Jim, I'll be getting hold of you shortly for more decals for the Beech 90.
Almost forgot the little antenna on the cockpit roof. I cobbled that together from bits of wire and scrap plastic, and used bits of flattened wire for the windshield wipers.
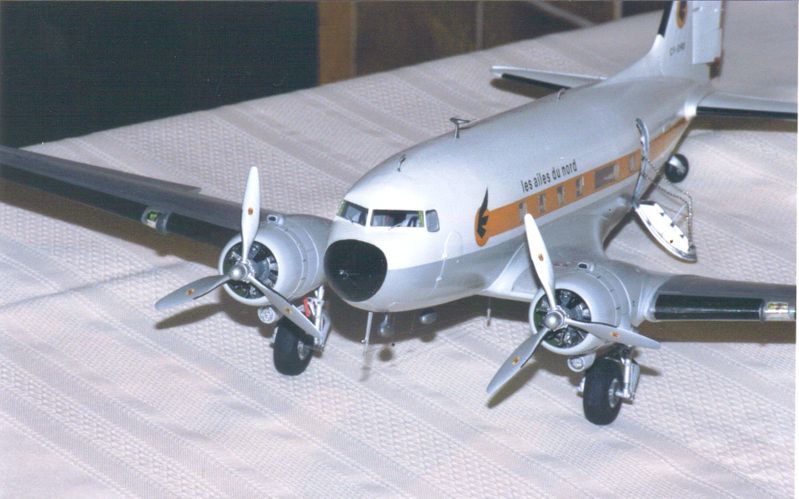
The white topping is Krylon rattle can satin white, the blue Tamiya Royal Blue, as is the orange. The grey is a Sherwin-Williams auto enamel called Delivery Grey that I had used years ago on this DC-3 I built for a local FBO. Somehow it looks darker on the Bristol.


…Then firkytoodled the living heck out of the blades to arrive at something resembling a propeller. It's also worth noting that these props turn backward from what I'm used to. I had one blade all ready to go, then realized what I'd been shaping as a leading edge was in fact the trailing edge. Back to the old drawing board. :S

Anyway, after all that, primed and with a couple of coats of flat aluminum and a shot of Future. It looks right at home.

Annnnd the finished product, on its way to the Yukon as we speak.


It was an interesting build. Originally I thought to open the nose doors, but one look at the resin parts and that idea went out the window. I think it turned out well though, due in no small part to the great decals from my buddy at J-Bot. Thanks Jim, I'll be getting hold of you shortly for more decals for the Beech 90.
Almost forgot the little antenna on the cockpit roof. I cobbled that together from bits of wire and scrap plastic, and used bits of flattened wire for the windshield wipers.
The white topping is Krylon rattle can satin white, the blue Tamiya Royal Blue, as is the orange. The grey is a Sherwin-Williams auto enamel called Delivery Grey that I had used years ago on this DC-3 I built for a local FBO. Somehow it looks darker on the Bristol.

Outstanding! 


Heavens Eagle
Well-known member
This turned out superbly! Definitely not a plane that many have seen or will see.


phantom II
Master at Arms
Excellent build 
Cheers, Christian B)
Cheers, Christian B)
Thanks for the kind comments fellas, much appreciated. 
John they are about three scale inches too high, if my calculations are correct. The kit greenhouse had windshields better suited to artillery bunker slits, figuratively speaking, so I discarded them from the git-go. The resin kit supplied a greenhouse with better dimensions, but I found the glazing material to be too thin. When I replaced the cockpit roof this raised the windshield top line by about 3/32". I was able to lower that a bit by running a strip of chukw tape along the top of the windshield. It acts as a kind of fairing, covering the narrow seam where the top of the windshield joins the frame.
I posted where I did the windshield framing, so once the epoxy on the pillars had dried I cut a short strip of .030 clear acrylic on a straight line, laid that straight edge along the bottom of the opening where that panel was supposed to go. I then very carefully scratched the material along the outboard windshield post. That gave me the length of the panel. I then scratched the material along the top of the windshield and carefully sanded it so it fit snugly. This gave me the height of the windshield panel. It now fit the opening on three sides, the bottom, the outboard edge, and the top. It was now a simple matter to scratch the material a third time along the windshield center post and remove the excess. The windshield panels fit snugly, and because they are acrylic I used epoxy to fix them in place. There are very narrow seams along each of the edges, but using thin strips the aforementioned chukw tape they are hidden.
Them are big windscreens!
John they are about three scale inches too high, if my calculations are correct. The kit greenhouse had windshields better suited to artillery bunker slits, figuratively speaking, so I discarded them from the git-go. The resin kit supplied a greenhouse with better dimensions, but I found the glazing material to be too thin. When I replaced the cockpit roof this raised the windshield top line by about 3/32". I was able to lower that a bit by running a strip of chukw tape along the top of the windshield. It acts as a kind of fairing, covering the narrow seam where the top of the windshield joins the frame.
I'm really curious how you did the windshield.
I posted where I did the windshield framing, so once the epoxy on the pillars had dried I cut a short strip of .030 clear acrylic on a straight line, laid that straight edge along the bottom of the opening where that panel was supposed to go. I then very carefully scratched the material along the outboard windshield post. That gave me the length of the panel. I then scratched the material along the top of the windshield and carefully sanded it so it fit snugly. This gave me the height of the windshield panel. It now fit the opening on three sides, the bottom, the outboard edge, and the top. It was now a simple matter to scratch the material a third time along the windshield center post and remove the excess. The windshield panels fit snugly, and because they are acrylic I used epoxy to fix them in place. There are very narrow seams along each of the edges, but using thin strips the aforementioned chukw tape they are hidden.
Similar threads
- Replies
- 25
- Views
- 4K
