Great job on the research Ian, looks fantastic 

Modelers Alliance has updated the forum software on our website. We have migrated all post, content and user accounts but we could not migrate the passwords.
This requires that you manually reset your password.
Please click here, http://modelersalliance.org/forums/login to go to logon page and use the "Forgot your Password" option.

:Hiay
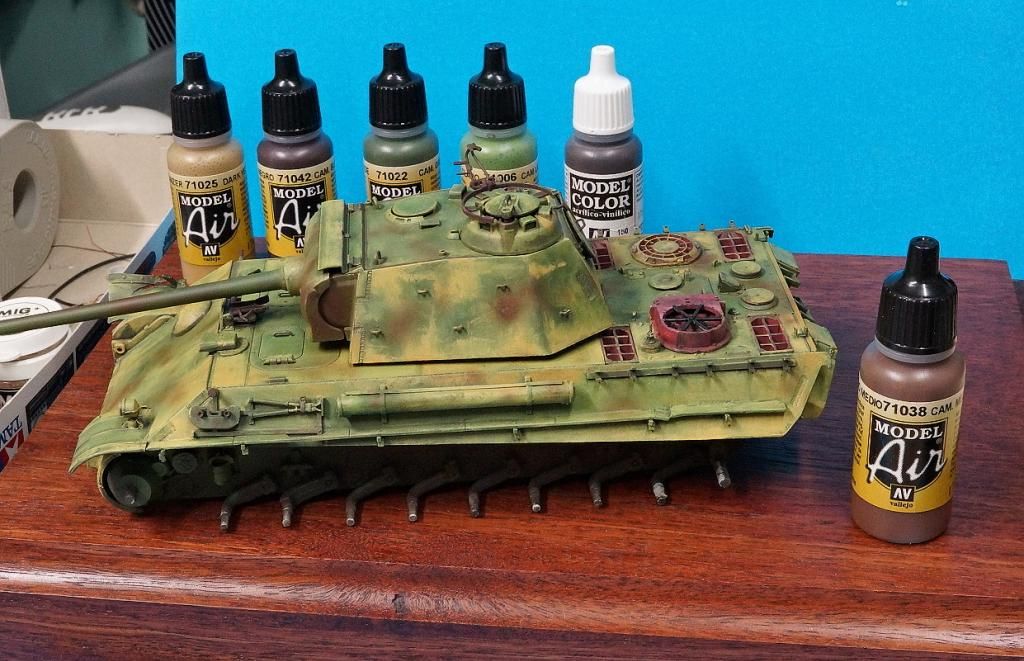
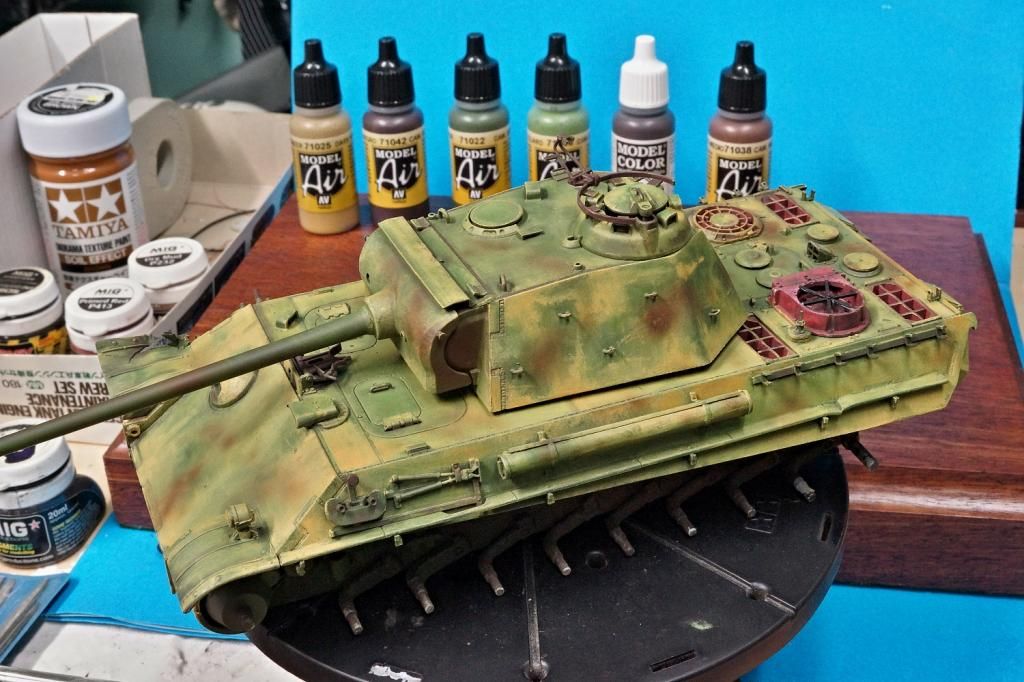
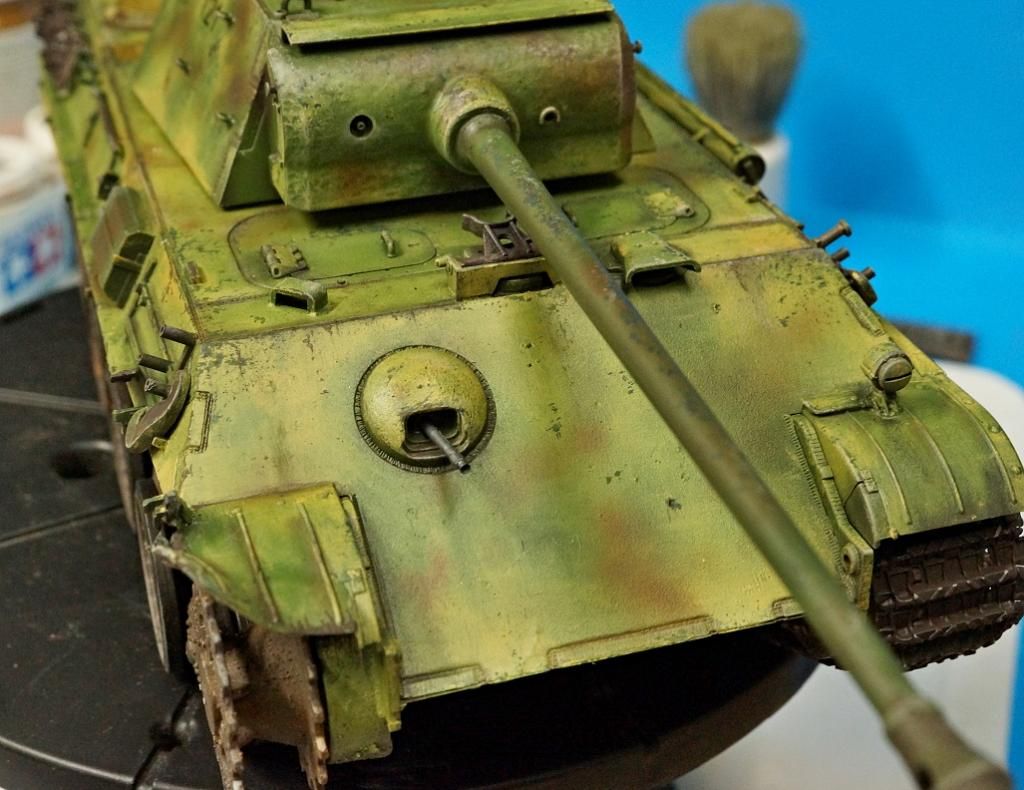
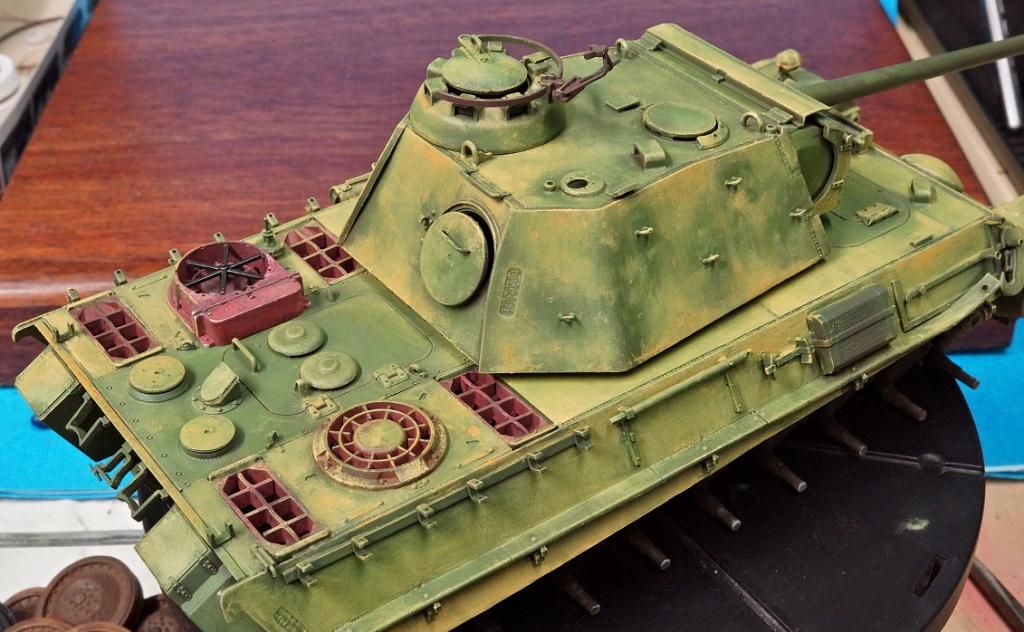
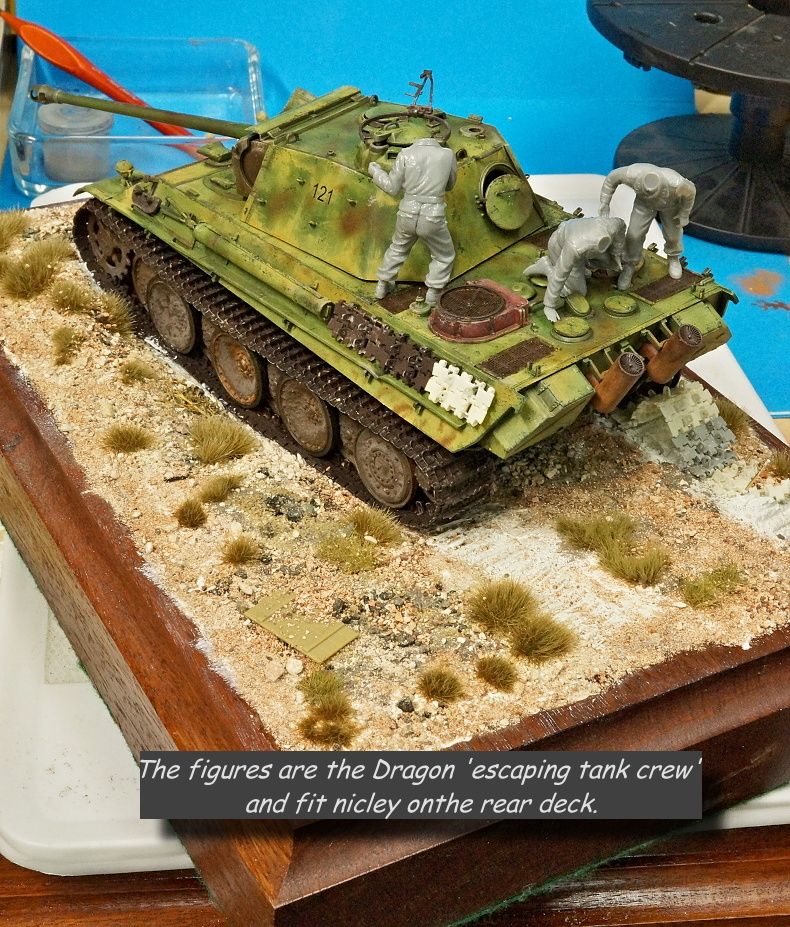
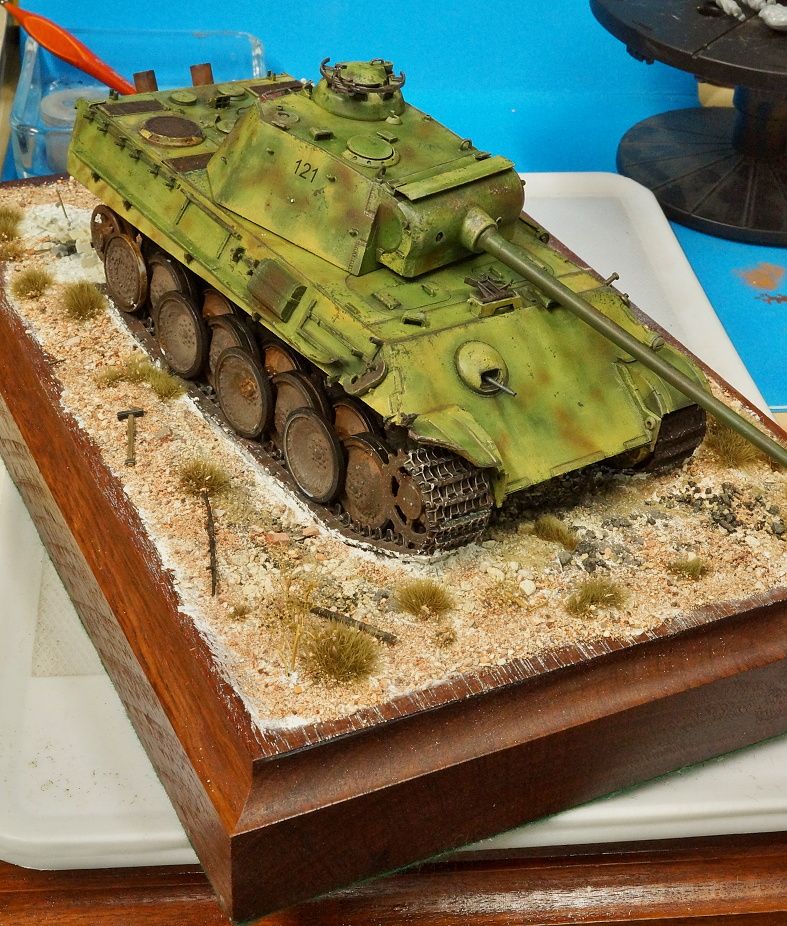
Further work done on the weathering using VJ acrylics.
I had to wait a week for the oils to dry then clear flat coat it to protect the base coat.
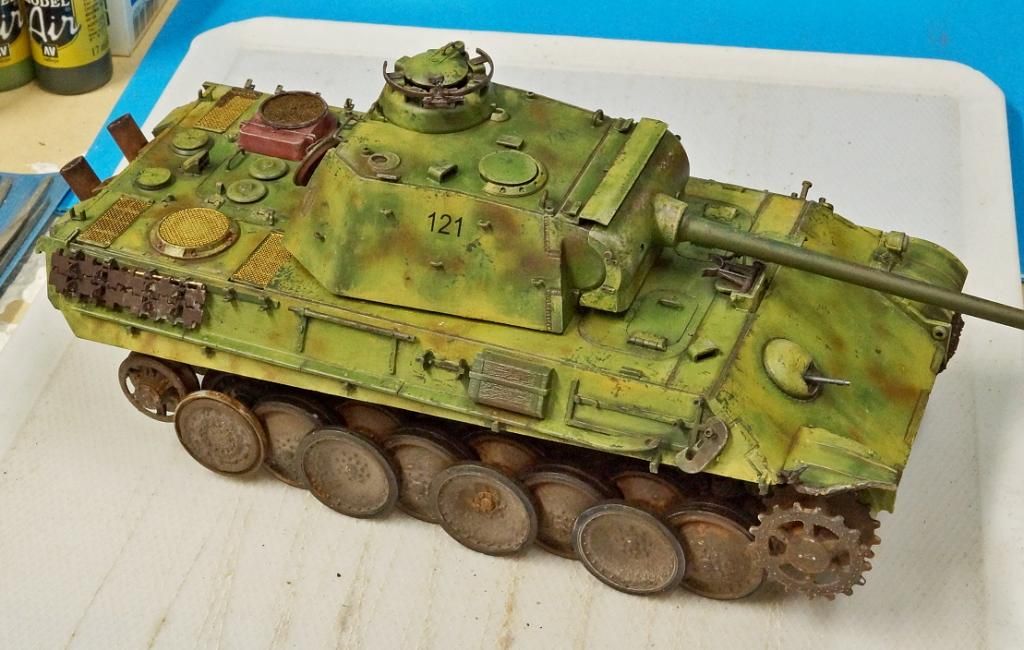
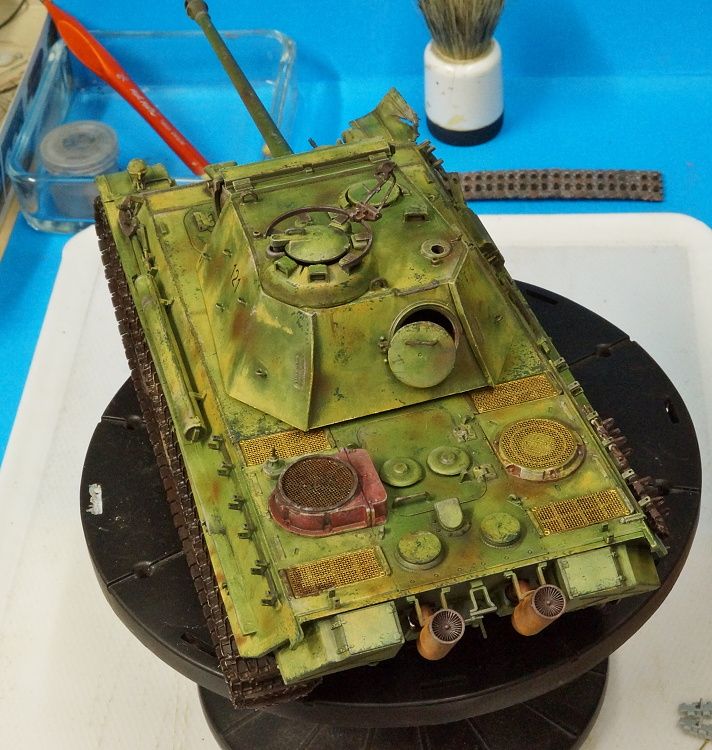
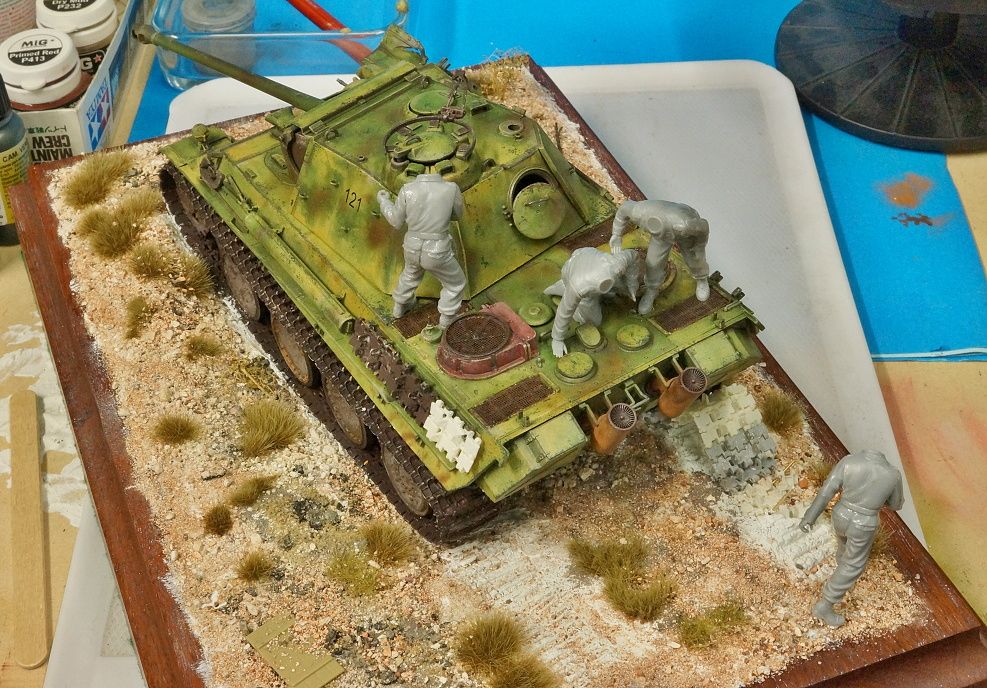
Installed the rear screens and have added the track to one side. I have used the one peice Majic track for the undamaged side but will use the individual link for the side that has thrown the track (see photo).
Added the brown (Cammo Medium Brown Vallejo 71038)
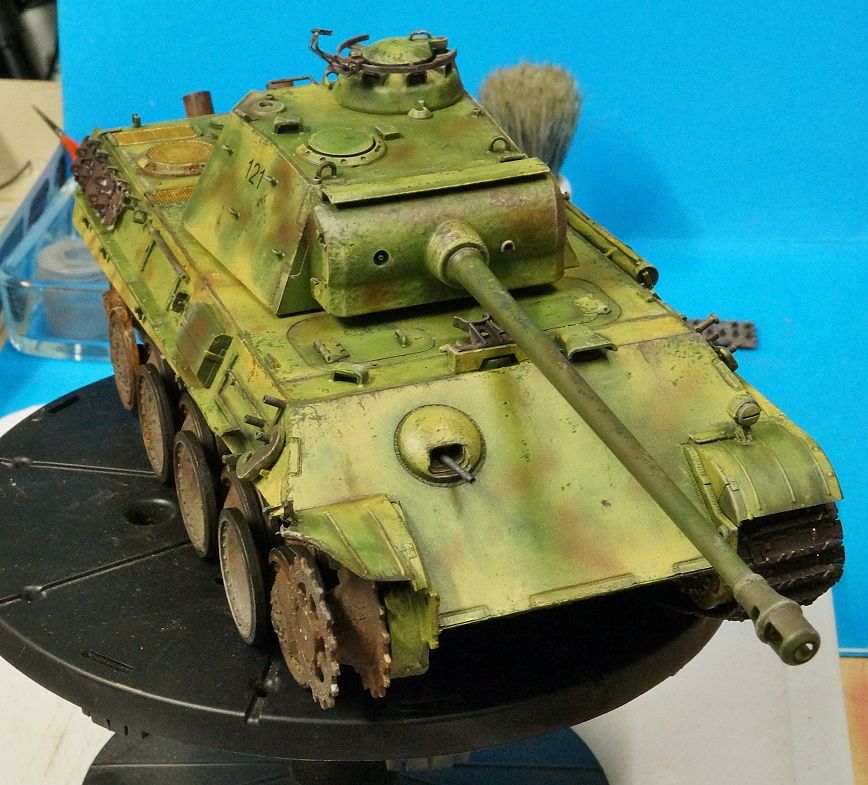
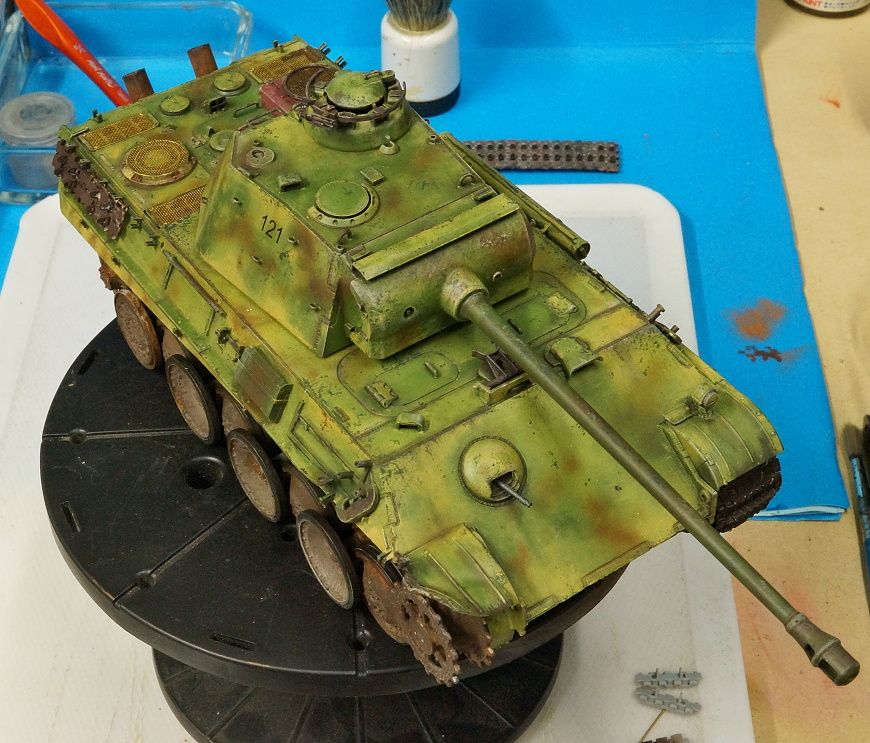
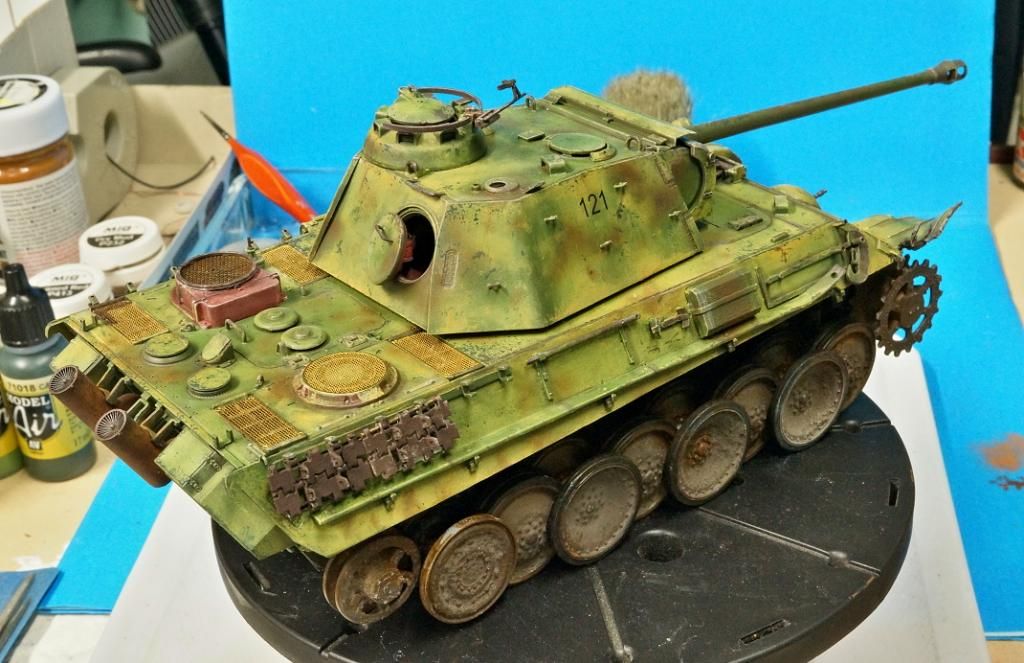
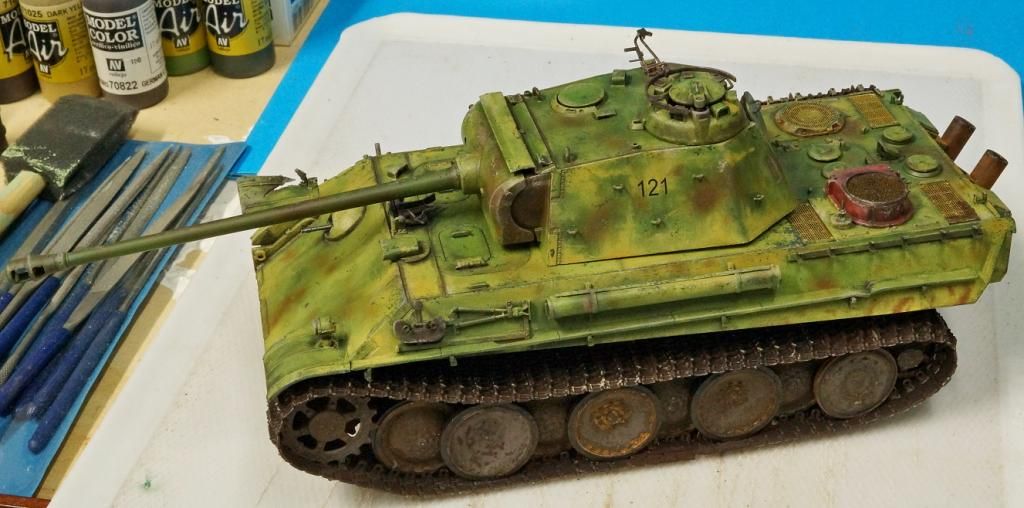
Then worked on the paint deterioration /.... still in progress, also added numbers 121and the Alders nest blued steel MG 42
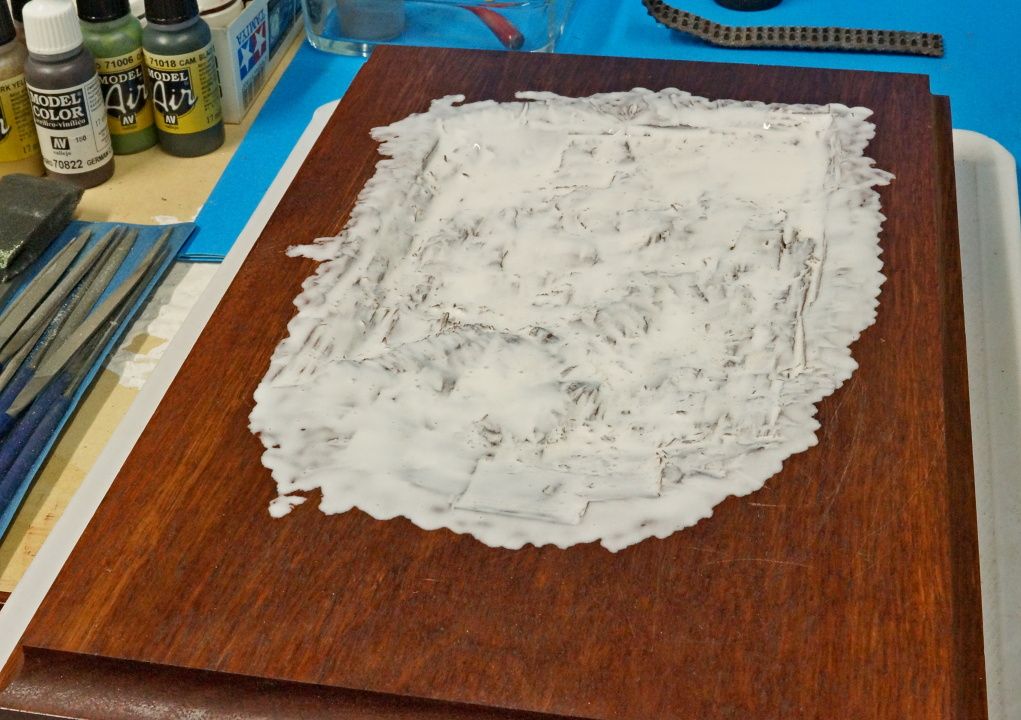
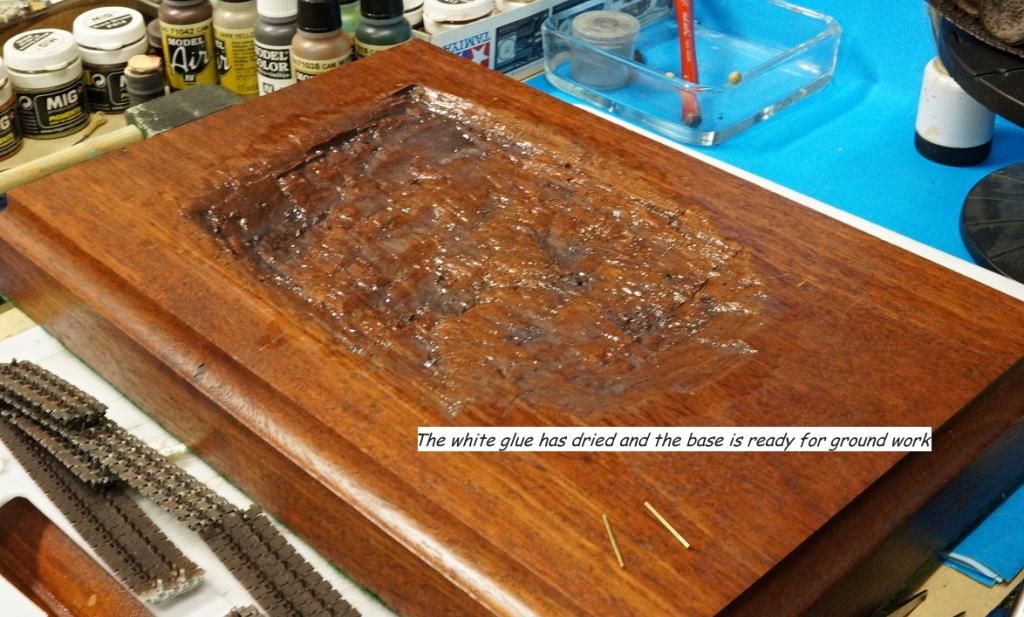
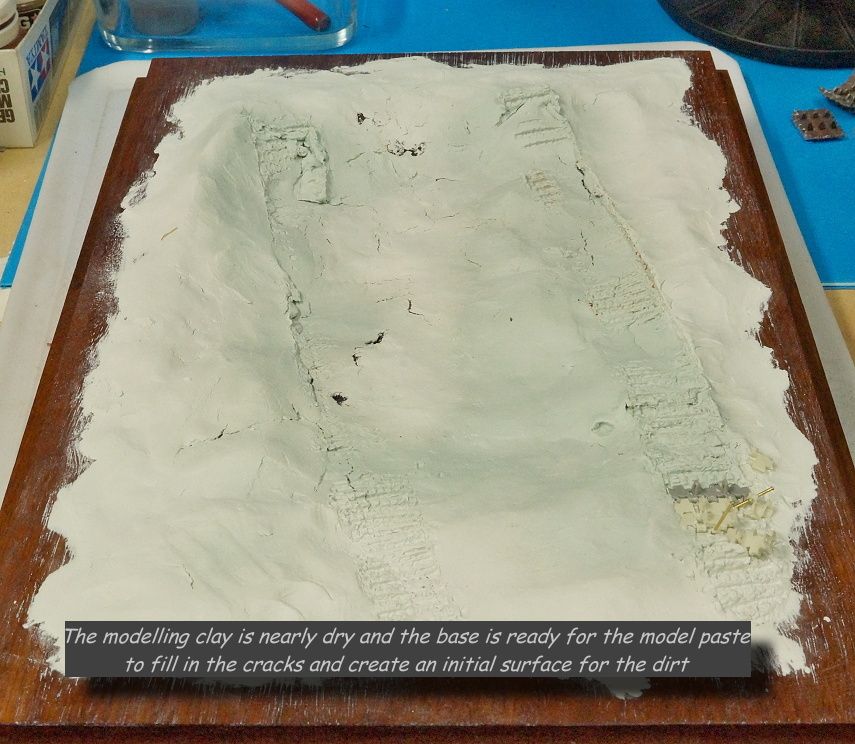
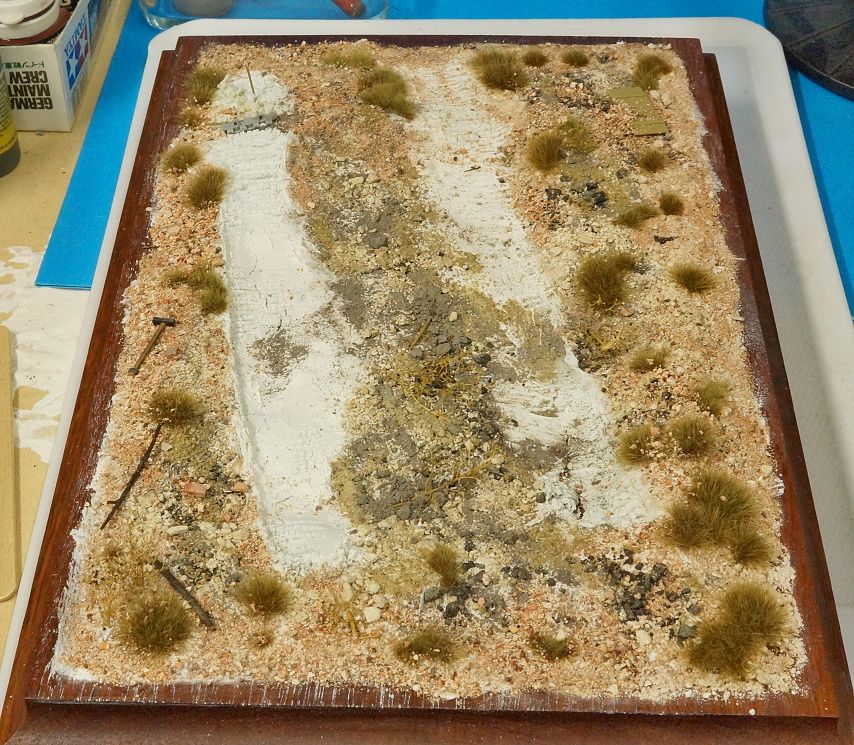
Finally a shot of the base with a white glue layer still drying over the chiselled out depression for the base ground work.
Lots of work still to do on the detail of the on board tools and the weathering.
Brokeneagle
")
 Thanks again for the questions MP, always happy to answer.
Thanks for the answers,Ian.The lessons learned are valuable for the most of us! :drinks
The Adlers nest aftermarket machineguns are really nice for sure.(think you used the MG34 not the MG42 for the bow machinegun) :hmmm
Greetings,Ron.

MasterIan.
...the wear to the edges looks extremely realistic
Fantastic look overal!...loving it :frantic
Luiz.
Looks great Ian, Why the white glue before the clay?