• Modelers Alliance has updated the forum software on our website. We have migrated all post, content and user accounts but we could not migrate the passwords.
    This requires that you manually reset your password.
    Please click here, http://modelersalliance.org/forums/login to go to logon page and use the "Forgot your Password" option.

BATTLE BLOG # 2 -THE FIRST LSSW PANTHER G

Brokeneagle

Master at Arms
PANTHER G LATE PRODUCTION 121 1./SS PR 1, LSAH

Another unusual tank with some interesting aspects.
- Last Station steel wheeler from M.A.N.
- No turret cammo loops installed - still trying to determine this, jury out still.
- cupola AA ring fitted(left off final production variants from M.A.N.)
- raised fan on the rear deck
- Full chin mantlet.
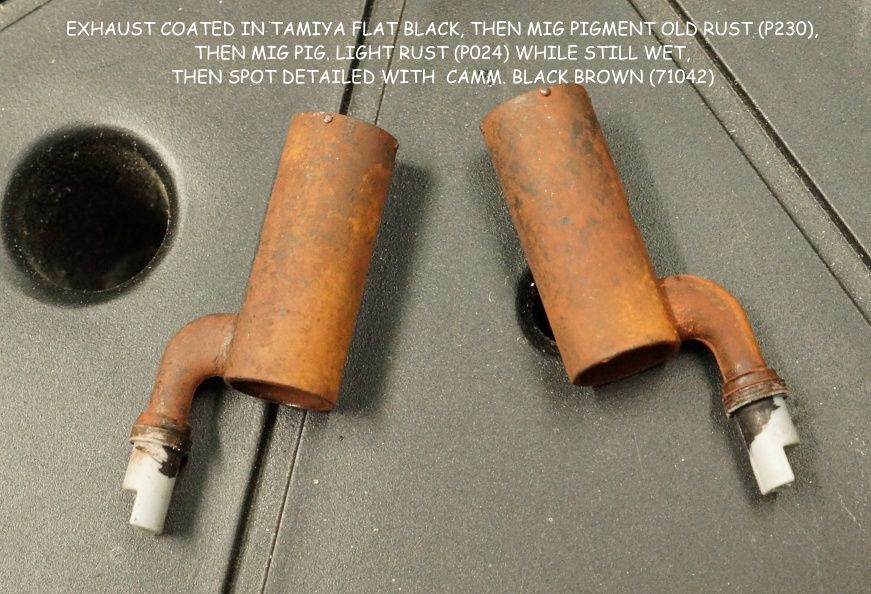
- late model exhaust dampeners
- This also does not have the typical hard edge 2 color cammo scheme that is associated with the final M.A.N. variants with LSSW.

Unusual because, as far as I have been able to tell from internet research, this was the first vehicle to display the steel wheel only on the last station of the suspension.
"Panzertracts 5-3 states that steel tired roadwheels were fitted in March and April 1945"
However, it shows details typical of the late production G from M.A.N.(Dec/Jan 45).
Most of the other examples that have shown up in photos have typical Final production series features from M.A.N.(March - April 45 - some differences visible are highlighted in black above)but there are a small number like this though it is hard to see all the features.

One of the features of the final series is the fitting of turret loops for cammo attachment on the sides of the turret - this is a special example as it has this feature in conjunction with a Dec/Jan production series as well as a LSSW and AA cupola ring fitted.

Location is Hungary March (around the 23rd) 1945.
panther.jpg


A final detail is the fact that this vehicle has a standard starboard side stowage bin, no I.R. box - apparent in another photo of this vehicle that I do not have but is quoted by sources on ML.

THE BATTLE

map1_zpsed255c8c.jpg


Panther 121 was destroyed in the last winter on the Eastern Front as part of the final German offensive of the war. Operation Konrad was Hitler's last gasp in the east to stop the Russians in Hungary. The battle was fought out between Budapest and Lake Balaton to the south and was quite open country for tank warfare.
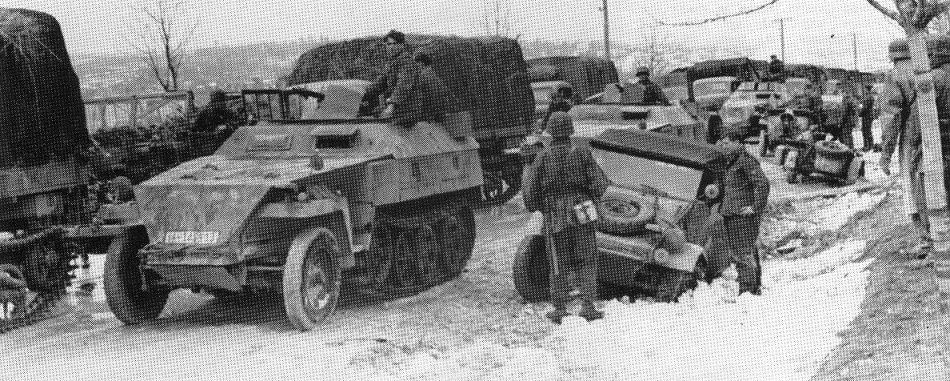
The troops in the east did not get resupplied with winter whitewash in the final year and had to make make do unless they had access to previous supplies.
This shot shows vehicles in Dark Yellow during this period in the area in question.
hungaryjan45_zps9bfd2c2a.jpg

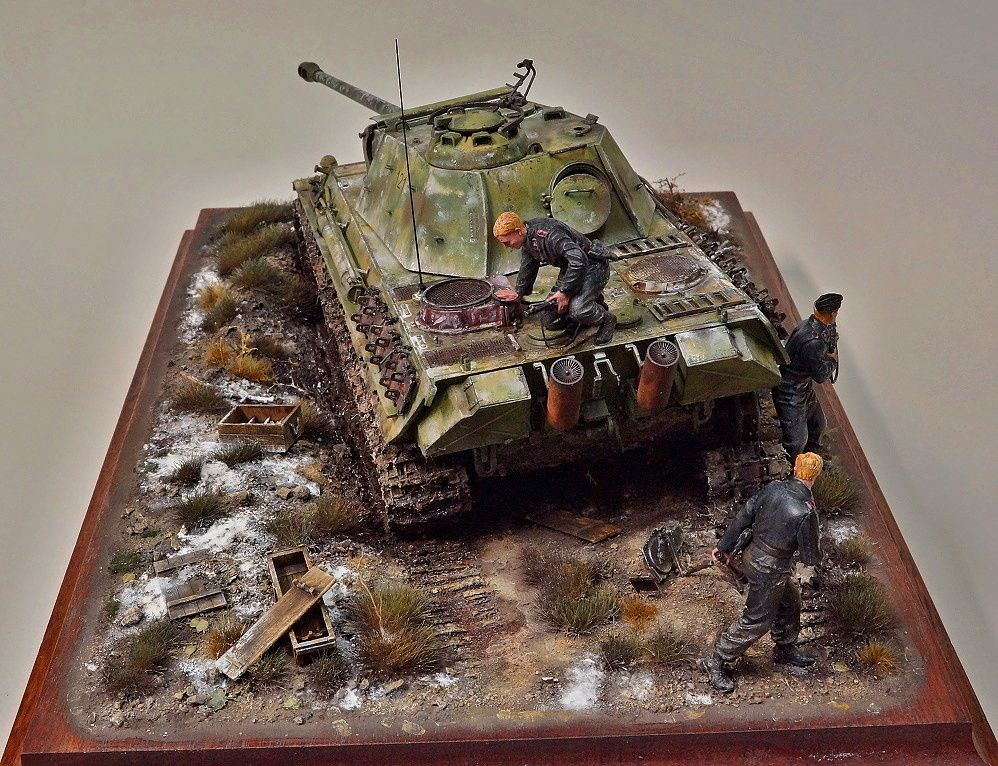
A good fight was put up initially, as this vehicle was probably knocked out on one of the roads southeast of Lake Balaton in early March when the Soviet attack swung south and then west, pushing the Germans back toward the Lake.
DSC01676_zpsjvjo6tuy.jpg

Brokeneagle
 
:popcorn ...Ian , how it will be displayed?...destroyed as the Tiger?
Best!

Luiz

Hey Luiz,
haven't made my mind up yet as I like the knocked out one with the Russian hand painted cataloged number but I also have 2 nice panzer figures 'bailing' from a damaged tank ? :hmmm
 
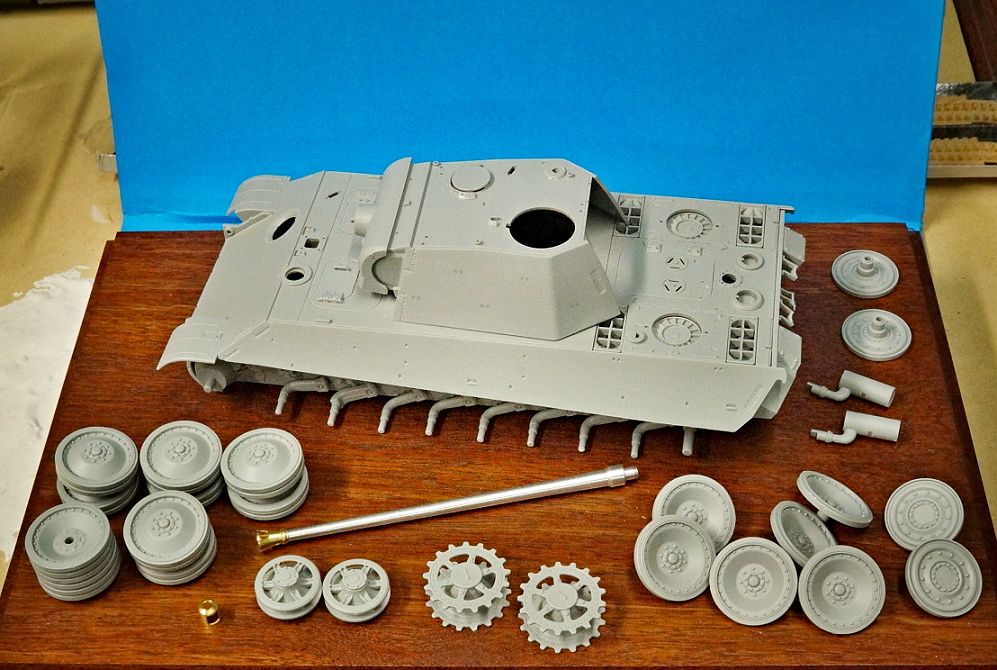
So I have started this kit as well .................

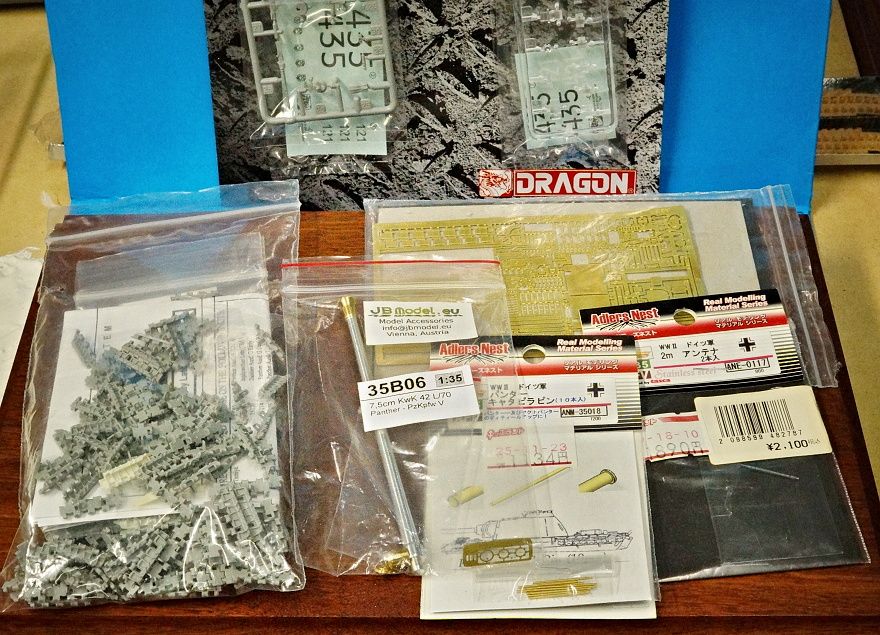
Dragon Smart Kit - Final Production (no 6286)
DSC00876_zpsc3f752bd.jpg


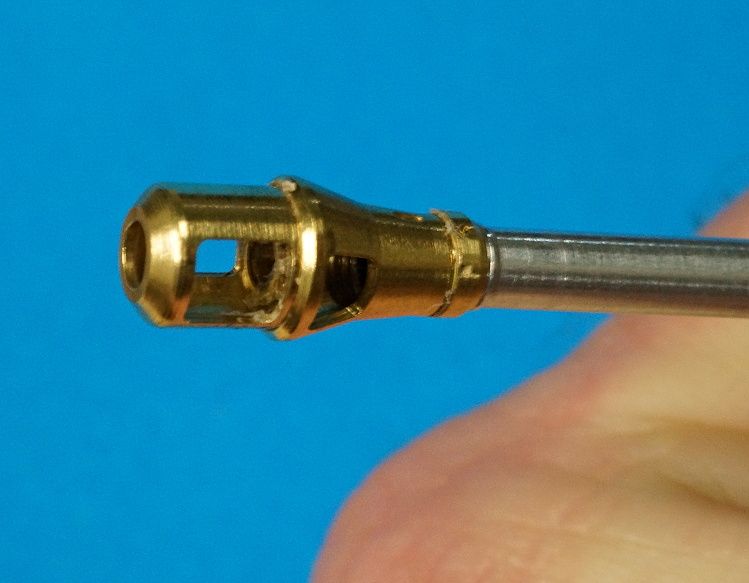
LOTS of extras such as PE, Alder's nest Blued MG & Track pins, JB model barrel (with the threaded muzzle brake)and all the other good gear you get in the kit anyway!

DSC00877_zps8e058778.jpg
 
OCTOBER BUILD UPDATE

Hello MA'ers,
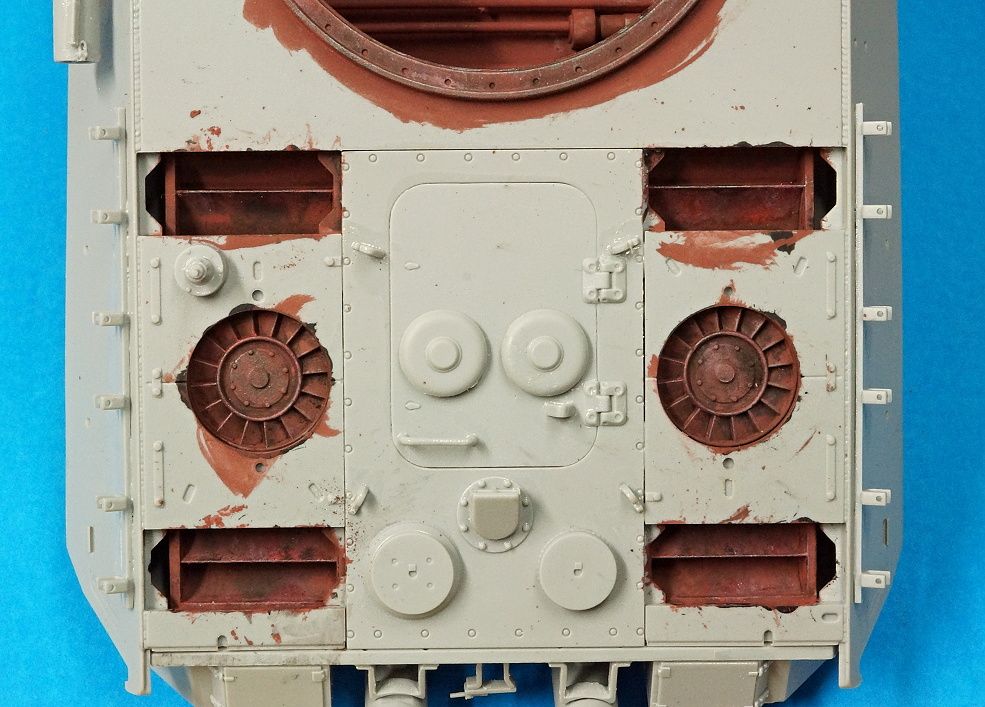
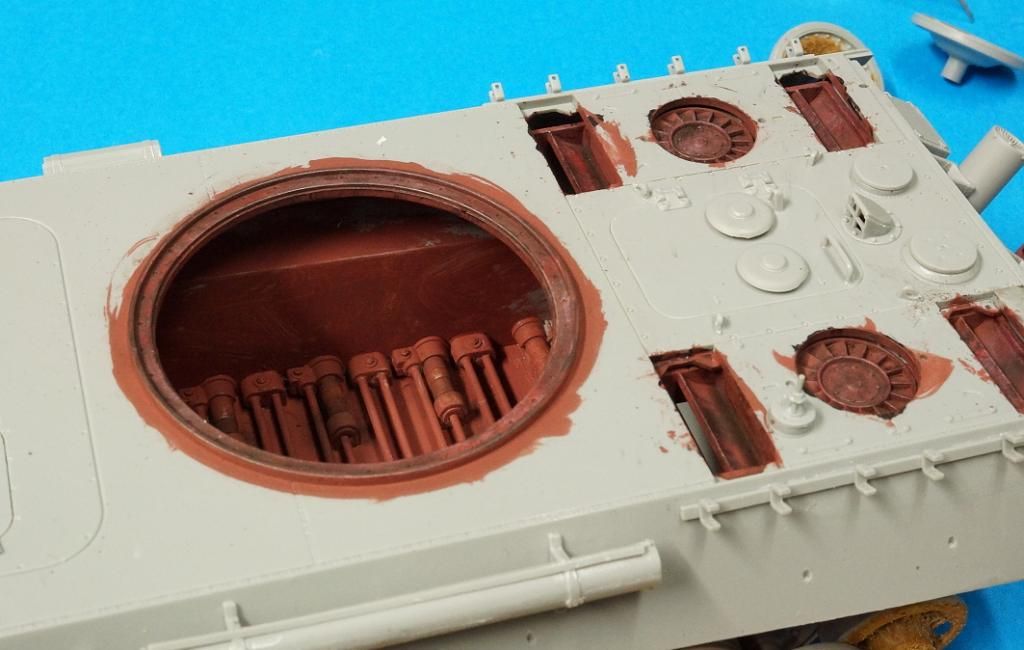
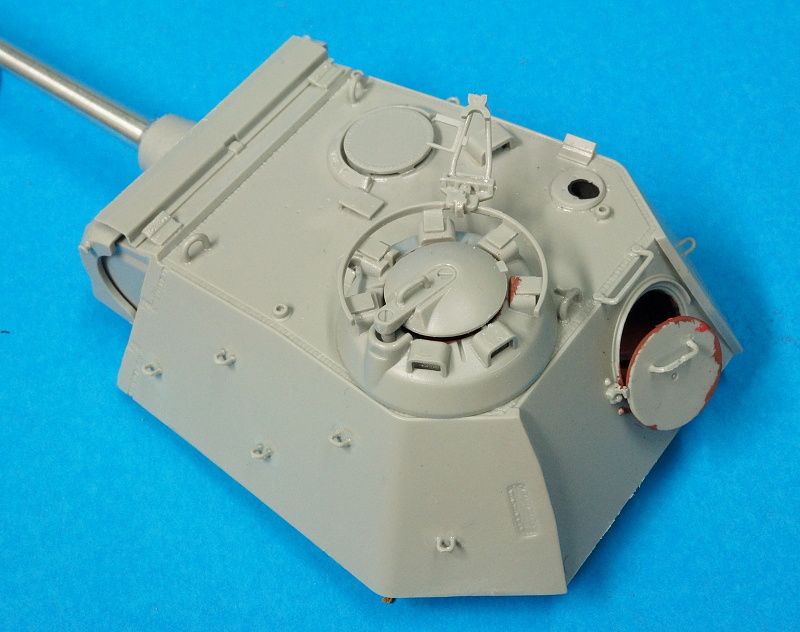
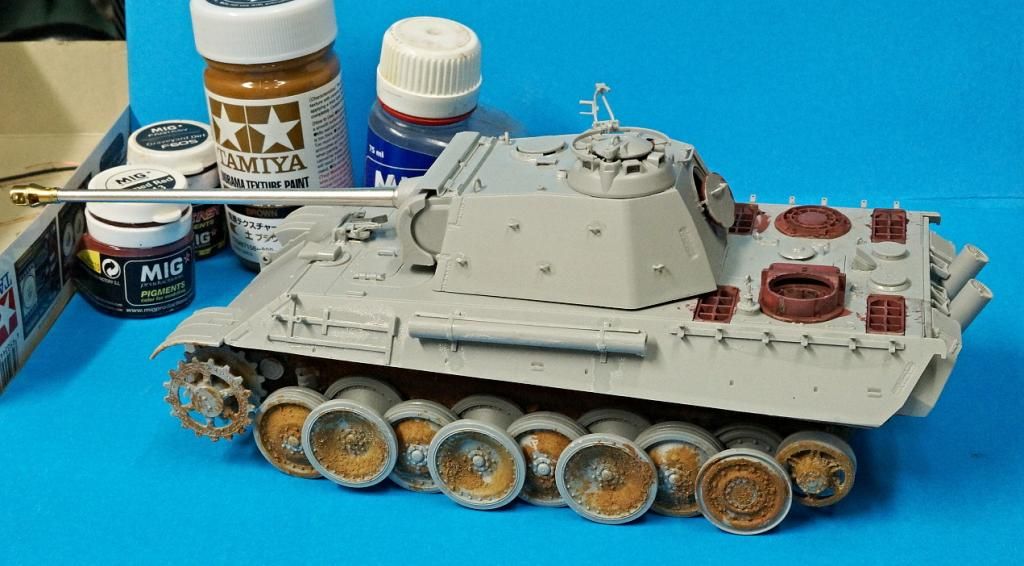
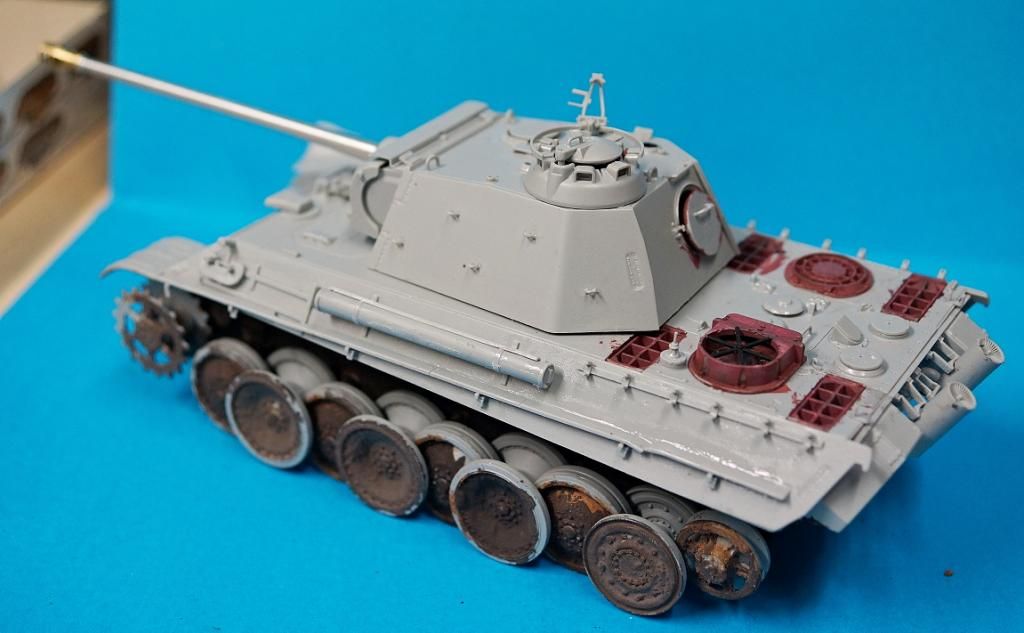
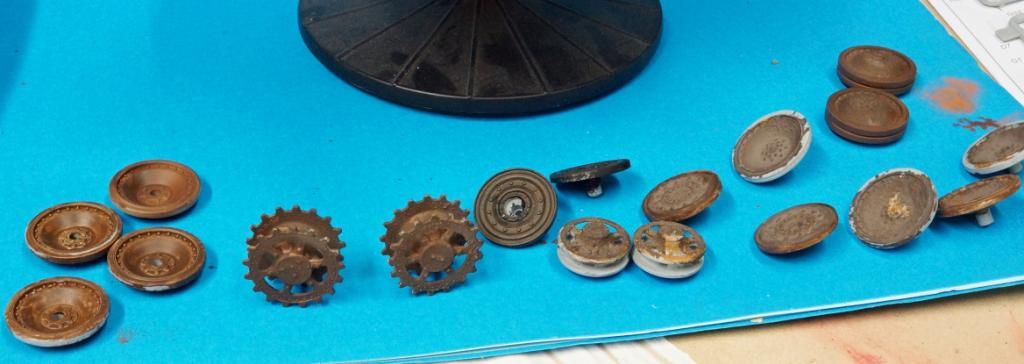
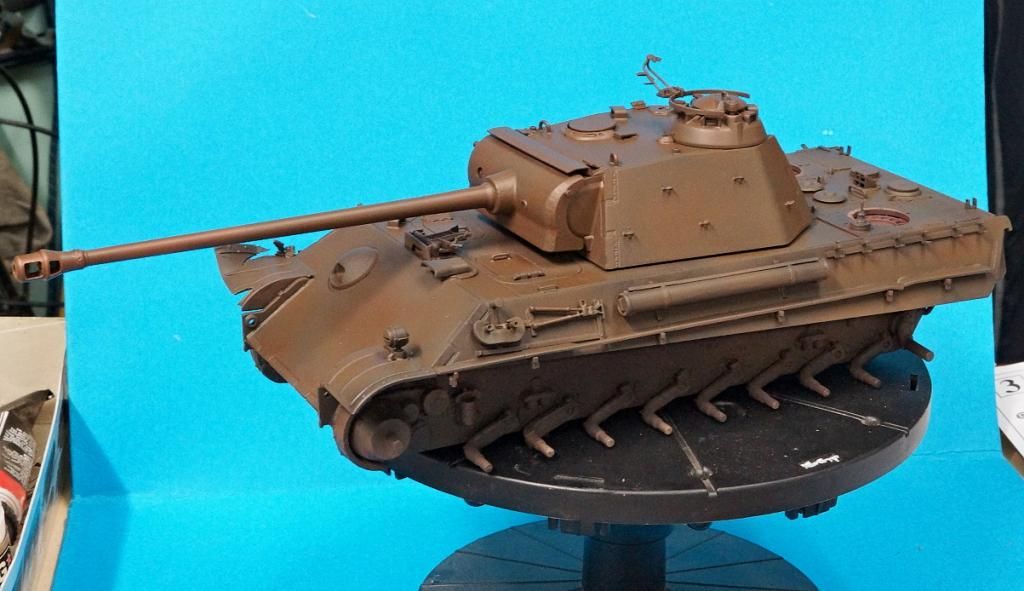
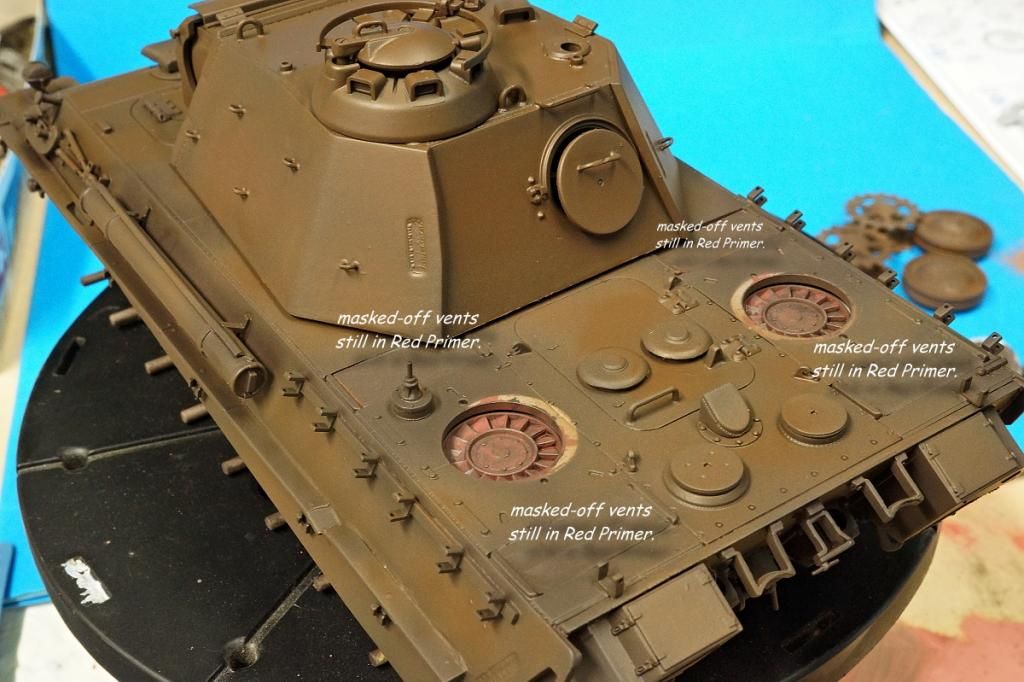
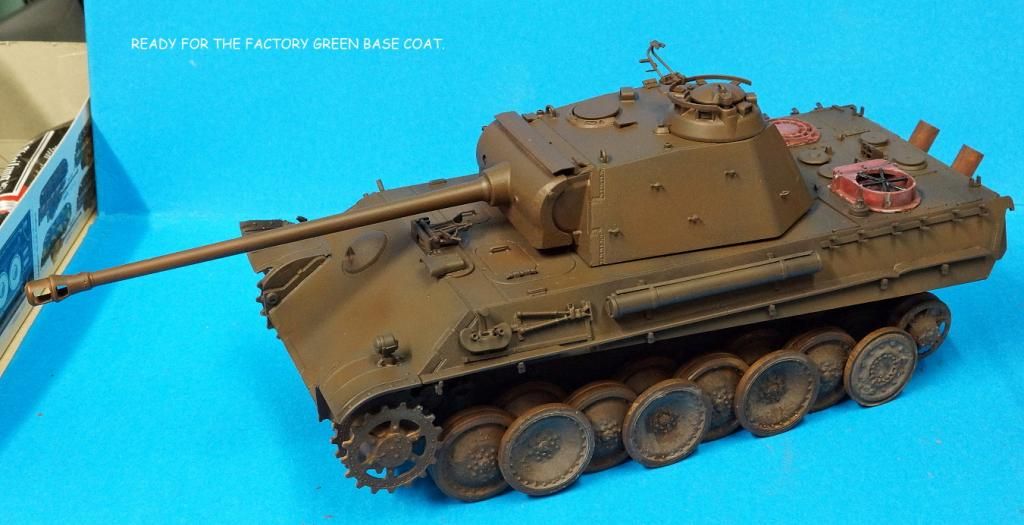
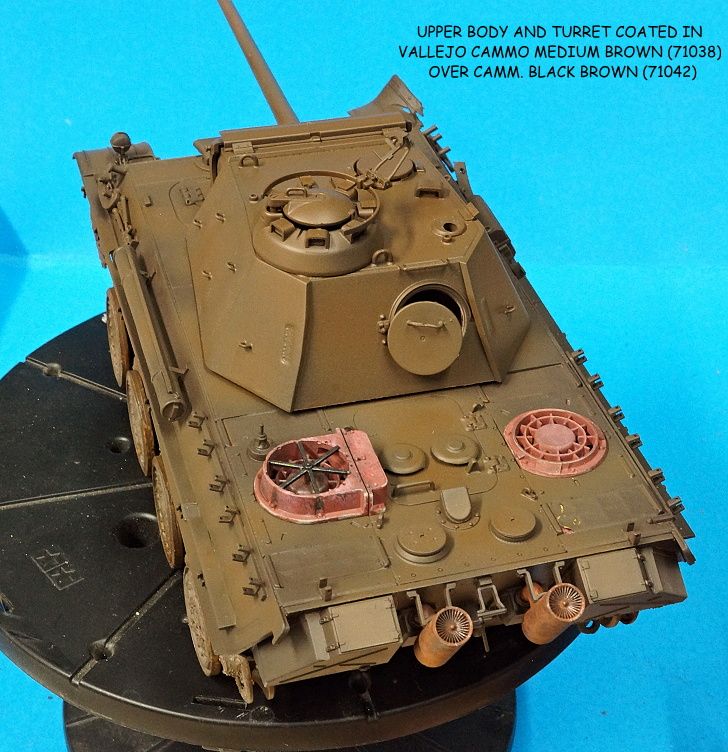
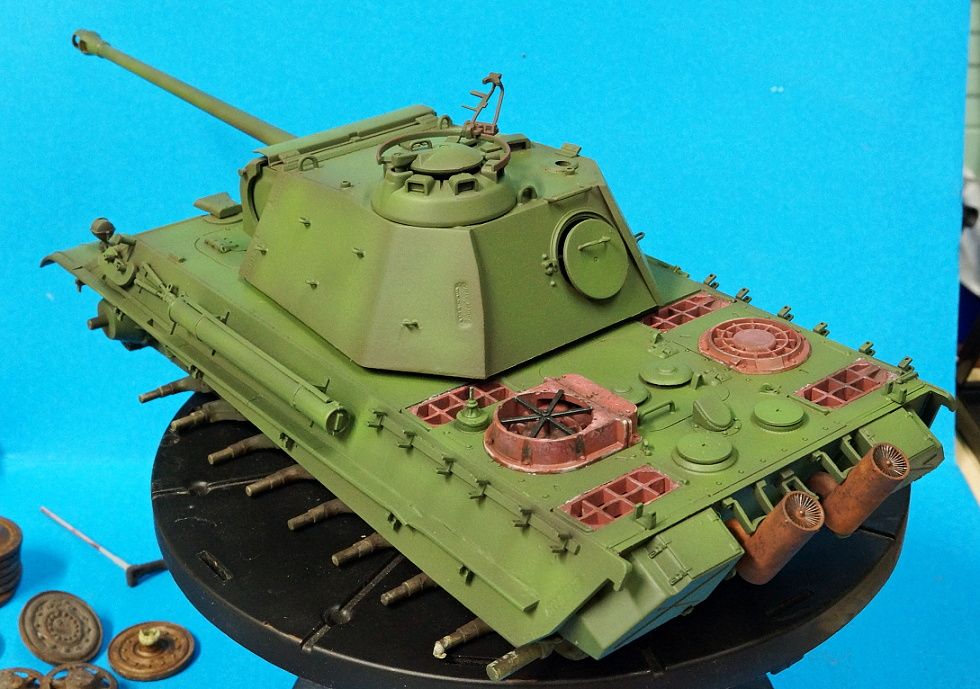
I have done quite a bit on the build for the 121 Panther including painting the Red primer areas.

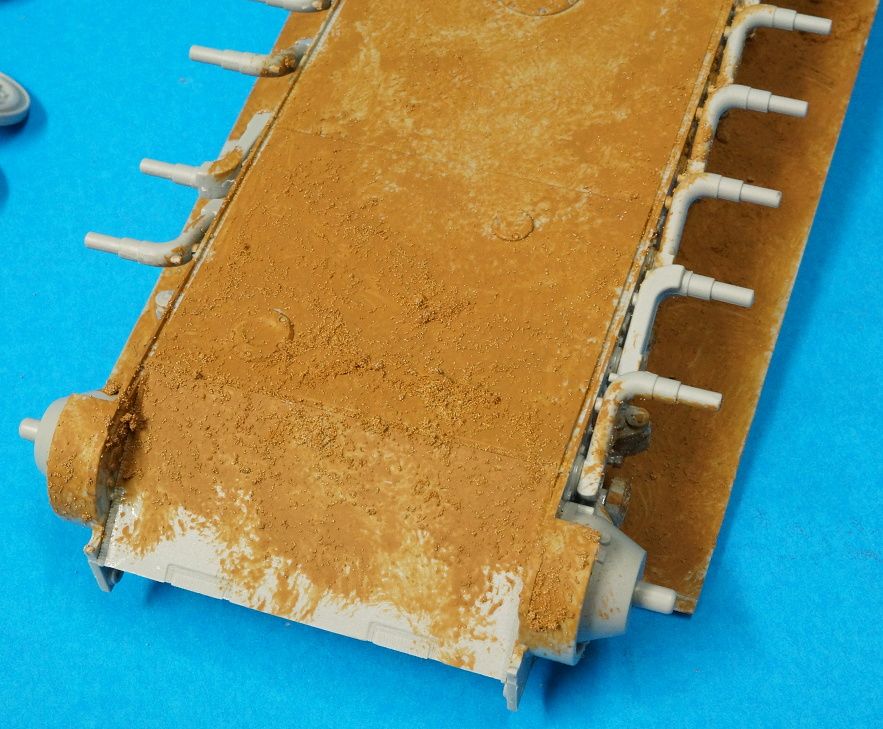
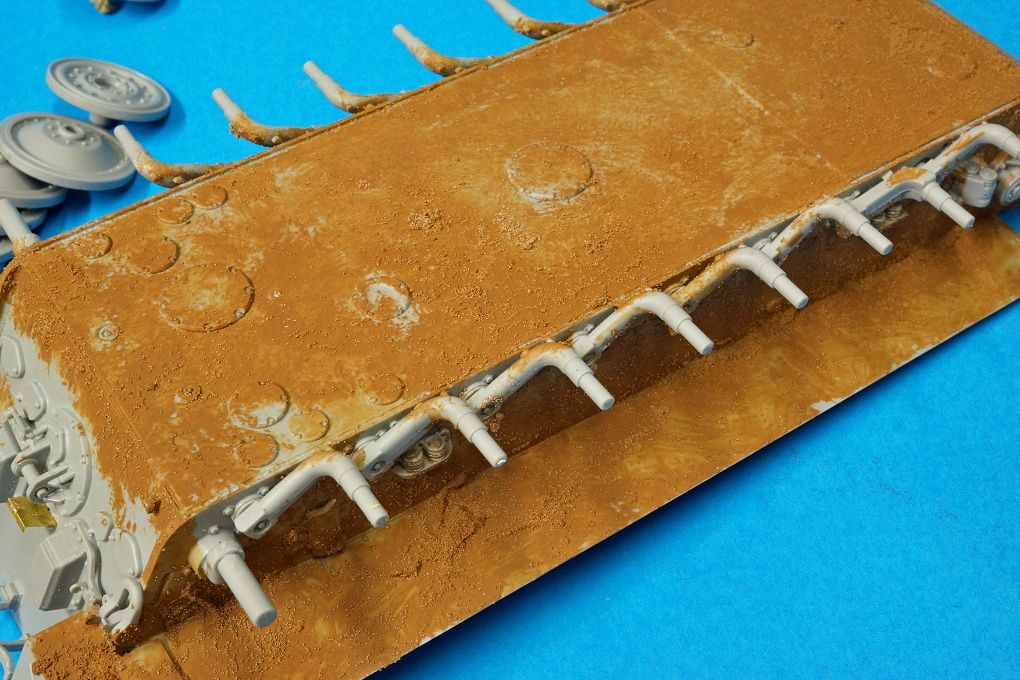
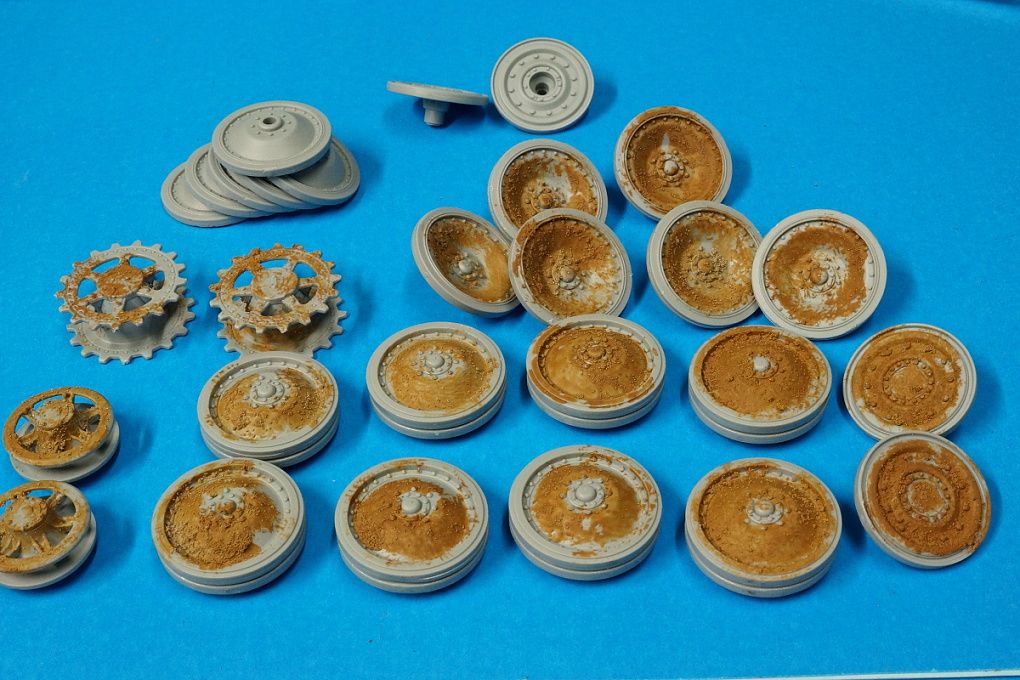
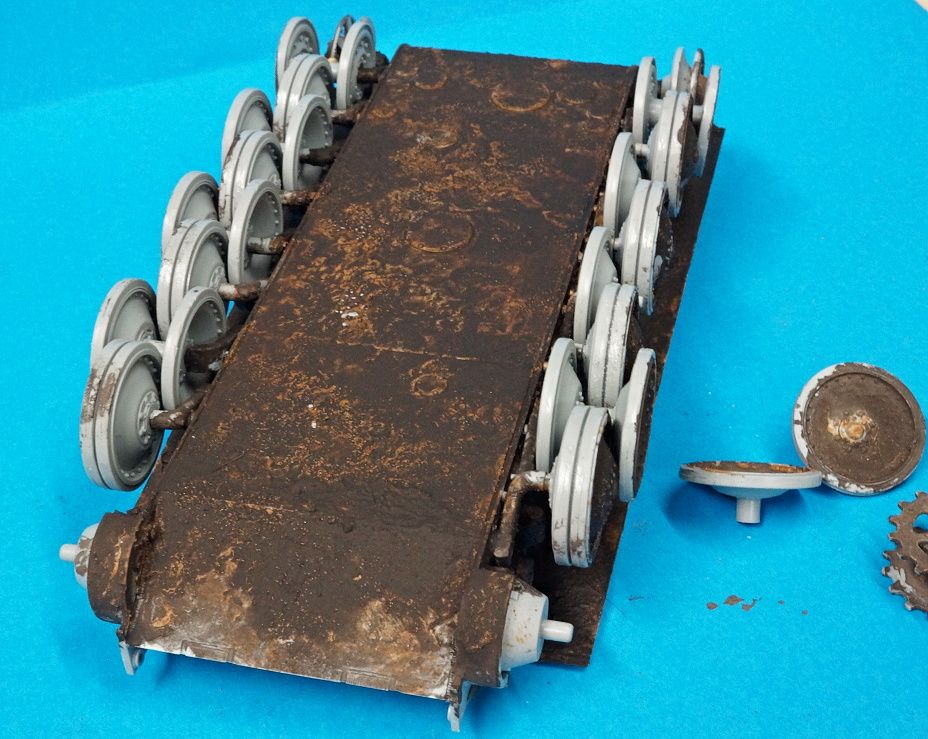
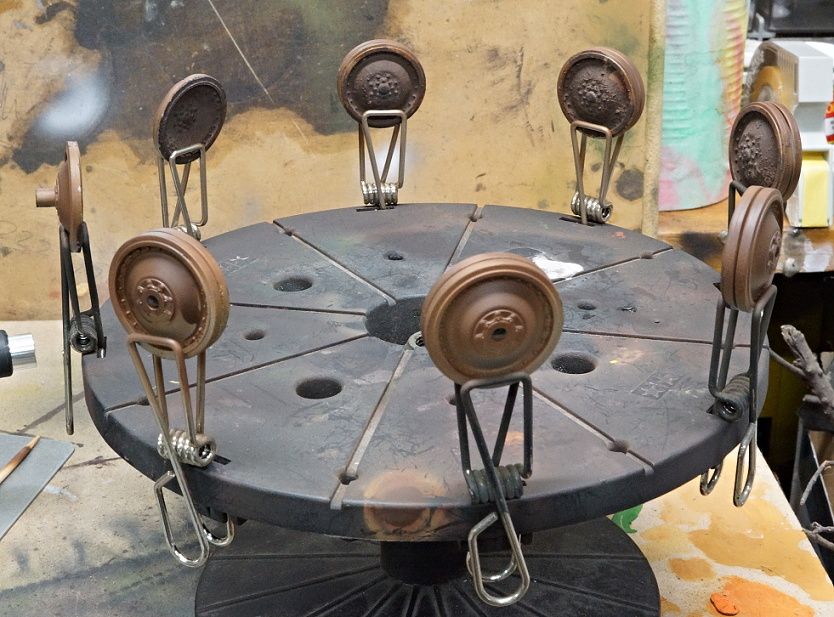
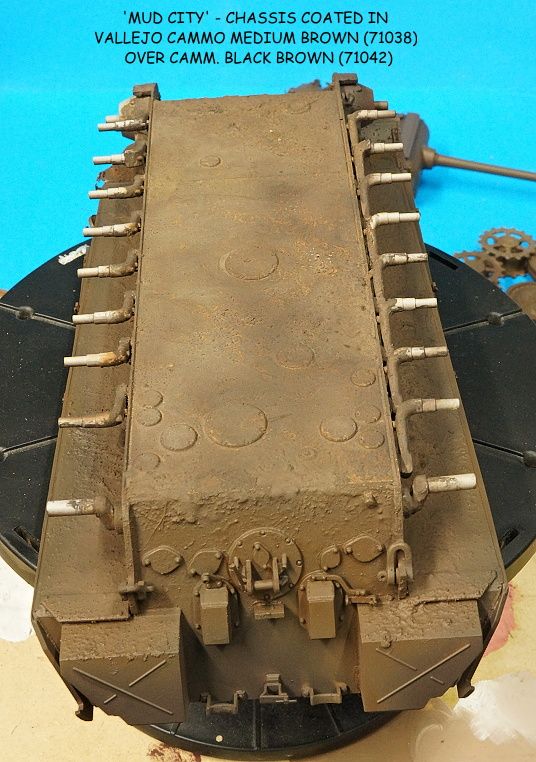
Adding the Mud - used the Tamiya mud mix as the initial base. I will use my Hudson and Allen Mud to add a little extra on top.
I tried to use the photo as a reference for the mud I could see.

DSC00983_zps53022b74.jpg

DSC00982_zpsf250872f.jpg

DSC00975_zpsea33047a.jpg


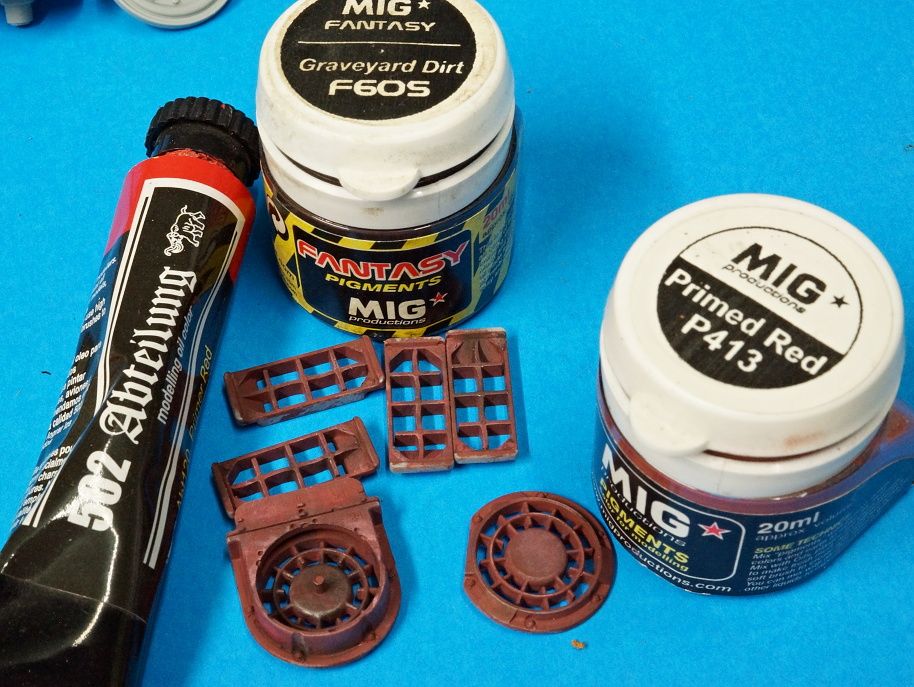
The Primer coat is always fun to fiddle around with so I tend to paint areas that won't even be seen just to keep my painting skills 'honed' (this is the first paint I have put down since my Stug 3 earlier this year!
The MIG Graveyard dirt pigment color is perfect for weathering dirt and stains as well as individual panel definition/ shadowing.
DSC00972_zps85b9de69.jpg

DSC00971_zps0c70c2e2.jpg

DSC00977_zps4036358d.jpg


JB model barrel (with the threaded muzzle brake) :good:
DSC00981_zps4fa7f5bd.jpg


DSC00979_zps96b11749.jpg
 
Oh that's cool, so you already got the texture for the mud and muck and come back later to get the color, not depending on the color of the pigment. Nice, I've always complained about working with pigments that when you get the colors right then seal them, the colors get washed out. This eliminates that completely. (y)
 
Ian.

Like very much the way that you used to make the primmer...very interesting!... great and convincing effects :frantic ...I´ll try someday :zen

...the mud effects look very good too...all in all it´s borning another masterpiece from yours... :soldier

Best!

Luiz.
 
Oh that's cool, so you already got the texture for the mud and muck and come back later to get the color, not depending on the color of the pigment. Nice, I've always complained about working with pigments that when you get the colors right then seal them, the colors get washed out. This eliminates that completely. (y)

:good: That's about it - color for weathering is the last stage. My application before hand is all about texture, then base color layering.

Ian.
 
Ian.

Like very much the way that you used to make the primmer...very interesting!... great and convincing effects :frantic ...I´ll try someday :zen

...the mud effects look very good too...all in all it´s borning another masterpiece from yours... :soldier

Best!

Luiz.

Thanks Luiz - hope you got something from the Red Primer process. :Hiay

Ian
 
It is coming along very very nice , Ian ...the process is very interesting , taking notes :popcorn

Best!

Luiz
 
:geek
Hello everyone,
i've done a fair bit more paint work since my last post.
I have proceeded further with the green and dark yellow, but first lets take another look at the actual tank.

panther_zps4d3ff251.jpg


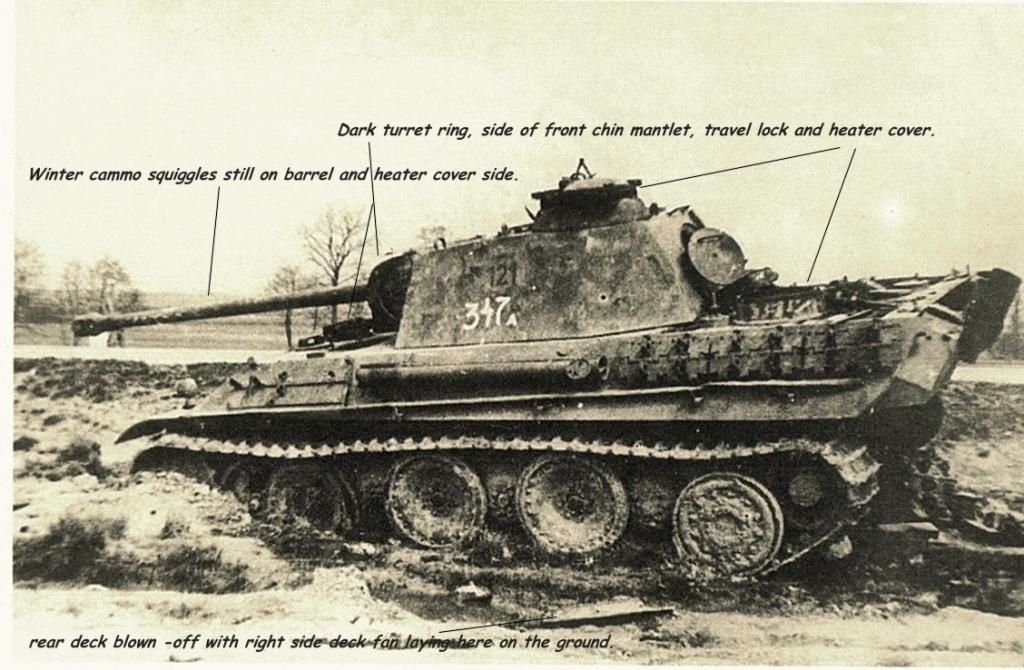
Some of the curious aspects of the cammo on this tank are found in the areas that at first glance seem to be part of a 'flame-out' effect from the explosion that blew off the rear deck and the forward hatch.
However, the rear heater housing for the engine deck fan is very dark, but still retains the white Winter Cammo squiggles, so this surface cannot be burnt paint.
The barrel also still retains the squiggles.

The front Chin mantlet side is also very dark, and this may be a result of an internal fire coming out from the font hatch[which has been blown-off], however the paint work around the hatch does not show any evidence of fire and the dark appearance may be just a dark color such as cammo brown or a dark green.
The same goes for the the Commanders cupola and AA Ring. The ring and the cupola casting seem to be in a dark color, but if this was fire damage there is no heat damage or flame damage to the hatch or turret top or rear. The rear hatch which is open, would have allowed flame and fire to come out but the rear turret plate does not have any fire damage either.
Another angle i considered was heavy shadow, but in my photo editing program these areas do not respond to the 'lighten shadows' function while the other shadows do. Also while considering if these are a result of shadow, consider the headlight side closest to us that has no dark shadow, and the front top deck under the barrel.Here again the shadow is very light but the travel lock is a very dark color - this is also no were near the hatch, so could not have been damaged by internal flame escaping.

So after all that it is a difficult subject to consider and build as a reliable color subject.
What do we know about Panther details:
- Raised heater fan added from Nov 1944.
- Flame dampener exhausts from Dec 1944
- Gas Tab mounts Oct 1944.
- Zimmeritt coating discontinued after September 1944. Tanks then no longer coated in Dark Yellow but in Red Oxide Primer with some Dark Yellow patches.
- At the end of October 1944, MNH received the order to sparingly cover the red oxide with Dark yellow, Olive green and red-brown. This was followed by another order in mid December to paint new G models with Dark green overall with re-brown and dark yellow cammo (hard edge).
- Red oxide interior to be once again coated with ivory in Feb. 1945. (I have left my inerior in red oxide.
- turret cammo loops fitted beginning September and randomly continuing as a mod. to February, after which they became standard.

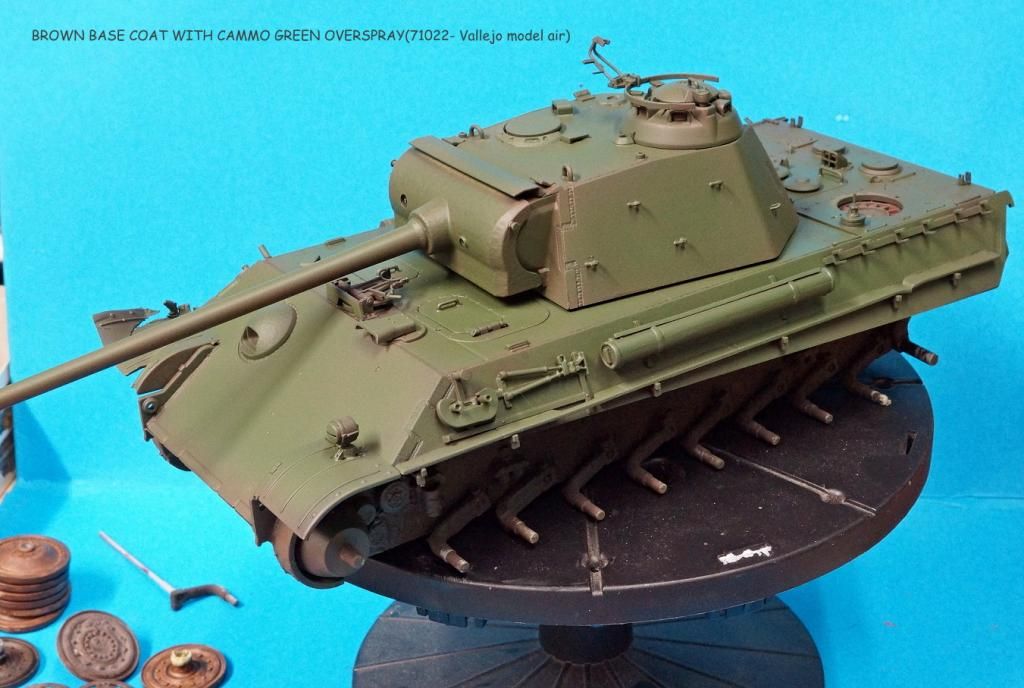
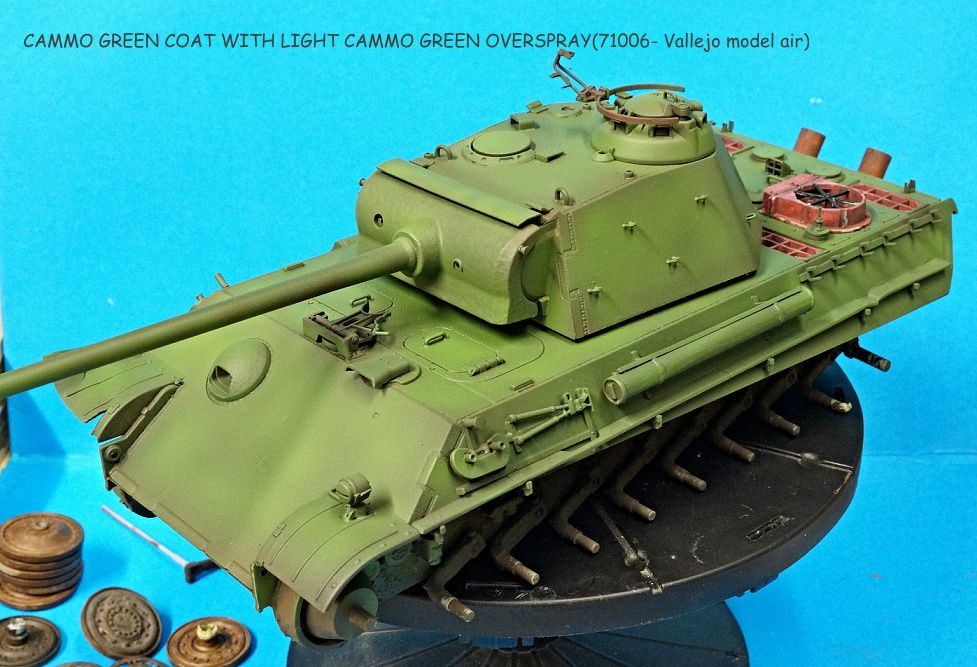
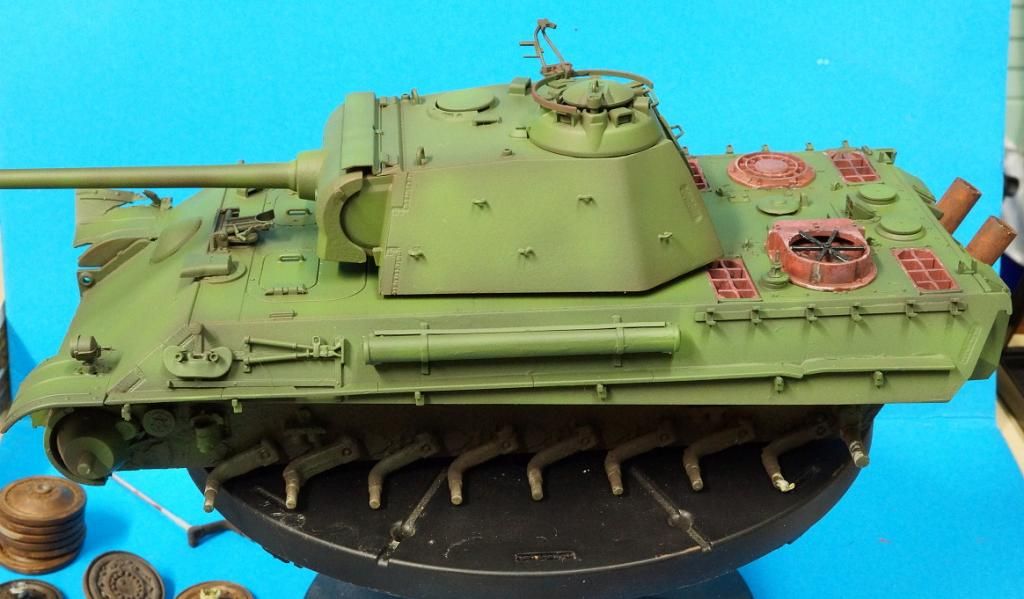
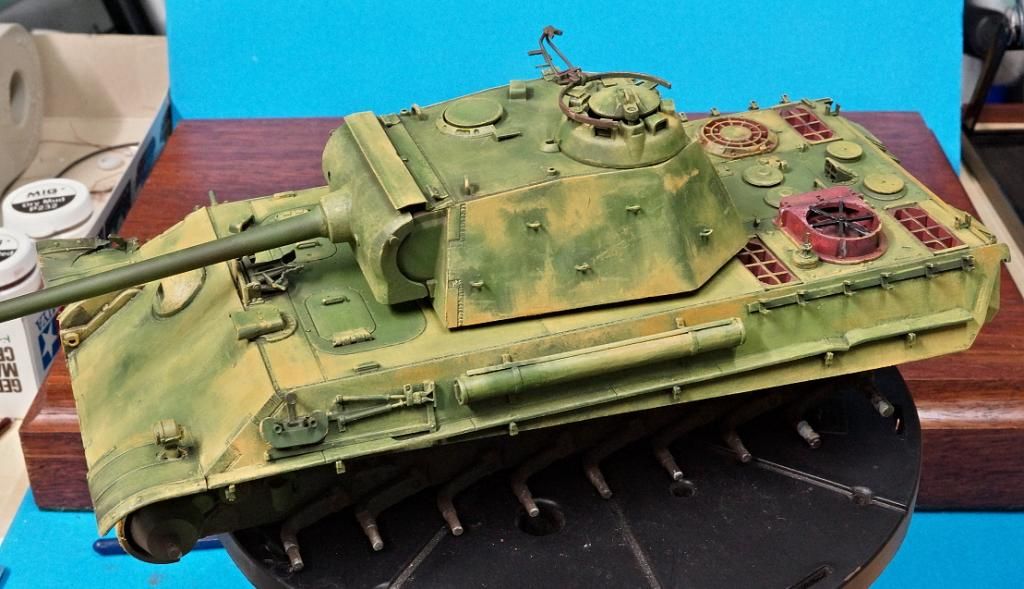
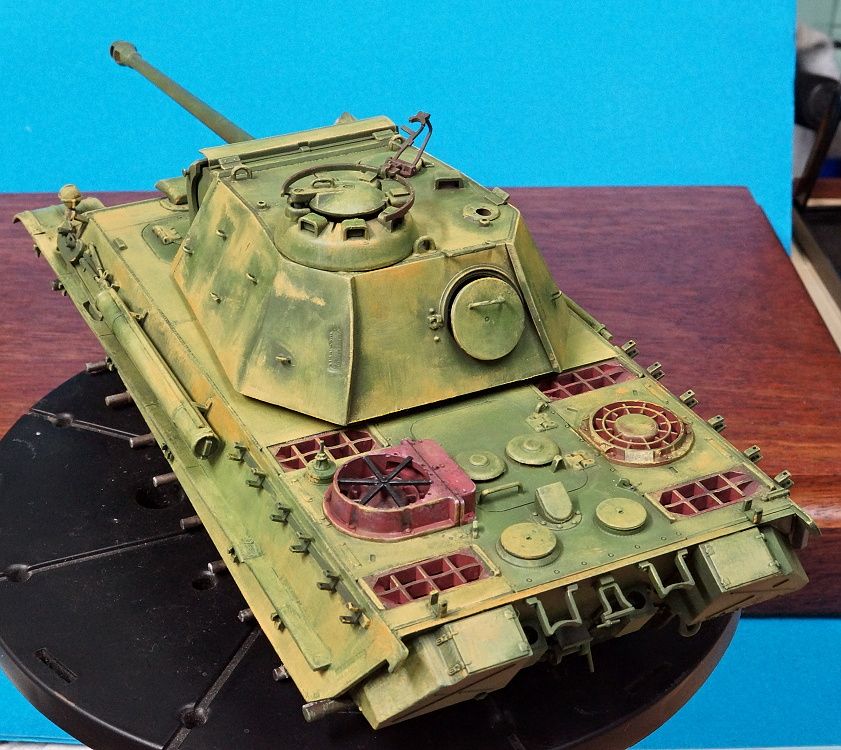
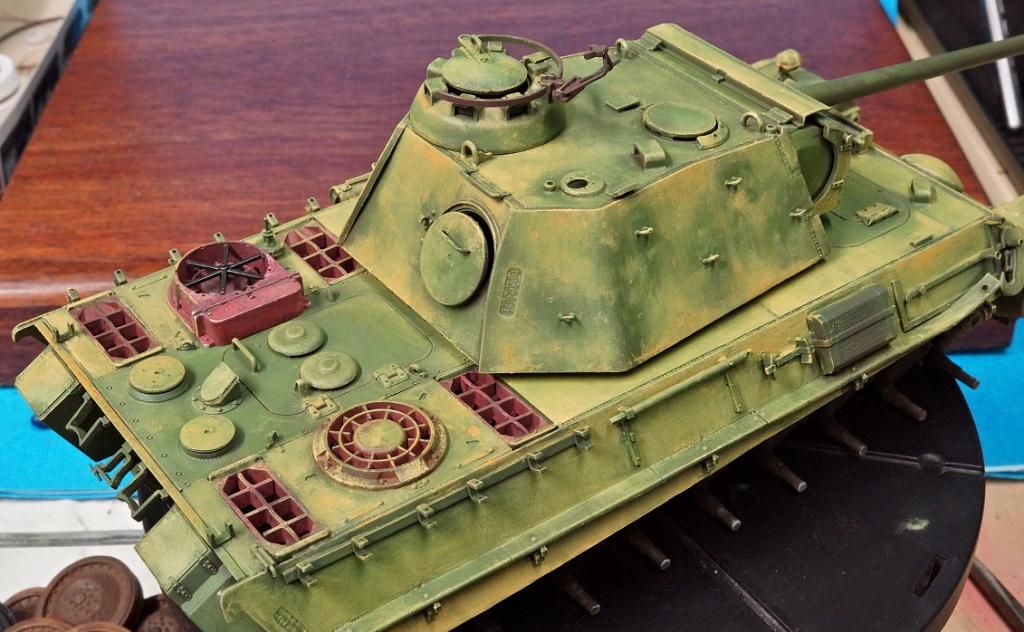
So as a result I am going to go with a Dec 1944 model that has been base coated with Dark Green and then lightly over-sprayed with Dark yellow and the odd bit of cammo brown. This was then modified by the new owners with field winter cammo and a messy additional cammo.
I am therefore going to model the rear raised fan cover as a dark red oxide fitted as after the green base but left in red oxide as per the previous order as it was built on the eve of the change order.
Lastly we have a faded winter cammo that has nearly disappeared but can still been seen on the turret side, chassis deck top and a little on chassis plate side.

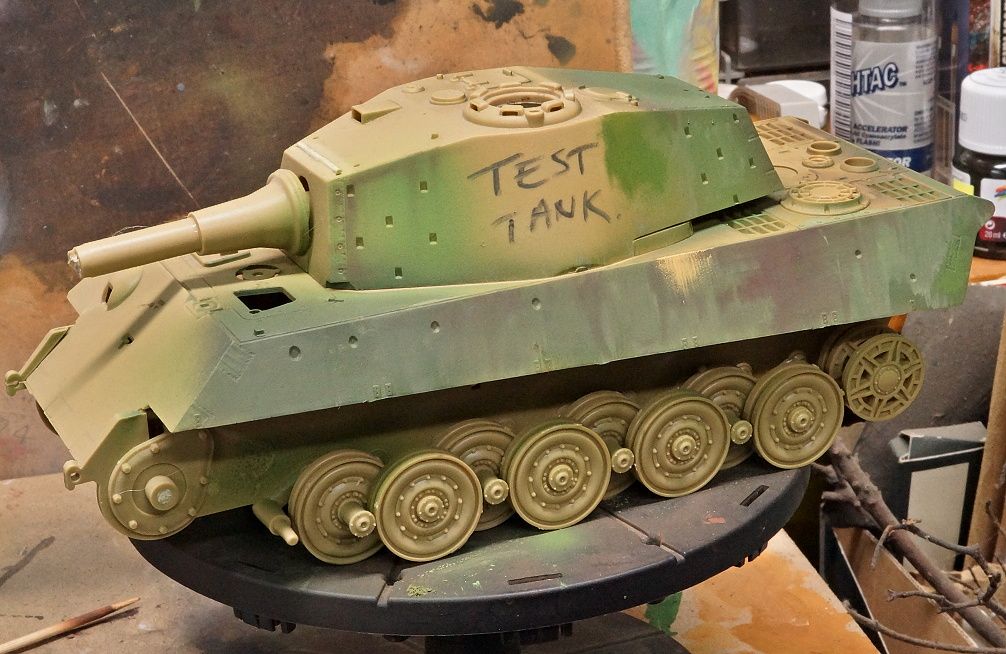
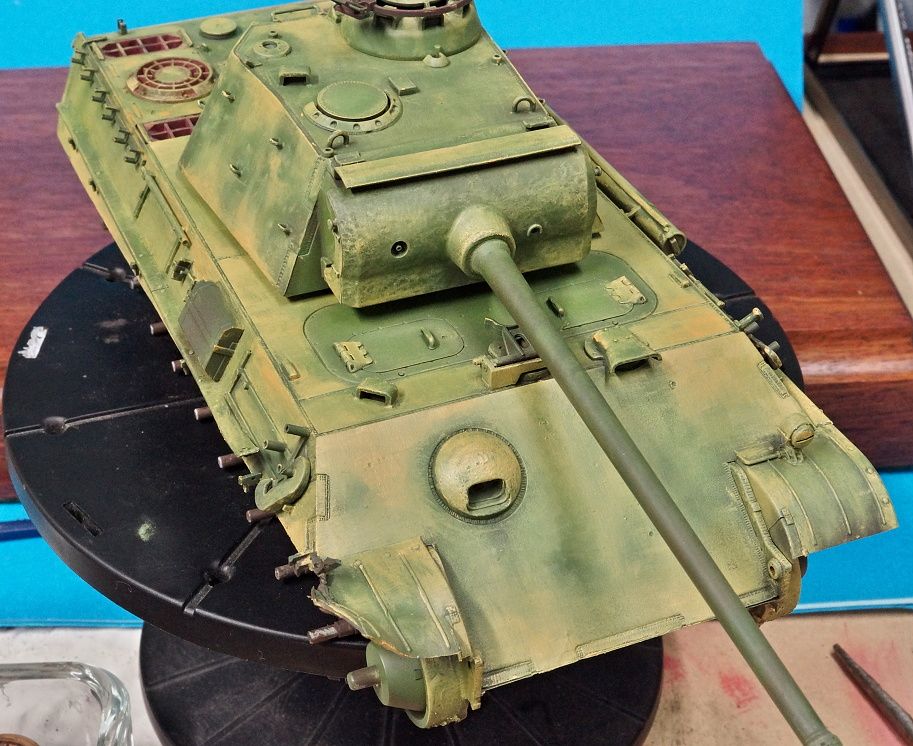
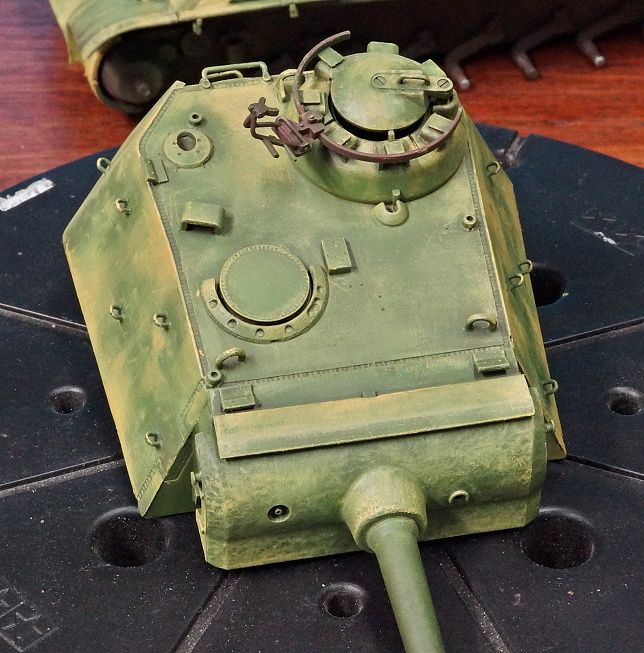
I would like to add that a test model is always good for this type of thing as it allows for freedom of experimentation, which is excellent with artists oils and suits my particular paint process which is often experimental.
My 1970's Tamiya King Tiger test model - works for me. :idonno

DSC01084_zpsce00d08d.jpg

Still in progress and a lot to go
DSC01029_zpsba8038d2.jpg

DSC01056_zps5b32d8e6.jpg

DSC01058_zpsc9069f85.jpg

DSC01061_zpsb6ff9683.jpg

DSC01062_zps46b90997.jpg

DSC01063_zps384bda10.jpg

DSC01071_zps2bdb25ce.jpg

DSC01072_zps8a59518b.jpg

DSC01075_zps8d4dd977.jpg

DSC01076_zps5f1a472d.jpg

DSC01083_zps05438c32.jpg


Shadow and weathering next......
 
MasterIan.

...love your unmistakable style...perfect :good: ... anxious to see more!

:drinks

Luiz.

:Hiay
Thanks Luiz, more to come ...... the next part is the best but my process is difficult due to 'wet on wet' then changing to dry after a certain point. This does not allow me to stop in the middle.

Ian.
 
Back
Top