• Modelers Alliance has updated the forum software on our website. We have migrated all post, content and user accounts but we could not migrate the passwords.
    This requires that you manually reset your password.
    Please click here, http://modelersalliance.org/forums/login to go to logon page and use the "Forgot your Password" option.

Another Fokker

Turnbuckles showed up! Already got two installed. Long weekend so who knows how much can get done. May make this one after all. :pilot
 
Major progress! :pilot

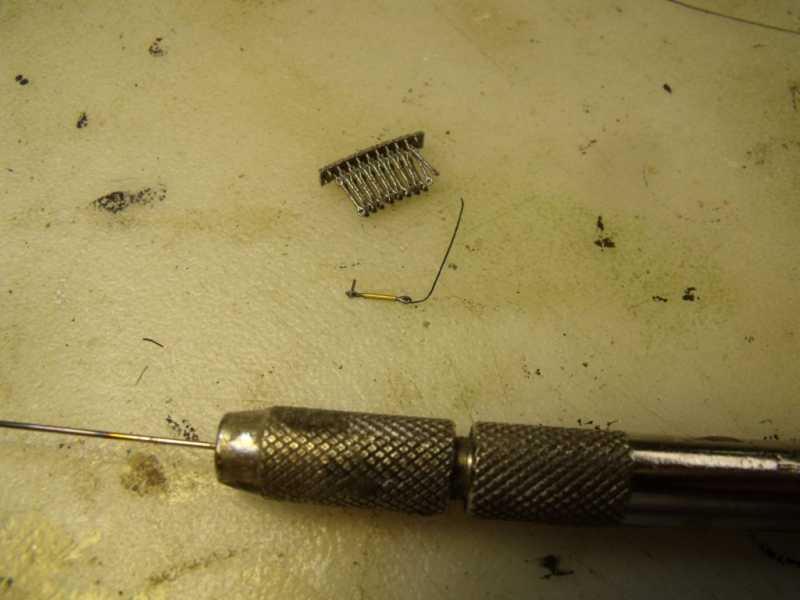
Gespatch turnbuckles showed in and I was able to get going again.

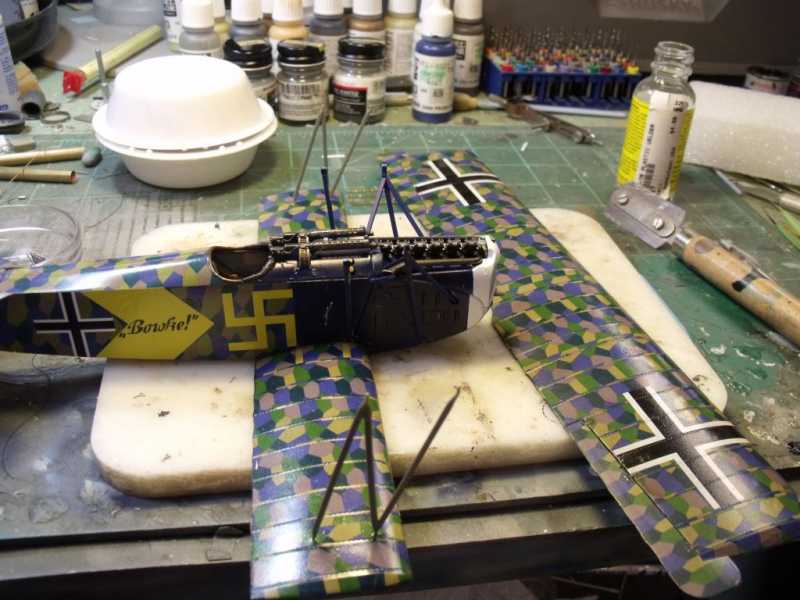
First I had to prep the top wing, stuck the EZ Line down the holes in the wings for aileron lines. Just looped them in and will cut them when ready to attach to the lines coming out of the fuselage.


h886d4f6.JPG


Rigged turnbuckles on the aileron control lines, WnW does not call for this but it's clear in several pictures that there were turnbuckles here and at the control horn on the ailerons.


hfe9a4c2.JPG


I don't like how the .5mm brass pipe sticks out so I drew on some patience and started tying simple slip knots and securing it with a touch of CA, a lil' dab will do ya..


h71f5128.JPG

Used Scale Hardware slotted screw on one end of the turnbuckle, that will attach to the control horn.
PLEASE, someone out there make some brass control horns!! Already broke on, drilling it out makes them way too weak.


h37c2147.JPG

Here's that assembly on the control horn. that port though the elevator does not allow for drilling out as it's at a very low angle to the passthru port on the other side. So just a touch of CA in the port and drop the EZ line in there, luckily EZ line responds well with CA.
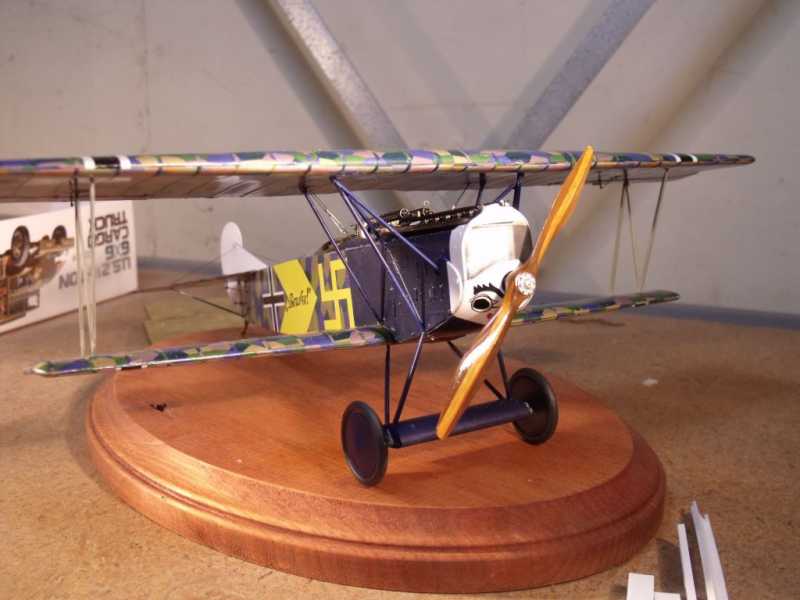
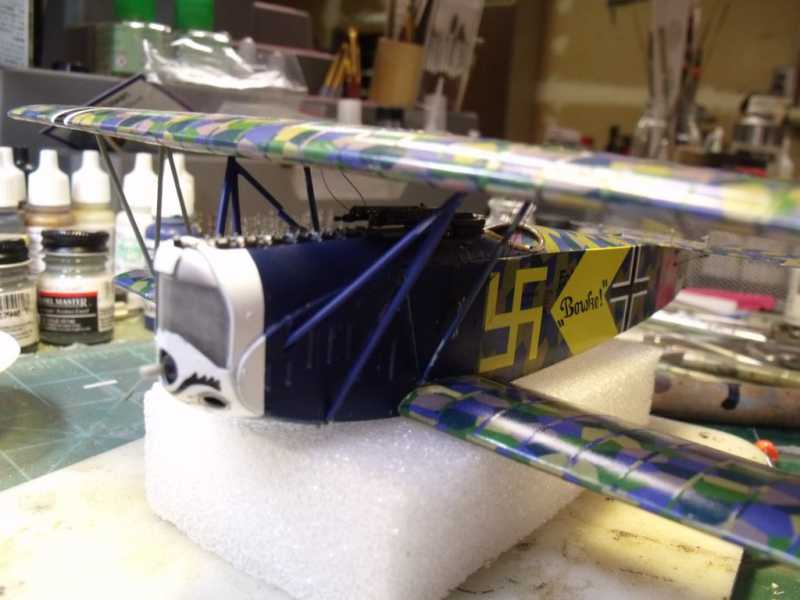


h572dc52.JPG

Mating Time!


h7603fcc.JPG


hde8b7cc.JPG

VERY snug fit, I installed all the strut just dry fitted at first, figure it would give me some wiggle room, really didn't need it, with the exception of the rear canebrake support, all struts were very well positioned. when I got the top wing in place, I could even pick it up by the wing without it falling apart. Kudos to WnW for that! Yes that's a broken strut back there, came out of the box like that. Already fixed.
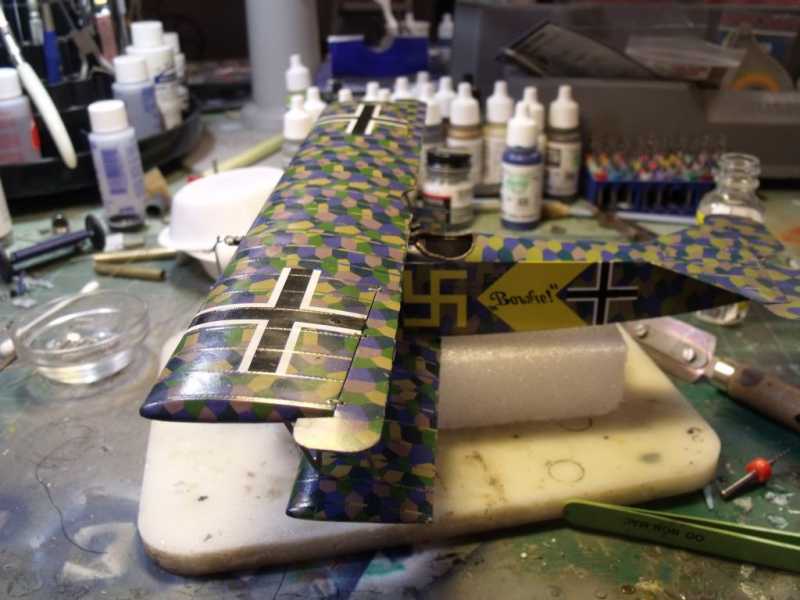
h02f1e1c.JPG

Rudder added...


h954c3b2.JPG

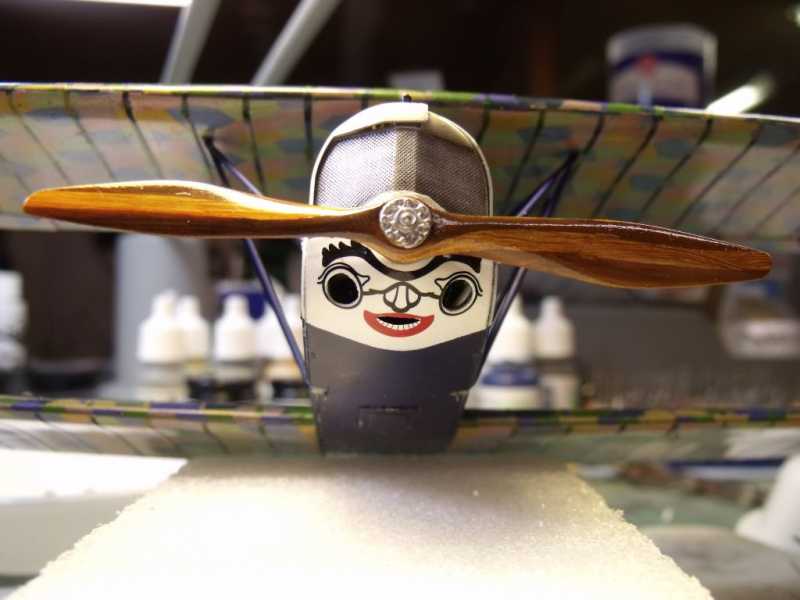
Not really sharkmouth but it makes the point..could not get the decals to line up exact, will have to touch that up a bit.

Hopefully today I'll have wheels installed!

Whacha think?
 
That looks really cool, the turnbuckles and the decals make it POP! Better cap that bottle of Tenax! :laugh:

(y) :drinks
 
For the win! I've missed this thread somehow- but have just caught up and it is fabulous! Great work- simply beautiful. Those metal plates over the wing spars are probably covers for the attachment bolts, but I'm just guessin'. Metal panels were painted some type of gray. I'll have to look it up in my Windsock Datafile collection.
 
Thanks guys, Chuck I check those things out, not sure if we have the same but it's hard to tell what's going on there. Think I"m going to cut some decal sheet of dull aluminum and place it there.
 
Ha! Seems to be my problem lately Jeff, I doubled up my readers, think I have some 3.0 and 2.5 for a grand total of 5.5 mag. I can't stand the optivisor on my head.

Got the landing gear up and they look squared up, not much left to do except some touch up and light weathering/streaking. :pilot
 
Good grief this thing looks nice Bob. The prop is especially gorgeous . :D

Hope you figure out the problem with the gear. Can't always trust the manufacturer to get all these little bitty pieces 100% correct.

Need to check the geometry of the struts and make sure they are all properly seated . It only takes a few thousands at the fuselage to throw your wing tips way out of kilter :S

Cheers, Christian B)
 
Well I haven't thrown the towel in on this Fokker yet.

Let's see where we left off, oh yeah, crooked landing gear.

Before...
hea94870.JPG


After...
hfd2a3eb.jpg


what I did was to use that really really thin wire y'all use on cars and stuff. It's the same diameter as the EZline so that wasn't a problem. Using Gaspatch turnbuckles and attachment points I rigged up the wire, pulled tight and tied it off. Nice and solid. The cross line is EZLine, I didn't want to use wire again and make the other slack off. I tell ya, I can push down on one side and it gives a great deal, push on the starboard and it rock solid.

bottom line...I'm happy. :pilot hope y'all are!

More stuff to add before calling it done but will have it done before time is up!
 
Back
Top