• Modelers Alliance has updated the forum software on our website. We have migrated all post, content and user accounts but we could not migrate the passwords.
    This requires that you manually reset your password.
    Please click here, http://modelersalliance.org/forums/login to go to logon page and use the "Forgot your Password" option.

All Righty ... What's on the bench today?

Much thanks Bob- these schemes are actually quite fun to paint...used the Ammo of Mig paint set it got at the local IPMS show :)

Jeff- love your work on the base brother. I did one years ago as a base for a Mustang I built for local Tuskegee pilot and remember the extras we're separate pieces you could attach as you saw fit- but you say these are molded on?
 
Tremendous progress overall guys!

Ausf, I still remember your armor from the old days on the LEM. Always a thrill to look at.

I got some work done at Hobby Day weekend, pics forthcoming....
 
Got three projects going on- first up the Defiant for the RAF build...
IMG_20180515_192133.jpg

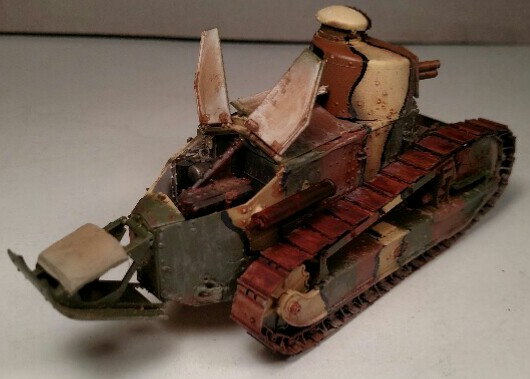
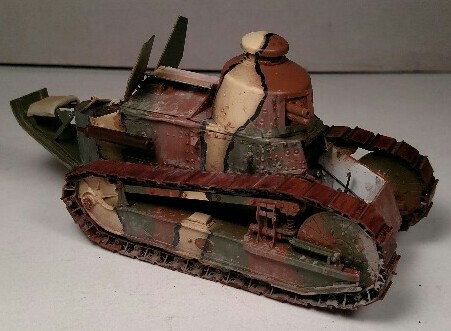
Then added a filter of rain marks and the like to the Renault...
IMG_20180515_192153.jpg

IMG_20180515_192218.jpg

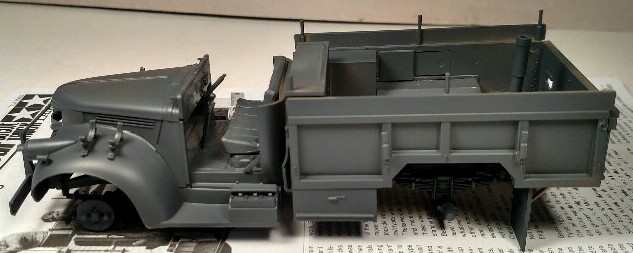
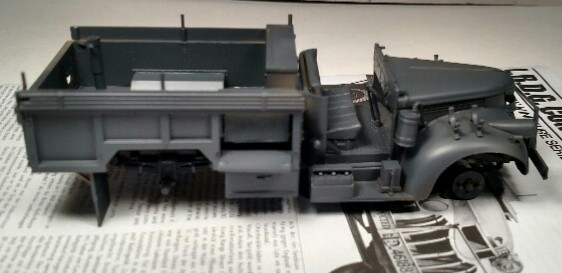
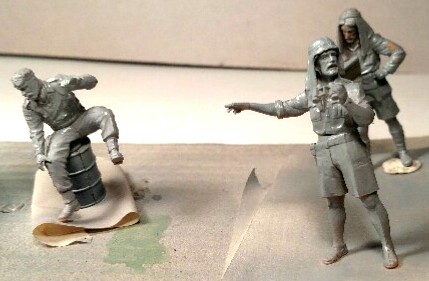
And I started the black and white half of the LRDG/Desert Technical vignette idea....
IMG_20180515_192420.jpg

IMG_20180515_192333.jpg


I think the most challenging part is going to be the figures...vehicle is pretty monotone overall...and dust can be replicated with a thin layer of gray...but making these guys look realistic will be a trial I think...
IMG_20180515_192311.jpg
 
Okay, here's my latest progress. This is all I have done in the past week so it's a small update.

Interestingly enough, when I uploaded all these to the Gallery, every one of them said "upload failed"... yet here they are.... Someone may want to look into that. Especially since I don't want them to disappear later on.

Okay, now to begin. Again, we start with my aircraft...

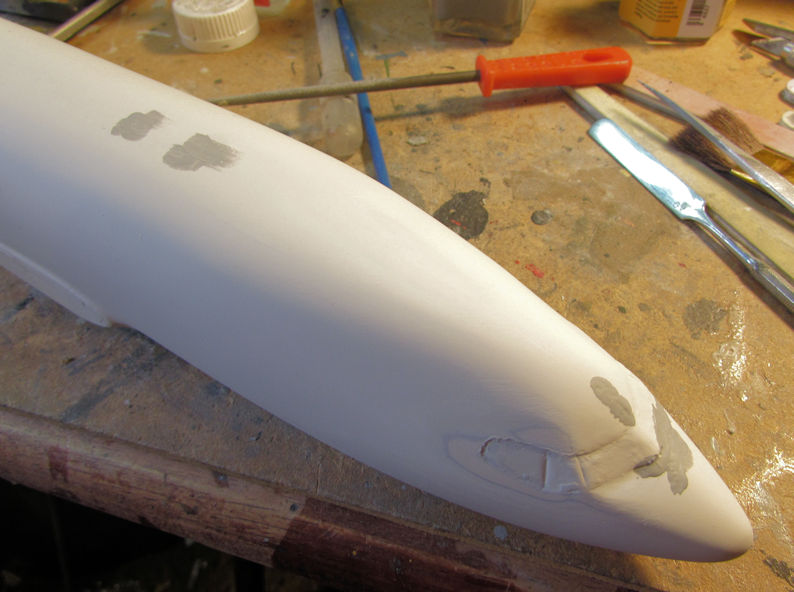
After spraying another coat of white primer on my Boeing 737; I found some more spots that still needed some attention:

WIP_Boeing_737_XIVd.jpg


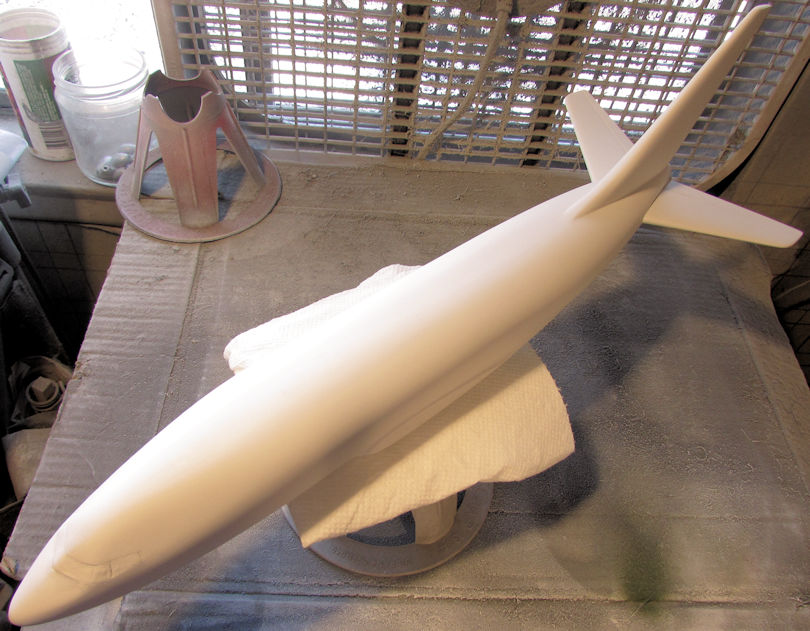
Once they were dry, sanded down and smoothed out, I shot another coat of white primer:

WIP_Boeing_737_XIVe.jpg


I think I'm starting to finally move forward on this. We'll see though. I still need to shoot a gloss coat on this and find the decals I want to use so there's still plenty of time to screw this up again.....


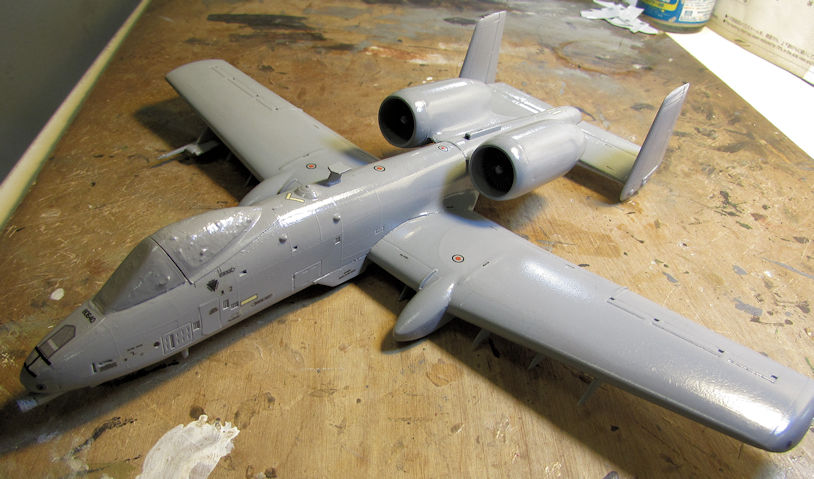
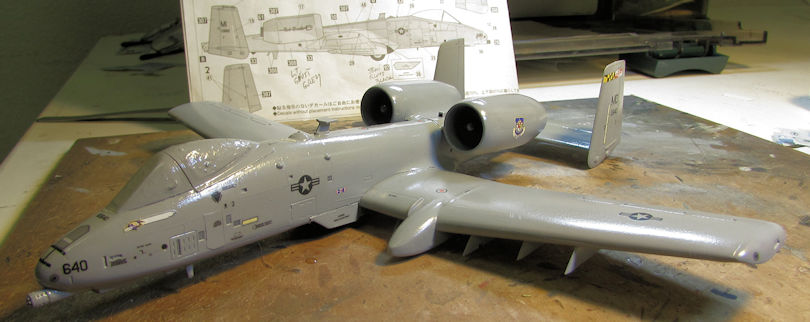
Moving along, I got all the stencils applied to the A-10:

A-10C_Thunderbolt_II_SPAM_Review_XVcjpg.jpg


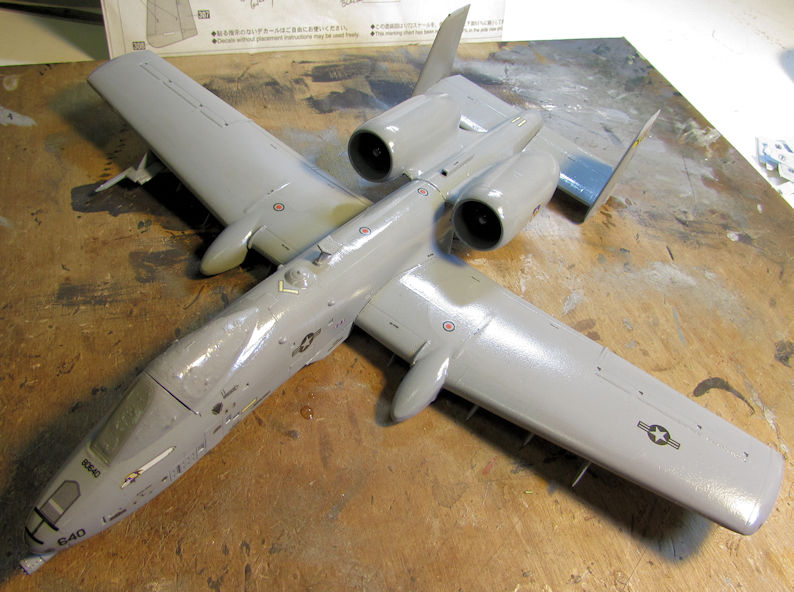
Later I clearcoated this again to seal the stencils in and then applied the rest of the markings:

A-10C_Thunderbolt_II_SPAM_Review_XVd.jpg


A-10C_Thunderbolt_II_SPAM_Review_XVe.jpg


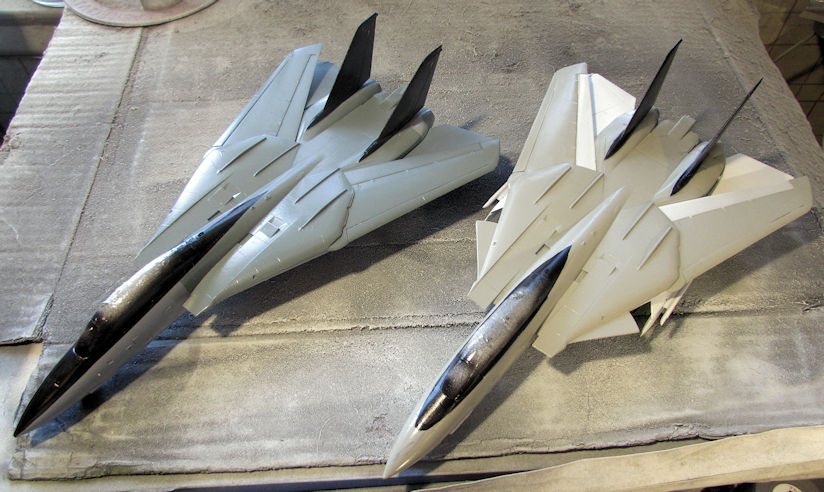
I also had gloss coated the two F-14 Tomcats in preparation for decals on those two. Here they are all painted up and glossed up for decals:

WIP_F-14_Tomcats_SPAM_Review_XXVIIh.jpg


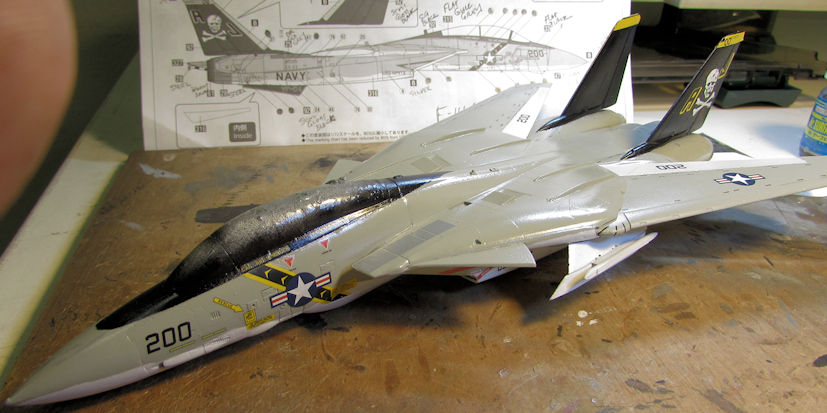
I started with the F-14-A and applied the decals to it. They took so long that I ran out of time to start the F-14-B:

WIP_F-14_Tomcats_SPAM_Review_XXVIIi.jpg


One decal that I know of silvered on the tail so I'll be fixing that soon.

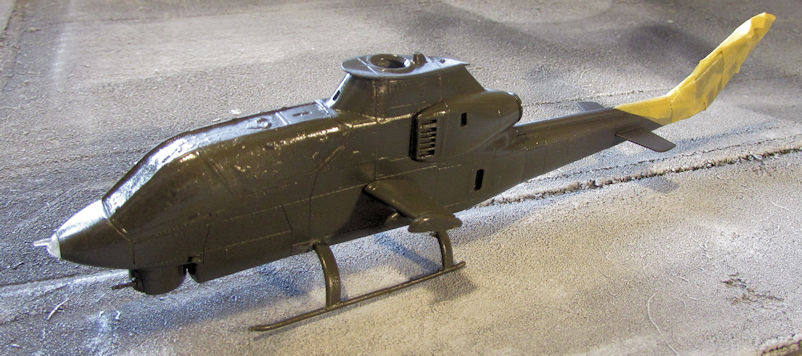
Moving along from there, I went back to fix the Marine Cobra... again. I first shot black on the tail, then masked it off:

WIP_Helicopter_SPAM_GB_XV.jpg


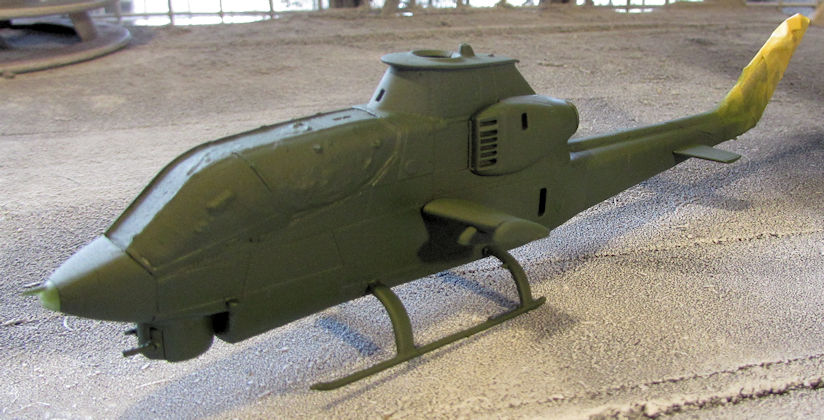
Later I shot the medium green on this:

WIP_Helicopter_SPAM_GB_XVI.jpg


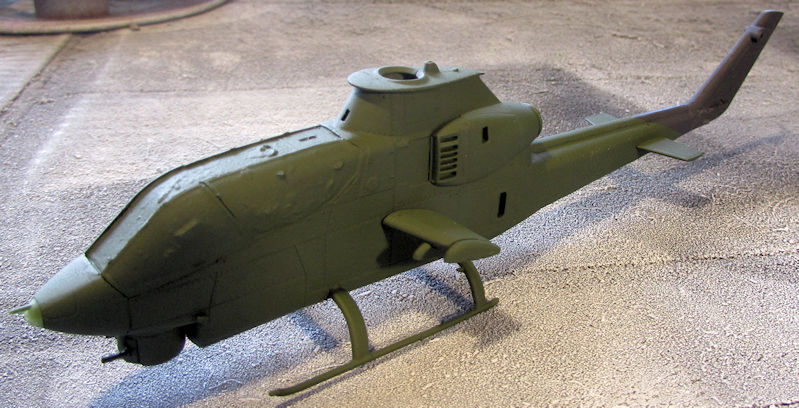
Now it is finally looking like it is ready for decals:

WIP_Helicopter_SPAM_GB_XVII.jpg


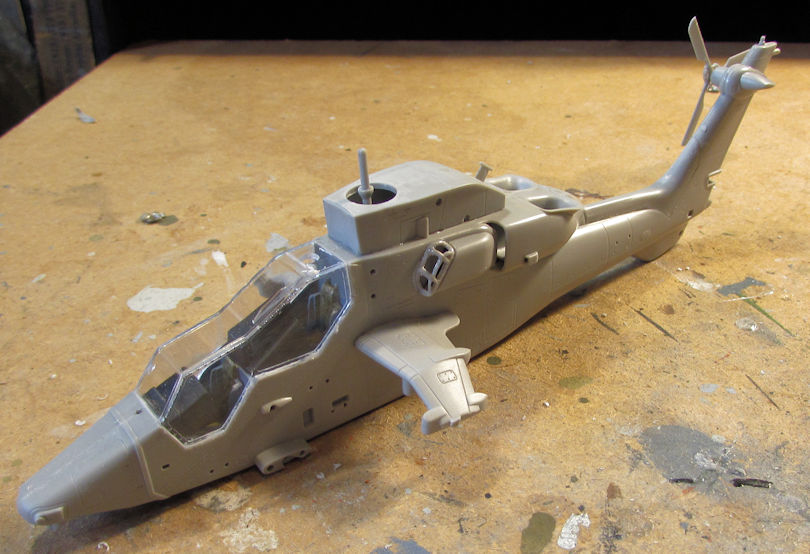
Since I was working on helicopters at that time, I pulled out my Australian HAP Tigre and painted up the cockpit. Then I closed it up inside the two fuselage halves and added the canopy to the cockpit. Then I added many of the other bits and bobs that this needed. Now this is almost ready to be masked off and painted:

WIP_Australian_HAP_Tigre_II.jpg


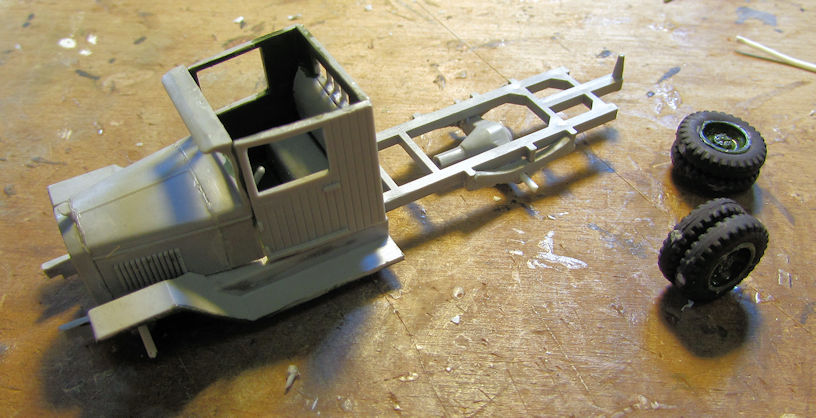
Moving on to my armor, I decided to pull out a small Russian truck that I'd started some time ago and had been sitting around taking up space. It was time to get this further along. So, I glued part of the main cab together after cutting and installing new axles that would fit the wheels better:

WIP_Russian_ZIS_5V_Truck_IV.jpg


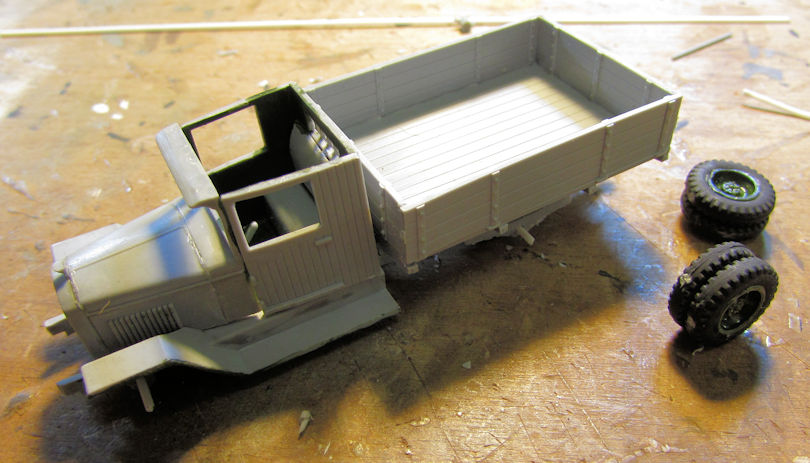
You can see I also painted the interior. Then I built the bed in back and dry-fit it to the chassis to see how it would look:

WIP_Russian_ZIS_5V_Truck_V.jpg


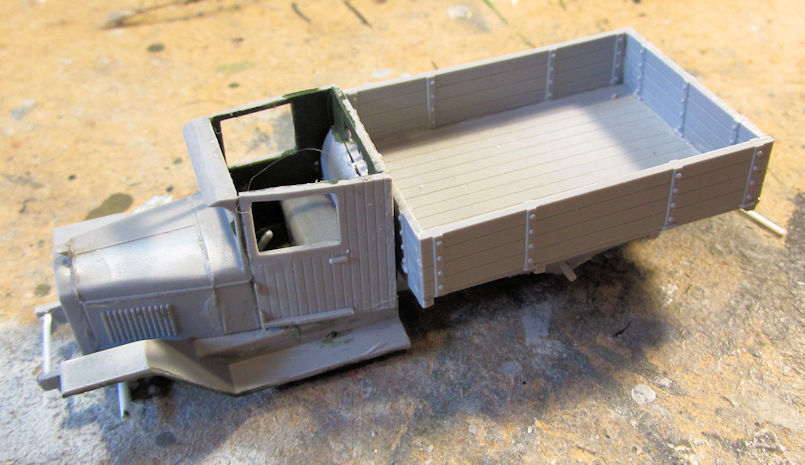
Not bad, but I was bothered by how the cab and the nose were fitting on that chassis. So, I cut everything off and re-glued it into a better position. Now this looks better, and allows the rear bed to fit better too:

WIP_Russian_ZIS_5V_Truck_VI.jpg


Now that truck can move onto the paint booth.

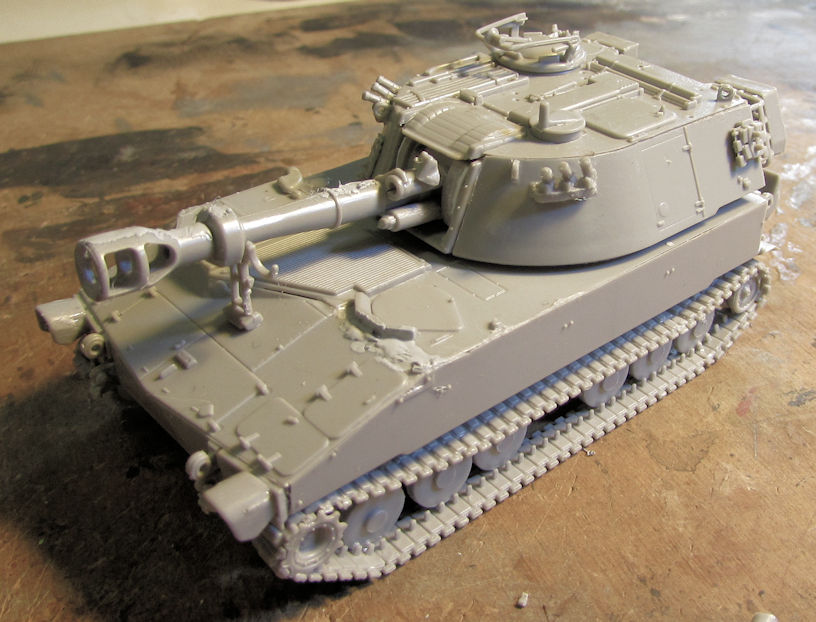
Speaking of moving something to the paint booth, I finally added all the bits and bobs to the M-109, as well as the rear half of the last roadwheel (that goes where the axle was short-shot) so this bad boy is ready for paint as well:

WIP_German_M109_XVI.jpg


Later I'll add all the easily breakable parts to this to finish it off.

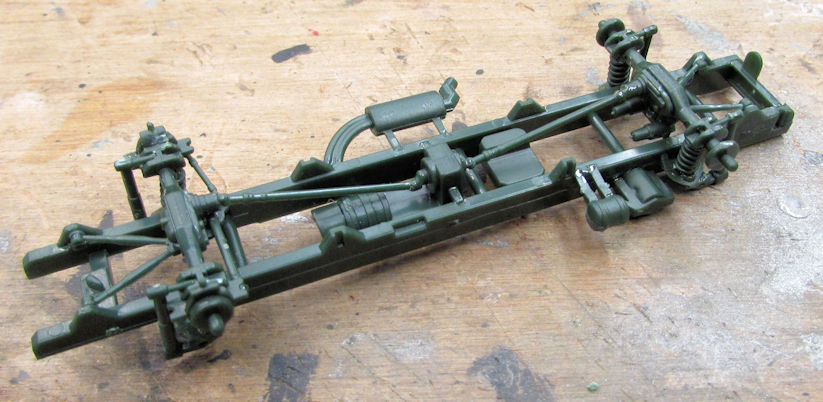
Then, in order to participate in a small scale armor Group Build on the SoCal AMPS website and forums, I pulled out something that I've been wanting to work on for awhile. This is the MAN 5-ton truck used by the German Army. I already have the 7-ton and 10-ton MAN trucks, so this was needed to complete the set. I started out by building the chassis:

WIP_German_MAN_5-ton_Truck_I.jpg


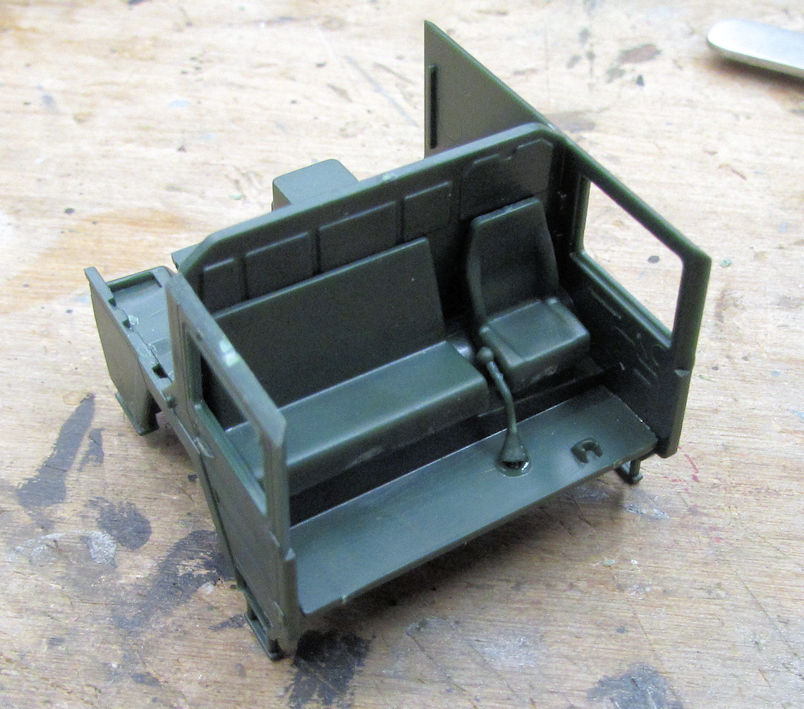
Then I moved on to start the cab. I won't finish this entirely until I can get the interior painted and the windows mounted:

WIP_German_MAN_5-ton_Truck_II.jpg


Don't worry, that gear shift will be fixed.....

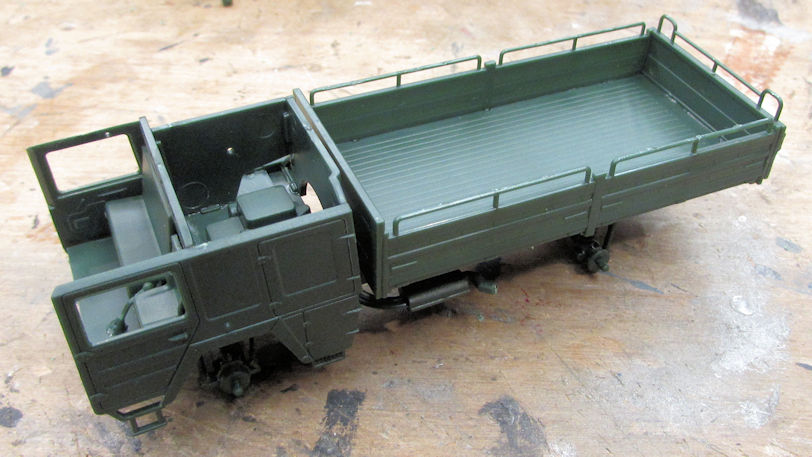
Later on I built the rear bed and then dry-fit the three assemblies together:

WIP_German_MAN_5-ton_Truck_III.jpg


This is gonna be one cool little truck.

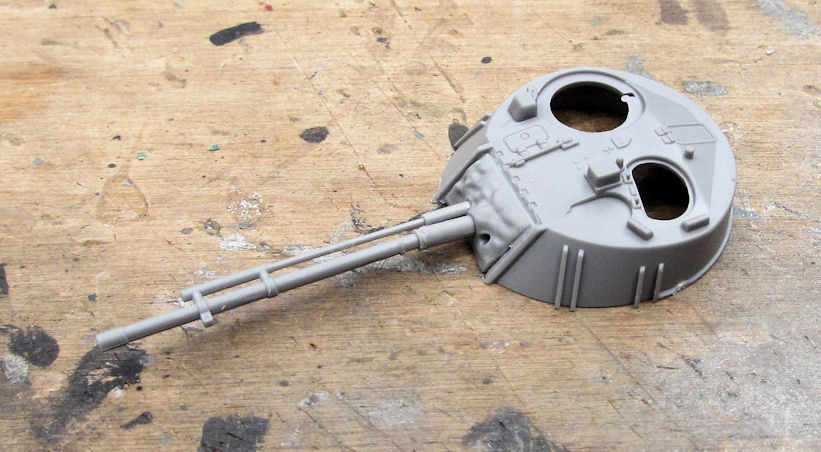
Finally, that BMP-3 I got was also calling my name, despite the obscene amount of P/E inside the kit. So, I pulled it out and started the turret first:

WIP_Russian_BMP-3_Cage_Armor_I.jpg


That's as far as I got before it called for P/E parts to go on next. I wasn't ready to tackle P/E in the short amount of time I had at the IPMS OC Build Night. So, I moved on again. This time I started the lower hull since that was a fairly straightforward assembly:

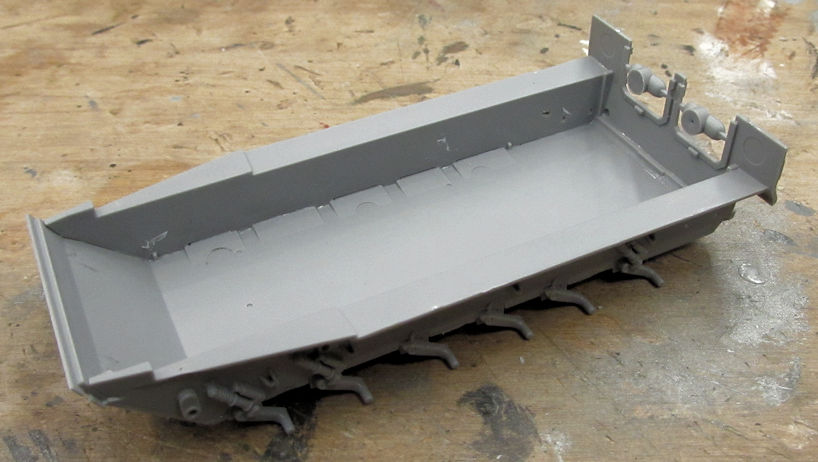
WIP_Russian_BMP-3_Cage_Armor_II.jpg


I left the little sprue pieces in between the hatch openings to help support that rear plate. I think I will be opening all these hatches given the extent of the interior inside this thing.

That's as far as I got on that before Build Night ended. So, that is where I shall pick up again this coming week; God willing and the crick don't rise....

Thanks all for looking in, comments are welcome.
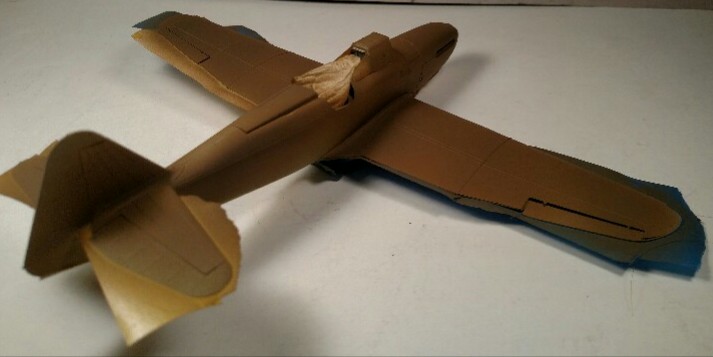
 
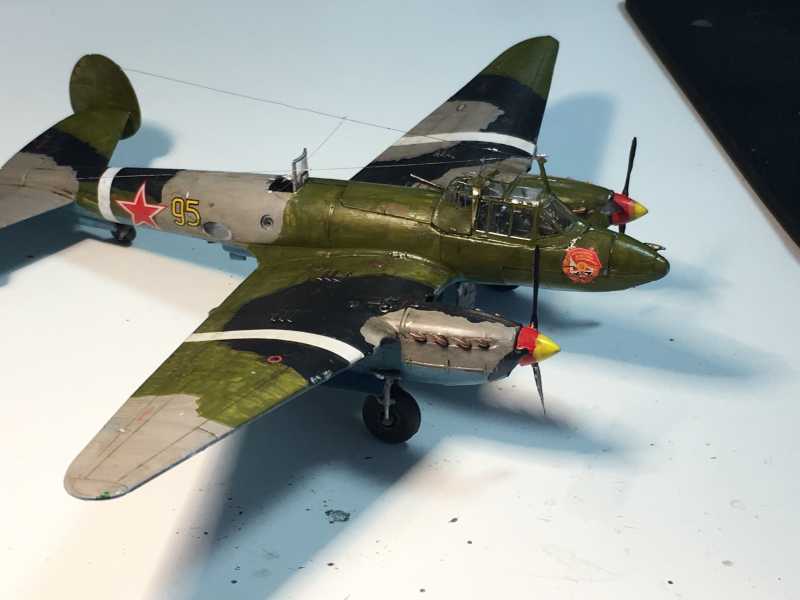
Finishing up a Petlyakov PE-2 from UM Models in 1/72. Did not turn out great so no thread for this one, but still it was on my bench... :facepalm

Cheers

Alex


hf6c4fda.JPG
 
Next car build comin' down the 'pike...


hf84ecc6.jpg


hc671b62.jpg


h015c6c6.jpg


h1a183c5.jpg


ha4dfb7e.jpg


What I'd like y'all to realise is that this kit is molded entirely in BLACK PLASTIC, I'll let you guess how long it's taken to get to this point :java


Ian.
 
Alex, I'd say you did an excellent job on the Pe-2, especially given that it was a UM kit. They are not easy to begin with.

James, that T-14 is really looking the part now. Can't wait to see it in paint.

Ian, sensational work on that car; especially given the mold color. You really know what you're doing.
 
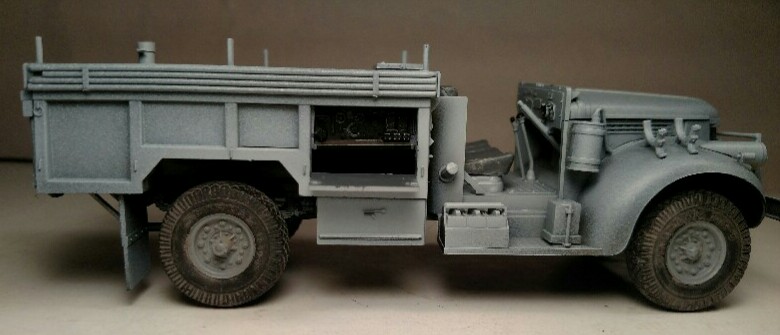
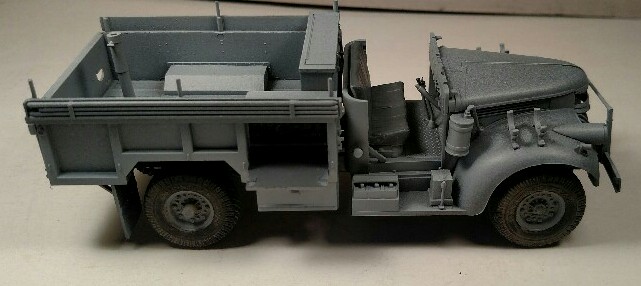
Been fiddling with the b&w LRDG command car....asking for opinions and advice...is this looking like it's heading in the right direction? Should I be highlighting the bright desert on top more and how are the darker areas turning out?
IMG_20180524_194600.jpg

IMG_20180524_194621.jpg
 
You know Mike,

If I'm not imagining things, you're doing a diorama in the desert but painting it as if it were photographed with a black and white camera. Have I got that right?

If so, then your only colors would be shades of gray, black and white? Correct?

Bob
 
Yes Bob- you're half right ;)

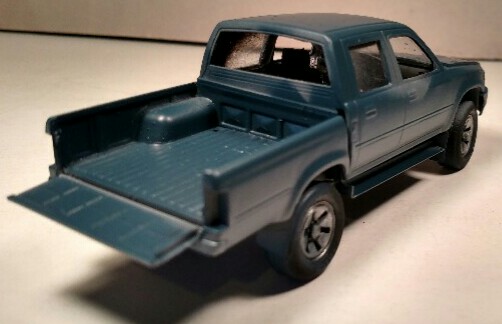
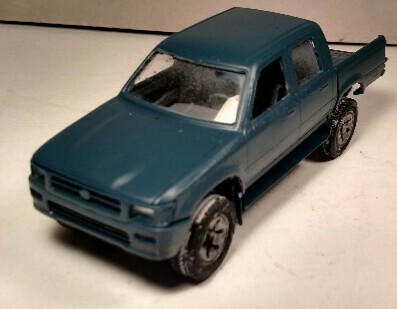
The main idea behind the vignette is I saw some similarities between the bearded folks in the LRDG and the bearded Tier One operatives in the modern day with their Toyota technicals.

The plan is to have a wall be the centerpiece....the LRDG side will be all in b&w and the other side in color with the Toyota.
Here are some more shots including the other truck...

IMG_20180524_194702.jpg

IMG_20180524_194643.jpg

IMG_20180524_194742.jpg

IMG_20180524_194723.jpg


Truck obviously needs touching up...but it was originally gray and I didn't think that'd be the best color considering the b&w on the other side ;)

So I'm just trying to figure on if I'm close to nailing the zenithial aspects of the b&w truck. Thanks Bob!
 
Well, gotta tell you, that is a great diorama idea! Wish i'd though of it! :) The Technical side will be built as usual, but the LRDG will present the challenge. If it were me, I'd search for WW II photos of LRDGs in the desert, find all the B/W photos and use them My guess is the difficult part with be the shading and contrast between everything on the diorama including the sand. If you can match up your paints with the exact shades on the photographs, that should pull it off!

Very interesting!

I'll be watching with interest!

Great idea!

Bob
 
Back
Top