• Modelers Alliance has updated the forum software on our website. We have migrated all post, content and user accounts but we could not migrate the passwords.
    This requires that you manually reset your password.
    Please click here, http://modelersalliance.org/forums/login to go to logon page and use the "Forgot your Password" option.

All Righty ... What's on the bench today?

Remember that sometimes Museum items used by companies as a basis for their kits sometimes have a mix of parts too so that the museum at least has a complete item to display. I think that's often why we see a mix of early and late parts in model kits.

Cheers

HUH? You talkin to me?
This thing is for real. Most were destroyed during the war but I read at least two were captured complete and in perfect shape and now are on display.

Tony lee :eek:ldguy
No, not you. I was replying to nsmechanic but forgot to use the quote function.

Cheers
 
Remember that sometimes Museum items used by companies as a basis for their kits sometimes have a mix of parts too so that the museum at least has a complete item to display. I think that's often why we see a mix of early and late parts in model kits.
Cheers

I kinda got the impression you were talkin to Tony as well but hey no worries :) Yes I agree, that's kinda like painting the entire unaltered original interior of a B-24 in interior apple green cuase that's how all WWII aircraft interiors are supposed to be painted originally(this did actually happen, I have pics) There are a few of these things scattered about the Soviet Union it seems, but I have not seen any with a Draw-bar any where in sight, and pics of those are few and far between but there are some. The following from here Soviet artillery

These are the late style and the more common type
Abandoned 203-mm howitzer B-4. 2 by nsmekanik, on Flickr

The early style and the ones depicted in the Trumpeter/Pitroad kits, which also have some superficial detail
Left in the district of Dubno, 203-mm howitzer B-4. by nsmekanik, on Flickr

Kit wheels
IMG_1164 by nsmekanik, on Flickr

I'm not going to say that the ones in the kit are total fantasy, but I will say I have not seen any like that which have been depicted in any period photograph, and may very well be as you say, an adhoc addition for display purposes.
The kit itself may not measure out well to the actual thing, or be in scale if it does as there isn't any plans out there to compare it to, at least according to the Perth Military Modeling site review of the Trumpeter Kit. I would say it's a "soft" rendition with some minor inaccuracies, which, with a little work, will be sufficient for my purposes.

Just asking again if anyone has or has access to the Trumpeter kit please let me know as I would like to get some measurements from the wheels, Thanks :drinks
 
Excellent stuff everyone!!

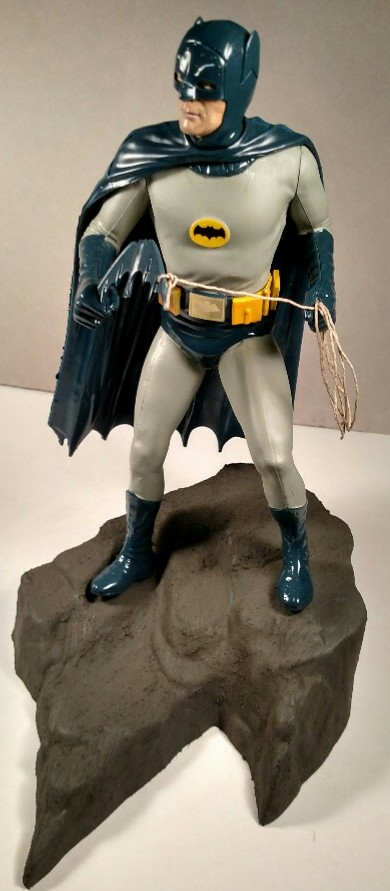
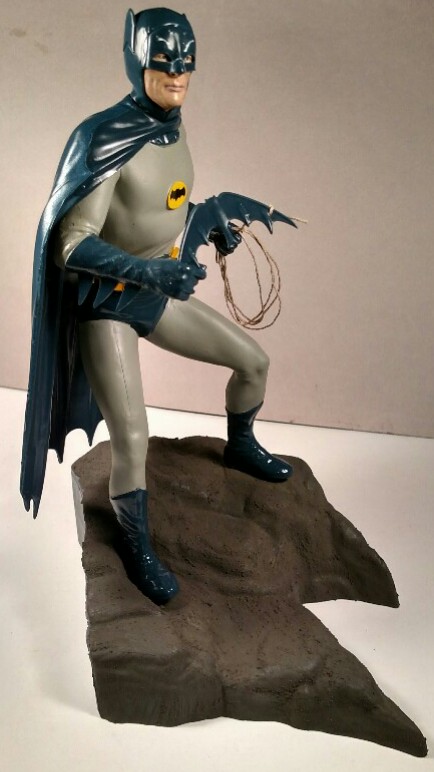
Used some Wilder textured mud on the base for Batman- pretty happy with it...
IMG_20180502_231434.jpg

IMG_20180502_231406.jpg


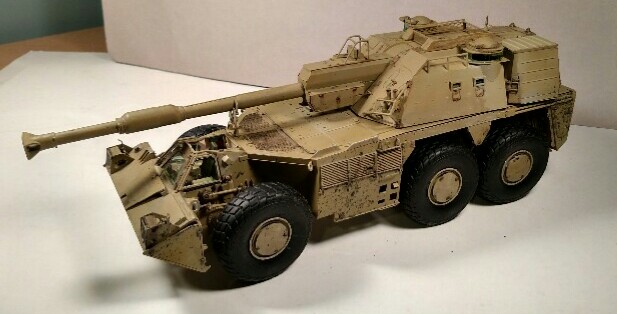
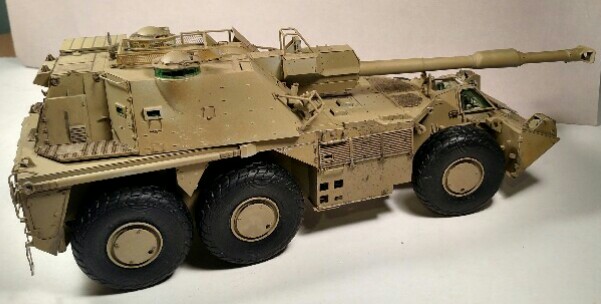
Added some of the same to the body of the Rhino...tires are next...
IMG_20180502_231207.jpg

IMG_20180502_231228.jpg


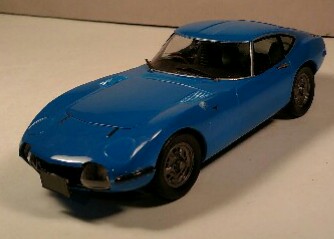
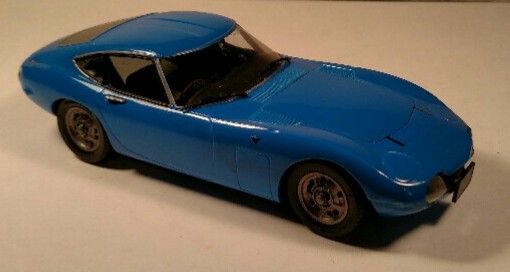
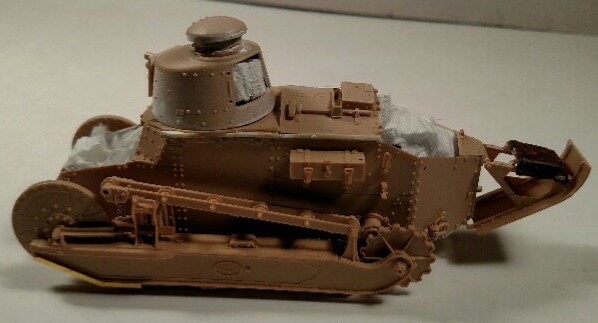
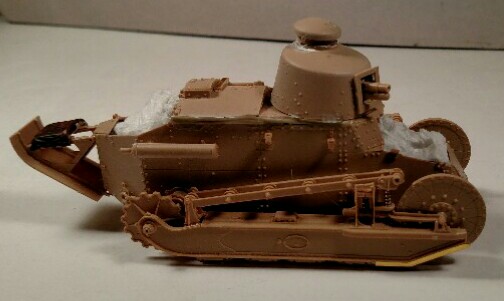
While that was all drying, I took my Toyota and FT-17 builds back out...
IMG_20180502_231247.jpg

IMG_20180502_231305.jpg


IMG_20180502_231343.jpg

IMG_20180502_231325.jpg
 
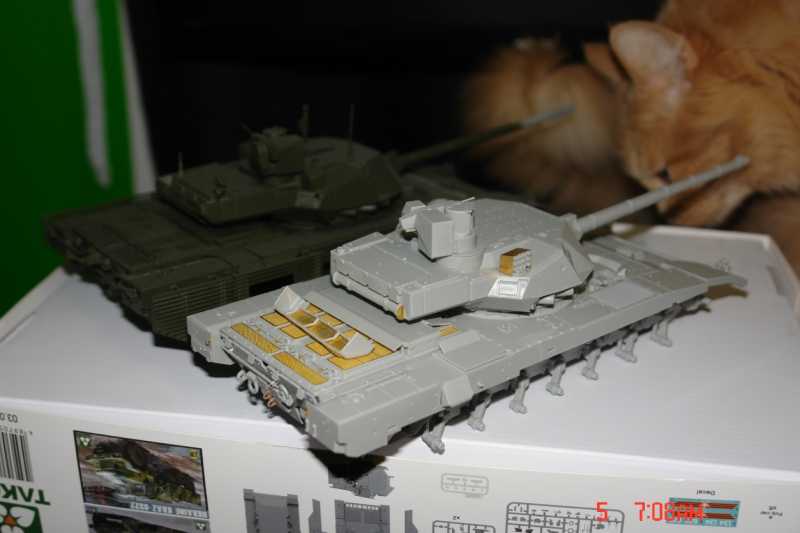
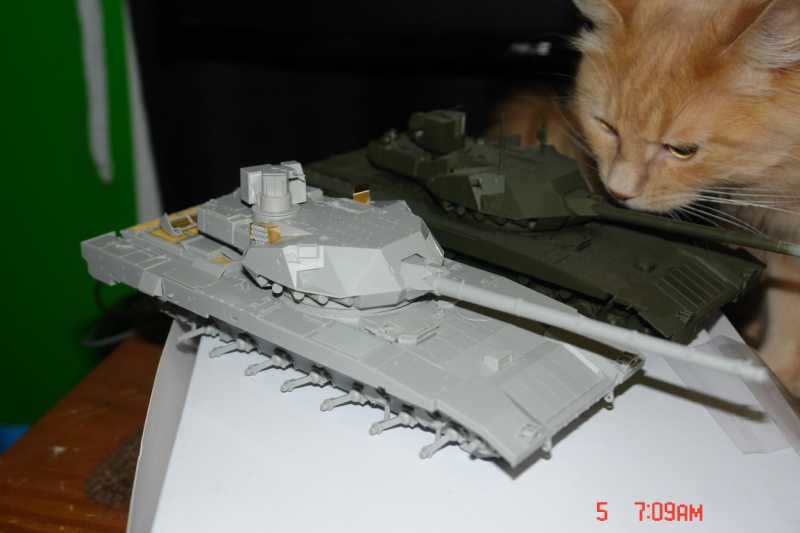
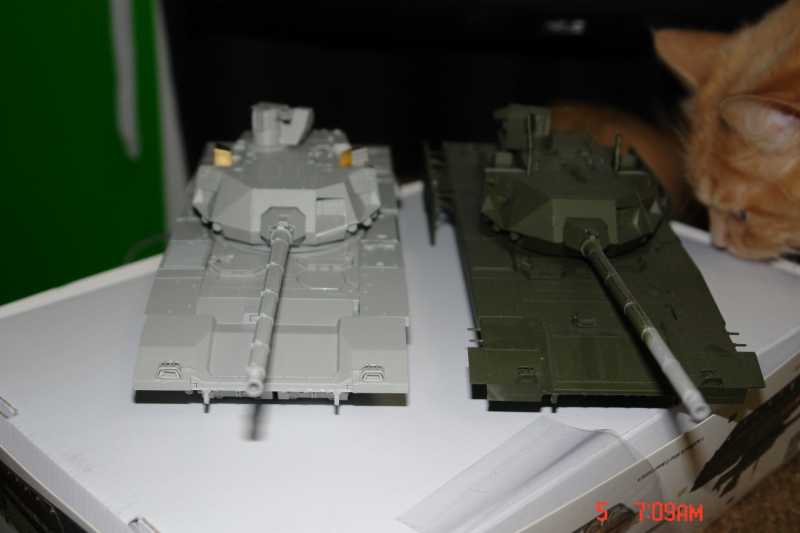
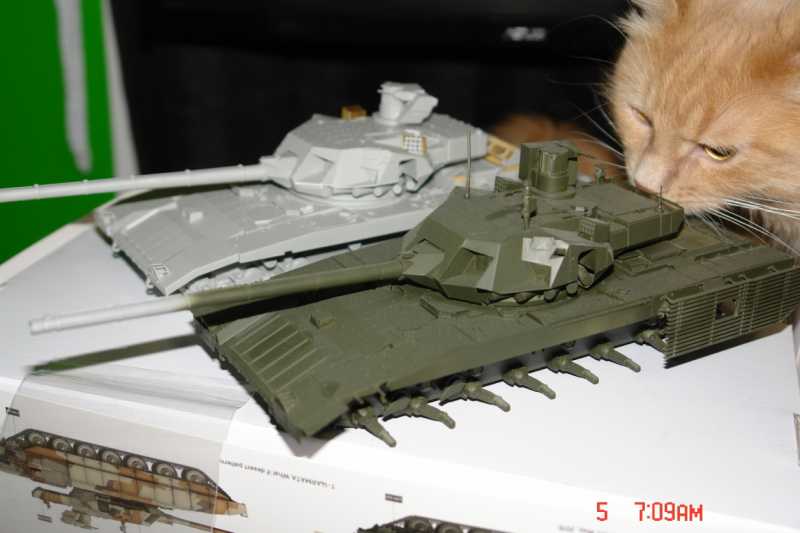
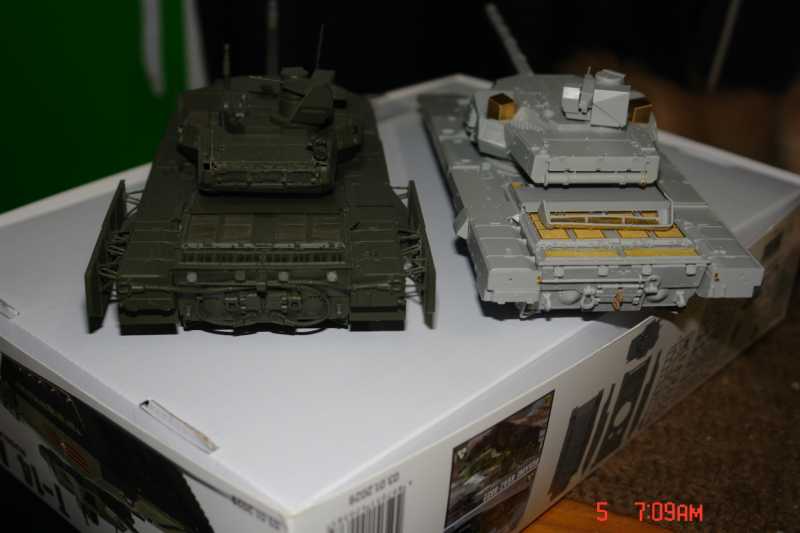
Well the bench has been busy but hit or miss. I am nearly done the T-62. I am half way done a T-80B. I am close to done on a Trumpeter T-14. I went in search of the Takom T-14 to answer a question for Maus. Looking at it I guess I should finish it. Will order another set of tracks. Here is the Trumpy version unpainted and the Takom version nearly primed.

hb630e1d.JPG


h44d1f32.JPG


h405e95b.JPG


h6239f01.JPG


h91880d3.JPG

I like the Trumpeter version better and it is easier to build and I think more correct shape wise according to all the pics I have been finding.
James
 
I know what you're going through with the bench being hit or miss. That's what's going on with mine now too.

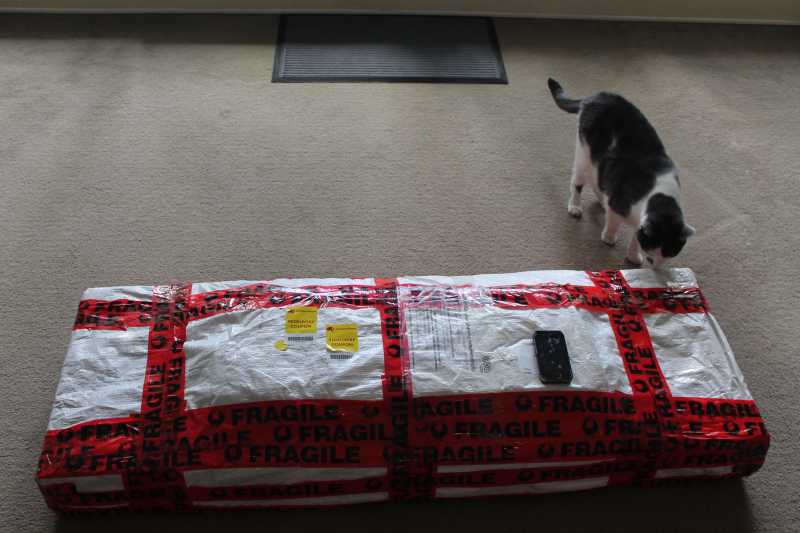
Excellent comparison of those two T-14's. I see your inspector approves of your work as well.
 
I think he's a closet rivet counter. Complains about the detail (he sneezed over it more then once) but I haven't seen him build a single thing.
James
 
Okay after seeing all this great work here, I figured it was time to flood this Thread with some of my own mediocre work. I may not have the quality everyone here has, but I sure got the quantity! So without further ado, let's start this latest tour of Maddog Manufacturing....

Okay, let's begin with my aircraft....


On another Forms, I had started two review models and it was time to get them done. Here's the progress I managed to get so far.....

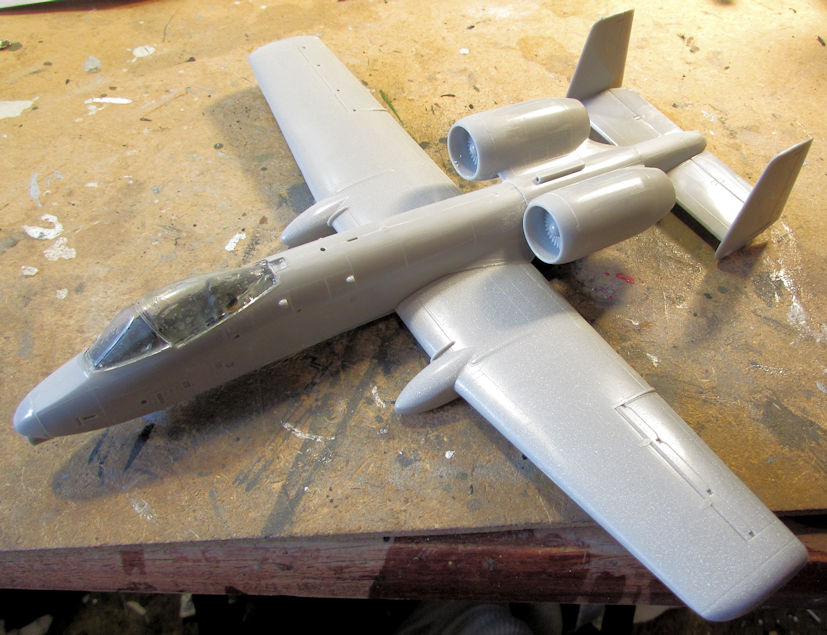
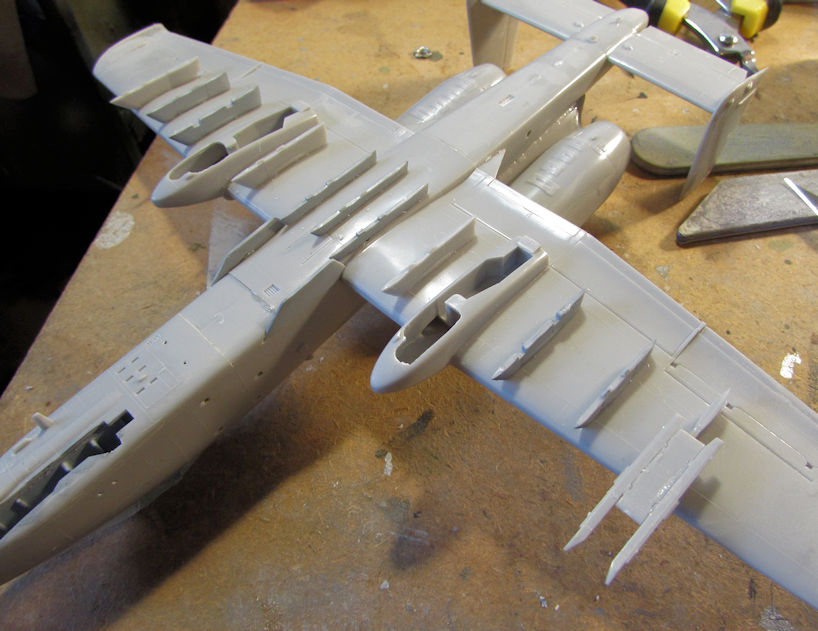
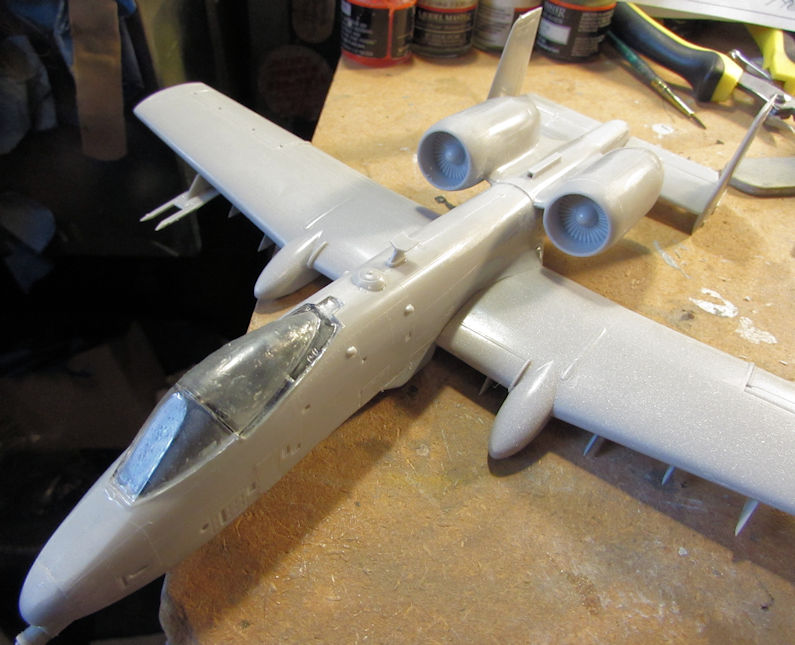
The Hasegawa A-10 got assembled with all the wings, engines and tail surfaces attached:

A-10C_Thunderbolt_II_SPAM_Review_XIIIa.jpg


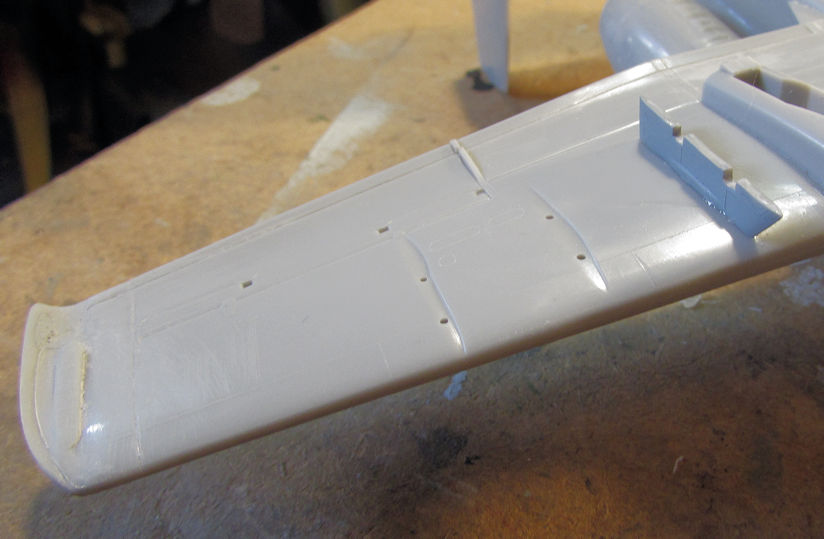
Here you can see the the results of my efforts on one of the wings after I attempted to sand down the stepped edge found underneath both wings. It;s not perfect but that's as far as I wanted to go on this.

A-10C_Thunderbolt_II_SPAM_Review_XIIIb.jpg


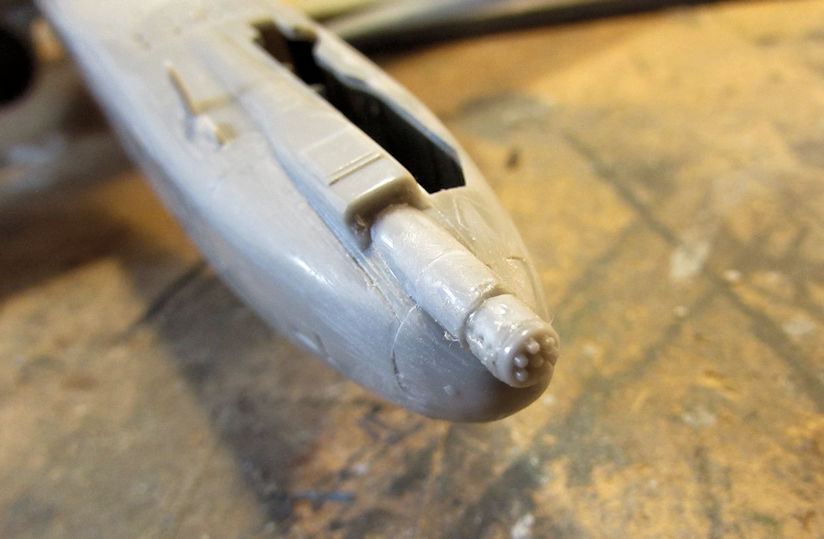
After that, I added the main gun barrel:

A-10C_Thunderbolt_II_SPAM_Review_XIV.jpg


After that, I added all the mounts for the underwing stores:

A-10C_Thunderbolt_II_SPAM_Review_XV.jpg


A few additional detail parts on top and this one was ready for paint:

A-10C_Thunderbolt_II_SPAM_Review_XVa.jpg


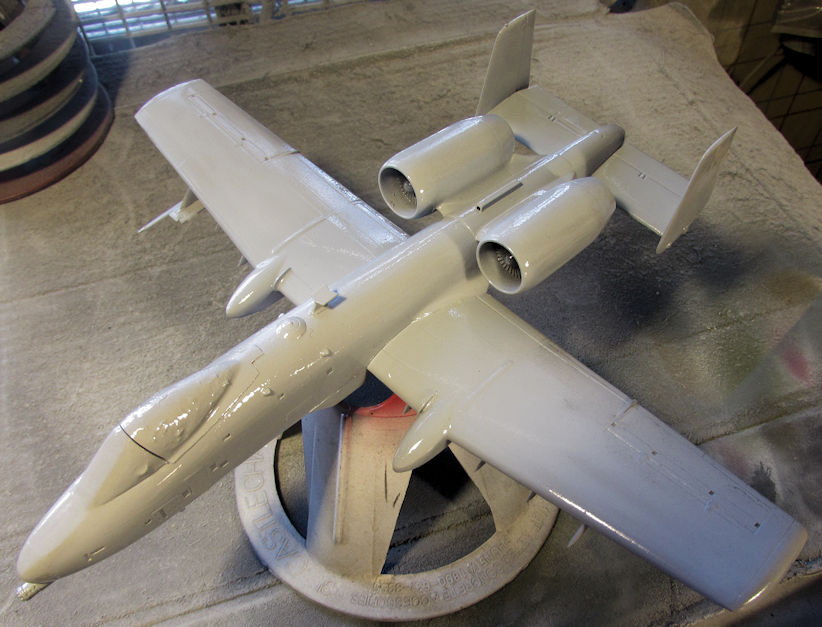
Later on, I primed, painted and added the second grey color to this; then clearcoated it for decals:

A-10C_Thunderbolt_II_SPAM_Review_XVb.jpg


That's as far as I got here. There's a few blemishes I need to attend to then I can apply decals.


Now for my second review kits.

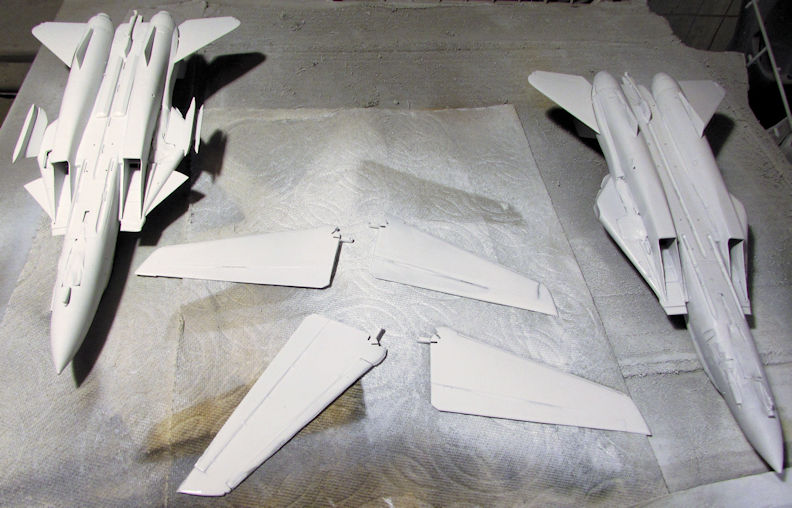
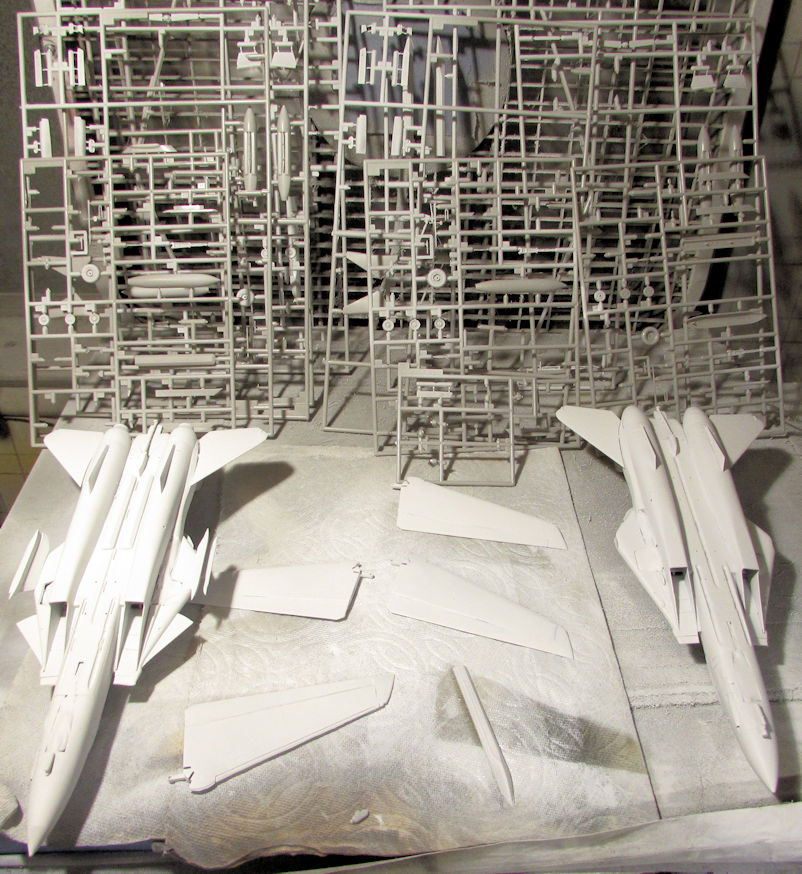
On my two Tomcats, I shot a coat of white underneath both of them:

WIP_F-14_Tomcats_SPAM_Review_XXVd.jpg


I also shot white on many of the other parts that need it as shown here:

WIP_F-14_Tomcats_SPAM_Review_XXVe.jpg


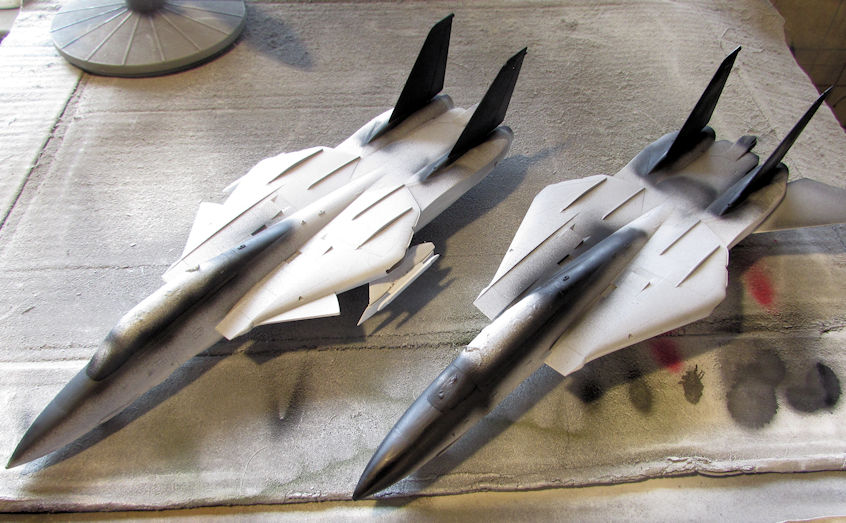
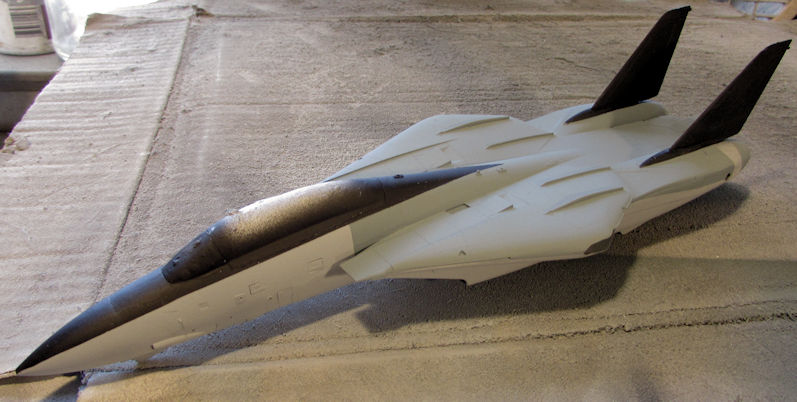
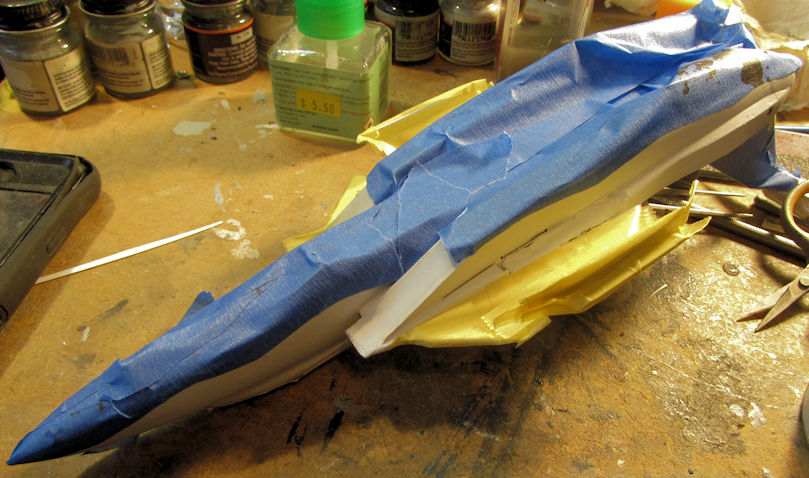
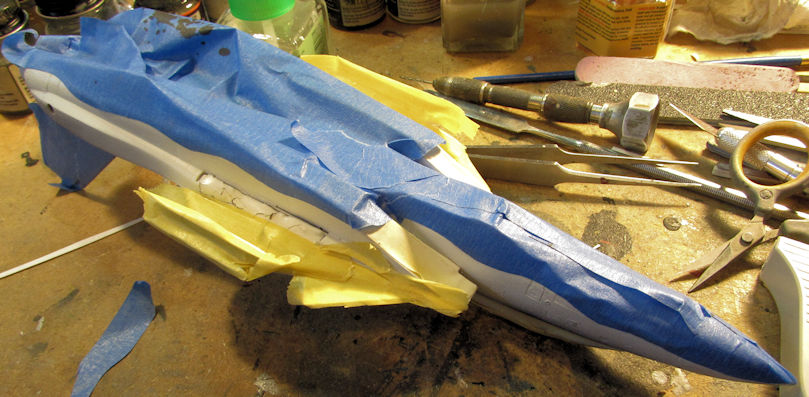
Once that was done, I realized that I only needed white on the underside of the -A bird. the -B has a wrap around grey scheme. So, I masked off the white under the Alpha and then shot the black on the tails and canopy areas:

WIP_F-14_Tomcats_SPAM_Review_XXVIa.jpg


After that; starting with the Bravo bird, I masked off the black where it was supposed to stay black and I shot the first coat of grey on it. This was a dark gull grey I believe. I know it's tough to see in these pics but here is the first grey:

WIP_F-14_Tomcats_SPAM_Review_XXVIb.jpg


WIP_F-14_Tomcats_SPAM_Review_XXVIc.jpg


Still on the Bravo bird, I masked off the nose and the bottom to shoot the medium grey on the top of this bird:

WIP_F-14_Tomcats_SPAM_Review_XXVId.jpg


WIP_F-14_Tomcats_SPAM_Review_XXVIe.jpg


Here she is after the medium grey went on:

WIP_F-14_Tomcats_SPAM_Review_XXVIf.jpg


Afterward, she was looking pretty sharp in her new colors:

WIP_F-14_Tomcats_SPAM_Review_XXVIg.jpg


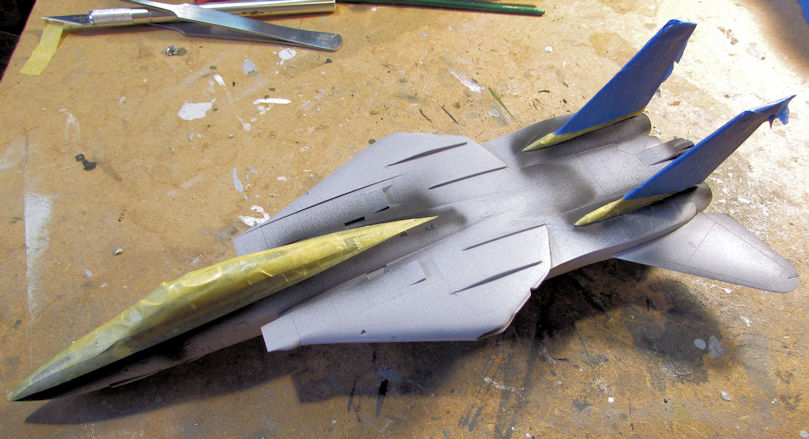
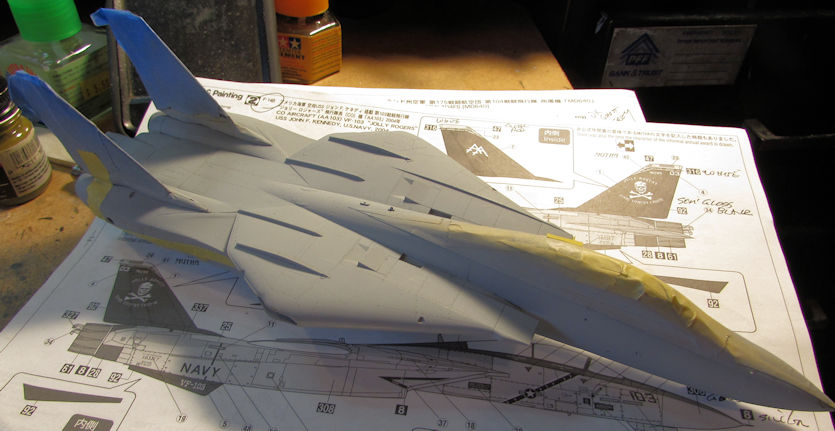
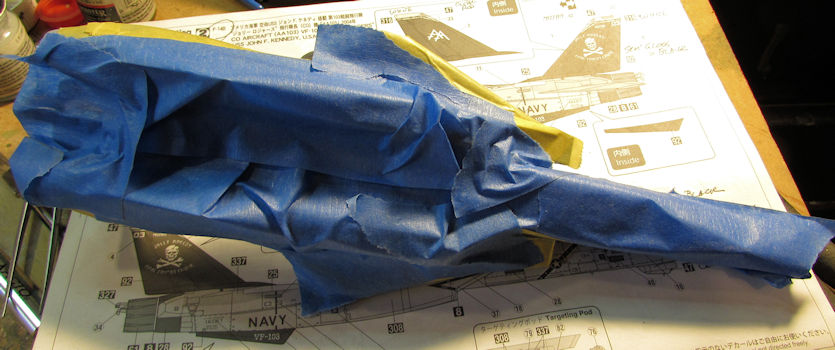
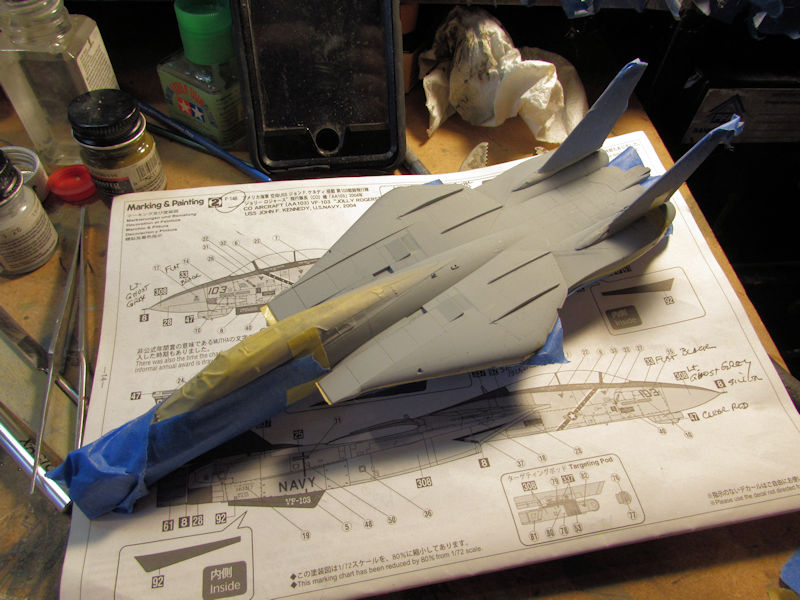
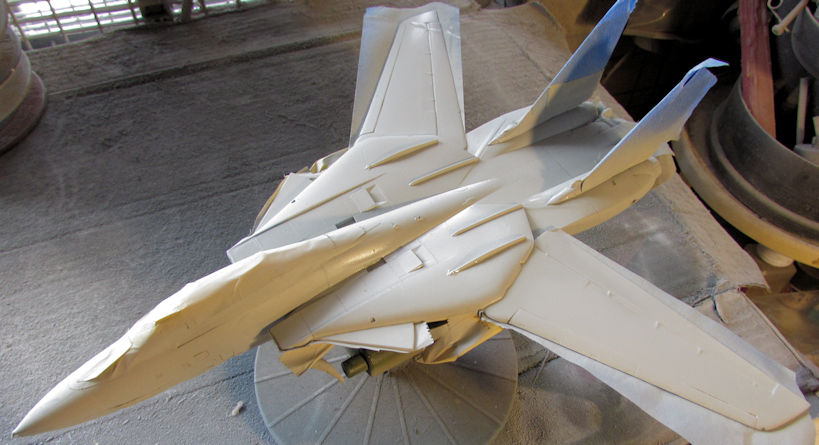
Moving on to the Alpha bird, I also masked her off, starting with the white underside. This time I added the waves to the edge since the previous masking was simply to keep the black overspray off the bottom:

WIP_F-14_Tomcats_SPAM_Review_XXVIIa.jpg


WIP_F-14_Tomcats_SPAM_Review_XXVIIb.jpg


You can see I used an ungodly amount of masking tape on this; mostly because I masked off the missile rails. Normally I would have left those off till last, but they help me differentiate between the two birds at a glance.

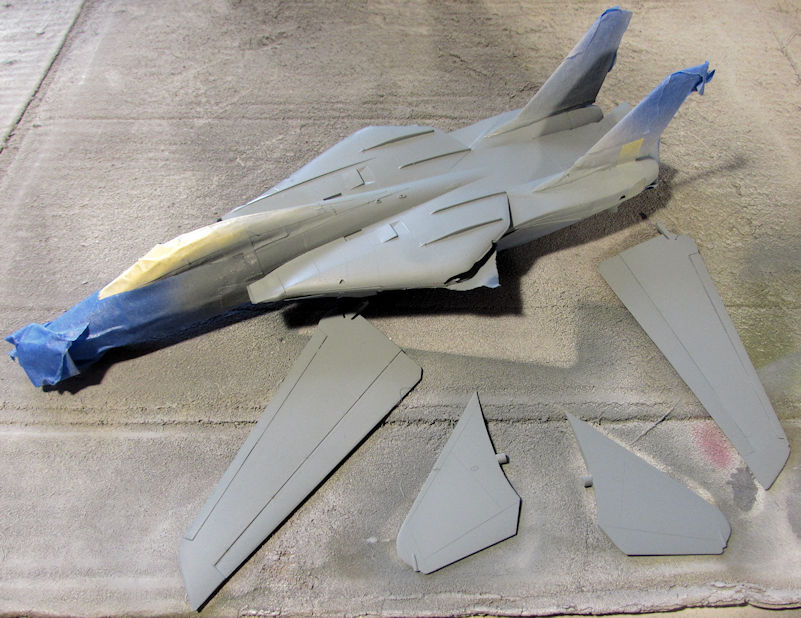
Her grey color; a flat gull grey went on next:

WIP_F-14_Tomcats_SPAM_Review_XXVIIc.jpg


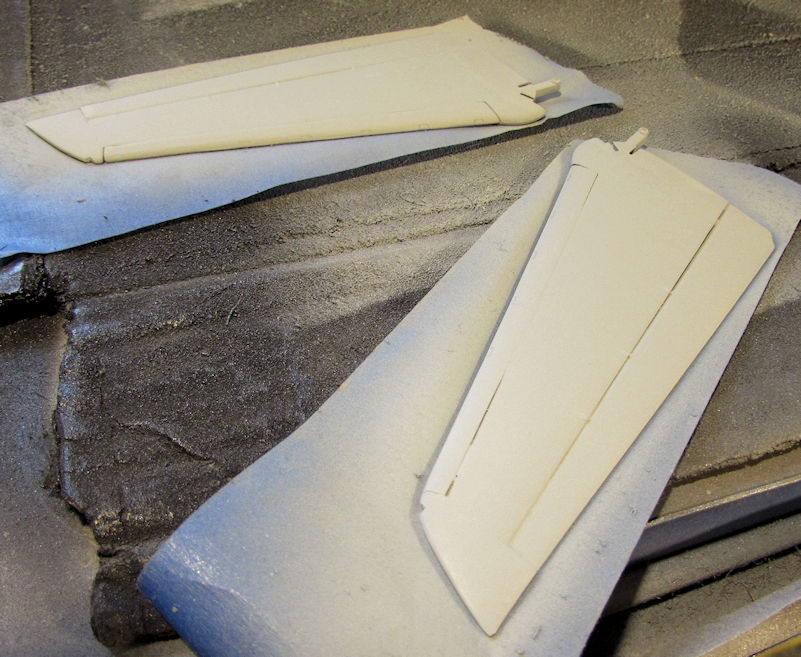
After I painted the wings, I realized I had forgotten to mask off the flaps to keep them white:

WIP_F-14_Tomcats_SPAM_Review_XXVIId.jpg


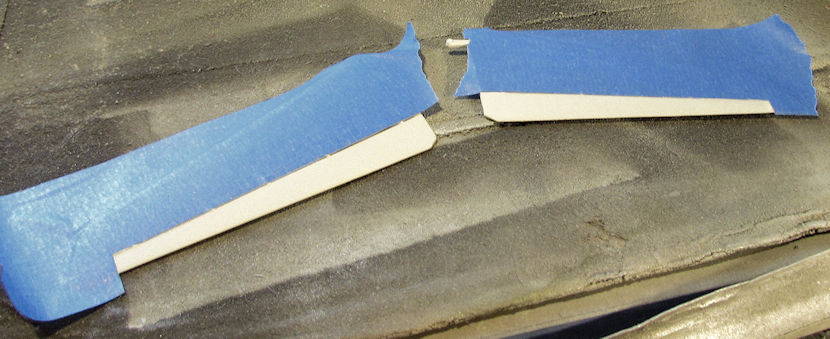
So I masked them off and shot the white:

WIP_F-14_Tomcats_SPAM_Review_XXVIIe.jpg


WIP_F-14_Tomcats_SPAM_Review_XXVIIf.jpg


Once I pulled the tape off these to shoot the clear gloss coat on, I noticed some of the paint lifted, so this has to be re-shot:

WIP_F-14_Tomcats_SPAM_Review_XXVIIg.jpg


That's where I left this. Hopefully I'll get that fixed this weekend...

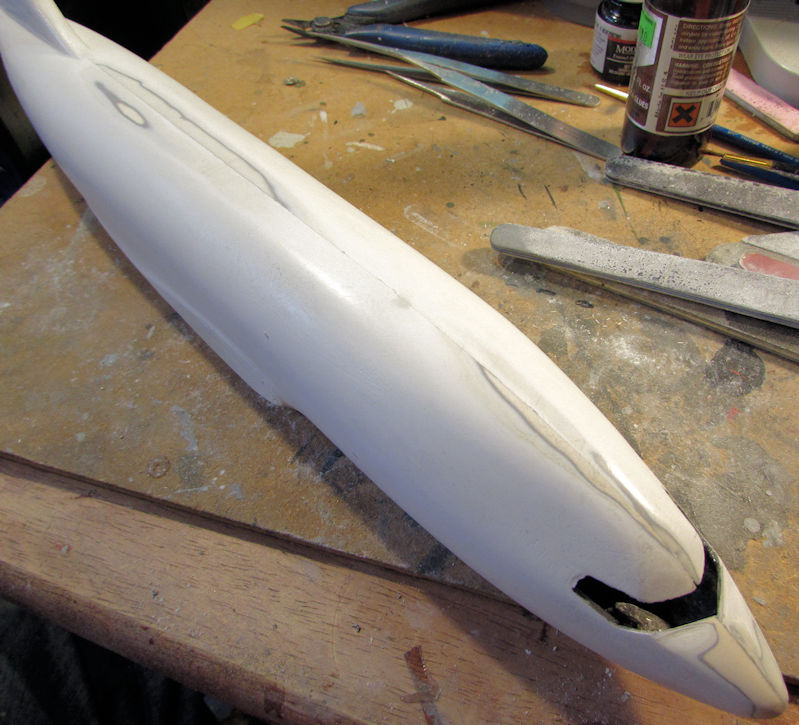
Next, I decided to try and make some progress on my Boeing 737. Even though I have lost the decals for this; I'm going to keep going. After cementing the nose together and letting it dry; I started filling and sanding this down to get a final clean and smooth seal:

WIP_Boeing_737_XIVa.jpg


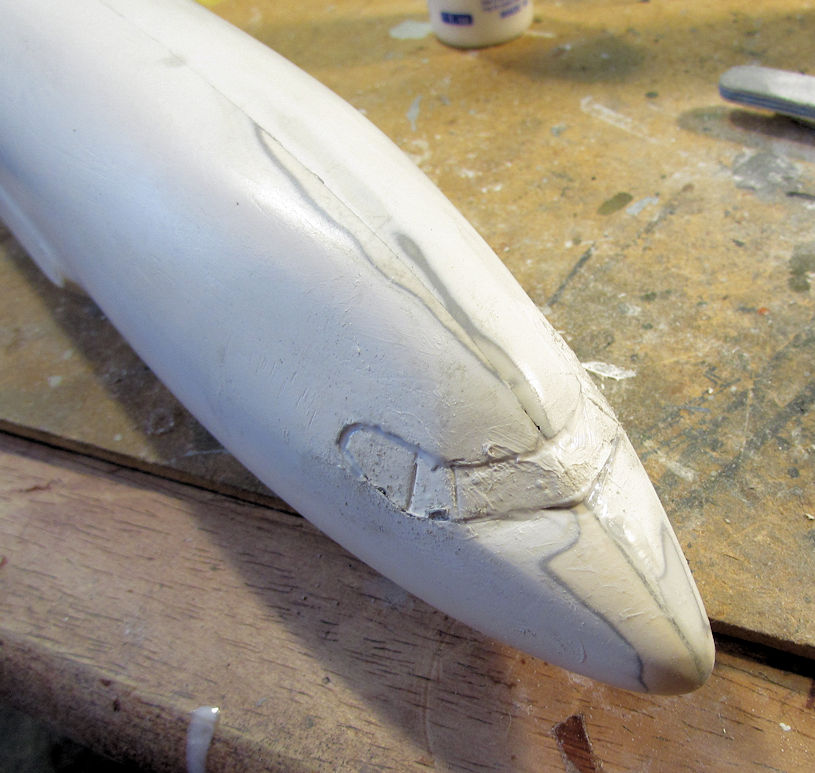
I then re-added the canopy to this:

WIP_Boeing_737_XIVb.jpg


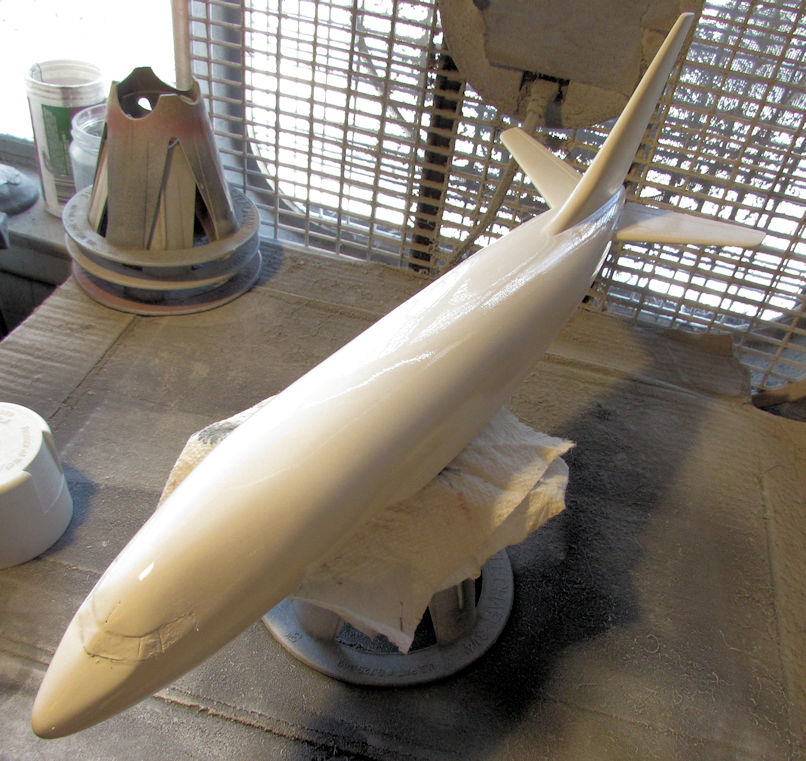
After cleaning up the roughness around the canopy, I shot some Krylon Plastic Primer on this.... which happens to be white:

WIP_Boeing_737_XIVc.jpg


You can see some small defects still need to be addressed.... again. But at least I'm getting somewhere with this for once. Hopefully I'll be able to continue making progress here without any more mishaps that caused me to throw this in the first place.


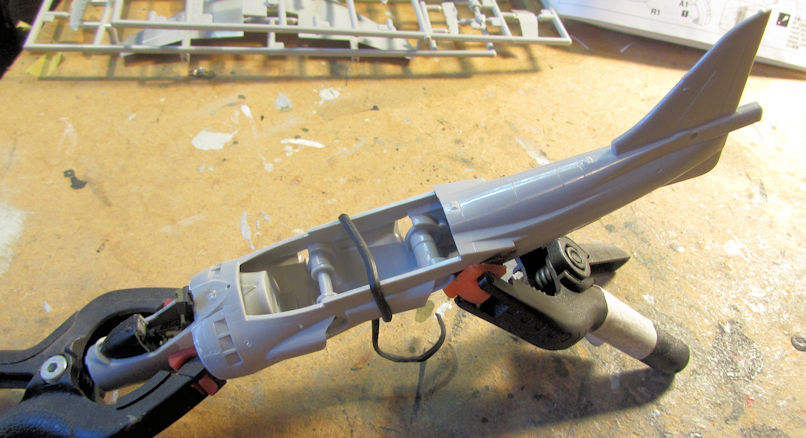
Lastly, I made some small progress on my Italian Harrier jet. I finally glued the fuselage together:

WIP_Italian_Harrier_XI.jpg


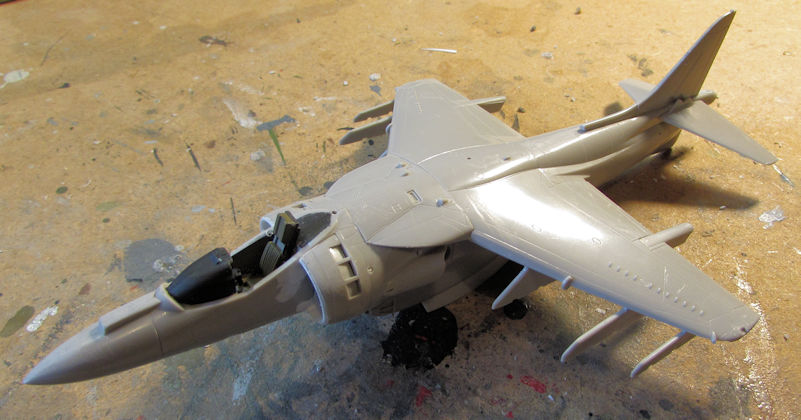
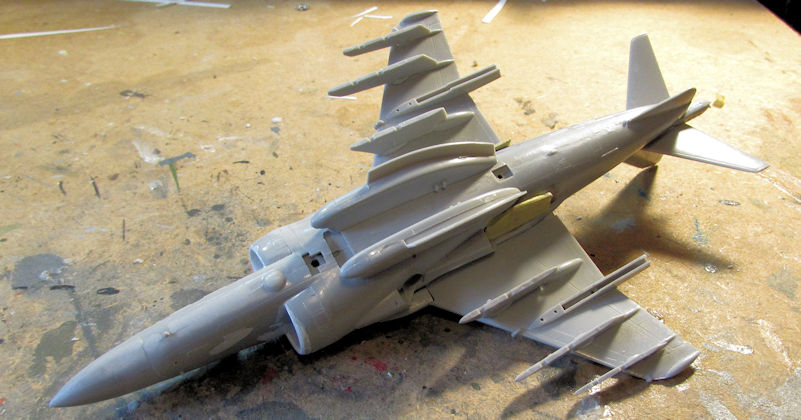
Later came the wings, tail surfaces, gun pods, and underwing pylons:

WIP_Italian_Harrier_XII.jpg


WIP_Italian_Harrier_XIII.jpg


You can see I already masked the exhaust plates on this in preparation for paint. Once I get the canopy on, I'll be able to mask it and paint this plane.


Moving on to my other models, here is the latest progress I made on some helicopters.


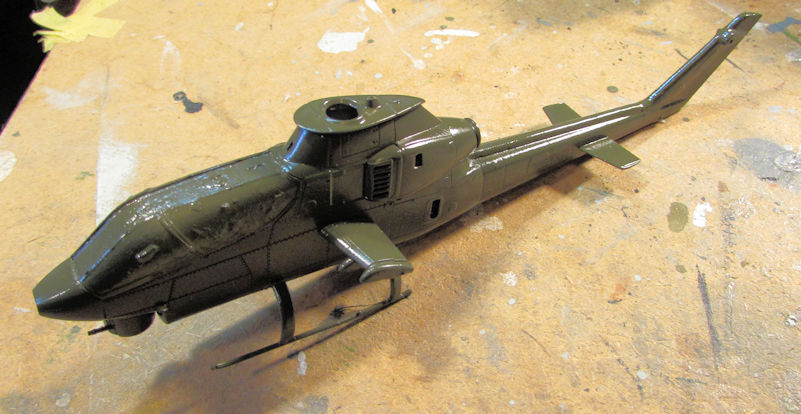
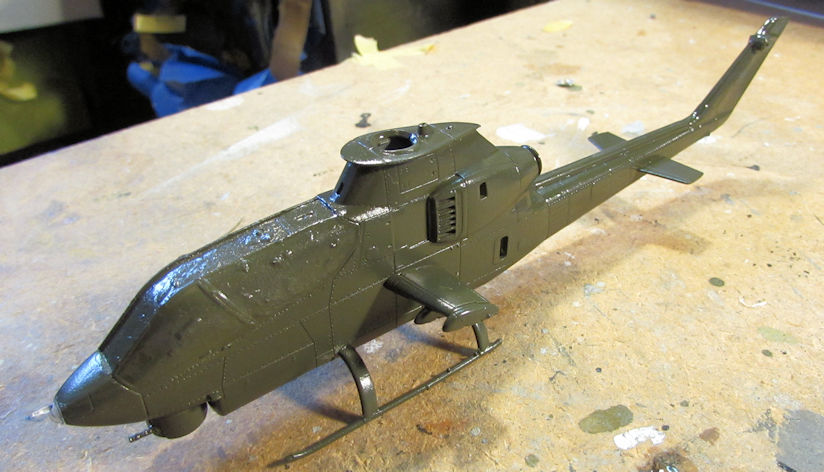
On my Marine AH-1 Cobra, I finished shooting the green drab on it and glossed it for decals:

WIP_Helicopter_SPAM_GB_XIII.jpg


I then saw how it sat on it's tail. The nose was still open, so I added some small BB's inside until it sat right and then I closed up the nose. It worked:

WIP_Helicopter_SPAM_GB_XIV.jpg


Then when I went to apply the decals, I noticed the paint color was all wrong. Back to the spray booth for this one.

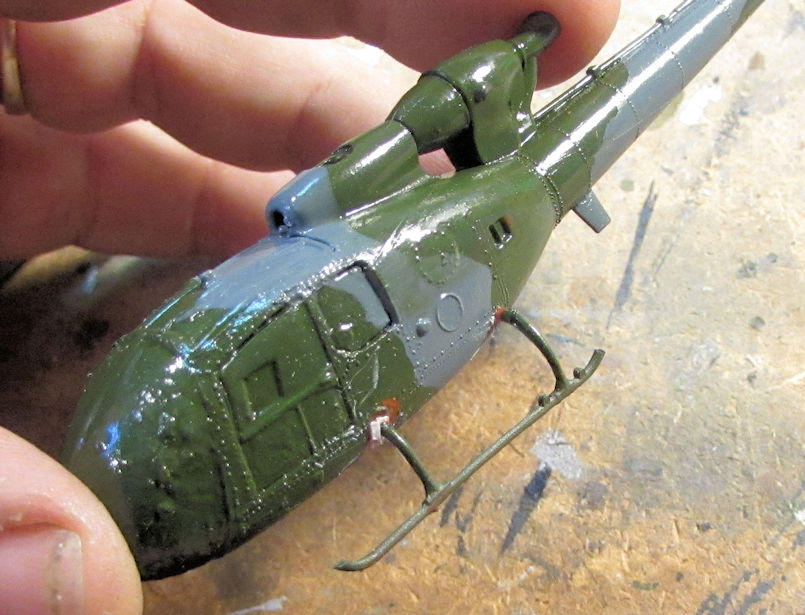
Meanwhile, I also tried to reinforce the skid attachments for my British Gazelle. It didn't turn out the way I wanted it to. I'm going to have to fix this as I'm not happy with it:

WIP_British_Gazelle_XIII.jpg


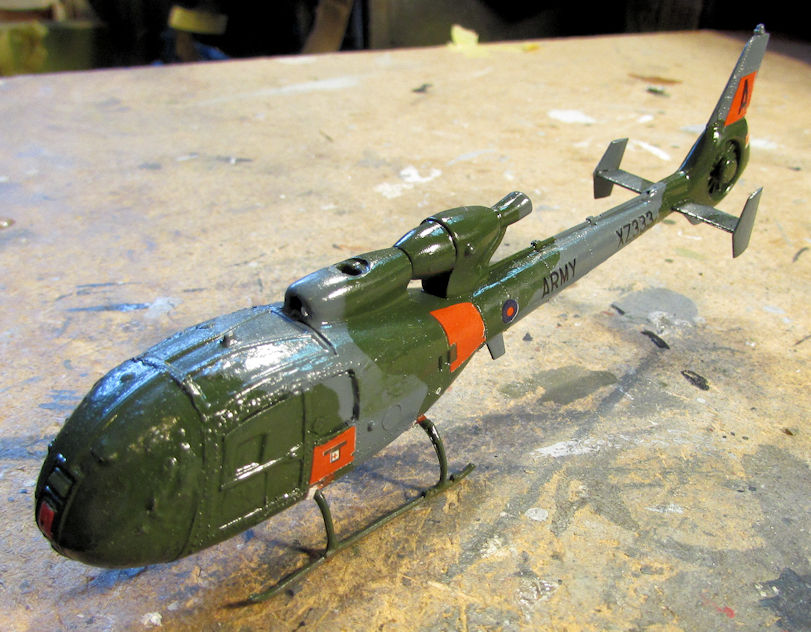
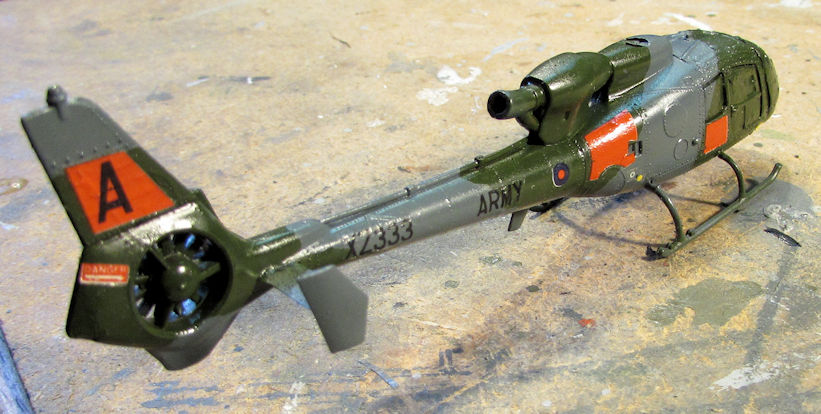
Until then, I decided to apply the decals on this little bird. They went on okay considering their age. I did have to add a lot of Micro Sol to them to get them to lay down and stop curling:

WIP_British_Gazelle_XIV.jpg


WIP_British_Gazelle_XV.jpg


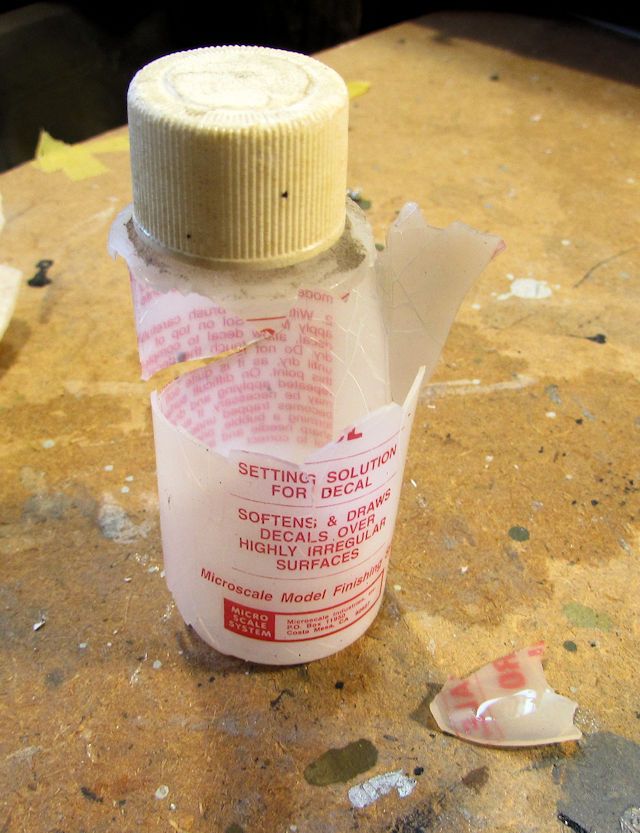
Speaking of Micro Sol; Micro Scale needs to re-think their packaging for these products they sell. I was simply closing this bottle and at the slightest pressure to insure a seal, this whole thing shattered in my hand:

BUSTED_III.jpg


Can you say "brittle"?

Okay, moving on....


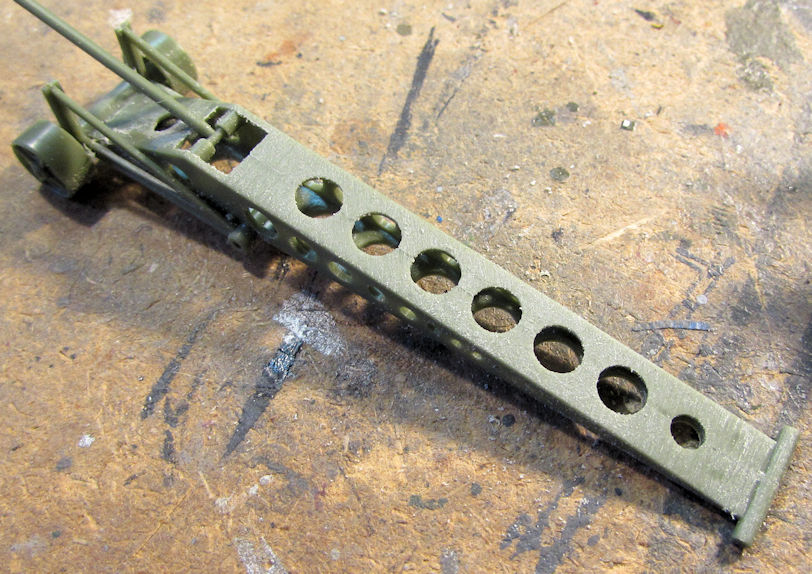
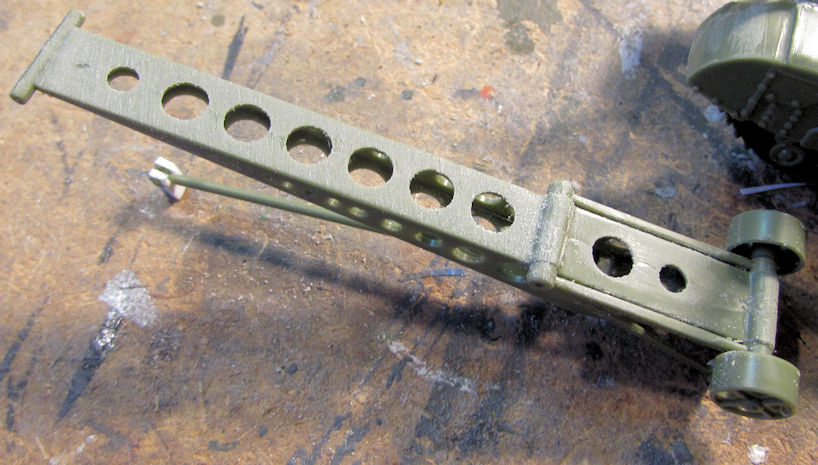
I didn't do too much on my armor lately, having been focused on getting some of those aircraft off my workbench; but I did pull out my Churchill bridgelayer to sand the seam on the lifting arm

WIP_British_Churchill_Bridgelayer_XV.jpg


WIP_British_Churchill_Bridgelayer_XVI.jpg


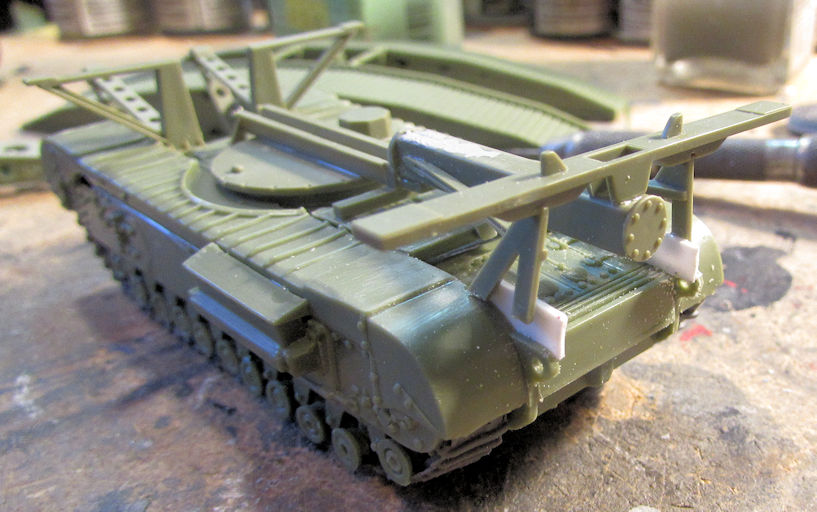
Also, the piston housing on the top of this was angled down too much, making the smooth operation of this bridgelayer too awkward. It is the square horizontal box with the round, riveted ends. I decided to add some sheet styrene to lift this to a more horizontal level:

WIP_British_Churchill_Bridgelayer_XIV.jpg


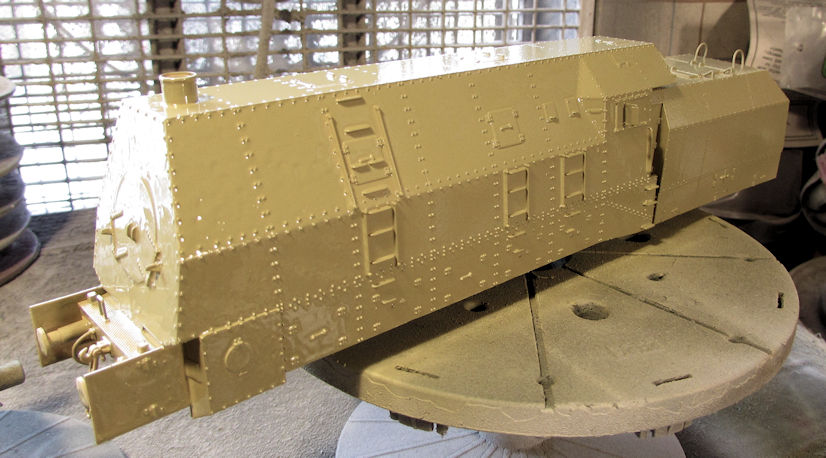
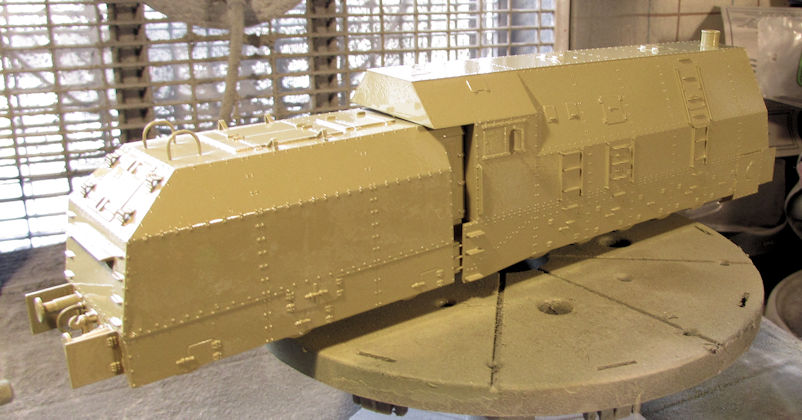
Once that is trimmed and dry, I'll test it again to see how well it works. Meanwhile, I also shot a base coat of dunklegelb on my Panzerlok Br-57:

WIP_German_Br_57_Panzerlok_VII.jpg


WIP_German_Br_57_Panzerlok_VIII.jpg


Next step, camouflage!


Okay, that is the end of this exceptionally long and tedious tour. You may all wake up now and make your way to the nearest exits. Thank you all for your patience, persistence and perseverance. Comments are always welcome.
 
Some nice work going on here guys! Keep it coming.

James that four legged inspector of yours made me laugh. I try to keep my fourlegged boss' out of my work area so that they don't know when I'm slacking off.

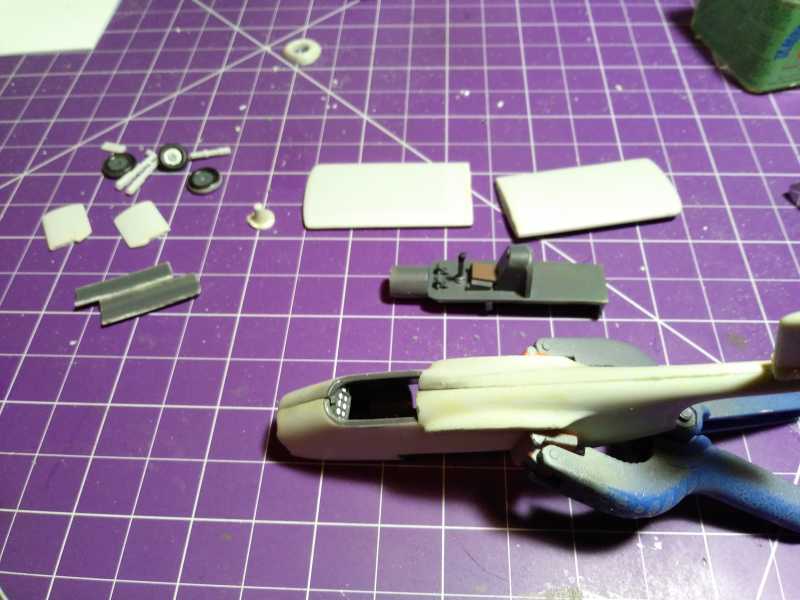
I have not had a lot of bench time lately but have been working on this. It is Special Hobby's Blom and Voss P211. Kit number 72003 so an eatly kit from them and hard to come by now. It had been started (badly) by its previous owner so i had to rip it apart and start over after scrapping all the putty off. No canopy with it so I'll have to make one. Also pulled some wheels and cockpit parts from the spares box.

ha2dcdfa.jpg

I have a few of these partially finished kits from the same previous owner and have only finished one so far.
 
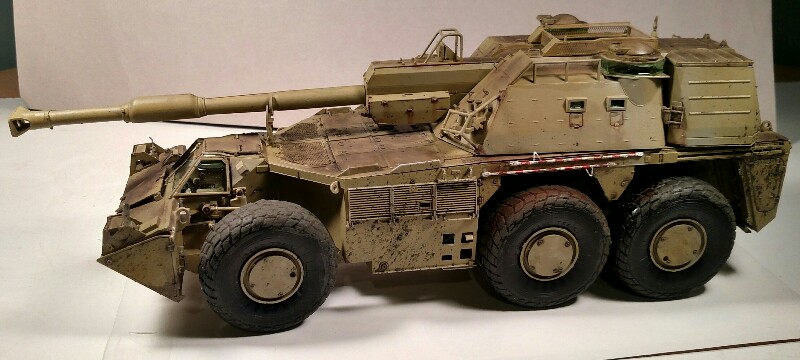
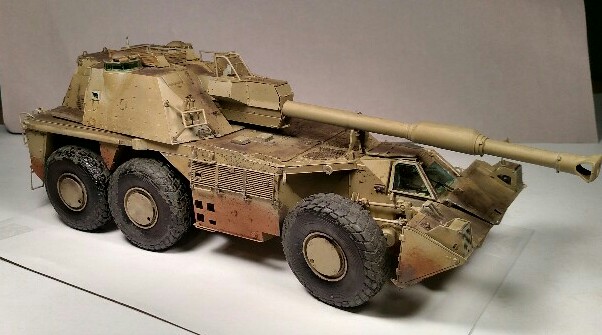
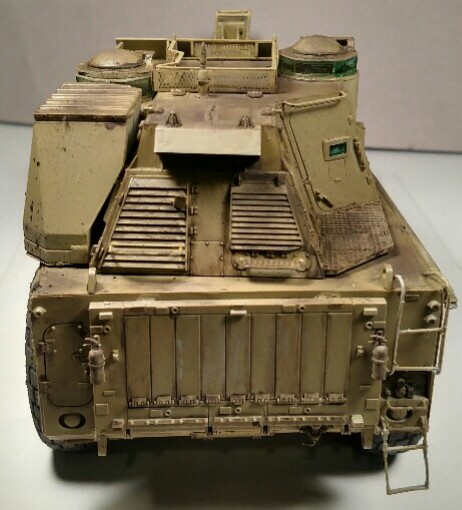
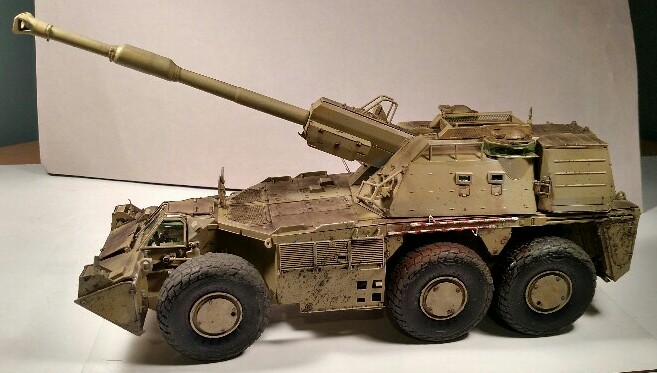
Nearly there...just playing around with weathering...does the darker or redder dust make more sense SADave?

IMG_20180507_005401-800x360.jpg

IMG_20180507_005220.jpg

IMG_20180507_005244.jpg

IMG_20180507_005327.jpg
 
Back
Top