-
Modelers Alliance has updated the forum software on our website. We have migrated all post, content and user accounts but we could not migrate the passwords.
This requires that you manually reset your password.
Please click here, http://modelersalliance.org/forums/login to go to logon page and use the "Forgot your Password" option.
You are using an out of date browser. It may not display this or other websites correctly.
You should upgrade or use an alternative browser.
You should upgrade or use an alternative browser.
All Righty ... What's on the bench today?
- Thread starter panzerace007
- Start date
Duke Maddog
Well-known member
Excellent work guys! I also managed to get some more progress done. Hopefully be able to post in a day or two.
Sherman 18
Master at Arms
Not my bench but Grace is working on a Tamiya 1/100 CH-46 that she got yesterday at a swap meet during a model contest in Denver

Hey Grace! looking forward to seeing this complete. 

Hey Grace!
You go girl!!
Bob
You go girl!!
Bob
nsmekanik
Member
Is that a King Kitty in that last photo Tim? :coolio
Actually it's a 1/48 HobbyBoss T34 that I overwhelmed myself with in an earlier life that I'm on the verge of resurecting :drinks
Duke Maddog
Well-known member
Way to go Grace! I'll be looking forward to seeing that done.
nsmekanik
Member
Not my bench but Grace is working on a Tamiya 1/100 CH-46 that she got yesterday at a swap meet during a model contest in Denver

It's always good to see a new(ish) plastic addict entering into the fold, altough by the looks of things this does not
appear to be her first rodeo, looking forward to viewing the finished product

Duke Maddog
Well-known member
It's not her first rodeo indeed. I met her back in 2013 at the Colorado IPMS Nationals and she was already making a name for herself there. She's a very talented and sweet young lady.
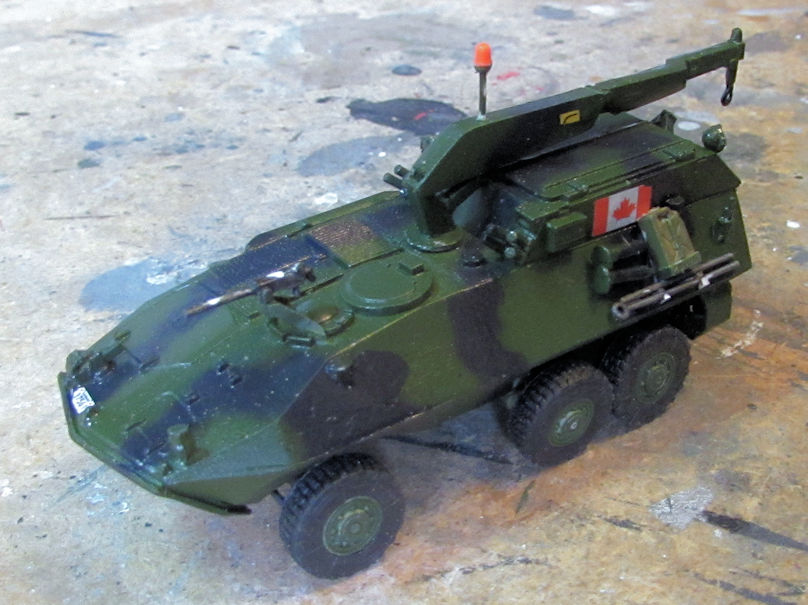
I had some time to work on things this past weekend so I kept going on a couple things. One was my Canadian Husky recovery vehicle that finally got all the bits and bobs on it. I just needed to detail and touch it up:
Later on, I shot the dullcoat on it and then added some black wash to the grills:
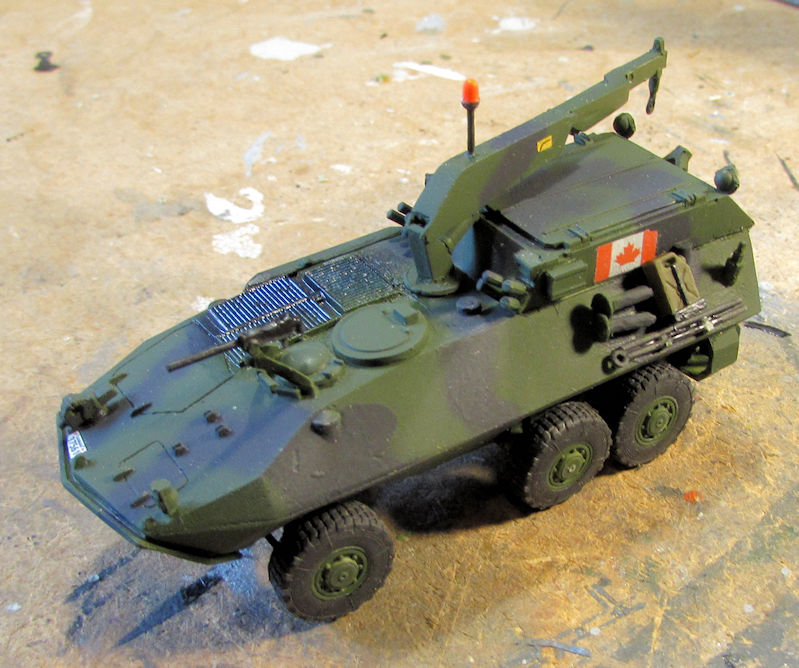
She has since been weathered and will soon be posted in the Armored Fury Forums.
Meanwhile, I also pulled out the Italian Harrier I started. I painted the cockpit in preparation for the instrument decals:
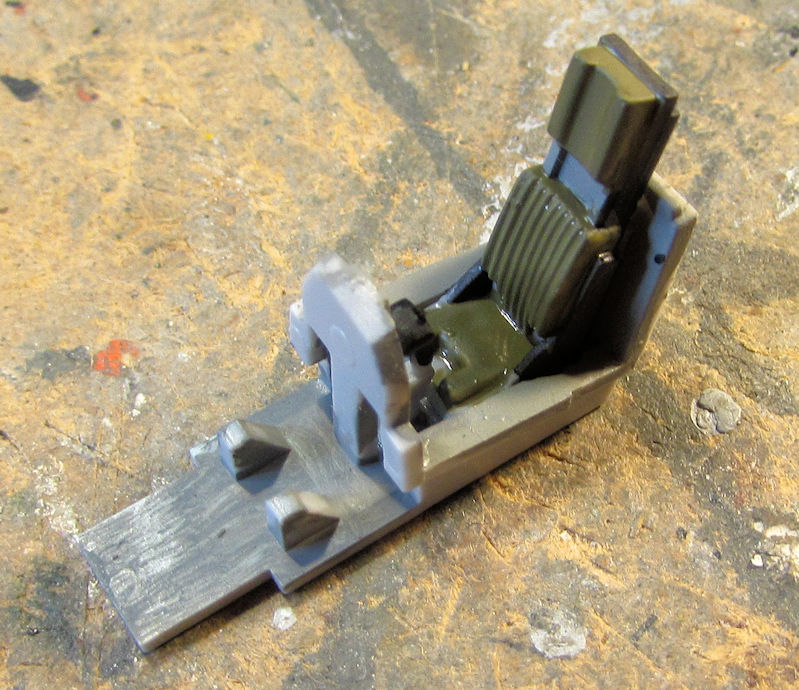
While that was drying, I painted the engine intake turbines...
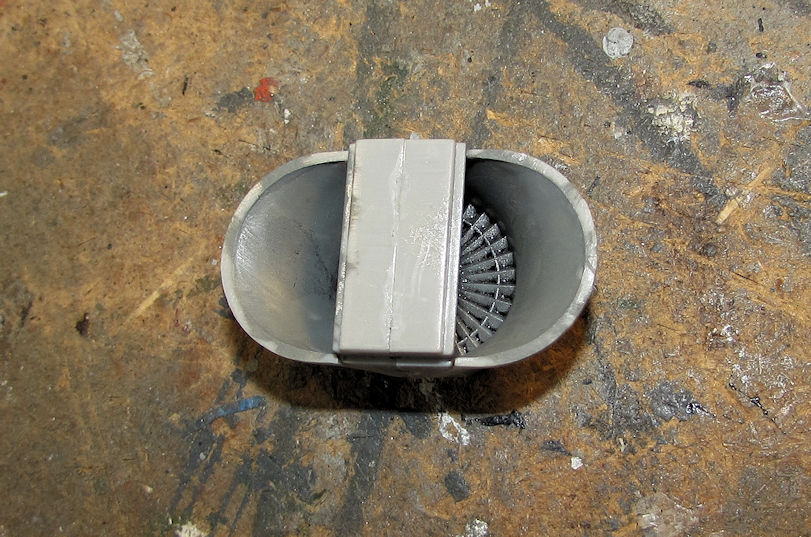
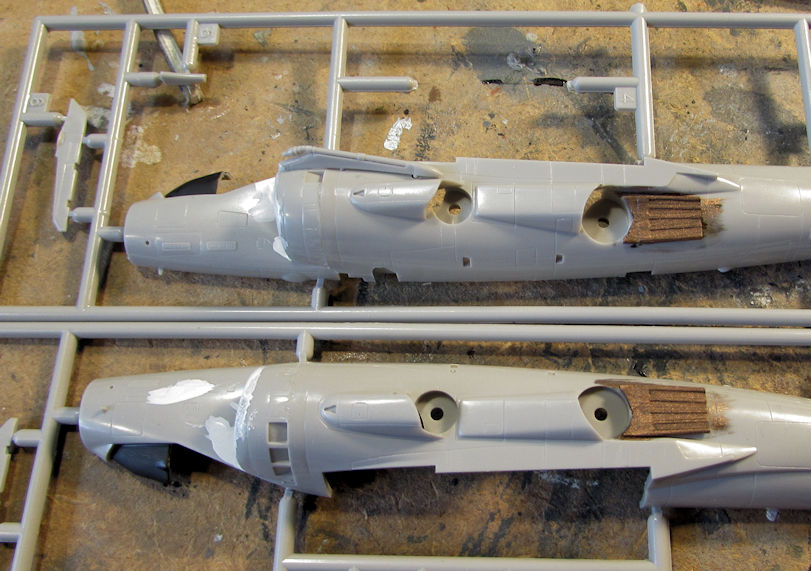
...and the cockpit cowl, engine intakes and exhaust plates on the fuselage halves....
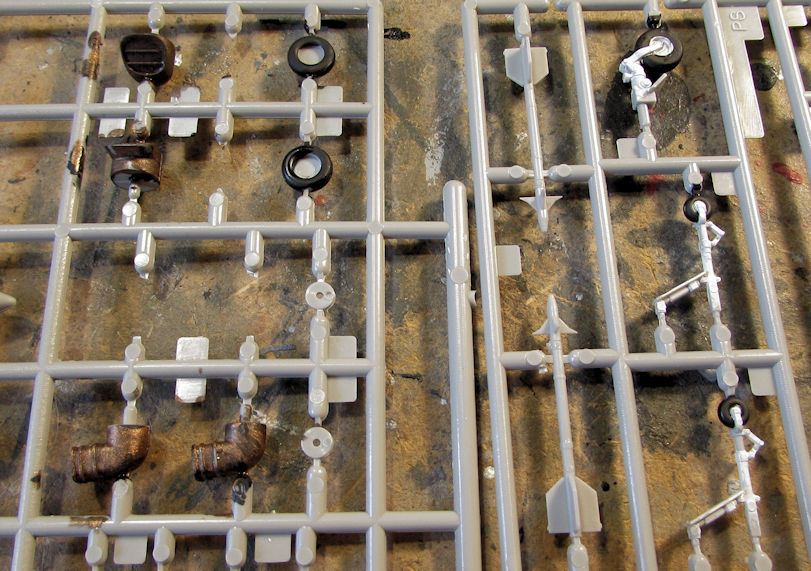
...and finally, the wheels, struts, and burner cans:
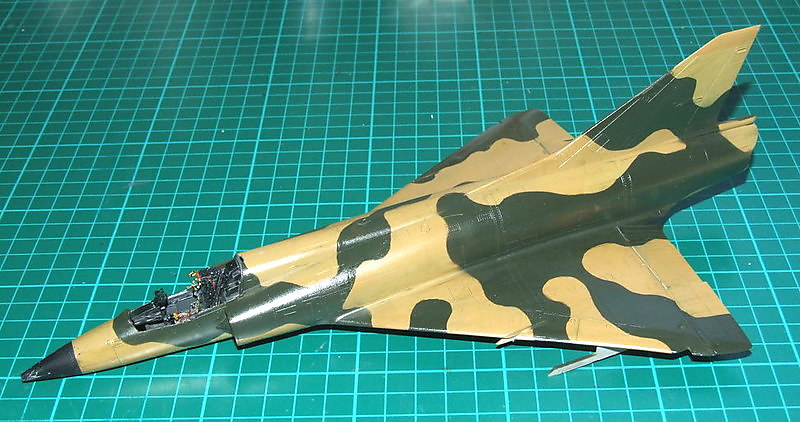
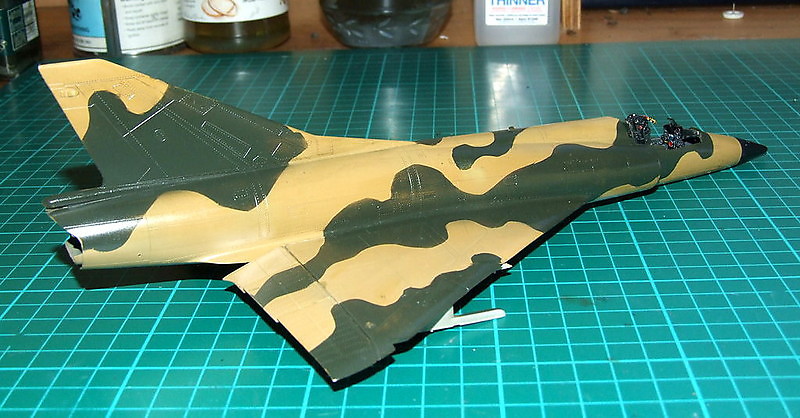
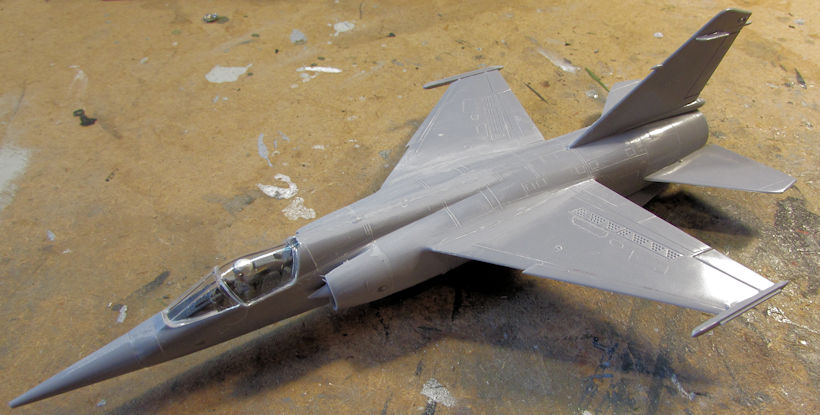
Another aircraft I continued on was the South African Mirage for my second African build. I added the canopy to this and then sanded down all the filler I had added:
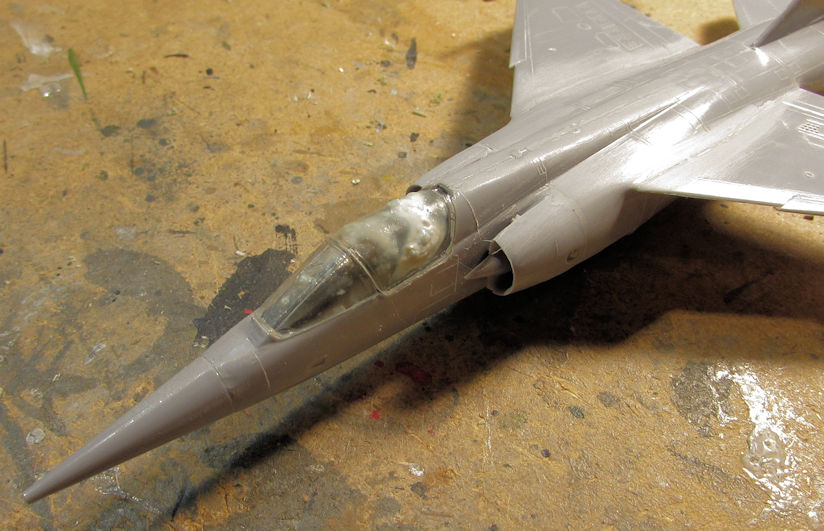
Later I masked off the canopy in preparation for a primer coat:
Now for a few of the other models I mentioned before that I found when I cleaned up a bit. These are models I'd forgotten about, or had held back from starting before. I finally decided to just get them done.
One was this one that I had thrown in frustration. I started to re-cement back the Boeing 737 fuselage:
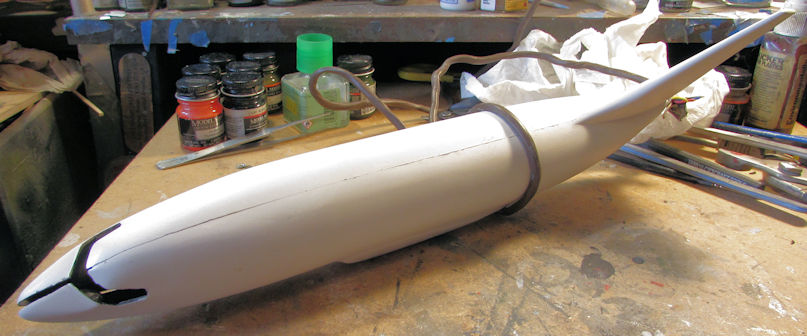
Yes, that is some old housing wiring I'm using as a clamp to hold all that together. I've also since closed up the nose and I'm waiting for it to dry as well before I move on again and try to paint the white
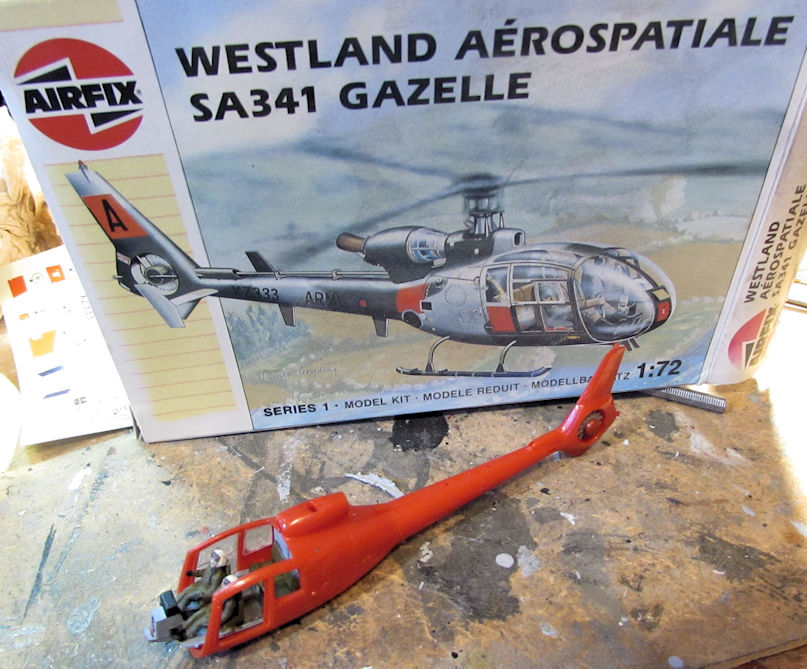
That was put aside and I then pulled this tiny Airfix Gazelle that I started some time ago (years?) and put away because I couldn't get enough weight in this to keep it on it's skids. Here is how it was when I found it:
I've since added the engine housing and tried to add a bit more weight in select crannies:
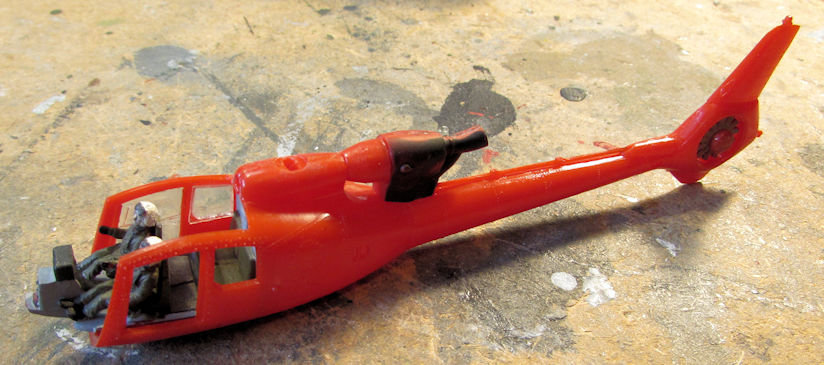
Finally I hit on a new idea: the overhead canopy has a center bar on it that I used to add some additional weight to:
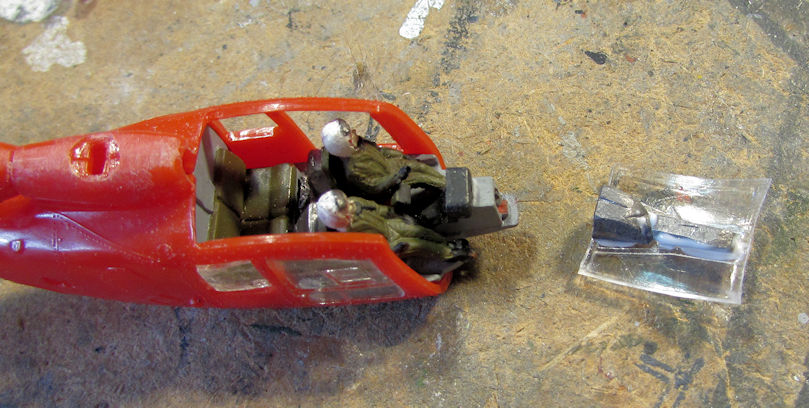
When I tested it later, it seemed to do the trick! I sure hope so.
Then I started to cement all the clear parts on, starting with the overhead:
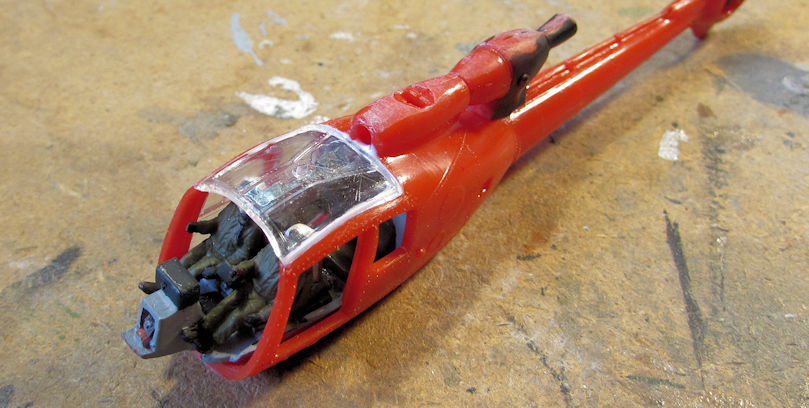
And finally, all clear parts are on:
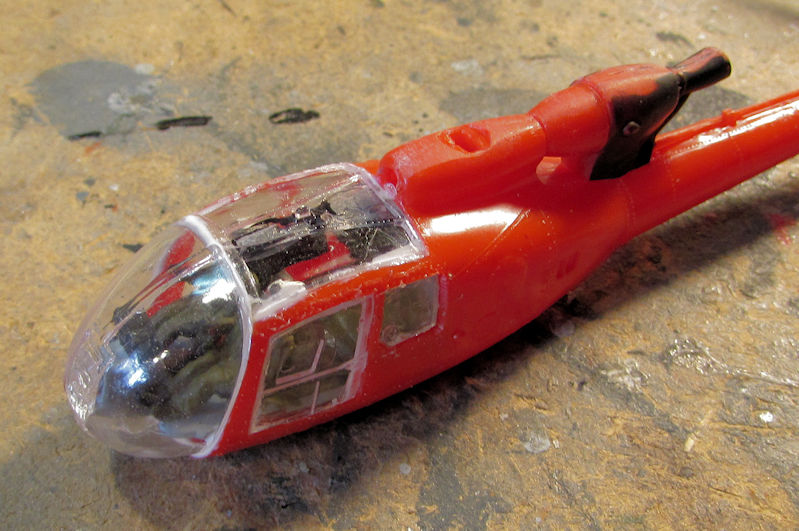
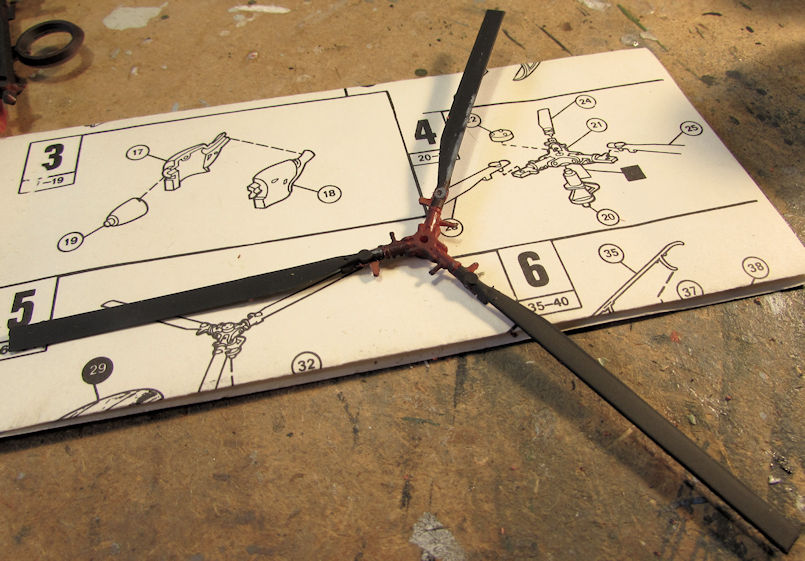
While that was drying, I decided to assemble the main rotor so it would be ready to add when the time came:
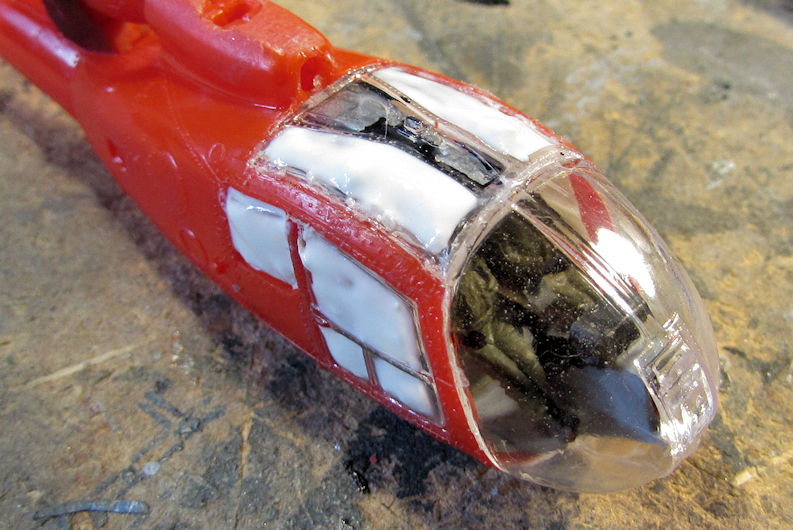
Once the clear parts were all sufficiently dry, I started to mask them off in preparation for painting. I did the sides first, later I'll do the front ones so this doesn't smear in the interim:
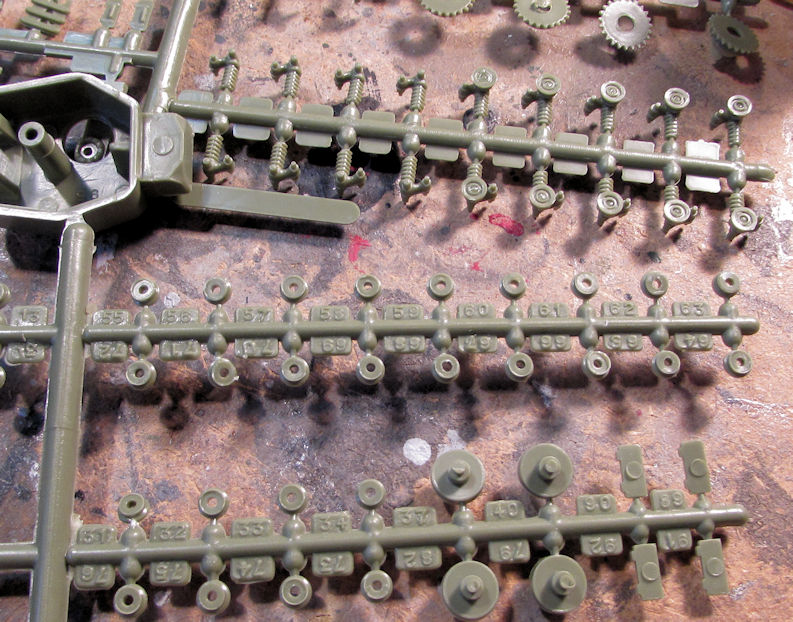
After all that, I wanted to start something different. I had been eyeing this kit of an Airfix Churchill bridgelayer for awhile and finally decided to pull it down and start it. I started with step one; having to add all the tiny wheels to the 22 struts that go on each side of this tank:
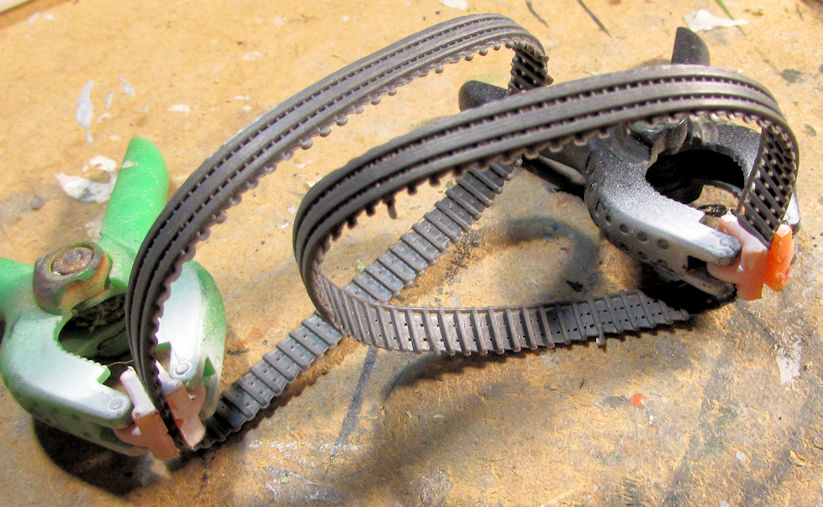
This kit came with vynil tracks that the instructions said I had to attach by heating them up. Upon close inspection, I realized that was not going to work. So, I pulled out that Tire Glue I had and glued these tracks together:
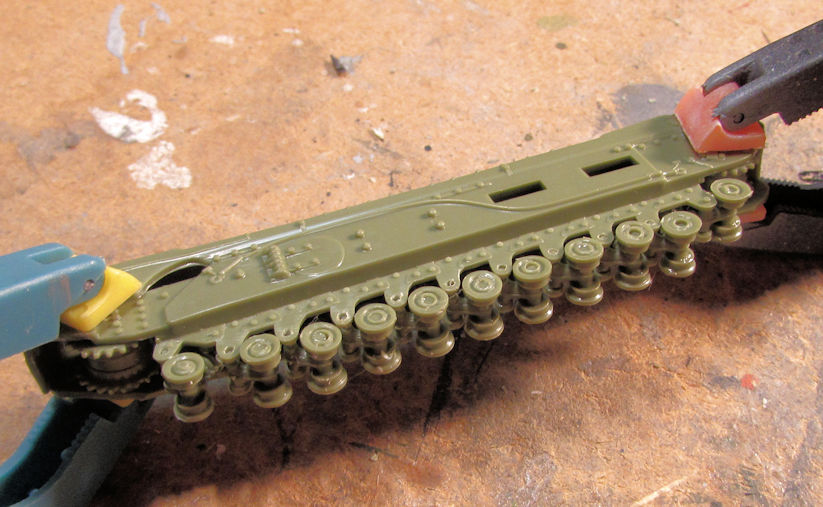
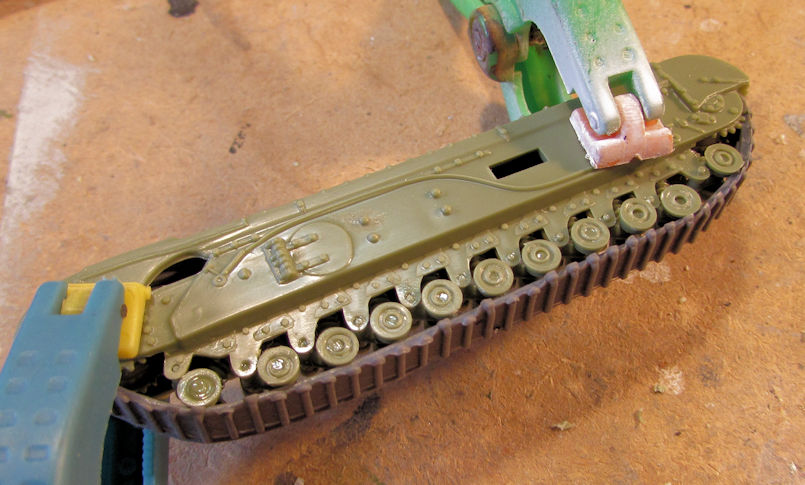
I then glued in the struts on one side of the track assembly, dry-fit and clamped the other side to let the struts dry in the correct position:
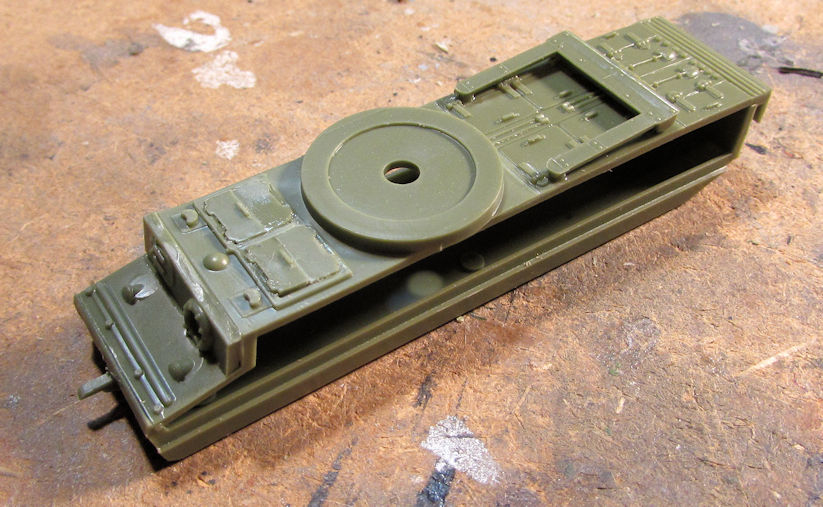
I then moved on to the center hull, adding the hatches and exhaust pipes among other things:
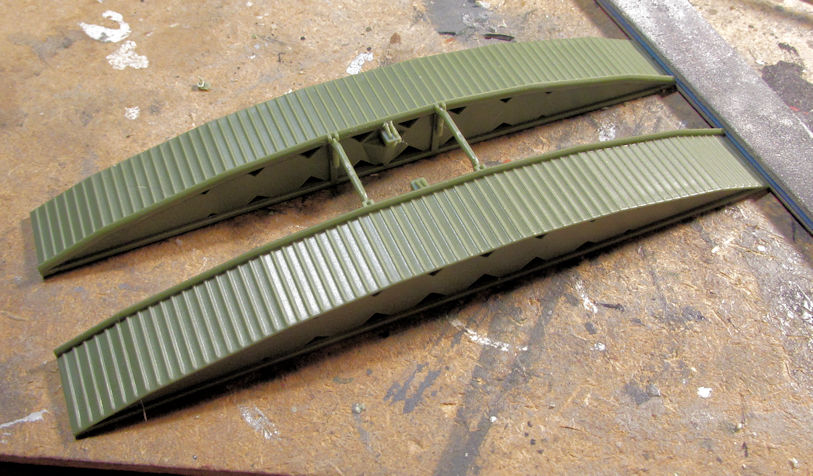
I then started on the bridging assembly by assembling the bridge itself:
After that I decided to test the tracks. One did glue successfully so I added it to the track assembly. The other one I re-glued:
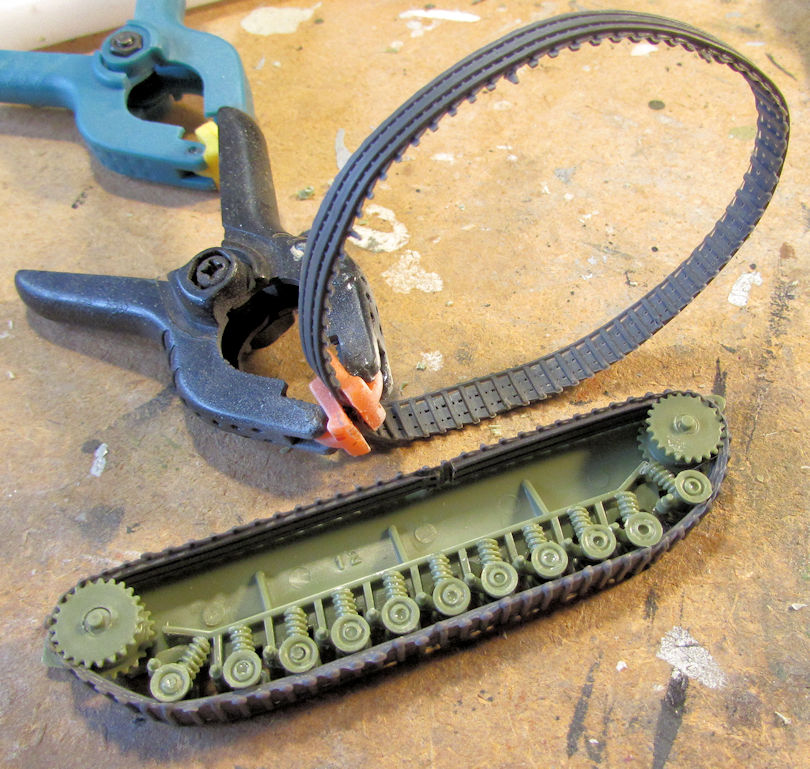
Finally that one side got glued together:
Well, that's all I have for now. It's not too much but I'm happy with the progress so far.
Thanks for looking in, comments are welcome.
I had some time to work on things this past weekend so I kept going on a couple things. One was my Canadian Husky recovery vehicle that finally got all the bits and bobs on it. I just needed to detail and touch it up:

Later on, I shot the dullcoat on it and then added some black wash to the grills:

She has since been weathered and will soon be posted in the Armored Fury Forums.
Meanwhile, I also pulled out the Italian Harrier I started. I painted the cockpit in preparation for the instrument decals:

While that was drying, I painted the engine intake turbines...

...and the cockpit cowl, engine intakes and exhaust plates on the fuselage halves....

...and finally, the wheels, struts, and burner cans:

Another aircraft I continued on was the South African Mirage for my second African build. I added the canopy to this and then sanded down all the filler I had added:

Later I masked off the canopy in preparation for a primer coat:

Now for a few of the other models I mentioned before that I found when I cleaned up a bit. These are models I'd forgotten about, or had held back from starting before. I finally decided to just get them done.
One was this one that I had thrown in frustration. I started to re-cement back the Boeing 737 fuselage:

Yes, that is some old housing wiring I'm using as a clamp to hold all that together. I've also since closed up the nose and I'm waiting for it to dry as well before I move on again and try to paint the white
That was put aside and I then pulled this tiny Airfix Gazelle that I started some time ago (years?) and put away because I couldn't get enough weight in this to keep it on it's skids. Here is how it was when I found it:

I've since added the engine housing and tried to add a bit more weight in select crannies:

Finally I hit on a new idea: the overhead canopy has a center bar on it that I used to add some additional weight to:

When I tested it later, it seemed to do the trick! I sure hope so.
Then I started to cement all the clear parts on, starting with the overhead:

And finally, all clear parts are on:

While that was drying, I decided to assemble the main rotor so it would be ready to add when the time came:

Once the clear parts were all sufficiently dry, I started to mask them off in preparation for painting. I did the sides first, later I'll do the front ones so this doesn't smear in the interim:

After all that, I wanted to start something different. I had been eyeing this kit of an Airfix Churchill bridgelayer for awhile and finally decided to pull it down and start it. I started with step one; having to add all the tiny wheels to the 22 struts that go on each side of this tank:

This kit came with vynil tracks that the instructions said I had to attach by heating them up. Upon close inspection, I realized that was not going to work. So, I pulled out that Tire Glue I had and glued these tracks together:

I then glued in the struts on one side of the track assembly, dry-fit and clamped the other side to let the struts dry in the correct position:

I then moved on to the center hull, adding the hatches and exhaust pipes among other things:

I then started on the bridging assembly by assembling the bridge itself:

After that I decided to test the tracks. One did glue successfully so I added it to the track assembly. The other one I re-glued:

Finally that one side got glued together:

Well, that's all I have for now. It's not too much but I'm happy with the progress so far.
Thanks for looking in, comments are welcome.
nsmekanik
Member
It's not her first rodeo indeed. I met her back in 2013 at the Colorado IPMS Nationals and she was already making a name for herself there. She's a very talented and sweet young lady.
Newish......what am I talking about, she's probably finished more kits this year then I've finished in the last 5 :facepalm and that wouldn't take much :frantic
Mark you are a modeling machine
 it's nice to see some Canuk stuff (who am I to talk) lookin good
 Since it was technically 'on the bench' I'll just slide this in hear although I'm not sure when I'll get back at it
 IMG_0134 by nsmekanik, on Flickr
 IMG_1084 by nsmekanik, on Flickr
:drinks
Duke Maddog
Well-known member
Most impressive work NS! I like it! Your attention to detail is stunning. Keep them coming man.
And thank you so much for the compliment. I'd like to build more Canuck models, but I'm running out of subjects in my chosen scale.
And thank you so much for the compliment. I'd like to build more Canuck models, but I'm running out of subjects in my chosen scale.
Duke Maddog
Well-known member
Fantastic work and exceptional progress. Both of those look magnificent!
jknaus
Administrator
Nice work everyone 


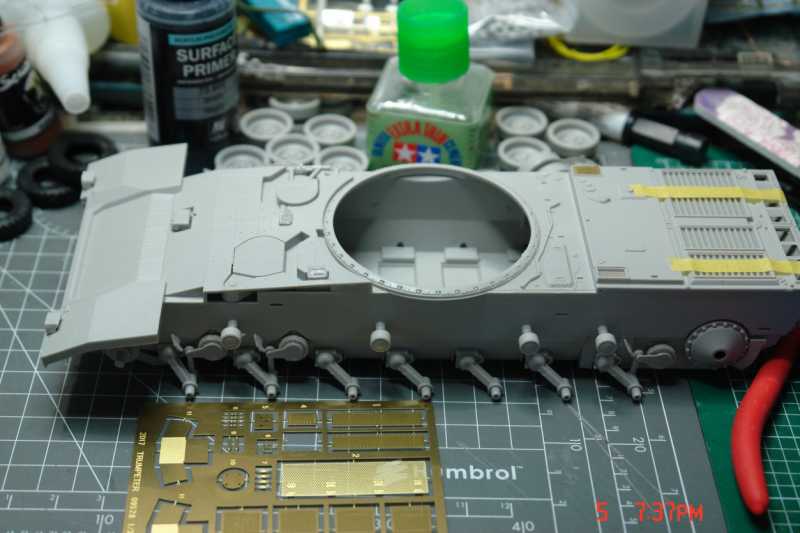
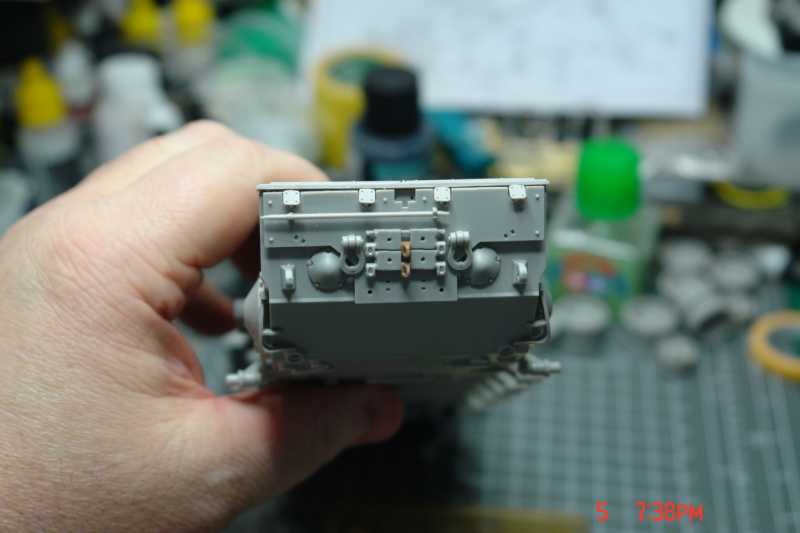
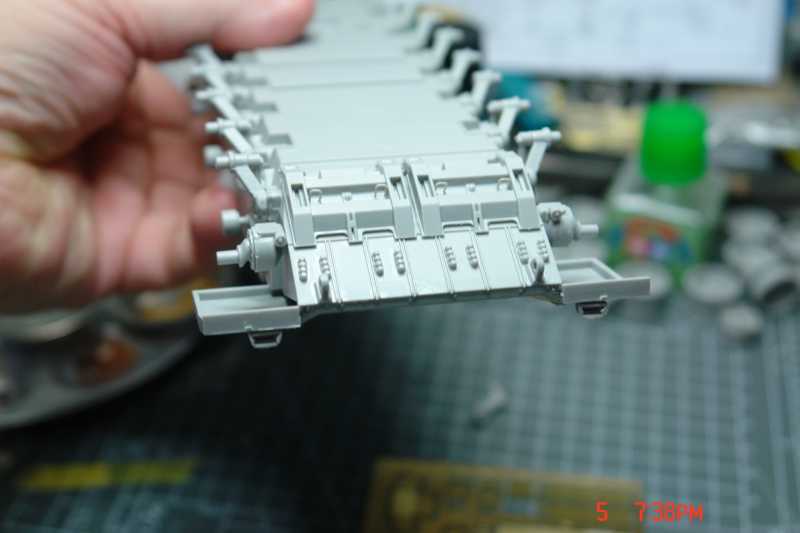
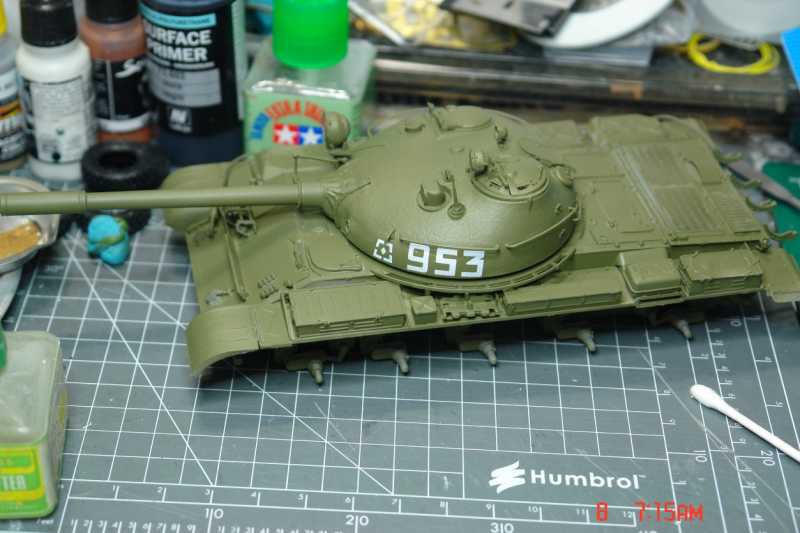
After some paint issues with my T-62 Mod 1962 I started working on my trumpeter T-14. Yesterday I tried out a new airbrush and laid down a nice coat on the T-62. Just so I can clear it off the bench I went with the kits Russian version even though the Egyptian decals just arrived. Detail painting and lite weathering to follow. Tracks need paint and roadwheels need the rubber painted.
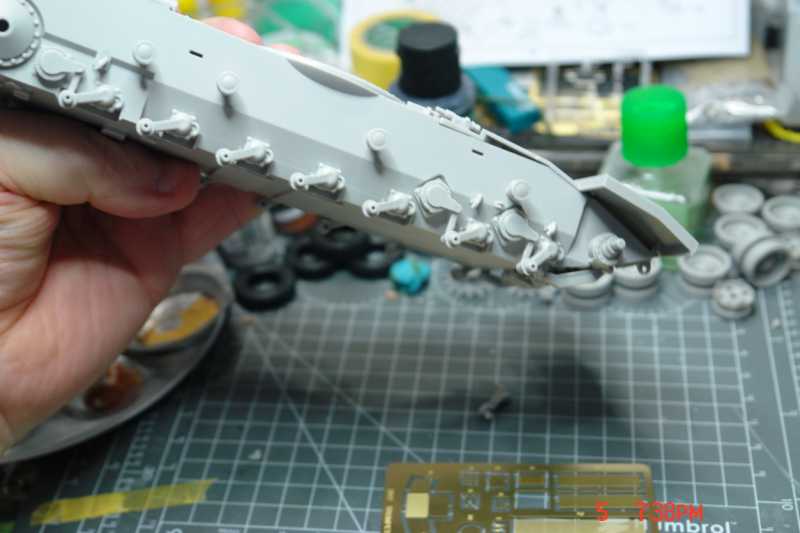
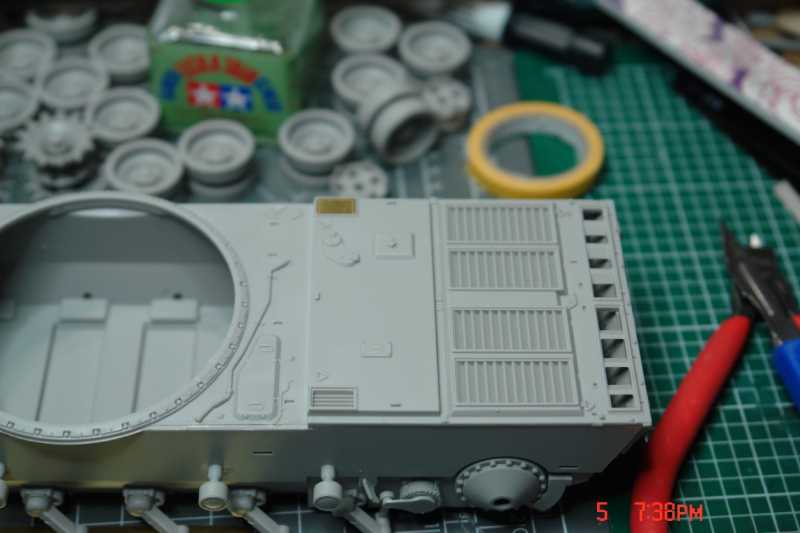
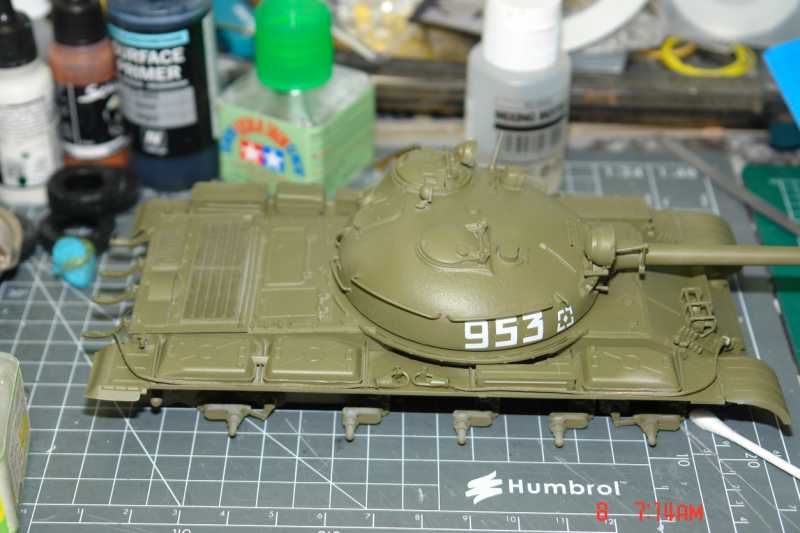
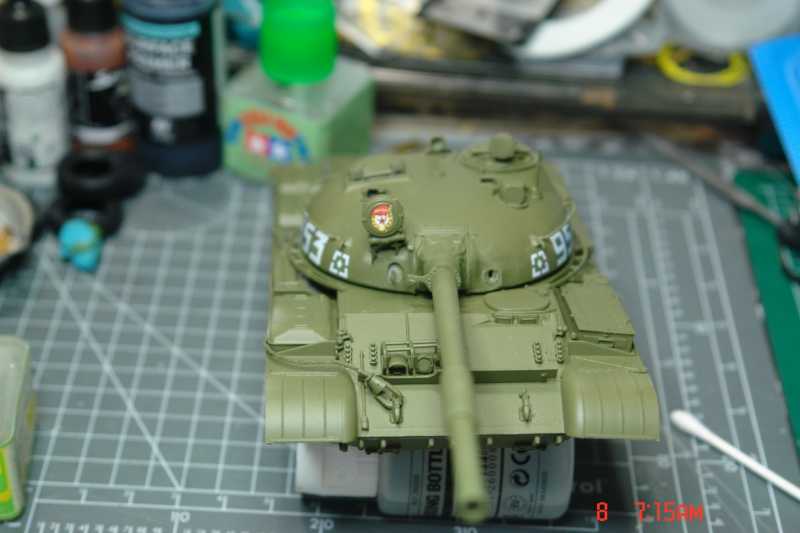
James
After some paint issues with my T-62 Mod 1962 I started working on my trumpeter T-14. Yesterday I tried out a new airbrush and laid down a nice coat on the T-62. Just so I can clear it off the bench I went with the kits Russian version even though the Egyptian decals just arrived. Detail painting and lite weathering to follow. Tracks need paint and roadwheels need the rubber painted.


James
Looking good James!!


Bob
Bob
Duke Maddog
Well-known member
Excellent progress! This is really coming along exceptionally well. Way to go!
Sherman 18
Master at Arms
And since I can't finish anything as of late I went ahead and combined two kits and started something else :idonno


I'll start a build thread in Sherman County for more
I'll start a build thread in Sherman County for more
nsmekanik
Member
I've got a couple of disasters on the bench but this is the one I'm concentrating on at the moment, Tamiya's 1/48 GAZ 67. Kind of an ongoing re-repainting excersize on futility so to speak. Long boring story  ldguy
ldguy
If at first you don't succeed, go drink something numbing
Before
 IMG_1128 by nsmekanik, on Flickr
After
 IMG_1132 by nsmekanik, on Flickr
 IMG_1133 by nsmekanik, on Flickr
:drinks
If at first you don't succeed, go drink something numbing
Before
 IMG_1128 by nsmekanik, on Flickr
After
 IMG_1132 by nsmekanik, on Flickr
 IMG_1133 by nsmekanik, on Flickr
:drinks
Similar threads
- Replies
- 39
- Views
- 10K
- Replies
- 60
- Views
- 19K

