-
Modelers Alliance has updated the forum software on our website. We have migrated all post, content and user accounts but we could not migrate the passwords.
This requires that you manually reset your password.
Please click here, http://modelersalliance.org/forums/login to go to logon page and use the "Forgot your Password" option.
You are using an out of date browser. It may not display this or other websites correctly.
You should upgrade or use an alternative browser.
You should upgrade or use an alternative browser.
All Righty ... What's on the bench today?
- Thread starter panzerace007
- Start date
Duke Maddog
Well-known member
Now for my latest progress done over the last week and a half. Brace yourselves people, this is a long one.
I'll start with my aircraft again before bringing it back down to earth.
Most all this work here was done at Hobby Day. All the painting and airbrushing was done at my home.
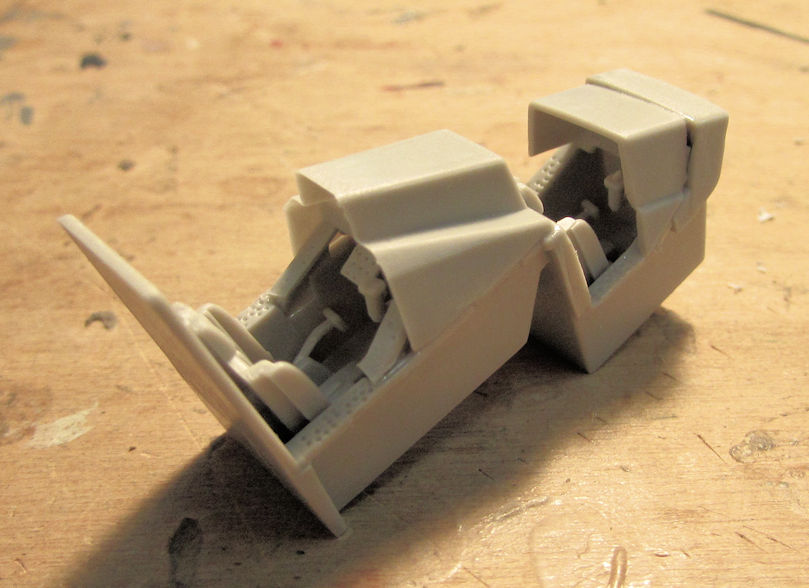
I got the cockpit done on one of my latest acquisitions, the Eurocopter HAP Tigre. I'll be making this an Australian bird. It was fairly simple to do:
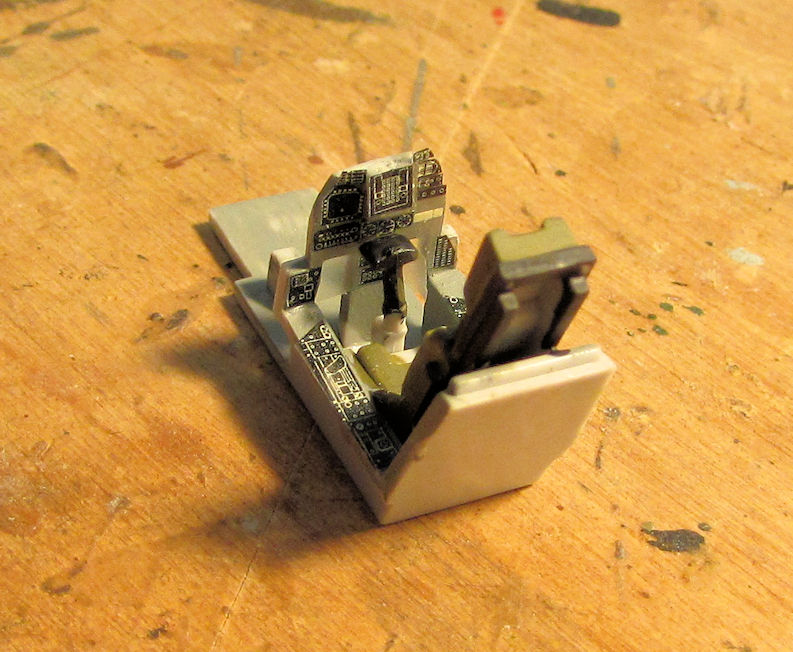
Then, because I didn't want to paint, I moved on. I added the decals to the Italian Harrier so I could close this up inside the fuselage:
Then, when I went to close this up; I realized I had left the sprue holding one side of the fuselage at home instead of bringing it to Hobby Day. Apparently it never got back to the box so I had to put this away for now too.
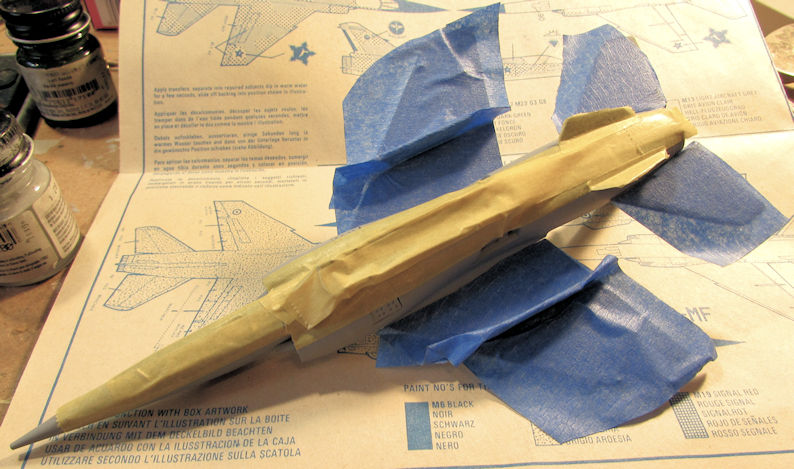
At home, I fired up the airbrush and got to work. First thing I did was to shoot a grey base on the bottom of the South African Mirage. Later, I taped up the bottom in preparation for shooting the top:
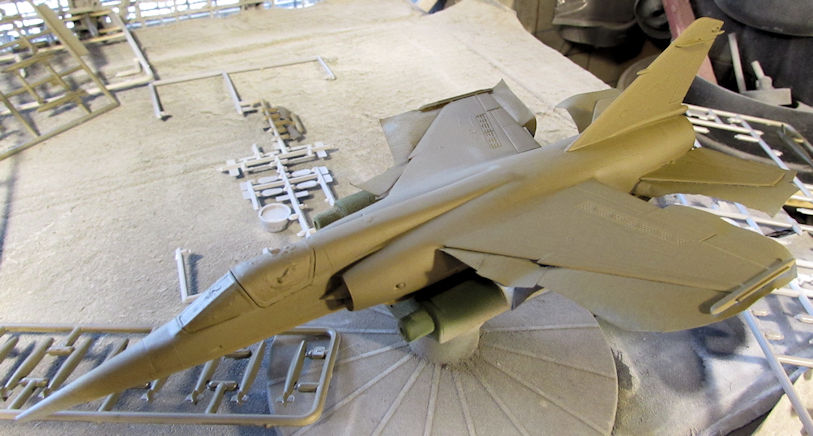
The first color went on next:
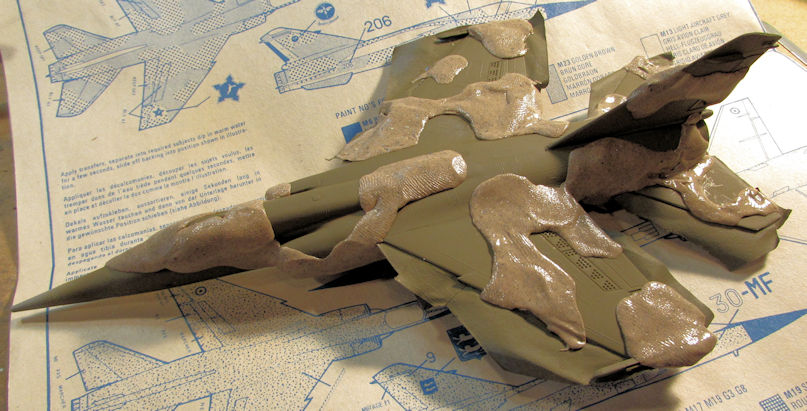
Once that dried, I pulled out the Silly Putty and masked off the top for the second color:
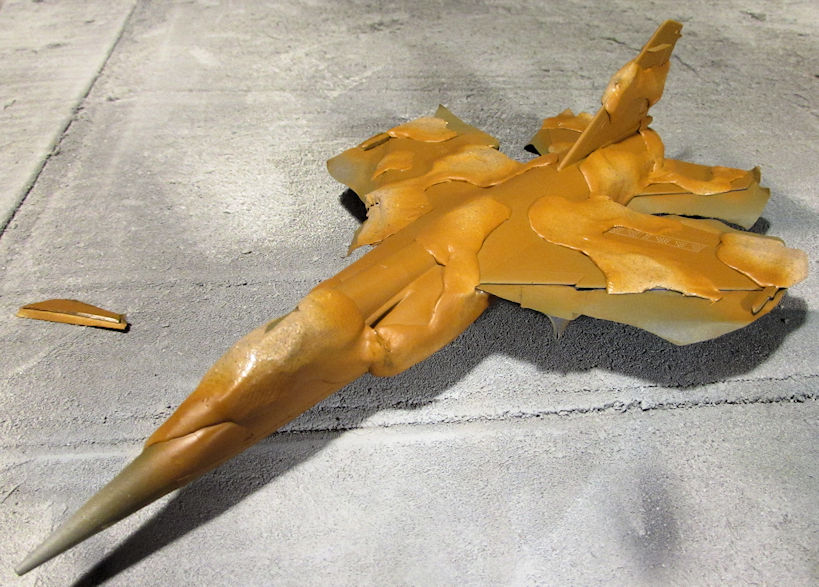
....and the second color went on:
After that dried, I masked off the nose and shot it black. After that dried, I removed everything to see how it looked:
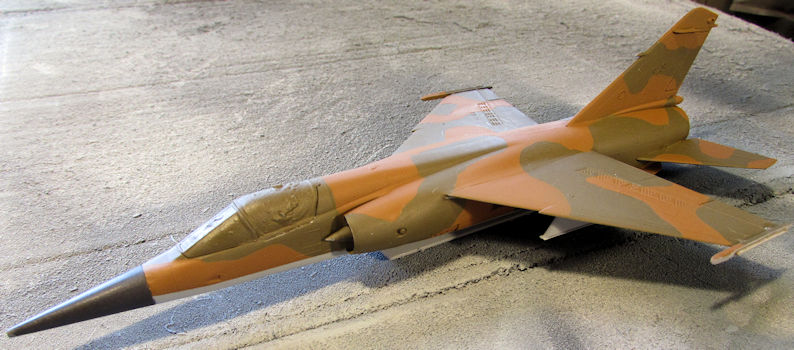
Pretty impressive if I do say so myself....
Got the gloss coat on it for decals next:
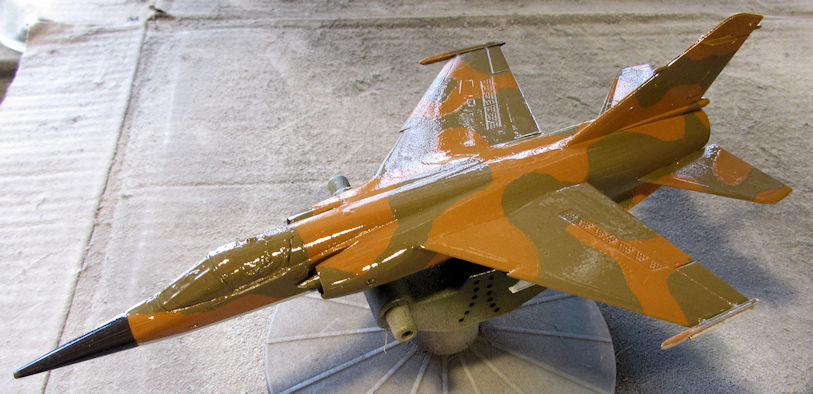
At Hobby Day, I got the decals done:
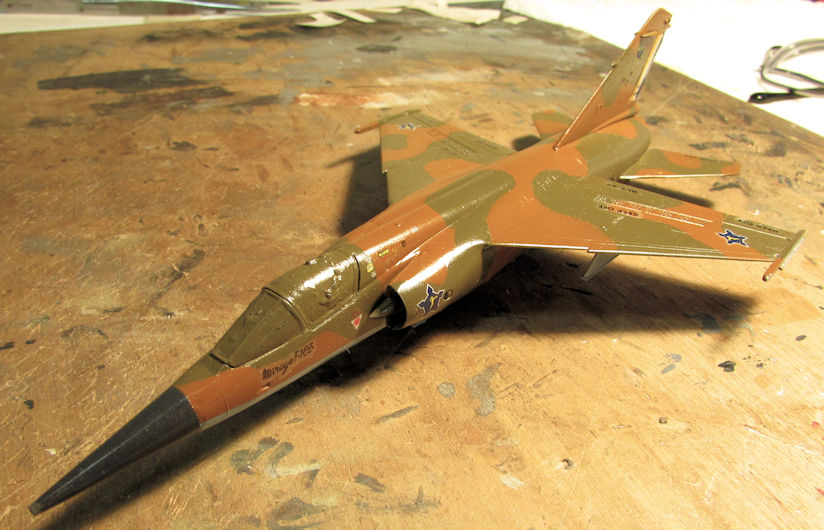
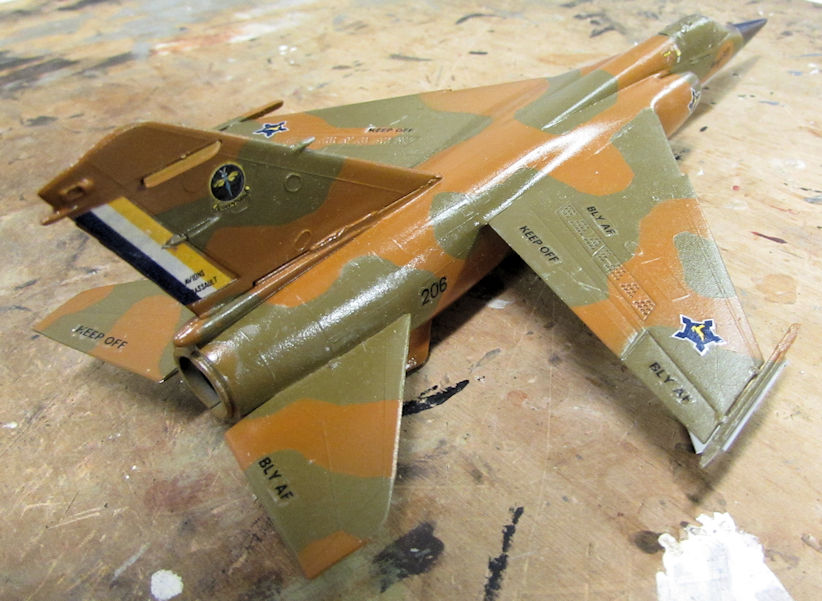
All that is left is dullcoat, landing gear and underwing stores. I'm real close with this one.
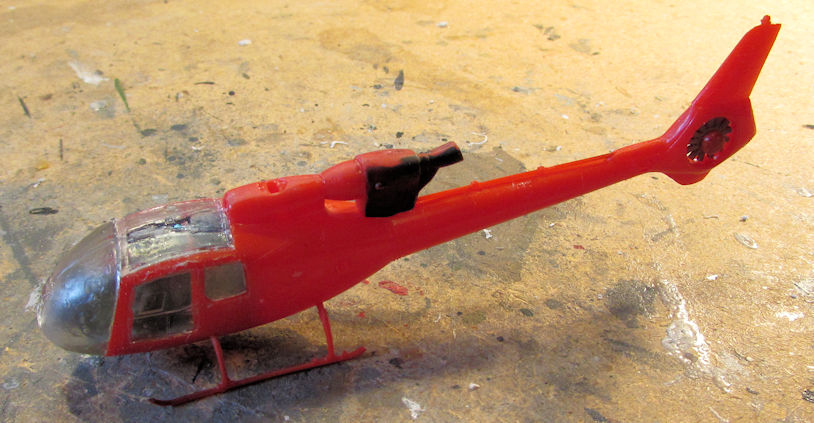
Another model that I made great progress one was the British helicopter. Once the masking dried, I added the landing skids and some other fiddly bits:
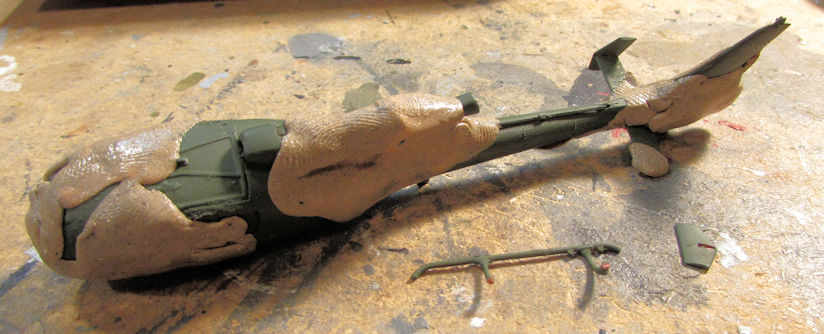
I then shot the green on it and let that dry. After it dried, I applied the Silly Putty masking again. You can see the parts I broke off while masking this tiny thing:
The second grey color went on after that:
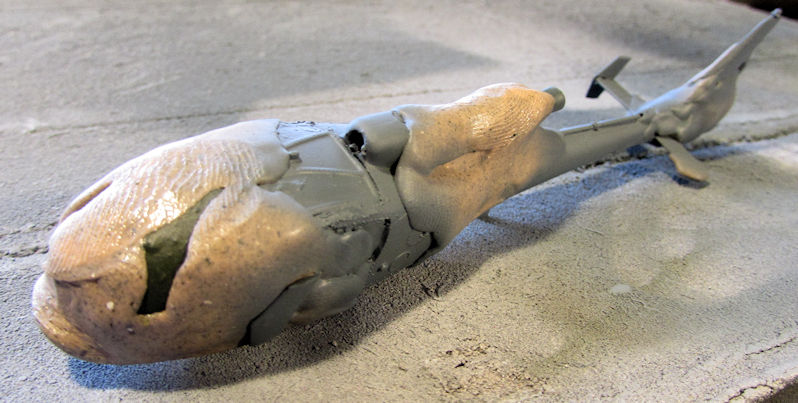
Later on, I removed the Silly Putty and repaired the damage:
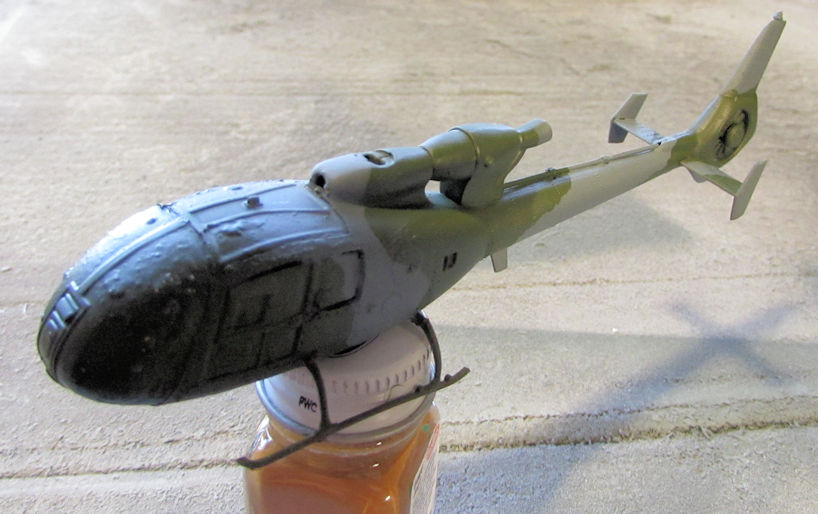
Now that bird is ready for clearcoat and decals.
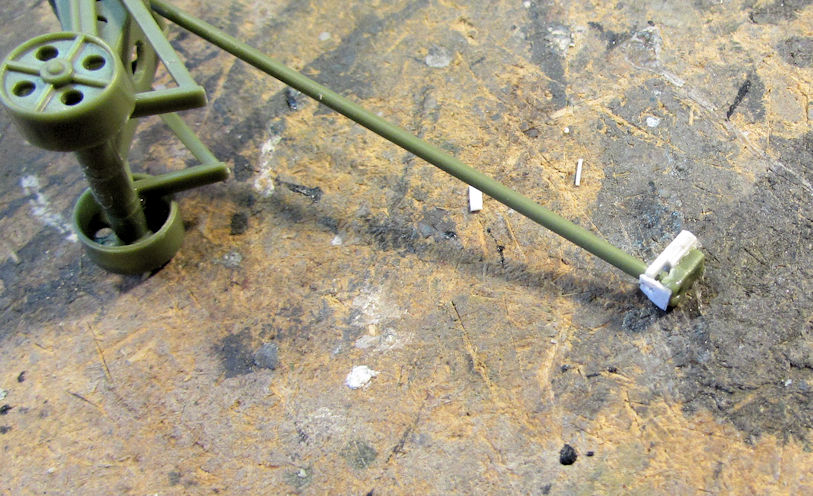
Now to get back down to earth. I first pulled out my British Churchill bridgelayer and looked it over. The instructions have you decide which position the bridge should be fixed in. That is not acceptable to me so I added some sheet styrene to one part to allow it to hold one of the rods that is supposed to pivot:
Next, I assembled the turret and snapped it into place, just for fun:
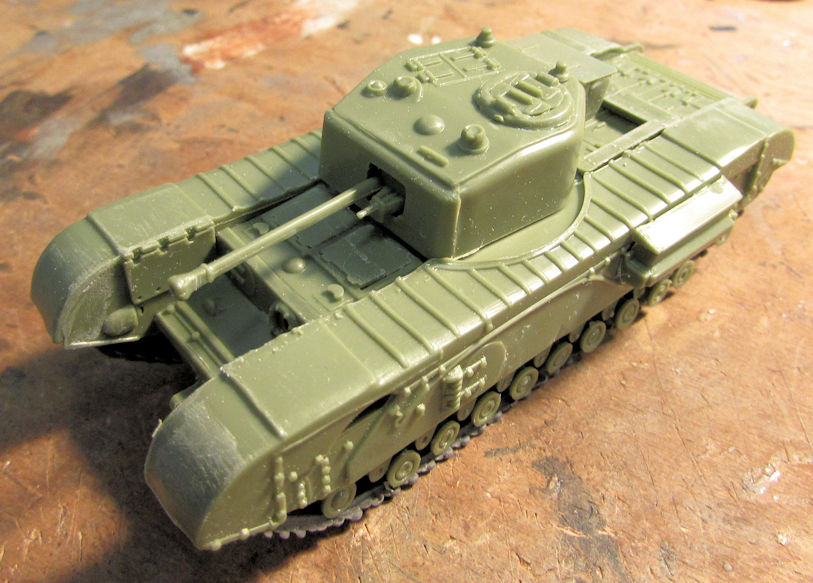
That ain't gonna be used so this will be the last time you see this vehicle with the turret.
After removing the turret, I assembled all the other bridge layer parts and added styrene rod to the pivot part to allow it to move:
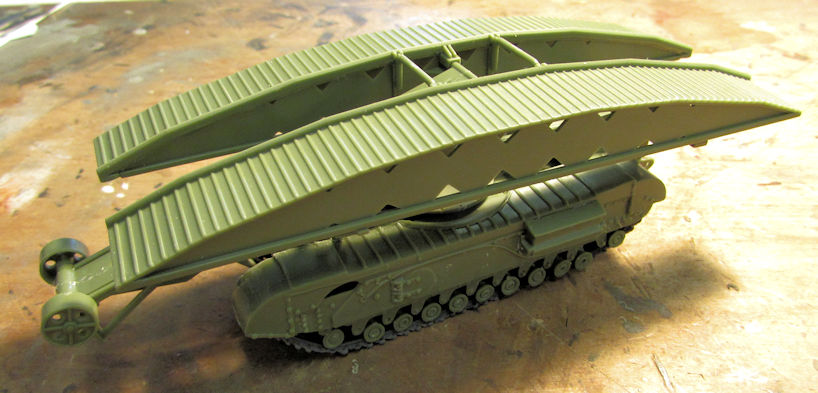
The bridge is not currently cemented on, it is sitting on the pivot point. You can see in this next pic how I made this workable:
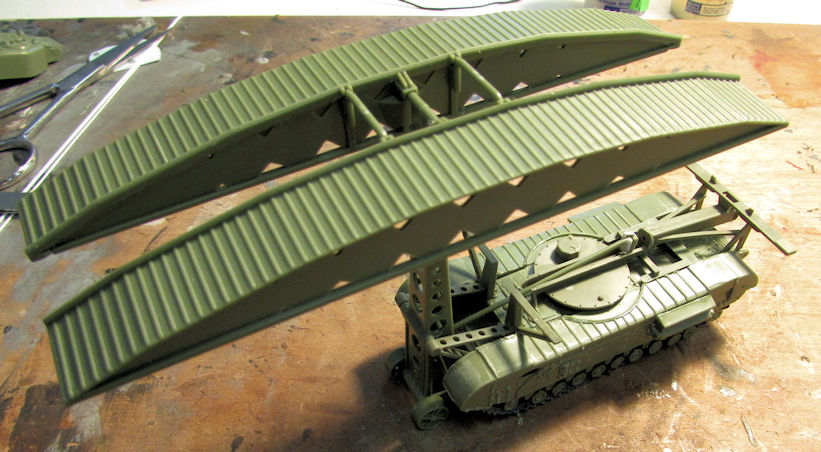
And to complete the bridge laying, the main swing arm is removed from the pivot point to lower the bridge down:
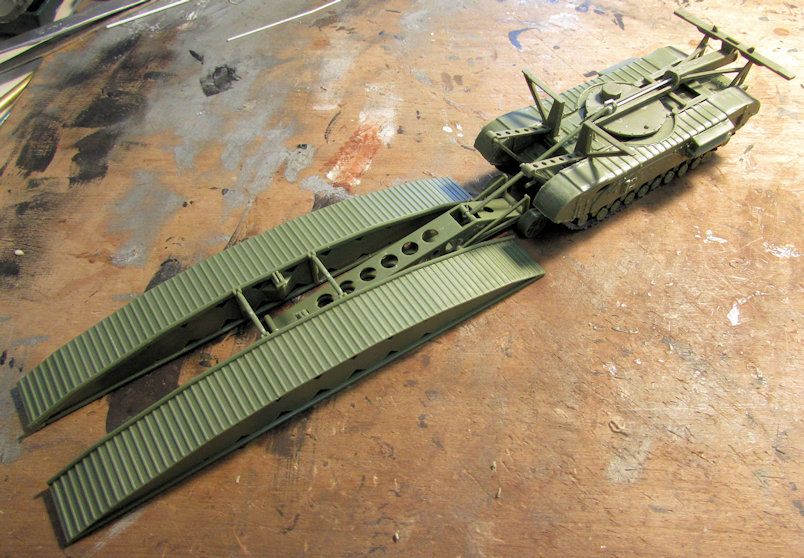
This one is now ready for paint. Hopefully I'll get that done this week.
Next I decided to start my German M-109 Self Propelled Gun. I assembled the lower hull as directed:
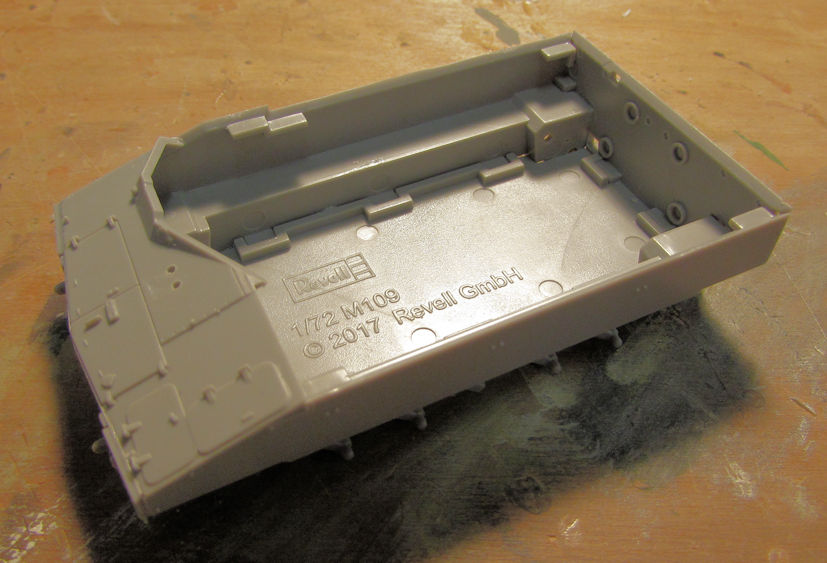
When I removed the two sides with all the torsion bars on it, I noticed that Revell of Germany had short-shot one of my axles:
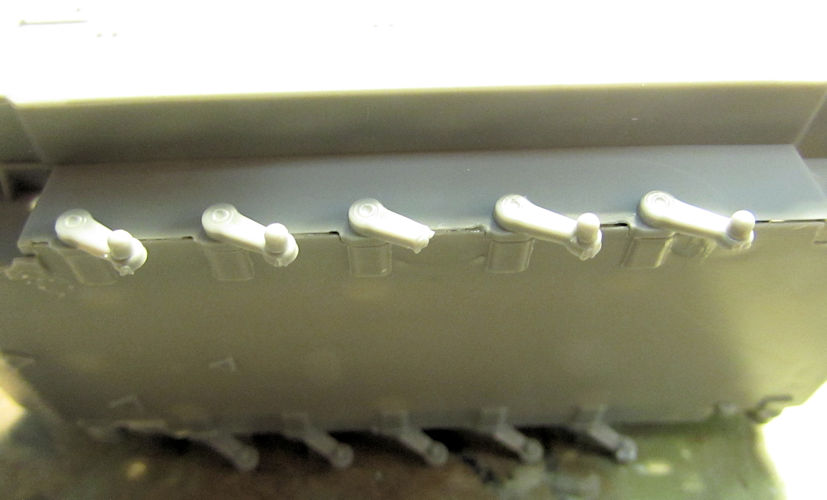
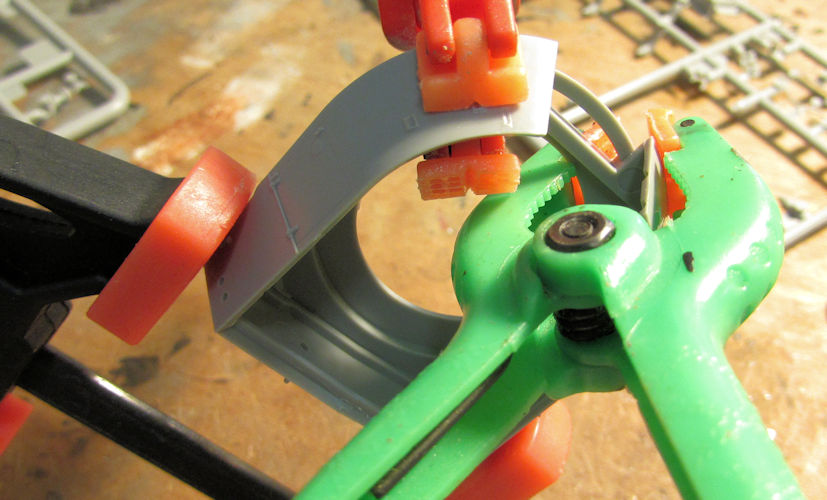
You'll also notice the gaps I need to deal with. Those are all over this model. You'd think a company like Revell of Germany can mold something that fits well. Anyway, I went to assemble the turret next. Lots of slight warpage on the sides, requiring clamps to make it glue correctly:
Next thing I noticed, the gun mantlet is molded in such a way that the gun remains fixed in place. Also not acceptable to me:
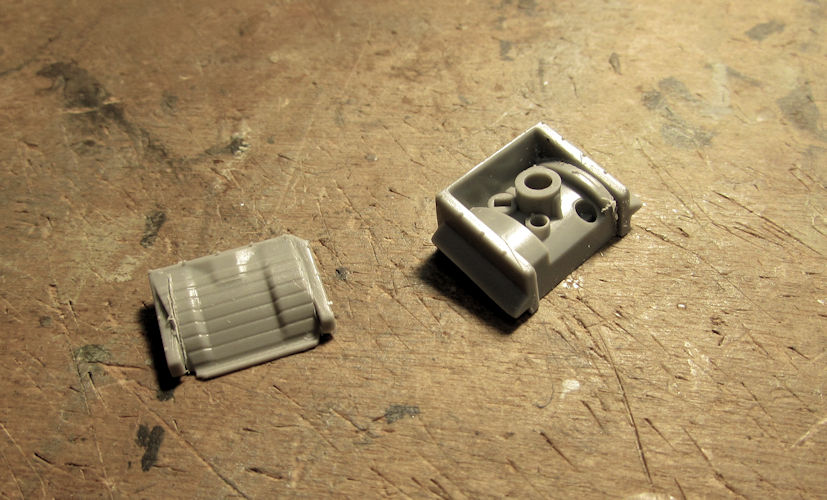
So, I cut out the center section of the mantlet and then cemented the frame to the turret opening. Unfortunately, I forgot to take some better pics showing all I did, but the gist is there:
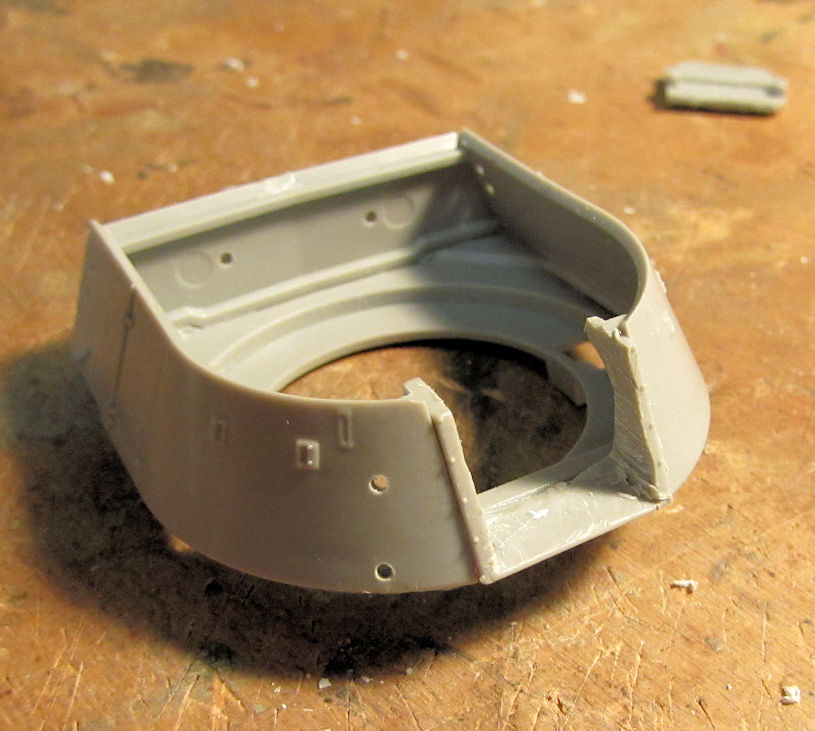
Next I assembled the gun, added it to the mantlet and then cemented a round section of sprue horizontally to the back of the mantlet. I also added some extra sheet styrene to the sides to widen it back up:
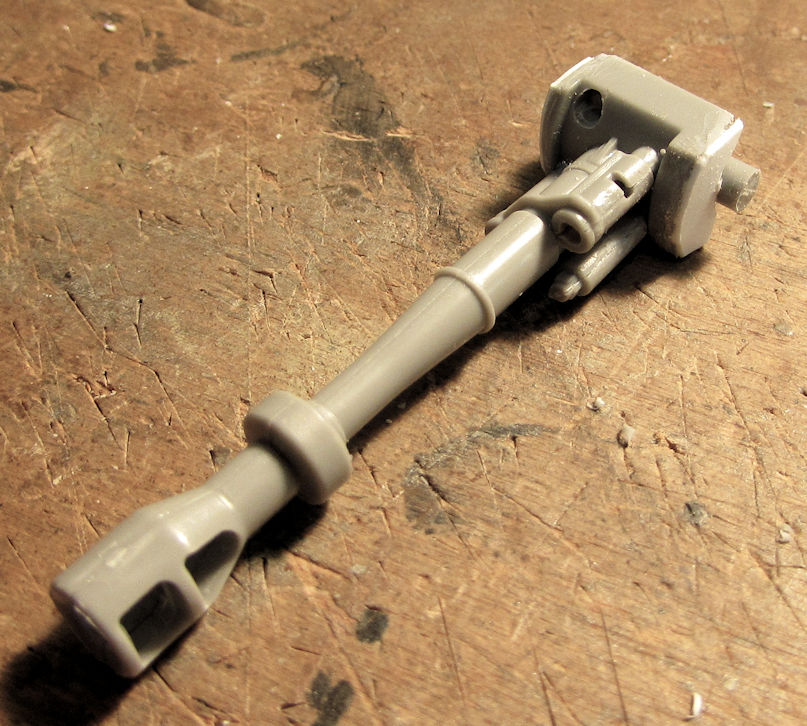
Using more sheet styrene, I cut strips and cemented them inside the turret trapping the mantlet in place:
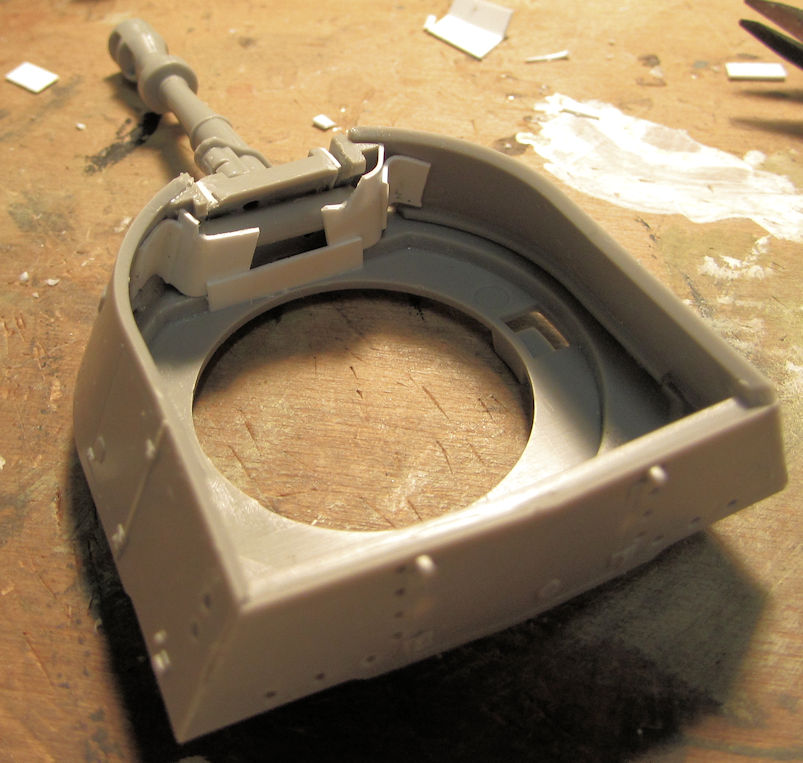
It worked. The gun now elevates the way it is supposed to:
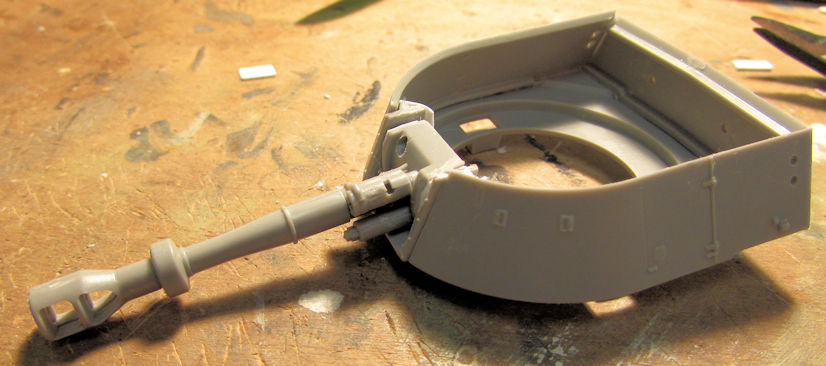
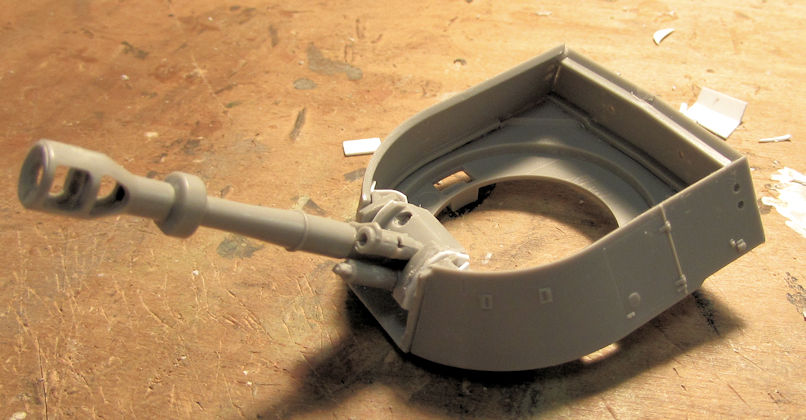
That's all well and good, but lets see how well it works with the turret roof on:
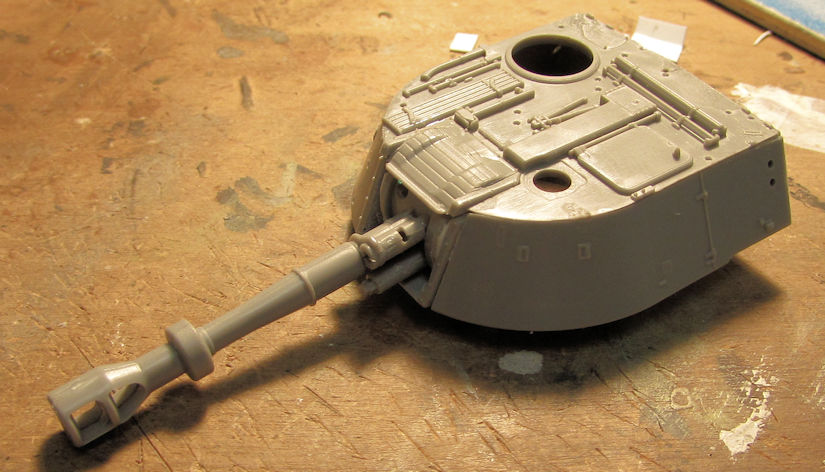
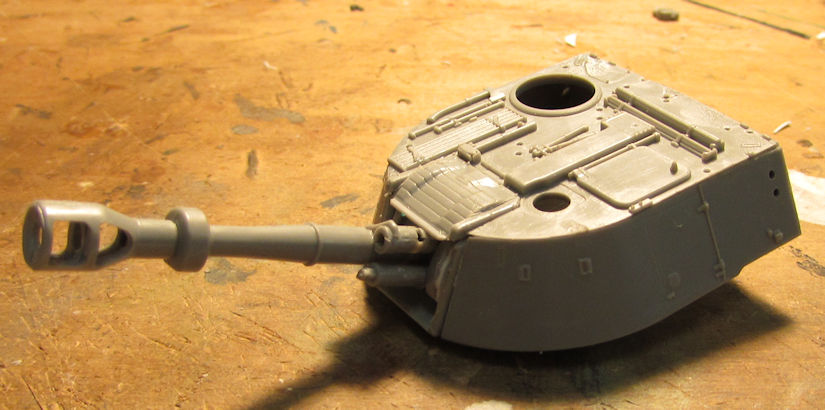
Success! Now I can move on and move on I did.
I added the top of the hull next:
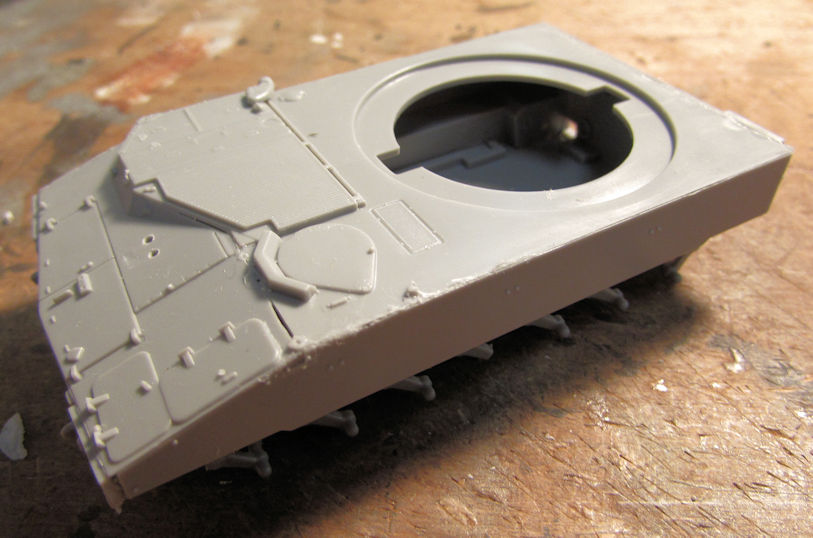
Just for fun, I placed the turret on this to see how it looks:
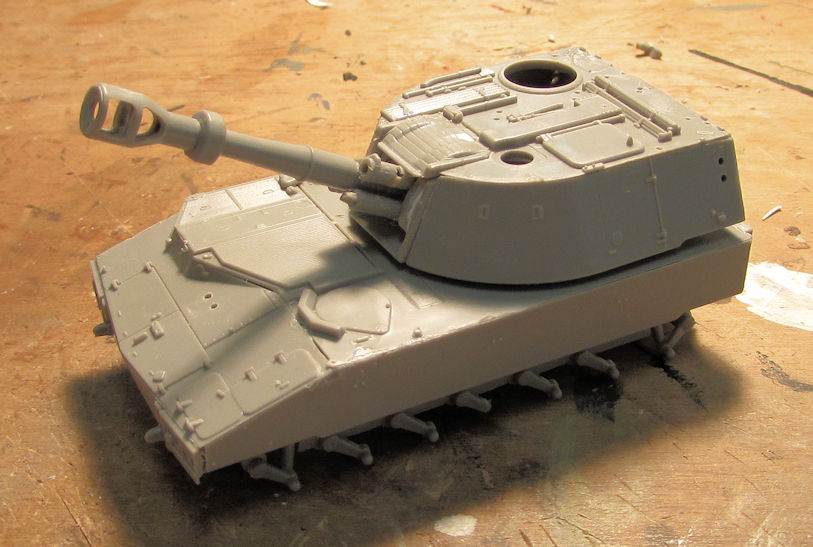
Sweet! I'm loving it so far, despite the myriad gaps I'll need to fill later on.
Now it was time to add the wheels and tracks. I added all the wheels except for the outer ones and the one that goes on the short shot torsion bar. Later I installed the track:
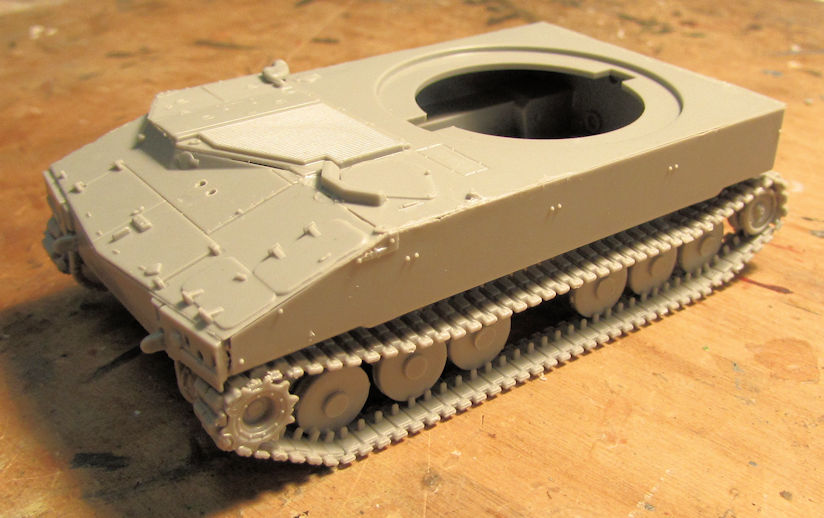
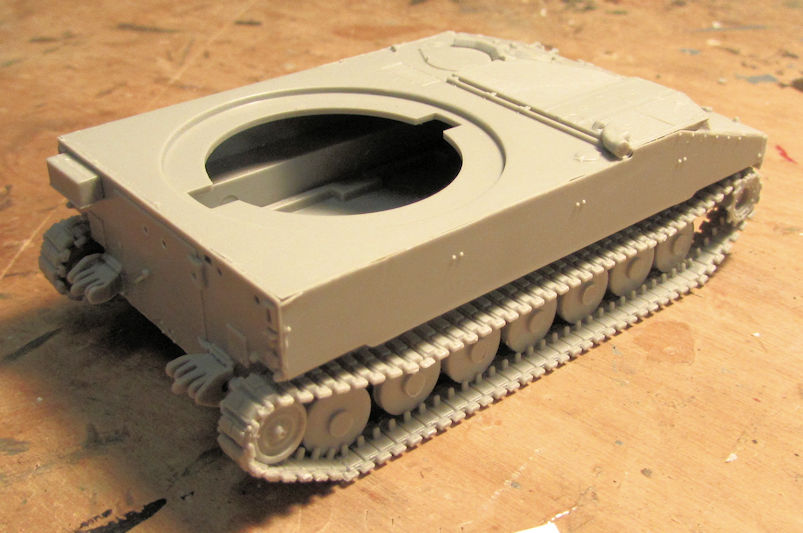
Later on, I'll cement that last wheel to the track itself so that it sits right; then I'll add the outer road wheels to this to finish that part off. That was as far as I got on that one.
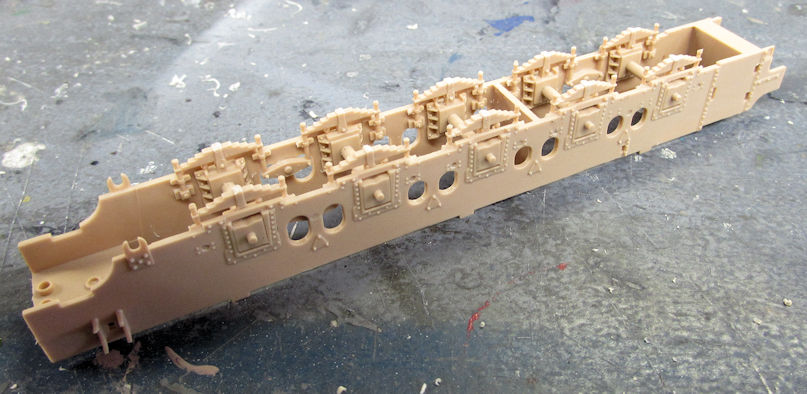
Moving on, I went from Hobby Day to my AMPS meeting where they were having a Build Night. I brought my German Panzerlok Br-57 armoured locomotive to work on. Once there, I started with the lower running gear as usual:
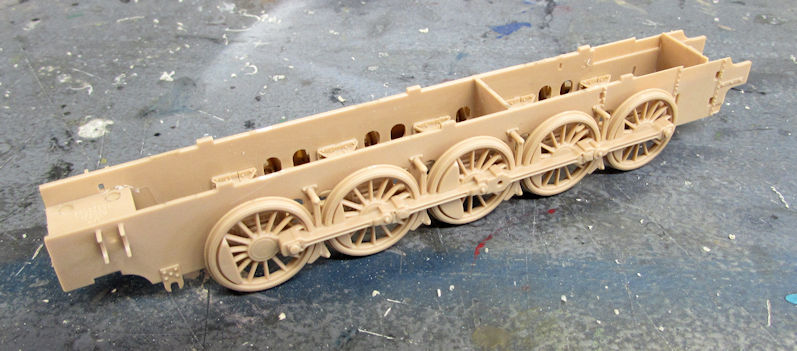
Later I added the wheels:
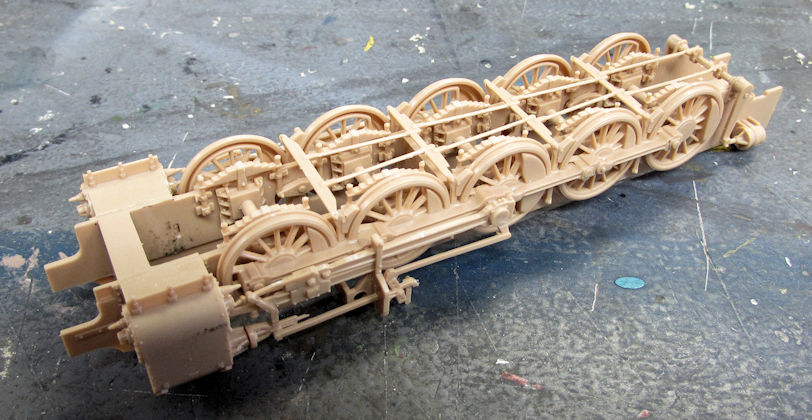
Final assembly of the lower running gear was completed next:
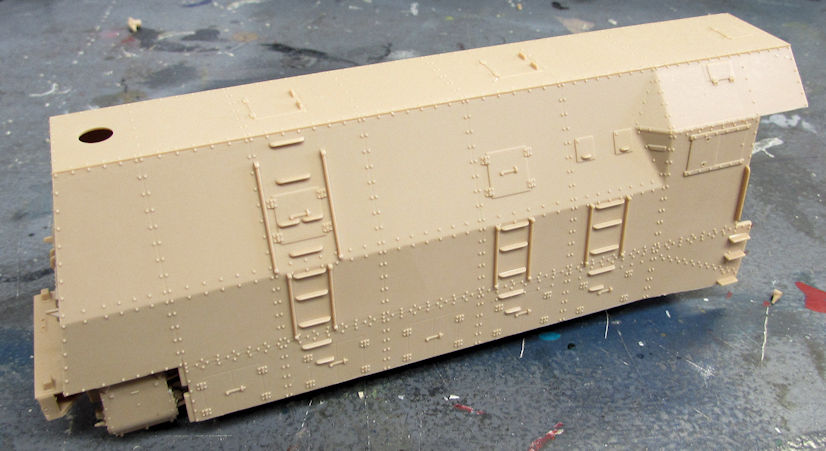
All that was left was to slip the upper armoured body to the top of this:
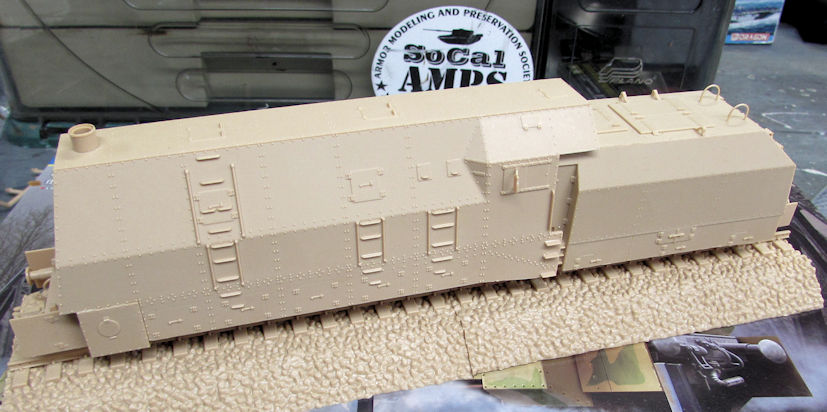
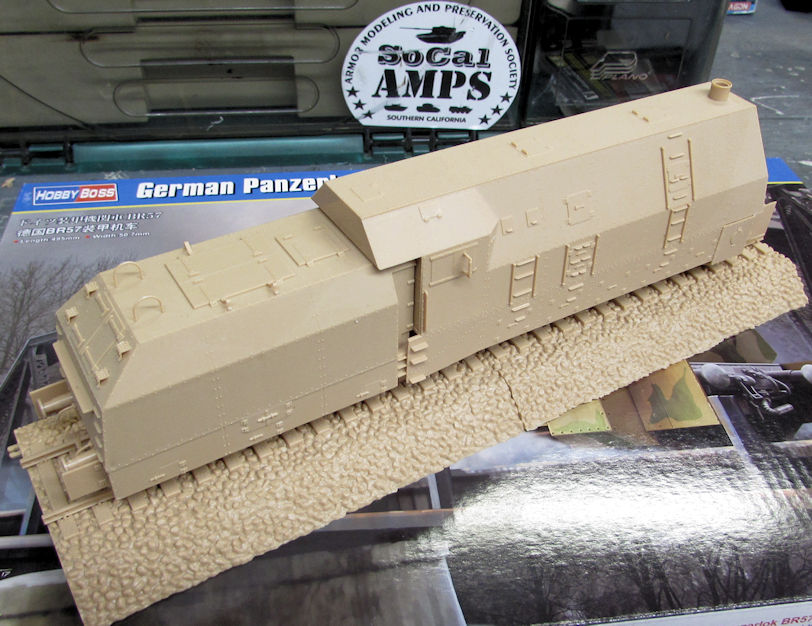
After that, I finished all the extra bits and finalized the assembly. Then I moved on and built the tender. It went so fast and easy that I forgot to take pics! Finally I put it all together. This beastie is now ready for paint:
Well, that's all I have for now. I hope you all enjoyed this long update. Take care and remember: comments are always welcome. Thanks for looking in.
I'll start with my aircraft again before bringing it back down to earth.
Most all this work here was done at Hobby Day. All the painting and airbrushing was done at my home.
I got the cockpit done on one of my latest acquisitions, the Eurocopter HAP Tigre. I'll be making this an Australian bird. It was fairly simple to do:

Then, because I didn't want to paint, I moved on. I added the decals to the Italian Harrier so I could close this up inside the fuselage:

Then, when I went to close this up; I realized I had left the sprue holding one side of the fuselage at home instead of bringing it to Hobby Day. Apparently it never got back to the box so I had to put this away for now too.
At home, I fired up the airbrush and got to work. First thing I did was to shoot a grey base on the bottom of the South African Mirage. Later, I taped up the bottom in preparation for shooting the top:

The first color went on next:

Once that dried, I pulled out the Silly Putty and masked off the top for the second color:

....and the second color went on:

After that dried, I masked off the nose and shot it black. After that dried, I removed everything to see how it looked:

Pretty impressive if I do say so myself....
Got the gloss coat on it for decals next:

At Hobby Day, I got the decals done:


All that is left is dullcoat, landing gear and underwing stores. I'm real close with this one.
Another model that I made great progress one was the British helicopter. Once the masking dried, I added the landing skids and some other fiddly bits:

I then shot the green on it and let that dry. After it dried, I applied the Silly Putty masking again. You can see the parts I broke off while masking this tiny thing:

The second grey color went on after that:

Later on, I removed the Silly Putty and repaired the damage:

Now that bird is ready for clearcoat and decals.
Now to get back down to earth. I first pulled out my British Churchill bridgelayer and looked it over. The instructions have you decide which position the bridge should be fixed in. That is not acceptable to me so I added some sheet styrene to one part to allow it to hold one of the rods that is supposed to pivot:

Next, I assembled the turret and snapped it into place, just for fun:

That ain't gonna be used so this will be the last time you see this vehicle with the turret.
After removing the turret, I assembled all the other bridge layer parts and added styrene rod to the pivot part to allow it to move:

The bridge is not currently cemented on, it is sitting on the pivot point. You can see in this next pic how I made this workable:

And to complete the bridge laying, the main swing arm is removed from the pivot point to lower the bridge down:

This one is now ready for paint. Hopefully I'll get that done this week.
Next I decided to start my German M-109 Self Propelled Gun. I assembled the lower hull as directed:

When I removed the two sides with all the torsion bars on it, I noticed that Revell of Germany had short-shot one of my axles:

You'll also notice the gaps I need to deal with. Those are all over this model. You'd think a company like Revell of Germany can mold something that fits well. Anyway, I went to assemble the turret next. Lots of slight warpage on the sides, requiring clamps to make it glue correctly:

Next thing I noticed, the gun mantlet is molded in such a way that the gun remains fixed in place. Also not acceptable to me:

So, I cut out the center section of the mantlet and then cemented the frame to the turret opening. Unfortunately, I forgot to take some better pics showing all I did, but the gist is there:

Next I assembled the gun, added it to the mantlet and then cemented a round section of sprue horizontally to the back of the mantlet. I also added some extra sheet styrene to the sides to widen it back up:

Using more sheet styrene, I cut strips and cemented them inside the turret trapping the mantlet in place:

It worked. The gun now elevates the way it is supposed to:


That's all well and good, but lets see how well it works with the turret roof on:


Success! Now I can move on and move on I did.
I added the top of the hull next:

Just for fun, I placed the turret on this to see how it looks:

Sweet! I'm loving it so far, despite the myriad gaps I'll need to fill later on.
Now it was time to add the wheels and tracks. I added all the wheels except for the outer ones and the one that goes on the short shot torsion bar. Later I installed the track:


Later on, I'll cement that last wheel to the track itself so that it sits right; then I'll add the outer road wheels to this to finish that part off. That was as far as I got on that one.
Moving on, I went from Hobby Day to my AMPS meeting where they were having a Build Night. I brought my German Panzerlok Br-57 armoured locomotive to work on. Once there, I started with the lower running gear as usual:

Later I added the wheels:

Final assembly of the lower running gear was completed next:

All that was left was to slip the upper armoured body to the top of this:

After that, I finished all the extra bits and finalized the assembly. Then I moved on and built the tender. It went so fast and easy that I forgot to take pics! Finally I put it all together. This beastie is now ready for paint:


Well, that's all I have for now. I hope you all enjoyed this long update. Take care and remember: comments are always welcome. Thanks for looking in.
Duke Maddog
Well-known member
A Choo Choo Train
Uncle Tonyldguy
LOL! Yep! Gotta have a Choo Choo Train!
razordws
Well-known member
If at first you don't succeed, go drink something numbing
:drinks
That's what happens when you try to work on anything Russian! :tomato :gogo
Duke Maddog
Well-known member
Lots of good stuff there Mark! Love the choo choo train! Is that the Hobby Boss kit?
Good looking Lee Tony!

Thanks Dave! Yes, that is the Hobby Boss kit. I'm so thrilled to have gotten it finally.
All three look good, especially the Rhino!


Bob
Bob
nsmekanik
Member
Some really nice work going on here as usual 

I couldn't resist playing.........serial starter that I am :frantic
I few bits cleaned up and test fitted, while there are a few niggles, such as a bit of mold misalignment at the rear of the main gun assembly/recuperator, the fit is quit good, things just set in place
 IMG_1139 by nsmekanik, on Flickr
Fortunately there is a good 203mm M1931 B4 – Walk Around on the net to help sort out some of the details. One main discrepancy is where the barrel slides into the "carrier", for lack of a better term, is poorly represented by a shallow step just under the front of the recuporator
 IMG_1143 by nsmekanik, on Flickr
ssoooo out with the carving knife to semi rectify the sitEAshun It's undercut slightly and while there should be a bigger gap I think this will be sufficient for my needs and desires
 IMG_1144 by nsmekanik, on Flickr
After watching a couple of video reviews by Flory Models and Andy's Hobby Headquarters of Real Colors by AK Interactive
I decided to take the plunge, one thing that I didn't see was how well this paint would work on Resin so I decided to give it a shot
 IMG_1140 by nsmekanik, on Flickr
 IMG_1141 by nsmekanik, on Flickr
I am truly impressed, it doesn't need a primer and after 1/2 hour I could barely scrape it off with my fingernail so I am going to have to get the 4BO green......
:drinks


I couldn't resist playing.........serial starter that I am :frantic
I few bits cleaned up and test fitted, while there are a few niggles, such as a bit of mold misalignment at the rear of the main gun assembly/recuperator, the fit is quit good, things just set in place
 IMG_1139 by nsmekanik, on Flickr
Fortunately there is a good 203mm M1931 B4 – Walk Around on the net to help sort out some of the details. One main discrepancy is where the barrel slides into the "carrier", for lack of a better term, is poorly represented by a shallow step just under the front of the recuporator
 IMG_1143 by nsmekanik, on Flickr
ssoooo out with the carving knife to semi rectify the sitEAshun
 IMG_1144 by nsmekanik, on Flickr
After watching a couple of video reviews by Flory Models and Andy's Hobby Headquarters of Real Colors by AK Interactive
I decided to take the plunge, one thing that I didn't see was how well this paint would work on Resin so I decided to give it a shot
 IMG_1140 by nsmekanik, on Flickr
 IMG_1141 by nsmekanik, on Flickr
I am truly impressed, it doesn't need a primer and after 1/2 hour I could barely scrape it off with my fingernail so I am going to have to get the 4BO green......
:drinks
nsmekanik
Member
Thoroughly enjoying everyone's threads, some really nice stuff getting put together  Things are moving along slowly with the Big gun as there are a few rough spots to address, Unfortunately the towing wheels are crude and inaccurate. It appears that there were an early and late design, the early one being represented in the Trumpeter/Pitroad kit as a solid hub, the later version look to be smaller Diameter cast spoke type. The easiest fix would be to scratch build the early style so if anyone has or has access to the Trumpy kit it would help if I could get some measurements.
 IMG_1163 by nsmekanik, on Flickr
 IMG_1164 by nsmekanik, on Flickr
In the mean Time I got the urge to paint something so I pulled out the Trumpy D-12 and dusted up some of the little bits and pieces, of course one thing led to another and.......
 IMG_1173 by nsmekanik, on Flickr
 IMG_1174 by nsmekanik, on Flickr
 IMG_1175 by nsmekanik, on Flickr
If anyone has an old Revel or Dragon fuselage, built or whatever, they could part with, let me know otherwise I'll probably end up butchering one. I just need the front half
:drinks
 Things are moving along slowly with the Big gun as there are a few rough spots to address, Unfortunately the towing wheels are crude and inaccurate. It appears that there were an early and late design, the early one being represented in the Trumpeter/Pitroad kit as a solid hub, the later version look to be smaller Diameter cast spoke type. The easiest fix would be to scratch build the early style so if anyone has or has access to the Trumpy kit it would help if I could get some measurements.
 IMG_1163 by nsmekanik, on Flickr
 IMG_1164 by nsmekanik, on Flickr
In the mean Time I got the urge to paint something so I pulled out the Trumpy D-12 and dusted up some of the little bits and pieces, of course one thing led to another and.......
 IMG_1173 by nsmekanik, on Flickr
 IMG_1174 by nsmekanik, on Flickr
 IMG_1175 by nsmekanik, on Flickr
If anyone has an old Revel or Dragon fuselage, built or whatever, they could part with, let me know otherwise I'll probably end up butchering one. I just need the front half
:drinks
Wow! 

Duke Maddog
Well-known member
Most impressive! Can't wait to see more.
Tankbuilder
Active member
Remember that sometimes Museum items used by companies as a basis for their kits sometimes have a mix of parts too so that the museum at least has a complete item to display. I think that's often why we see a mix of early and late parts in model kits.
Cheers
Cheers
Remember that sometimes Museum items used by companies as a basis for their kits sometimes have a mix of parts too so that the museum at least has a complete item to display. I think that's often why we see a mix of early and late parts in model kits.
Cheers
HUH? You talkin to me?
This thing is for real. Most were destroyed during the war but I read at least two were captured complete and in perfect shape and now are on display.
Tony lee
Similar threads
- Replies
- 39
- Views
- 10K
- Replies
- 60
- Views
- 19K

