James, awesome looking T-62. I hope that one makes it to the finish line, it's gonna look fantastic!
Mike, congrats on finishing some campaigns. I also focused on finishing a couple. Your work looks magnificent.
Okay, here is a long update, focusing on all I did over the past few weeks when I had the time.
I'll start with my Mirage for the African campaign. All these pics will be posted there too.
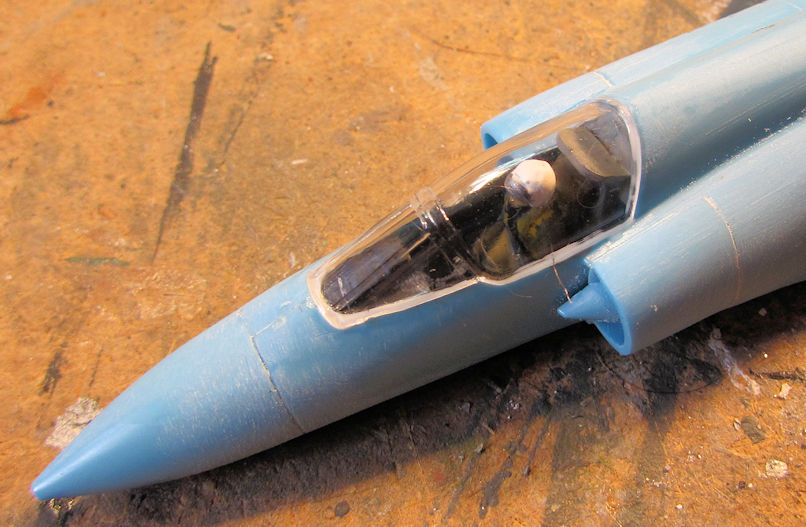
Last you saw I had the whole thing closed up. After that I painted the pilot in situ and then closed him up under the canopy:
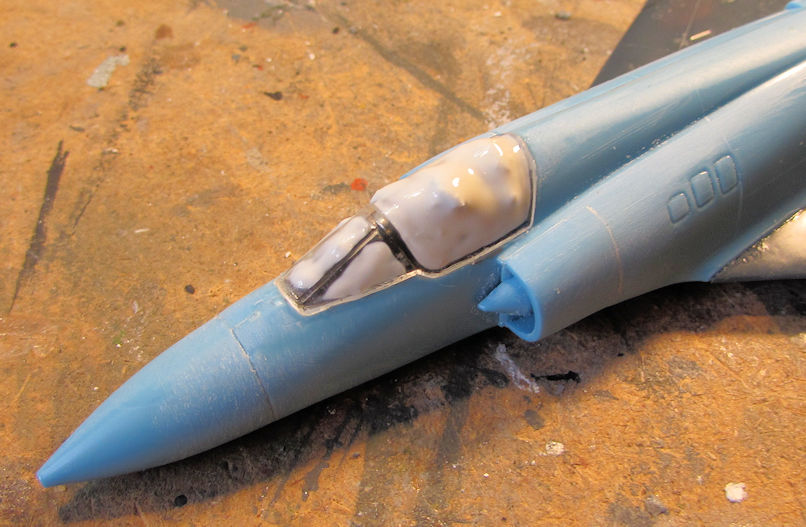
Later I masked the canopy to prepare for painting:
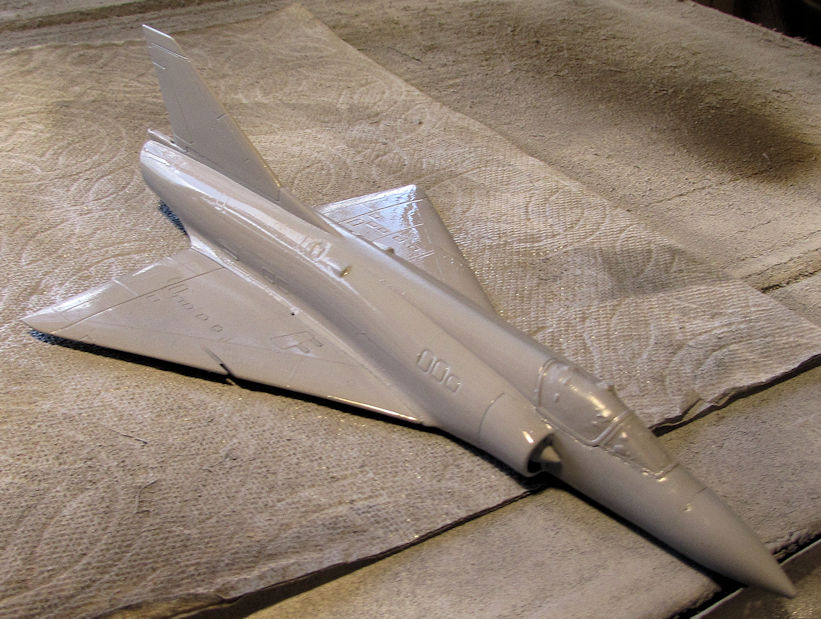
After that dried, I shot the top of the plane with primer. It is still wet in this pic:
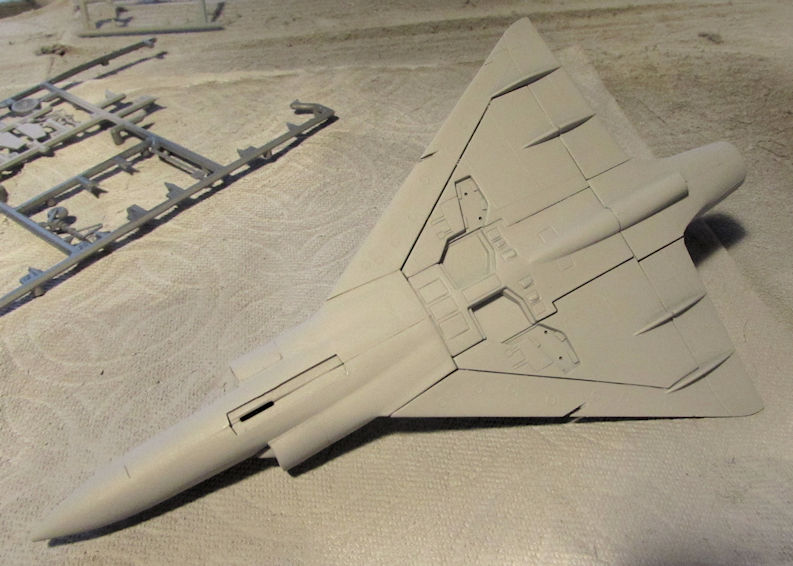
The bottom was sprayed later once the top dried:
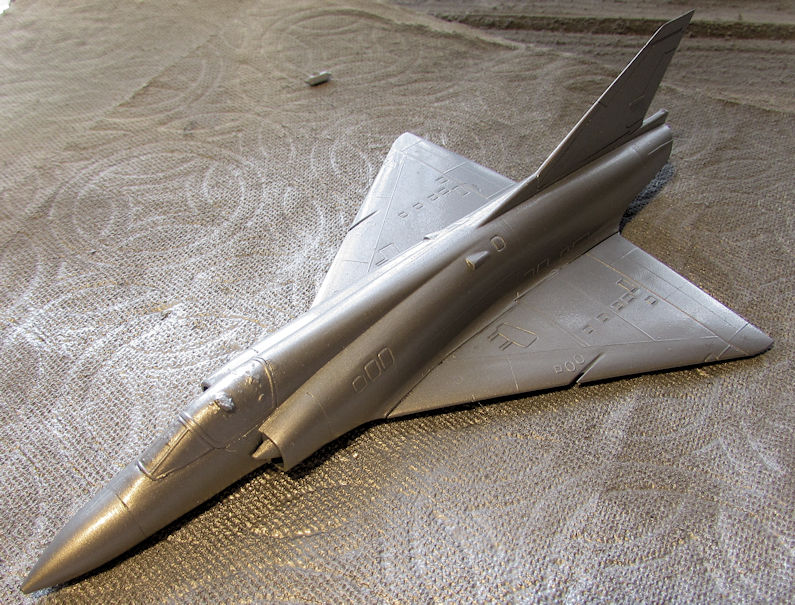
Over all that, I shot a coat of Tamiya Bare Metal Silver right out of the rattle can:
Man that stuff shoots on smooth....
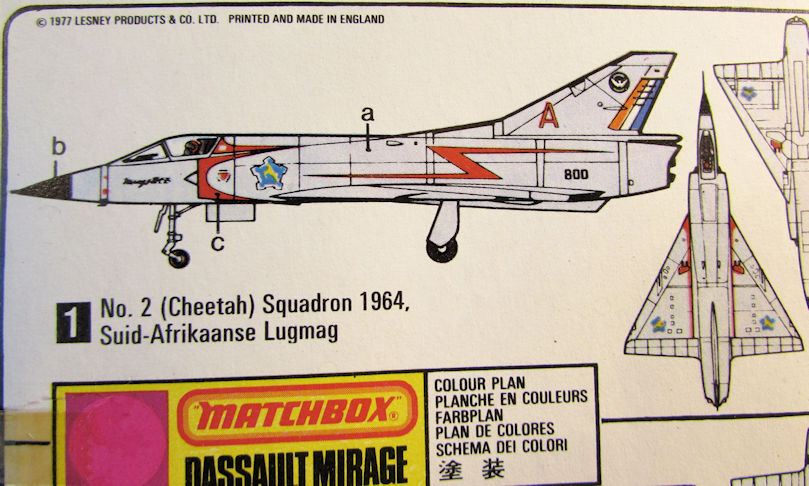
I was then ready to start applying the decals to this, but then I looked at the version I wanted to do:
The red lines behind the cockpit, on the edges of the intakes, and down the wing roots were not included as decals. Out came the masking tape.....
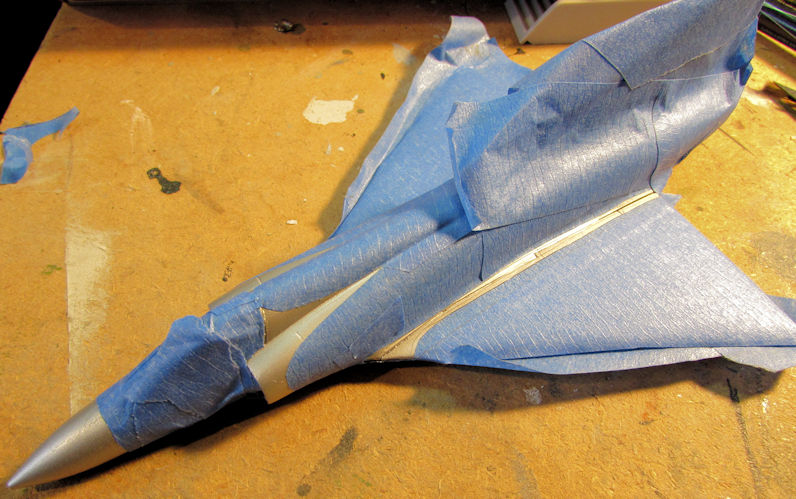
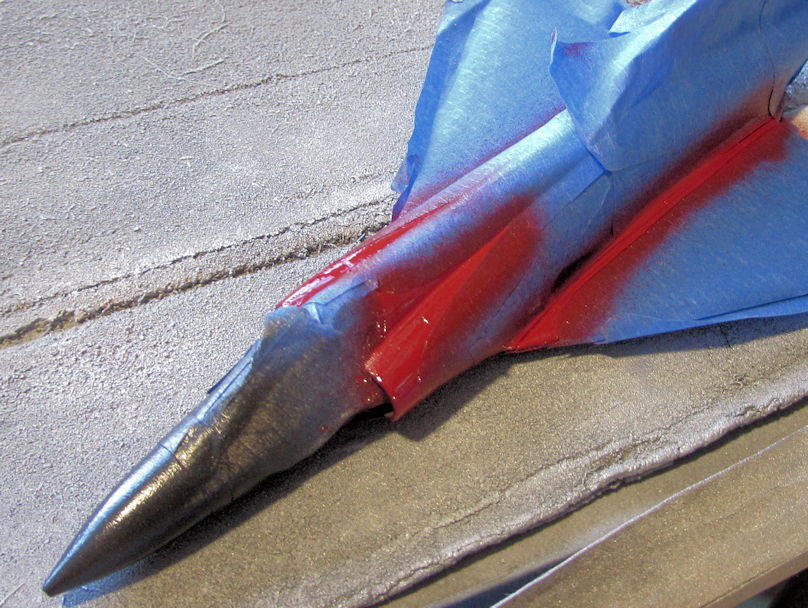
I masked off the lines, as well as the nose cone in preparation for paint:.
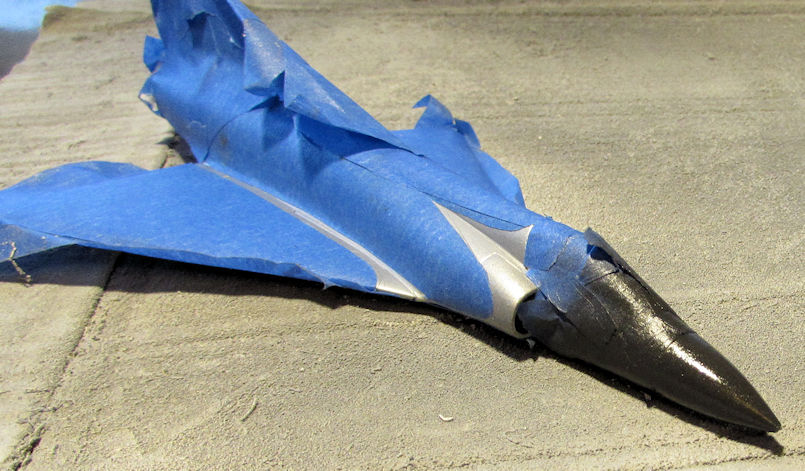
First I shot the nose cone:
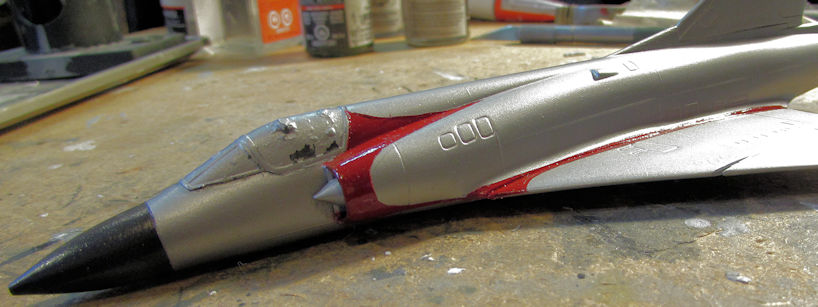
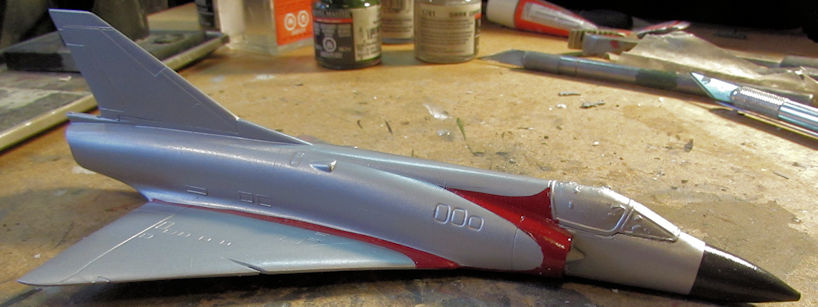
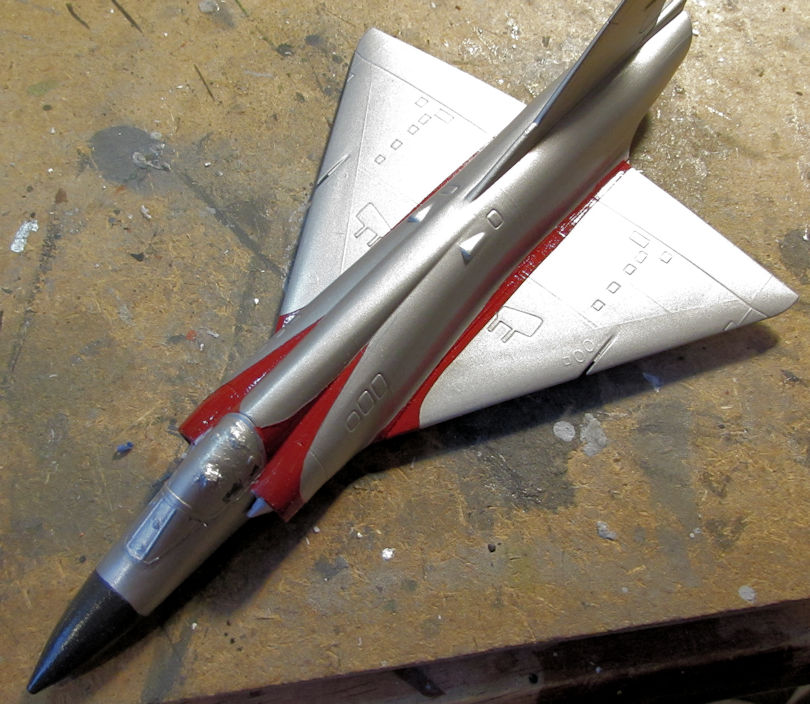
Then I shot the red lines:
It turned out better than I had hoped it would:
After that, I applied the decals, added the landing gear and gear doors and finished it up. Finished pics will be in the campaign thread.
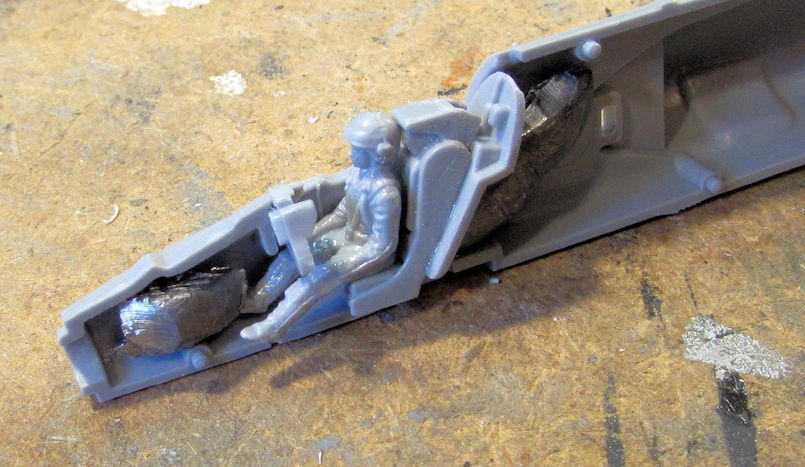
I was doing this South African Mirage so quickly that I found another Mirage in the stash that had South African markings on it. So, I pulled out this Mirage F.1C and got started on it. First I added the pilot to his seat, then cemented his seat to the rear bulkhead, and then cemented the whole assembly inside the fuselage half along with the IP. That was all the cockpit this kit gave me. I also added some weight in the nose to keep this bird on her feet:
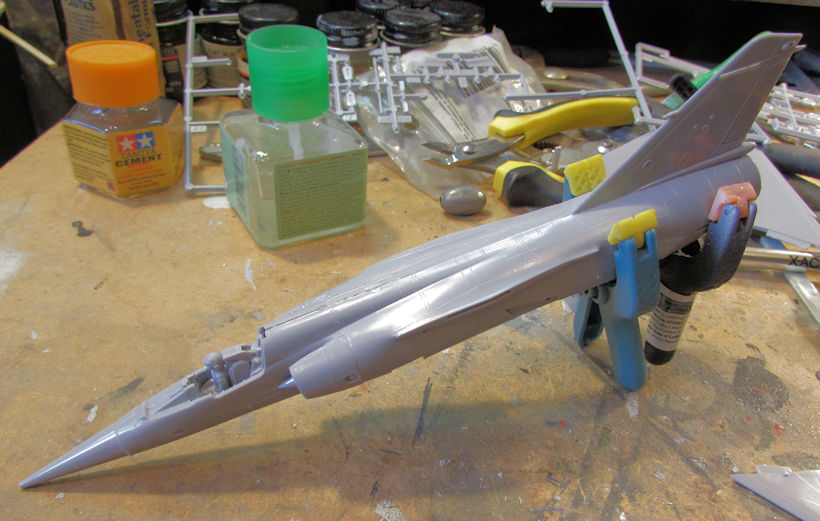
After that was dry, I closed up the fuselage halves and clamped them to seal them as best I could:
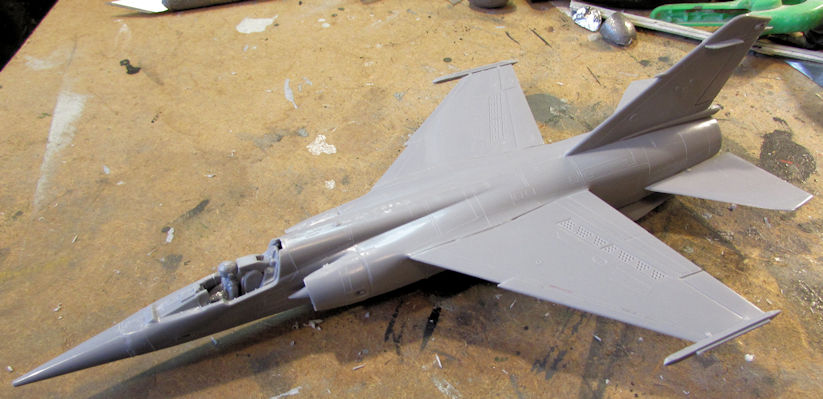
Naturally the wings and tail surfaces came next:
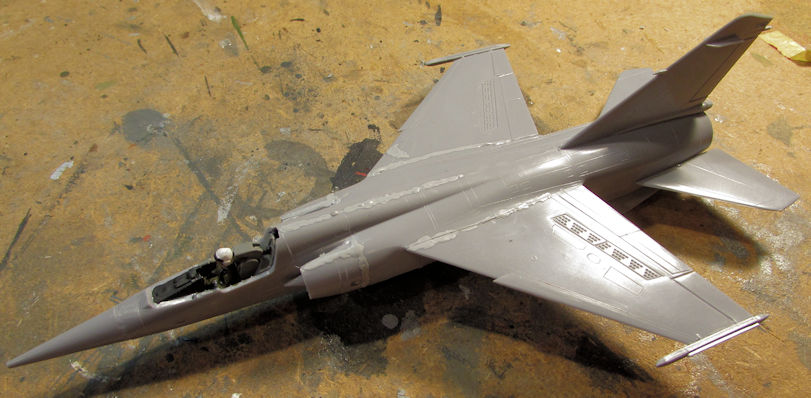
Once that was dry, I painted the pilot, seat and IP inside the fuselage and then added Mr. Surfacer 500 to the seams that most needed attention:
That is drying now so I'll give it some attention later.
On to my armor....
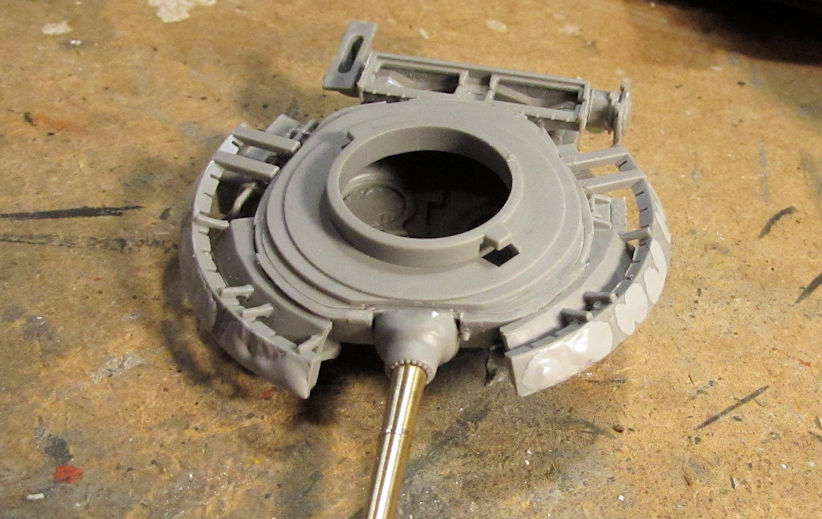
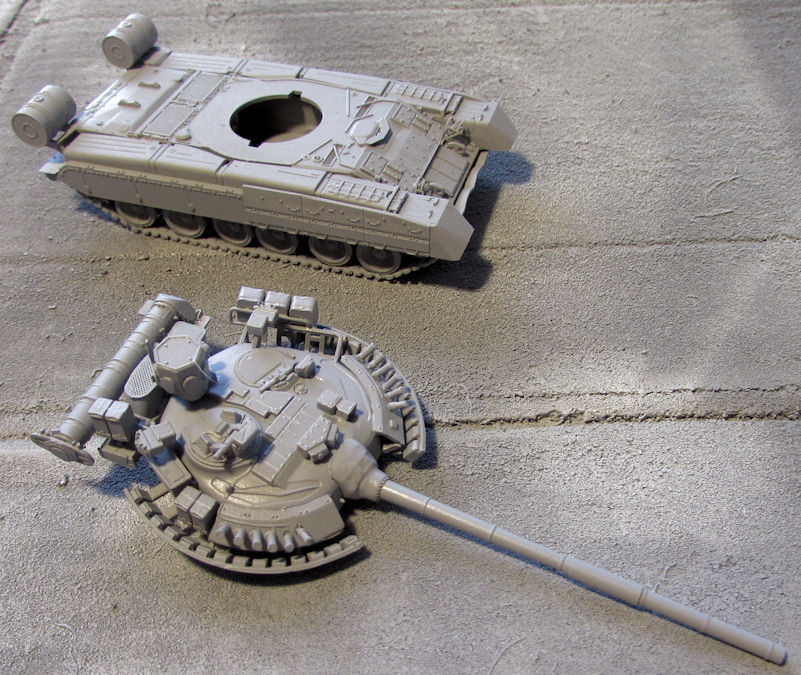
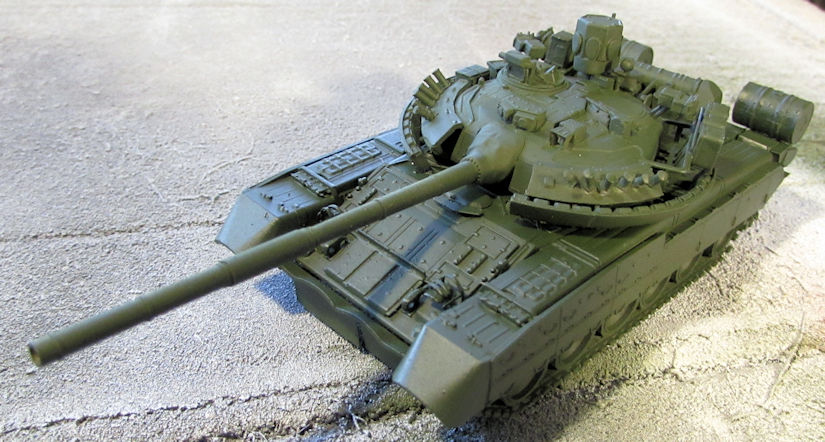
In armor, I also focused on my campaign model, trying to finish my T-80UM1 before the end of the month. As you recall, I had done most of the turret and hull. Looking at the turret, I noticed a lot of sink marks on the lower shielding on the turret. I applied a few dabs of Mr. Surfacer 500 to the sink holes and waited for it to dry:
It sanded out quite nicely afterward....
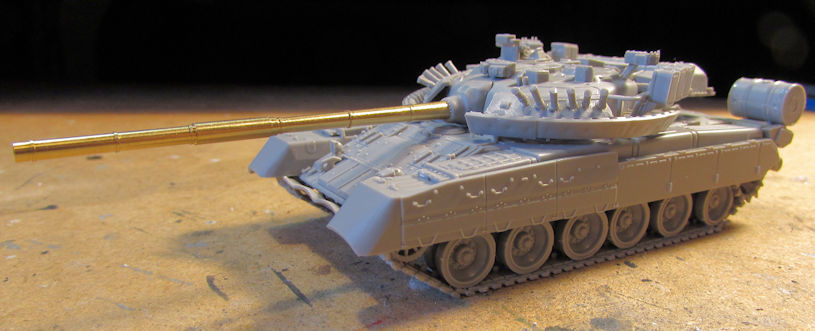
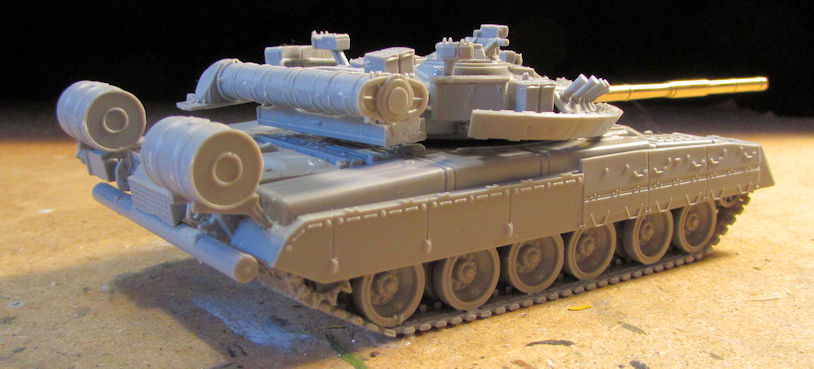
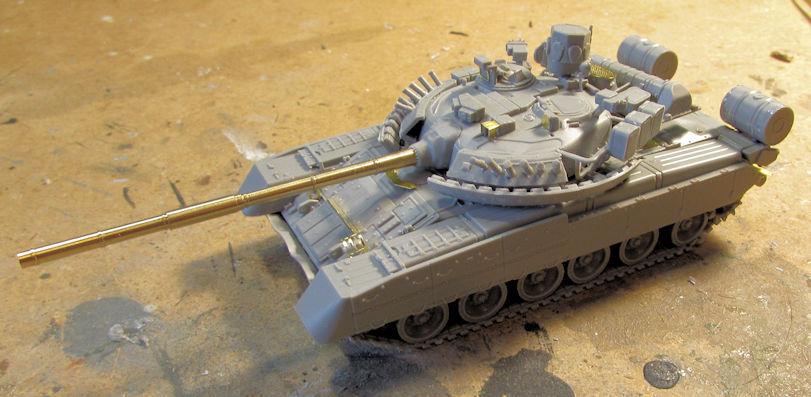
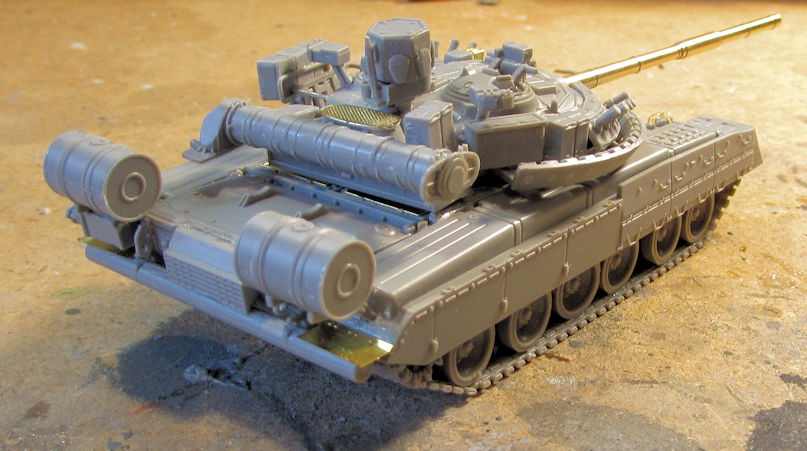
I also finished almost all the fiddly bits and such for the hull and turret in preparation for P/E:
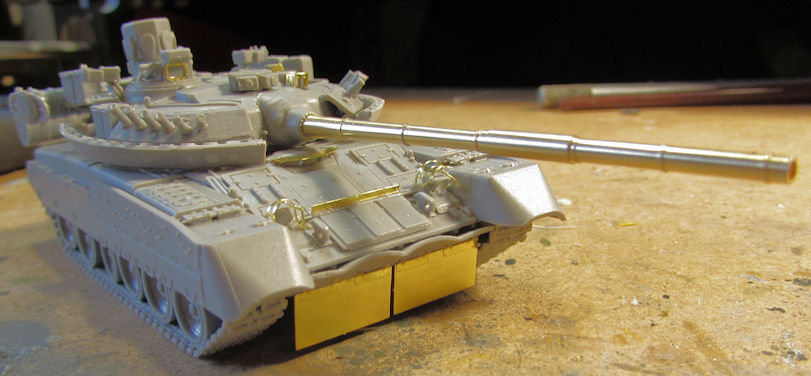
You can see that I used the metal barrel this time. It glued far better than the previous T-80 barrel did.
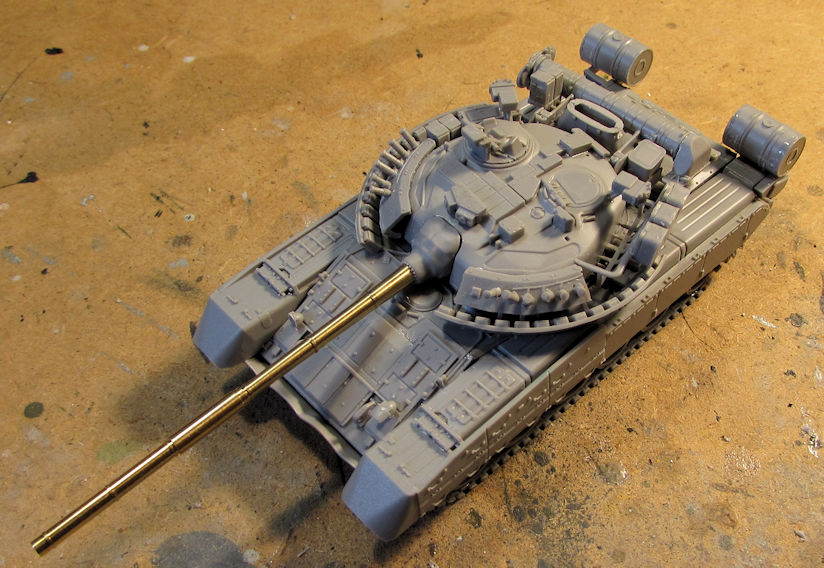
Here it is after I added all the P/E to it:
Finally this was ready for paint. Into the "spray booth" it went, getting it's first basecoat of primer to seal the P/E and allow the paint to stick to it:
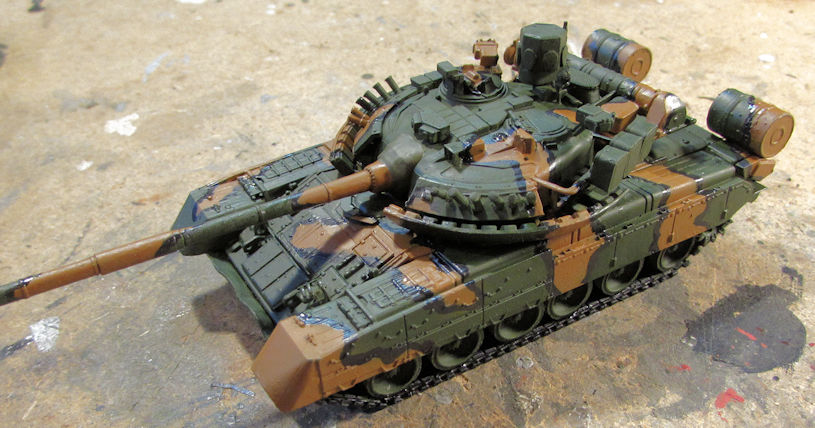
When that was sufficiently dry, I shot the base coat of green on this:
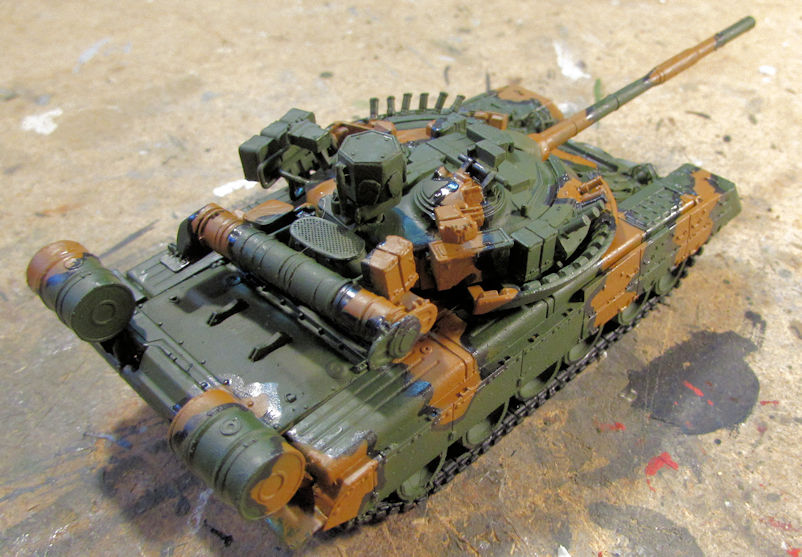
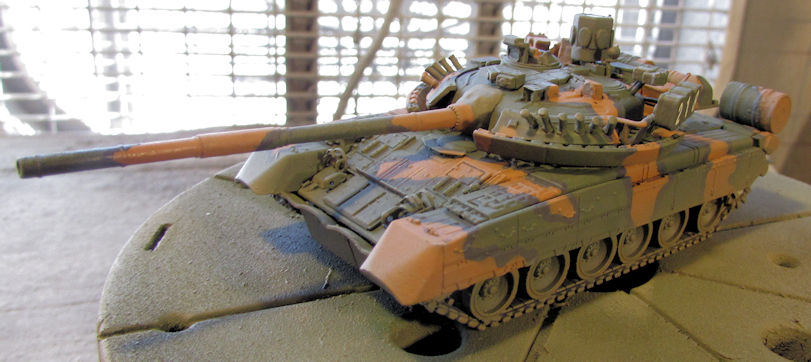
Afterward I completed the camouflage pattern:
The black lines are still shiny in these pics....
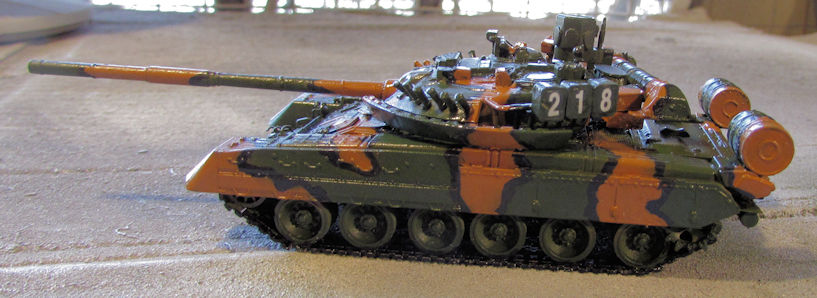
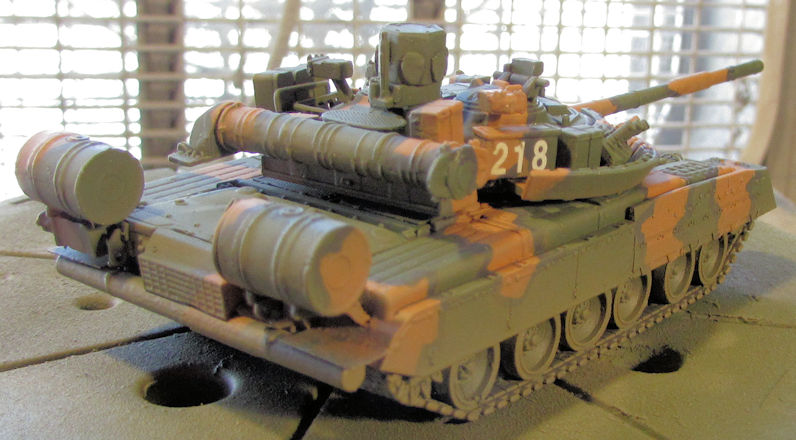
A gloss coat later and this was sporting it's number after I applied the decals:
I also applied a wash to this. Then I shot a dullcoat when it was dry again. Afterward I weathered this, dusting it up a bit with some Russian Earth Brown:
All that was left was to install the machine gun on top and it was done!
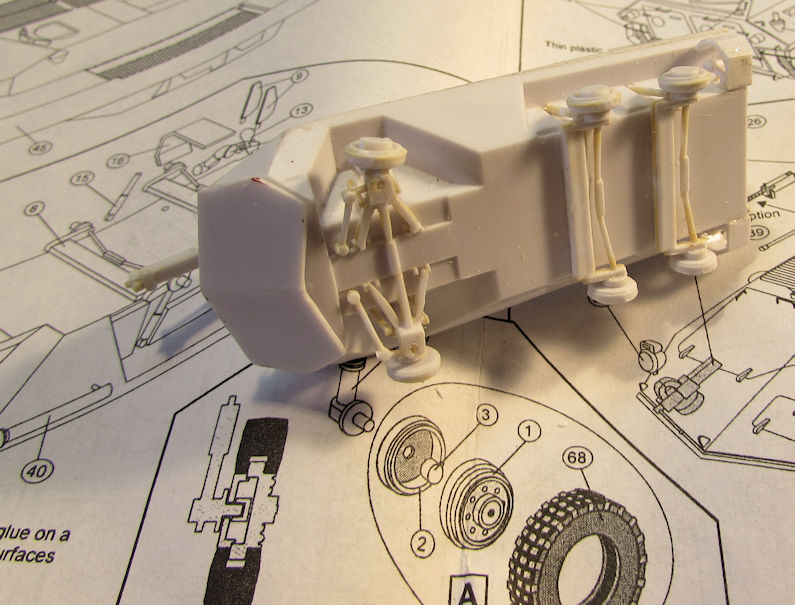
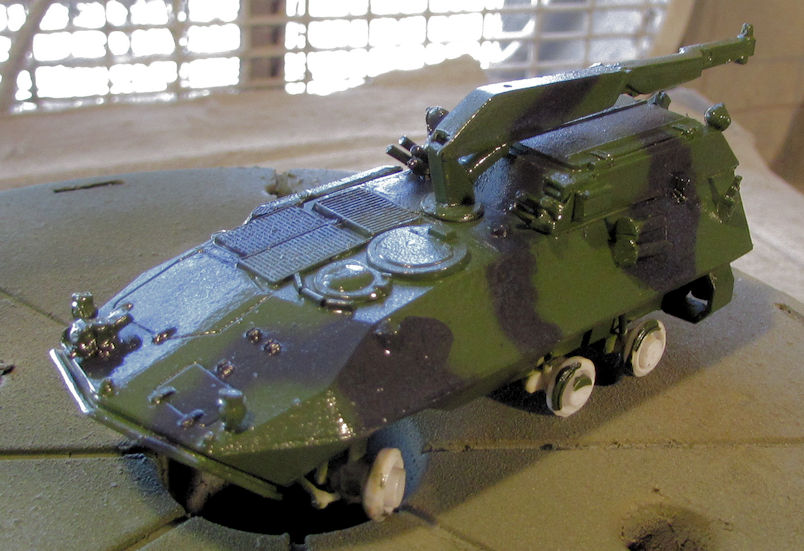
While working on all this, I also made progress on what was for me; a fun little model that helped me keep it real. My Canadian Husky got it's lower suspension on:
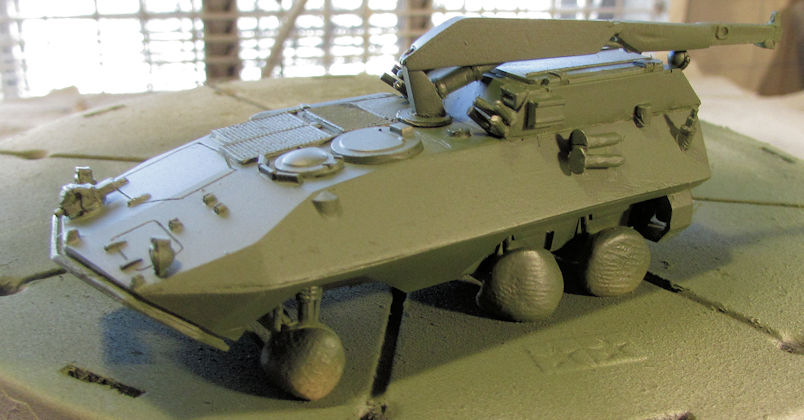
Afterward, I added some Silly Putty to the hubs and shot the first coat of green on this. I was already shooting the T-80 so this was perfect to shoot right afterward:
Later on when I was painting the black stripes on the T-80, I shot some black stripes on the Husky. After they dried, I shot a gloss coat over it when I gloss coated the T-80:
I also found several other long-lost projects when I cleaned my bench a bit so I pulled them out to start as well. But those will be for a subsequent post. I know I bored you all enough with this long one here.
Thanks for looking in, comments are welcome.

:drinks

:drinks

:drinks


