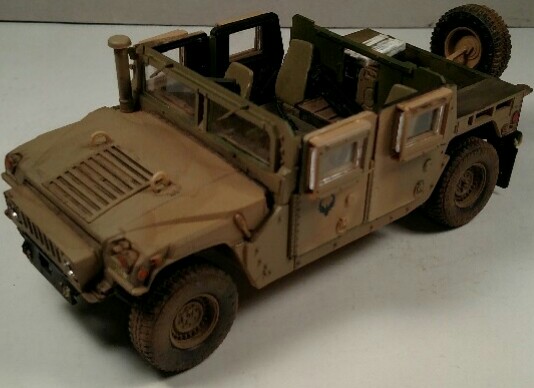
Well Sherman, welcome to my world with that Modelcollect it! I just started one too.
Okay now that I'm finally recovered from that flu; I managed to get back to the bench and make some serious progress for once.
At Hobby Day I didn't feel like doing any painting, detail or otherwise; so I just pulled some things out to build. Here is what I was working on...
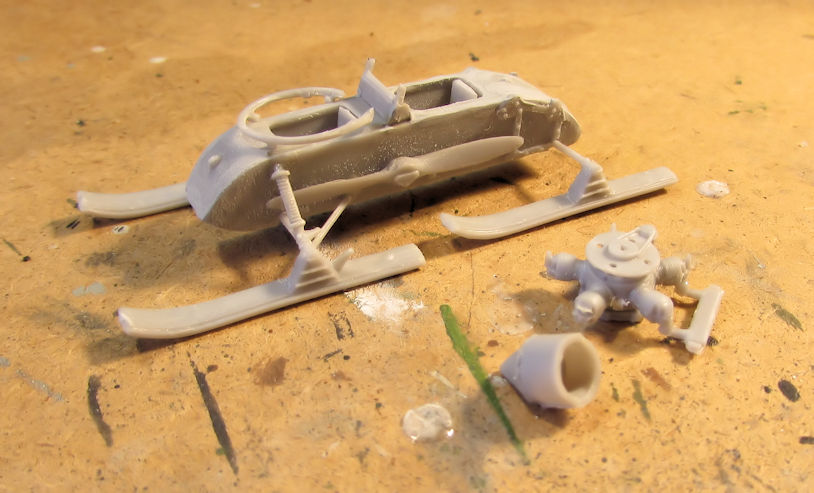
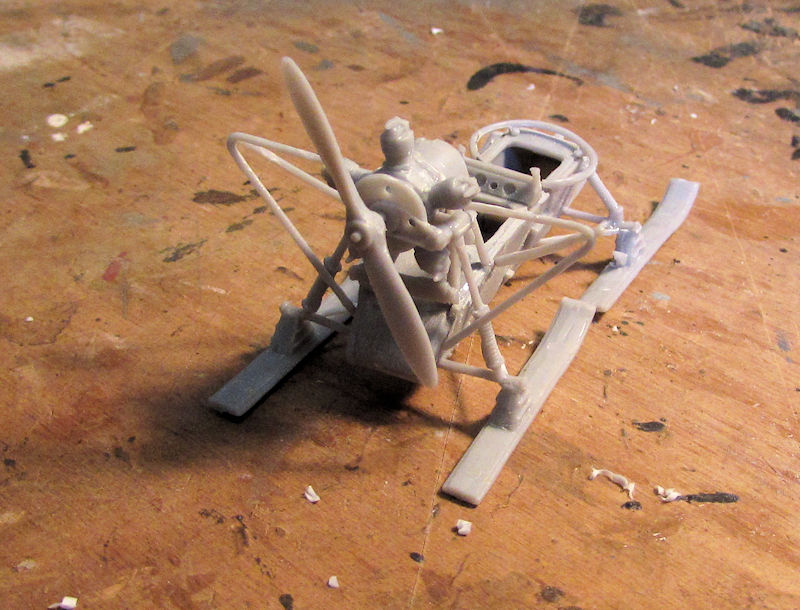
I started by making some more progress on another Aerosan for the war game I'm planning on doing in October. I started the engine on this little beastie:
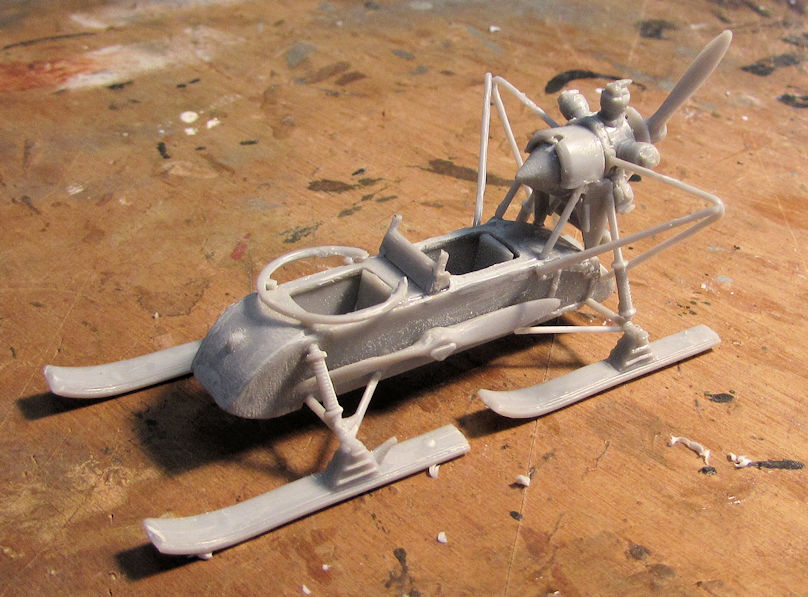
After sanding the forward cone, I completed the mounting of the engine, the safety bars and several other little fiddly bits:
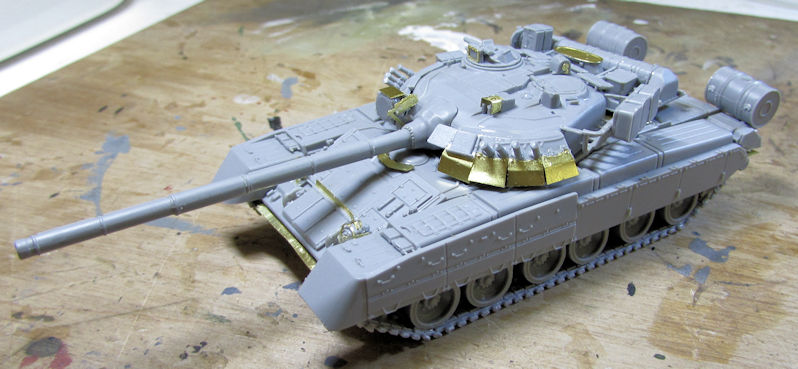
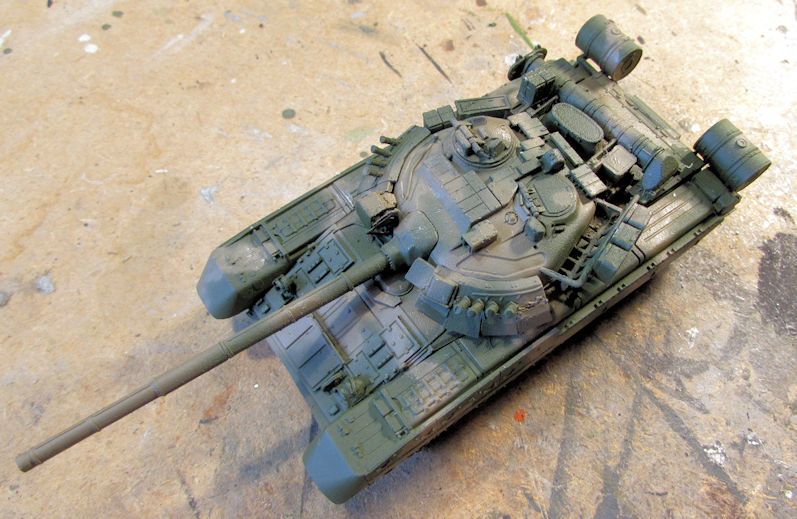
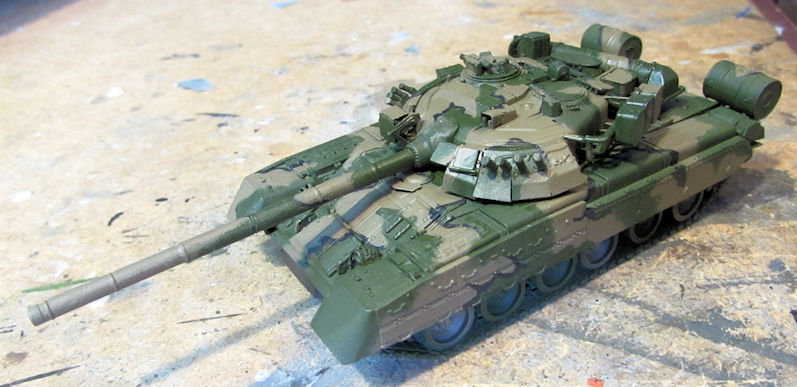
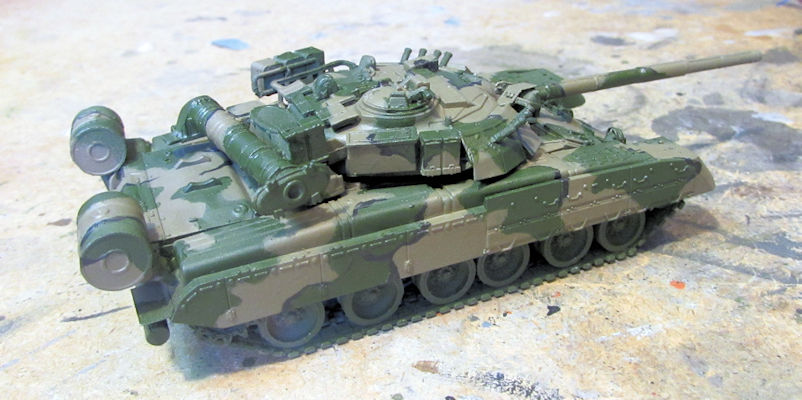
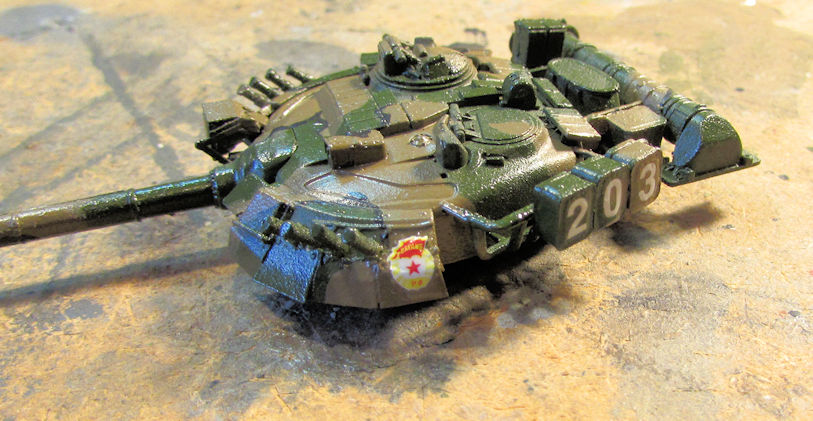
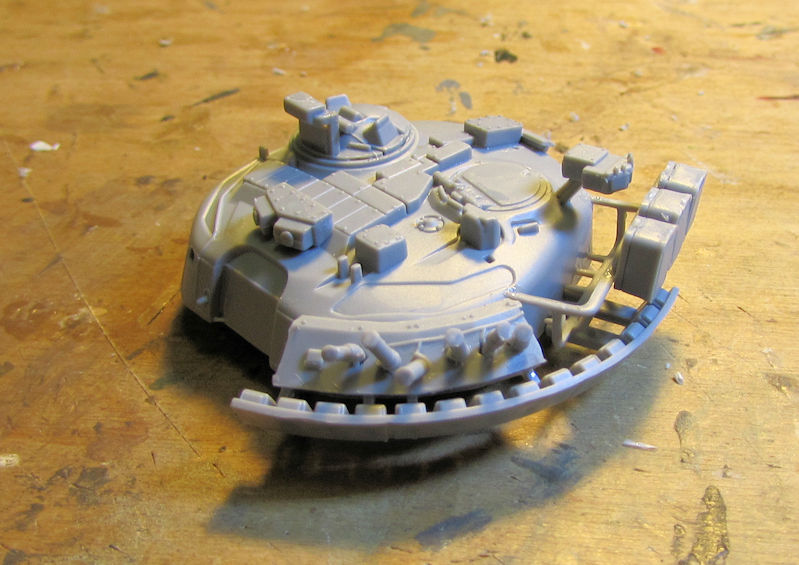
Moving on from that, I decided to stay with armor for the next project. I pulled out my new T-80 UM1 tank. I started with the turret as indicated in the instructions. Here it is after completing one half of the assembly:
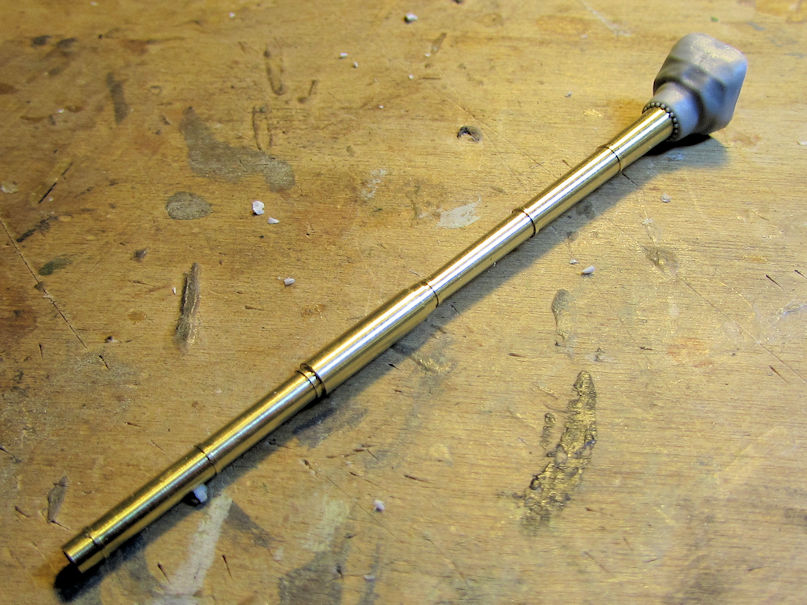
This kit also received a metal barrel included in the kit. I decided to have another try at putting it on my tank. This time, I glued it to the mantlet first:
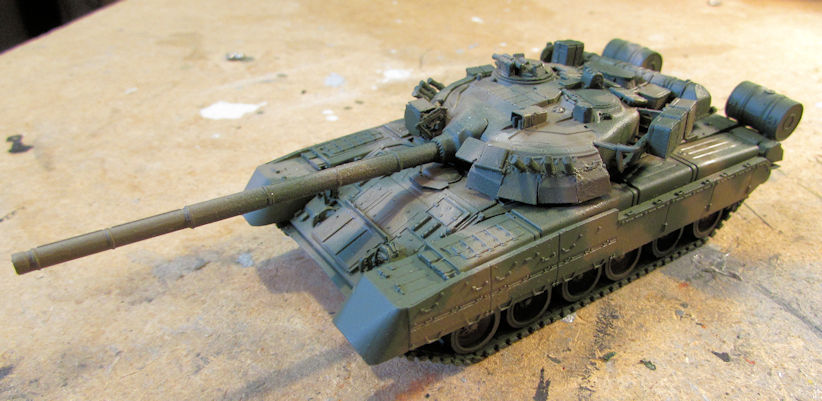
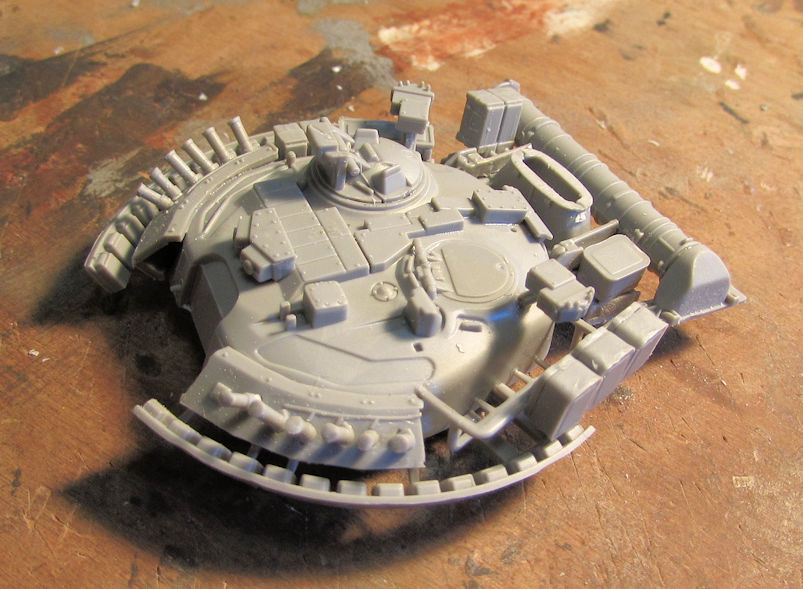
After that, I went back and completed the other side of the turret, completing the assembly as much as I dared. There are still some parts to add to this, but only after painting and final detailing:
You can see that I fixed the smoke dischargers.
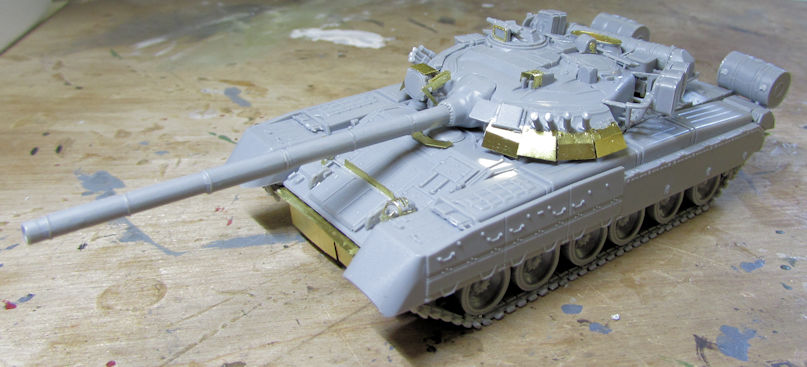
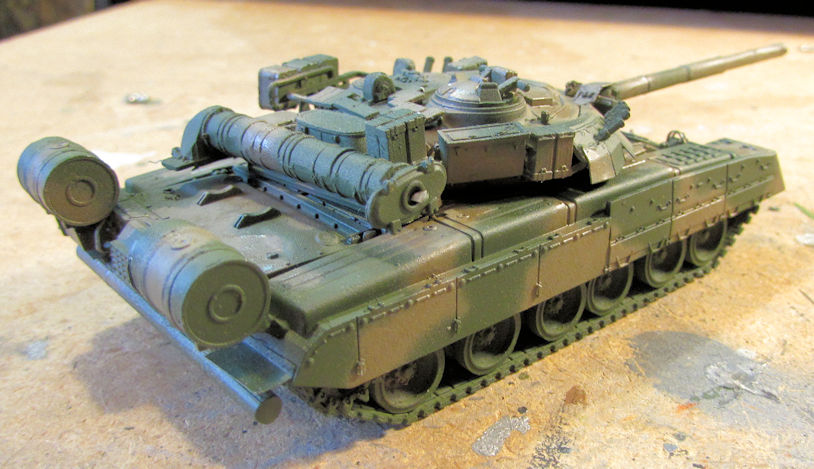
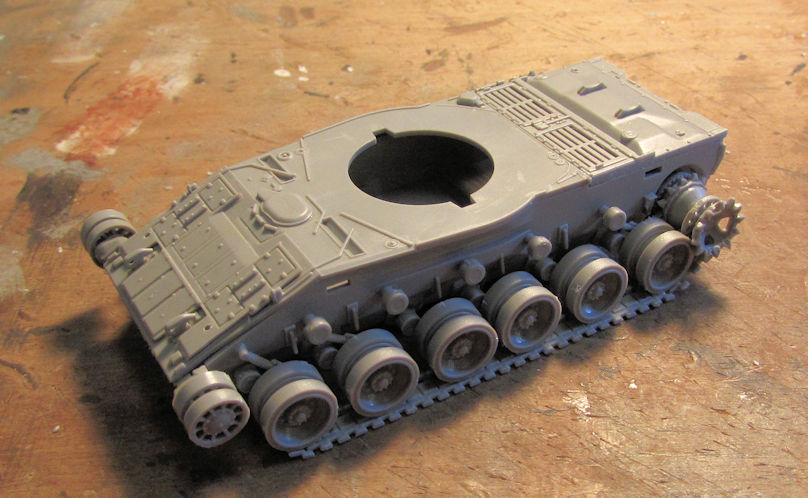
With all that done, I assembled the hull, added the torsion bars, wheels and other details. I even started the tracks before I remembered to take this pic:
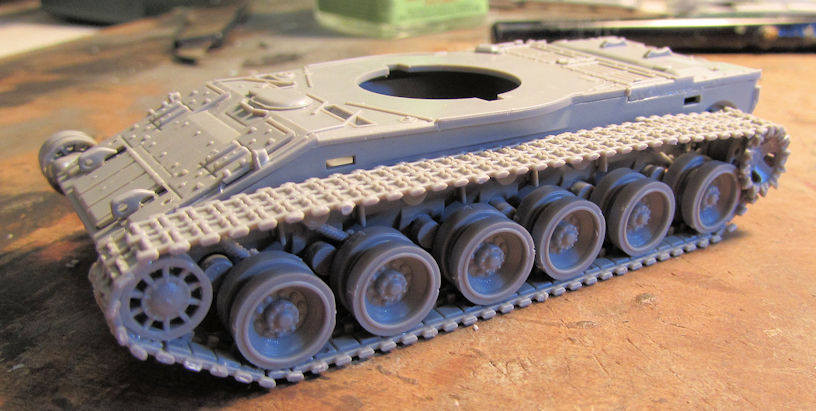
I eventually managed to finish the tracks on one side of this for now:
After all that, I was ready to move on.....
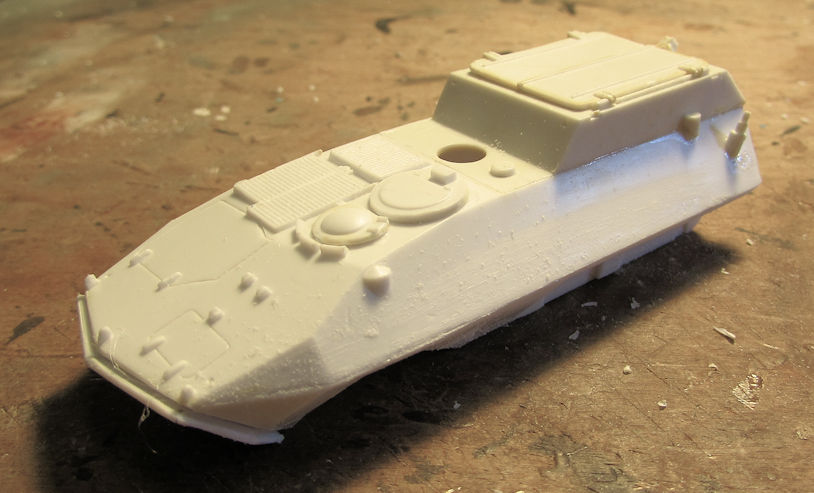
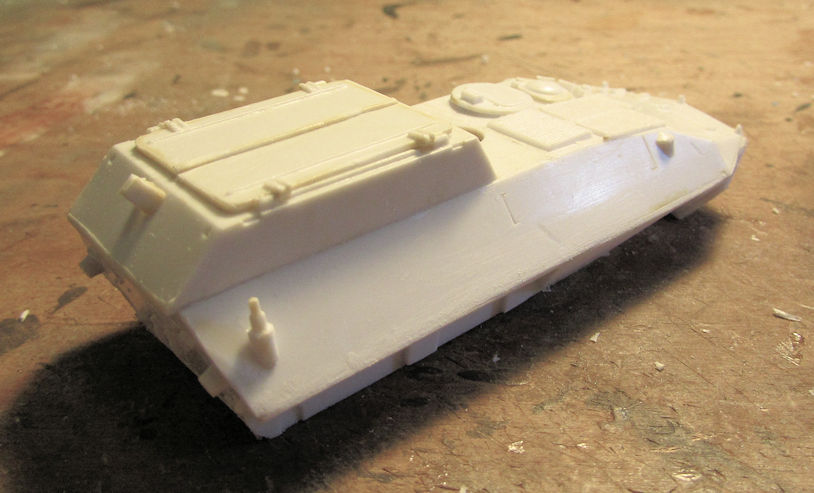
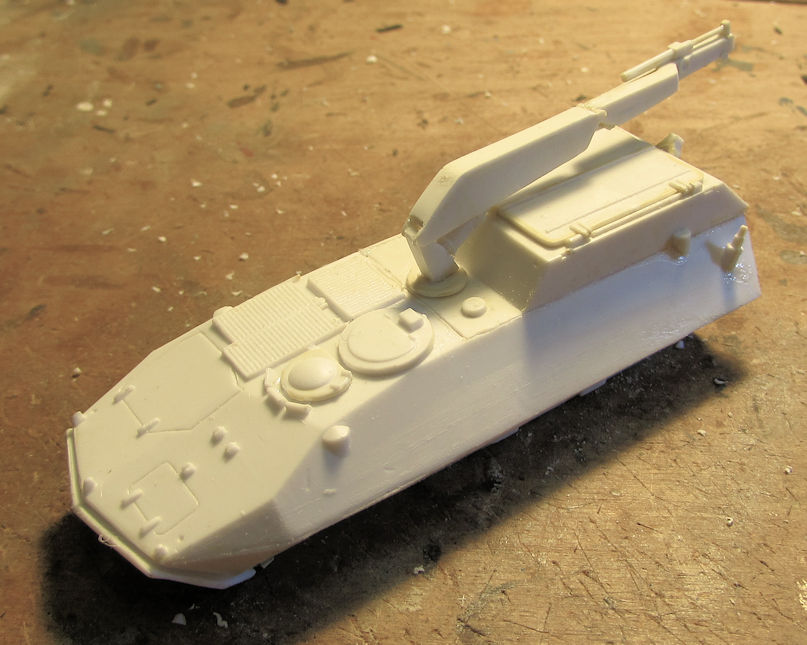
Well, I moved on all right, straight to an ACE kit that I'd been wanting to build for awhile. It was time to pull it out. This is the ACE Canadian Husky in 1/72 scale. I started with the main hull:
For such a short run kit, I was surprised at how well this fit together so far. That just means I'm going to have a bear of a time with the suspension and wheels underneath! h well, I decided to jump ahead and build the crane. It was a fast assembly, although the top of the main arm had a deep trench across it so I added some strip styrene to it to make it flat:
Okay it was time to move on to aircraft....
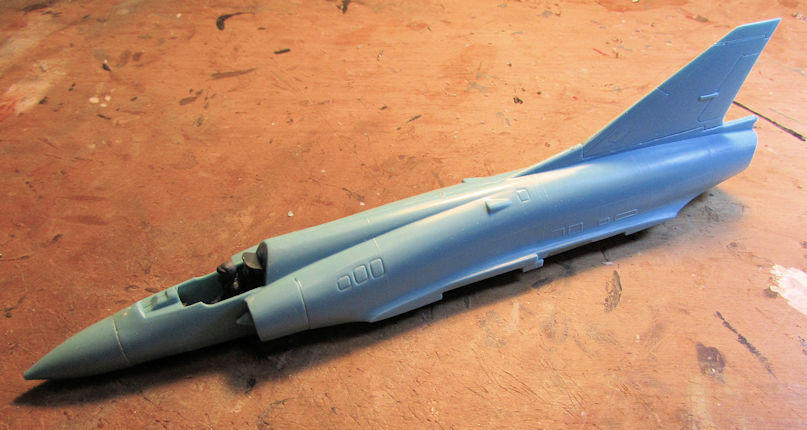
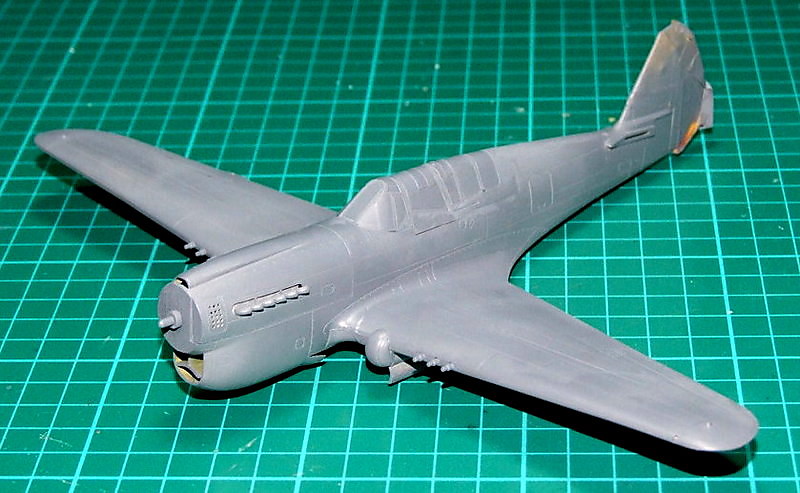
I started with a simple Matchbox kit just to have some fun.
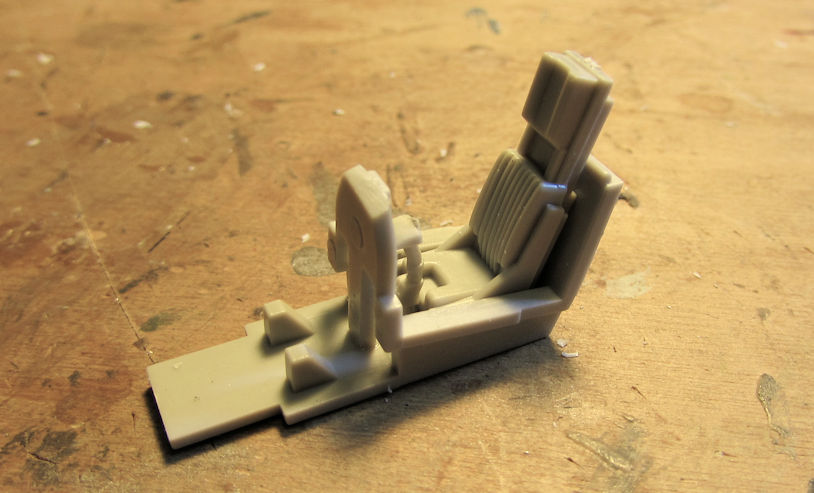
I cemented the pilot to the bang seat and then added him to the fuselage since that's all that the cockpit comprises! No pics of that, sorry; I jumped straight to closing up the fuselage:
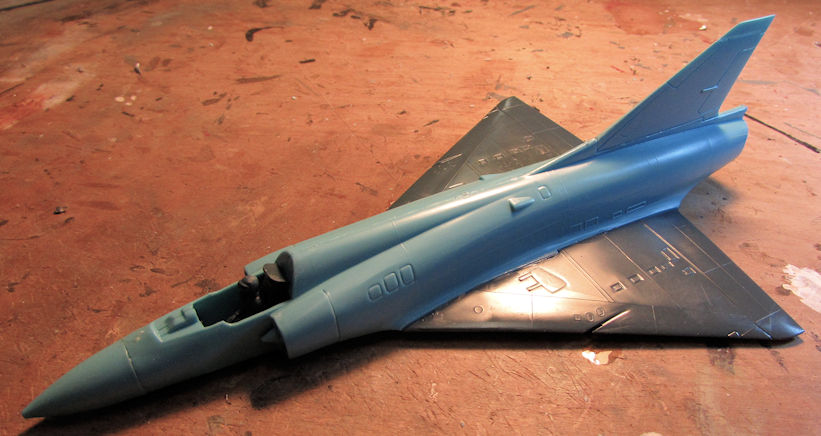
Later on I'll paint the pilot and whatever interior that can be seen and I'll close up the canopy and mask it. Before that, I assembled the wings and added them to this plane:
Once the canopy is all closed up and masked; this bird will be ready for paint.
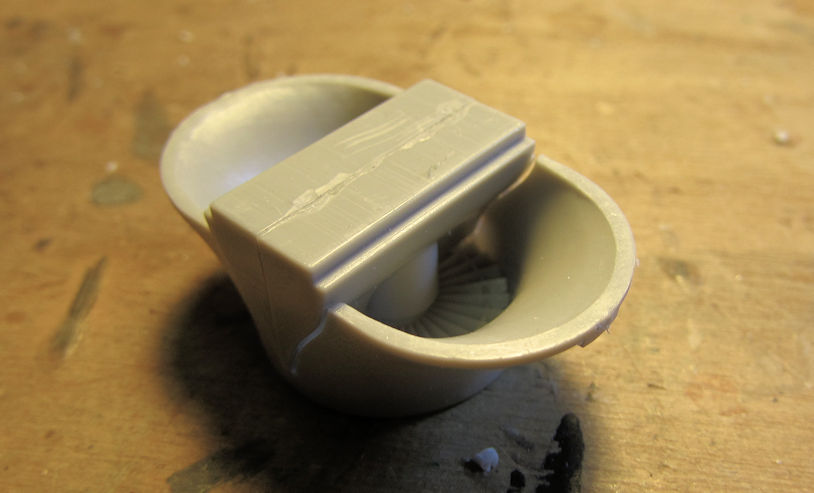
Moving on again, I started a Hasegawa kit of the 1/72 scale Harrier jet, only this one is in the markings of the Italian Navy. I started with the small cockpit since this kit actually has one:
I then assembled the engine intake:
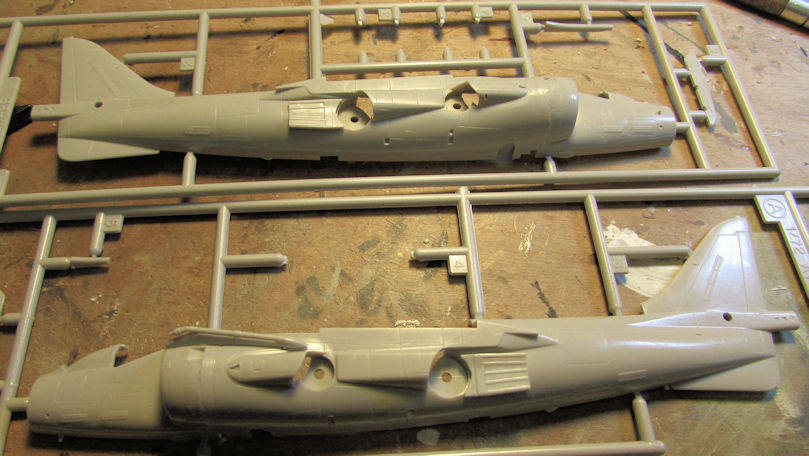
I then added some of the parts to the fuselage that could be added before removing the parts from the sprues. Things like the refueling pod, engine intake cowls and the exhaust plates:
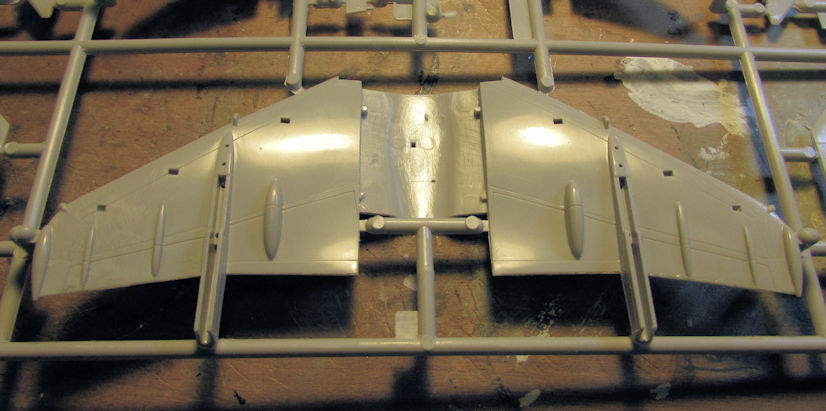
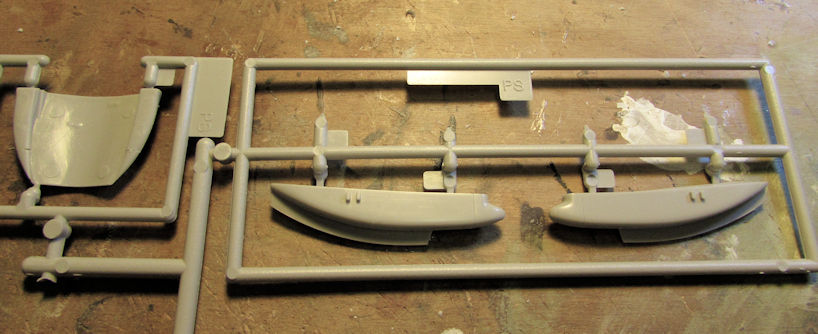
Lastly, I cemented the wings together as well as various other parts that were halved or otherwise needed extra parts added:
Couldn't do much more without having to paint so I called it a day by then.
Thanks for looking in on my small update here. Comments are always welcome.
