• Modelers Alliance has updated the forum software on our website. We have migrated all post, content and user accounts but we could not migrate the passwords.
    This requires that you manually reset your password.
    Please click here, http://modelersalliance.org/forums/login to go to logon page and use the "Forgot your Password" option.

All Righty ... What's on the bench today?

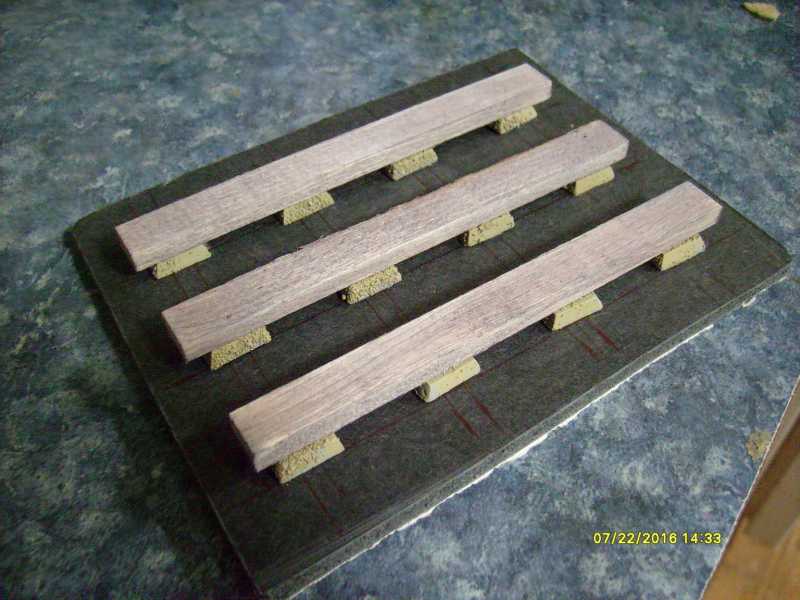
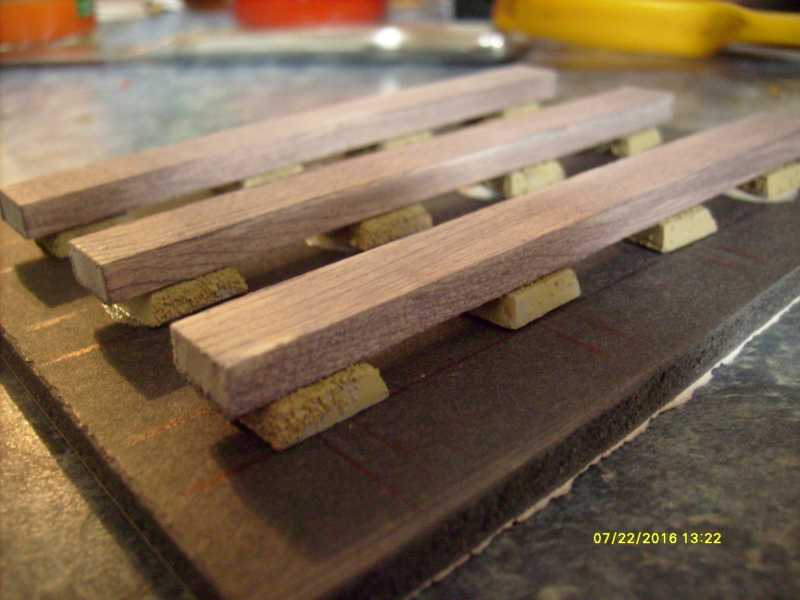
Now for the thing I'm building ...

h86b90ec.JPG


hfd4e715.JPG


hddce368.JPG


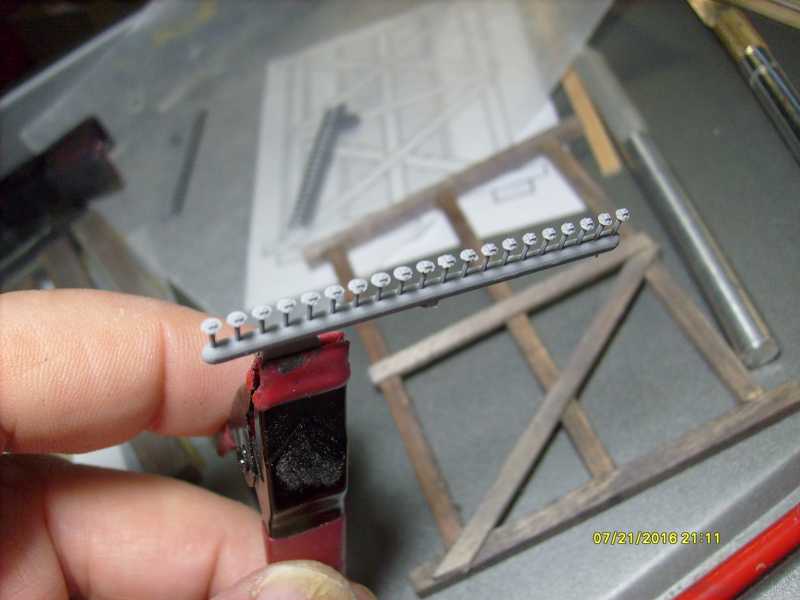
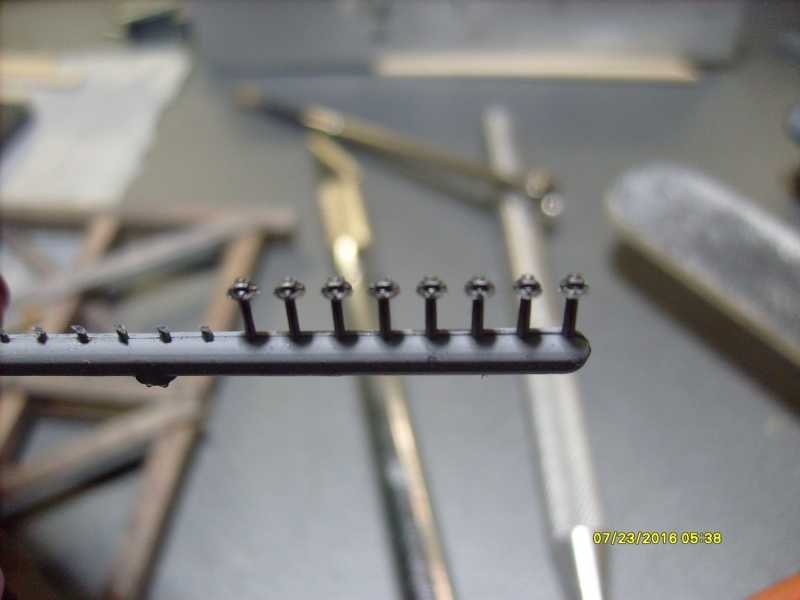
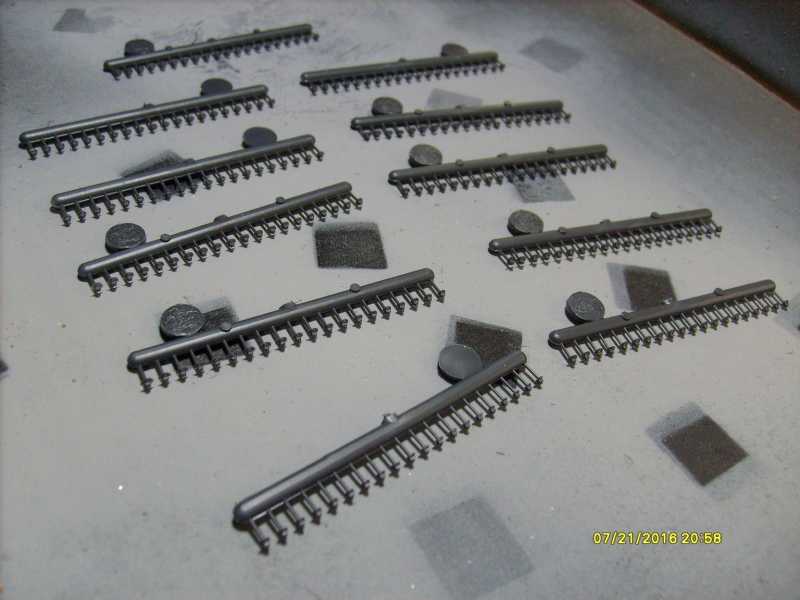
I had to paint these little bolts ... used gray primer & Citadel Lead Belcher (Gun Metal)

hdf6473d.JPG


h5aeadb5.JPG


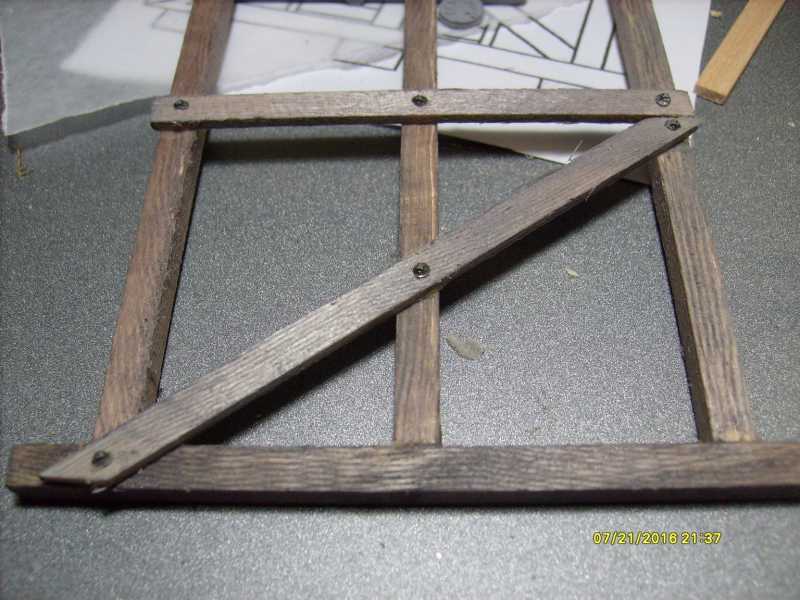
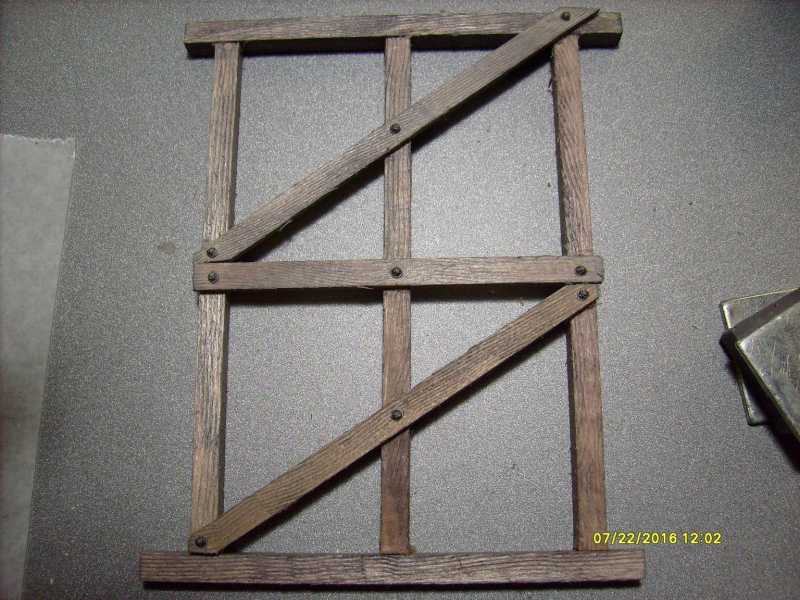
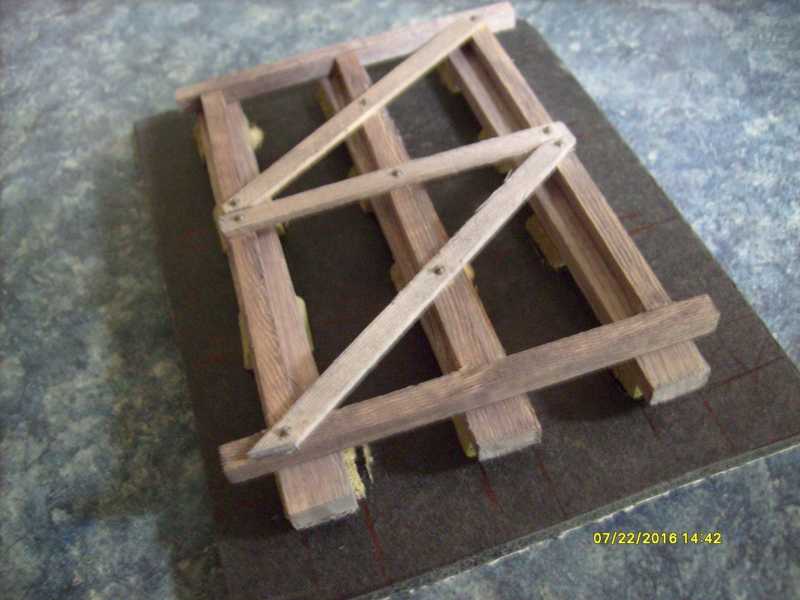
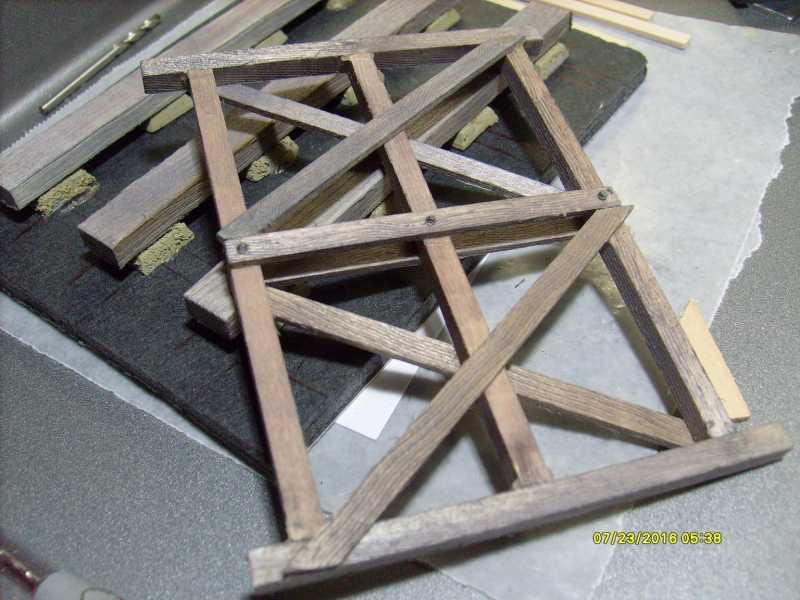
All the wood joints require a bolt lots of bolts yet ...

h08a5bdb.JPG


h7856f02.JPG


I attached the foundation 0n the concert blocks ... I used a piece of old sign for the base ...

hb77fc39.JPG


h6b6def9.JPG


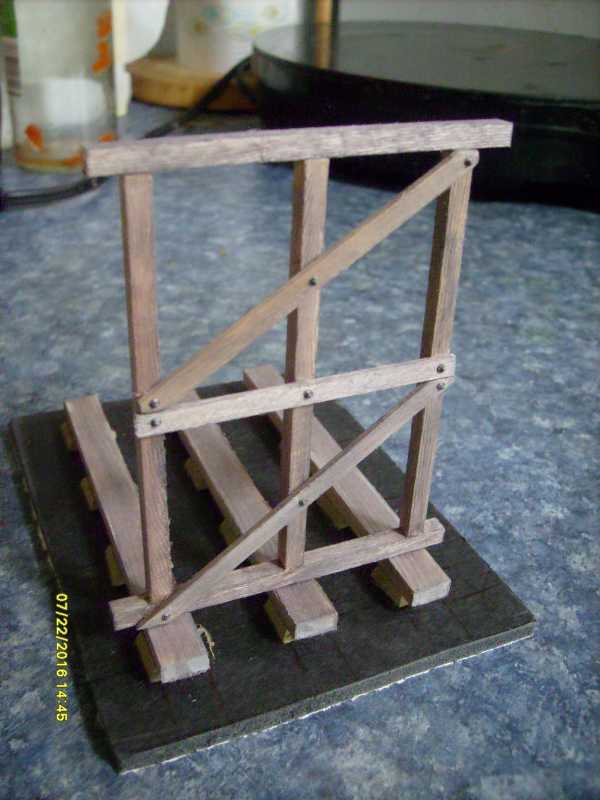
This is one of my Bents half done and standing in place ...

h3913502.JPG


This is with both side done ... I have to finish 3 more ....
 
Looks good Gerry! While I have usd the Citadel paints and have a fair pile, I like the Vallejo better.

So, what is it the framework for?
 
Looks good Gerry! While I have used the Citadel paints and have a fair pile, I like the Vallejo better.

So, what is it the framework for?

:hmmm :idonno :hmmm It's 1/48 scale ... I building it for a Friend ... but I love the kit ... Wish it was mine ... Vallejo is Airbrush able don't know about Citadel ... the pigment in the citadel is micro fine ... :ro: :dude
 
Looking great. Where are the bolts from? Gives me a great idea to build ship and boat supports.

EJ

They came with the Kit ... I know someone makes them ... I found it Grant Line ... Here's a link ...

http://www.grandtline.com/products/mrr/mrr%20details/augmentables.html
 
Thanks Dave & Luiz ... I've been busy but must get on it ... I was able to get two led's in a 1/48 scale locomotive lamp ... I will get a picture later ... :salute
 
I didn't get a lamp photo yet ... But I've been working my Disconnect Logging car that I'm kit bashing/scratch ...

h997270d.JPG


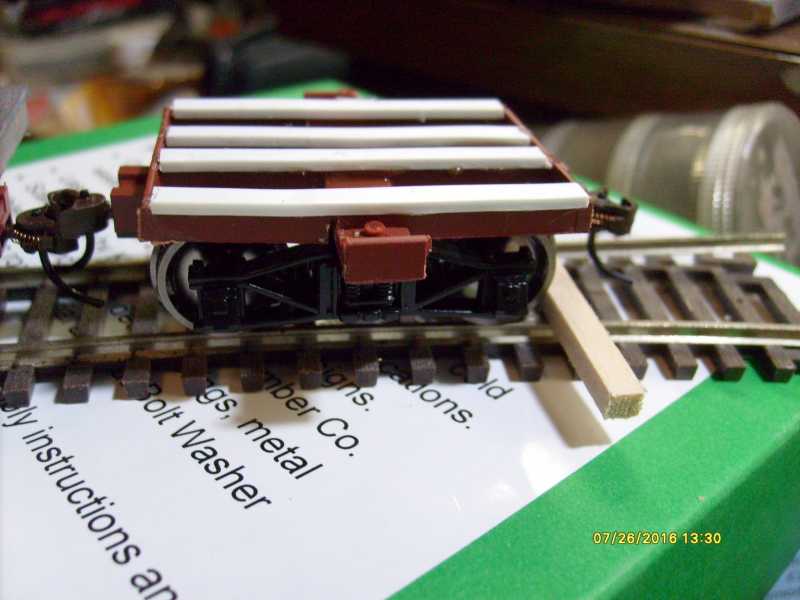
Earlier I had taken a full frame Bachman On30 underframe for 26' boxcar and cut it down to this ....

h073758d.JPG


h793b413.JPG


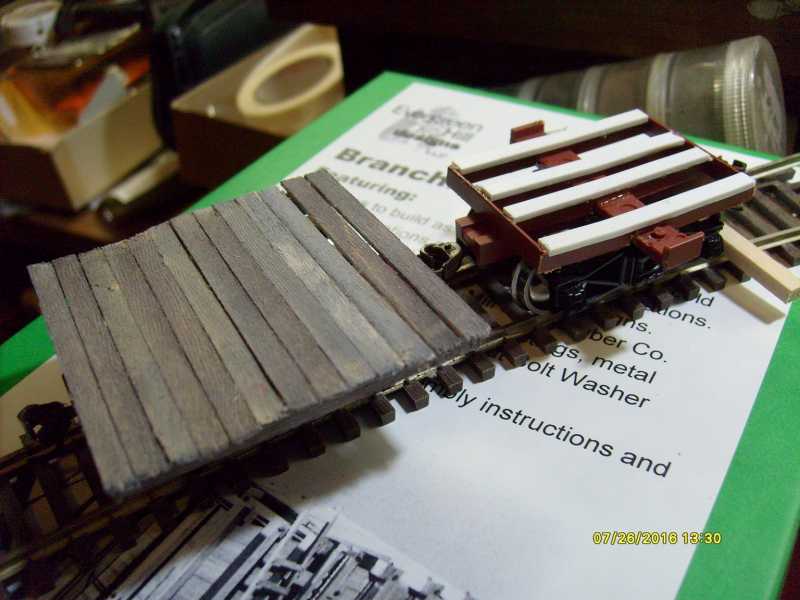
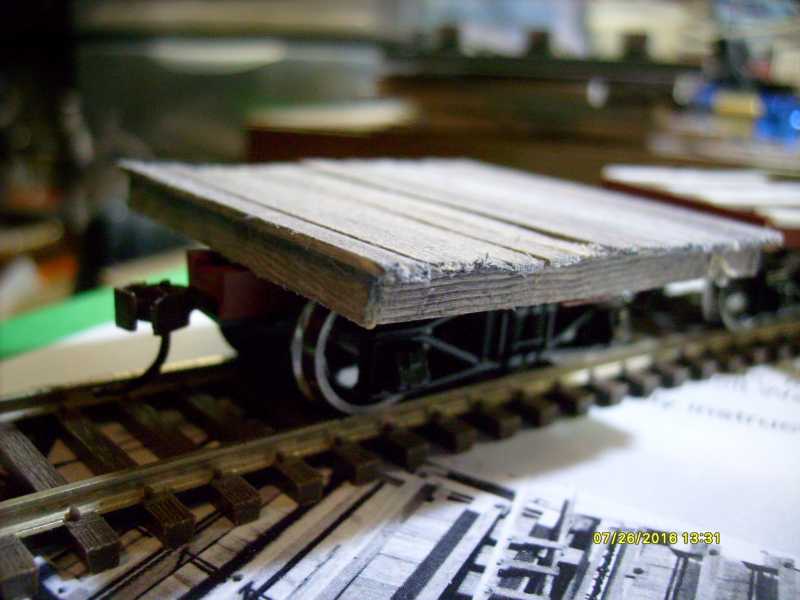
I hand cut painted & weathered this bass wood frame for the top ...

hf4136c6.JPG


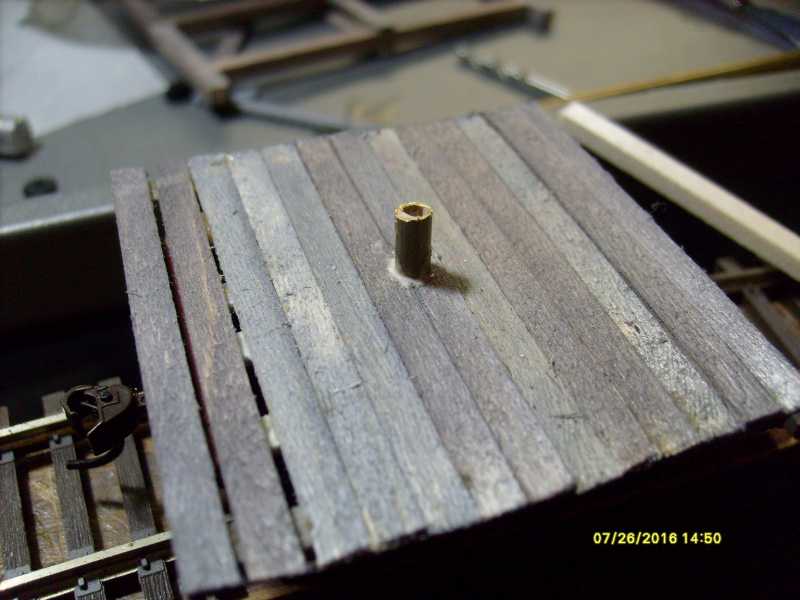
I inserted a small piece of brass tub for a pivot point ....

hd64fe59.JPG


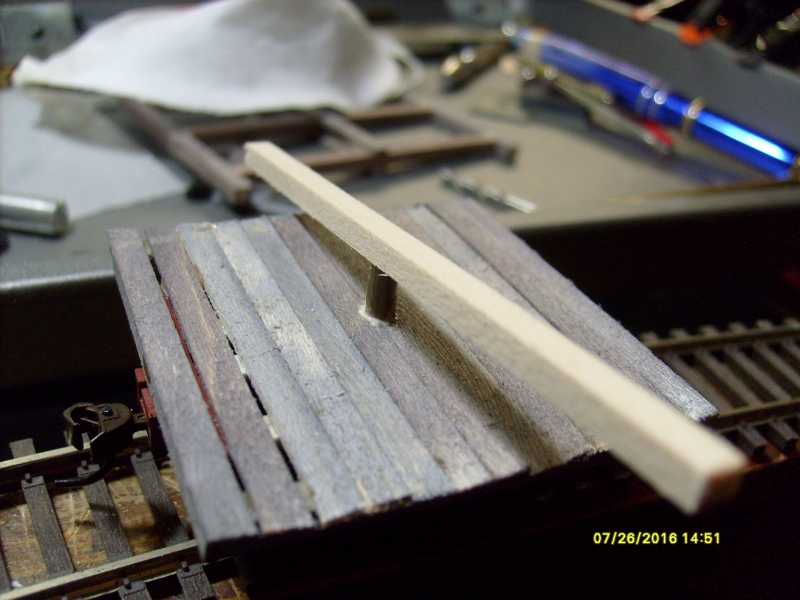
Then I'll make a log Bunk made out of this 8 X 8 beam ... It may need to be a bit bigger ... :hmmm
 
Doing some research .

hfd42493.JPG


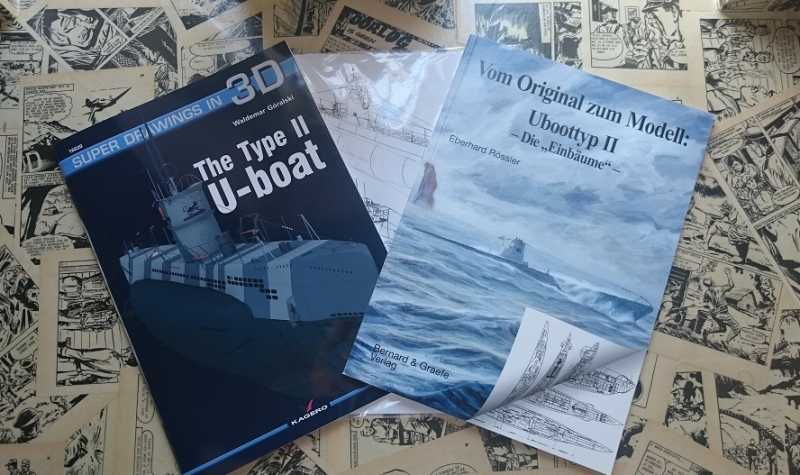
This wil be my second 1/35 waterline U-Boot it wil be a Type II U-Boot...... lenght wil be 1,17 m
I got al the material i need ,i start around 15th of august.
 
James what is that going to be ???

My project got delayed by Honey do again ... new spindle on mower deck ...

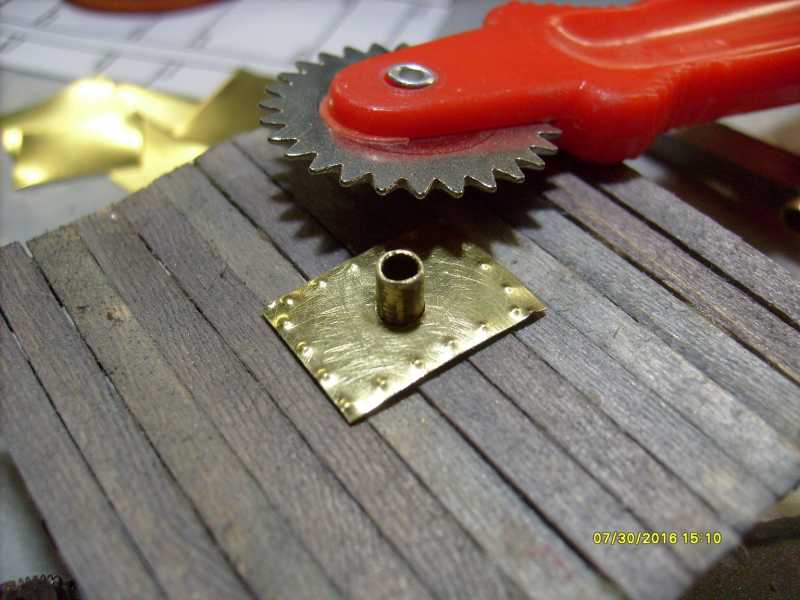
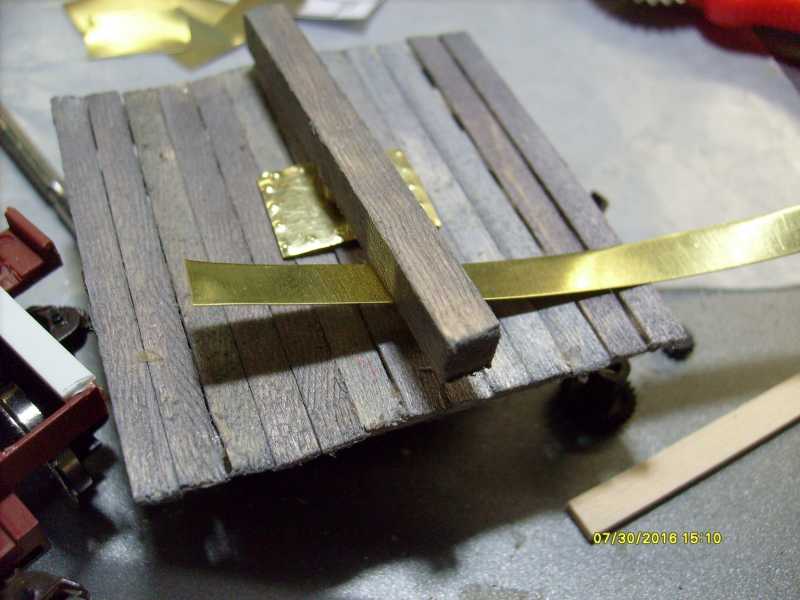
but I picked up some .005 brass sheet while looking for more parts ... my disconnect log car needs some metal plates ...

hf24c431.JPG


h0fe522c.JPG


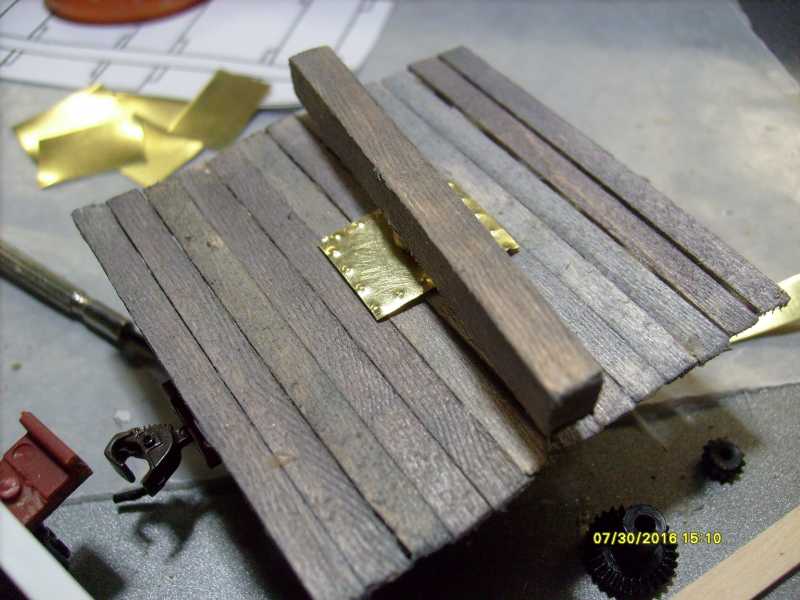
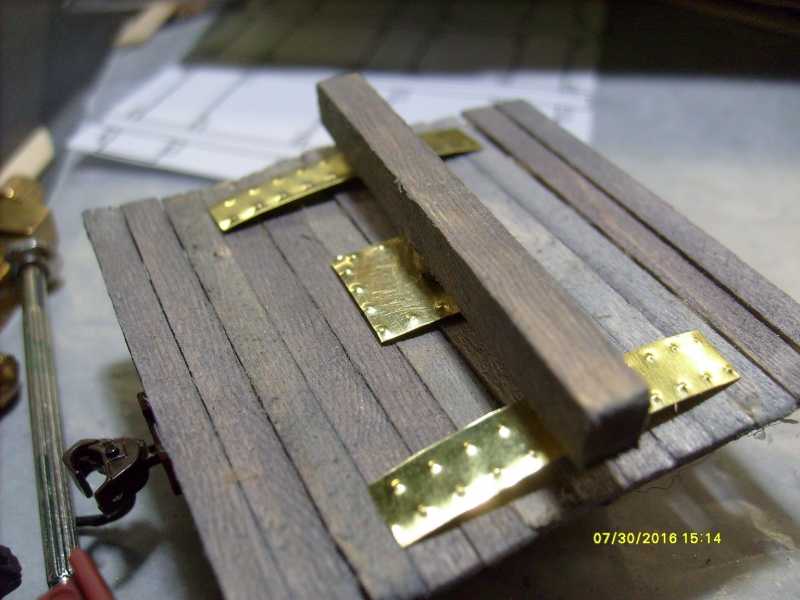
Center plate for added strength ... I used a pattern marker from wife's sewing box for rivets/bolts worked very well ...

h5d4924f.JPG


h4ae0c26.JPG


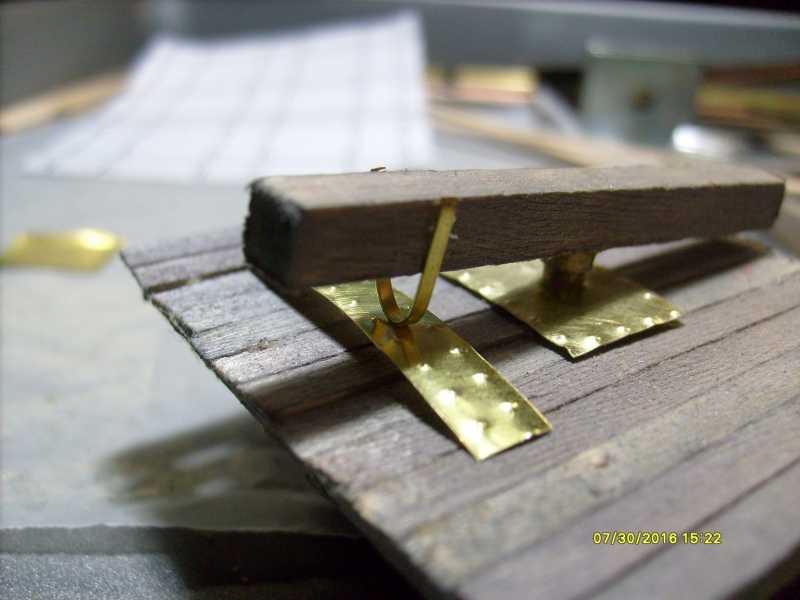
I added some metal plates for my log bunk stirrup to ride on ...

h38e11ba.JPG


I hope to get back on this tonight .... more later as now working on nano L.E.D.s train lanterns ...
 
James that looks like a maz chassis..... which one is it and by the way the interior color is spot on.for most of the aoviet air based maz chassis also alot of the missle chassis
 
Well guys I'm still alive. Been super busy with Sarah being pregnant and got real sick last month with some nasty bug. But got that taken care of. Also now on permanent meds for the Crohn's. So everything is on the up there as well. Also been getting hammered at work with lots of rental rehabs. Doing 5 house rehabs in less than two weeks kind of takes a lot out of you lol. But I have been trying to build as well. Recently picked up a Tamiya P-51B and tinkering with it the past few days. Figured I needed something nice and easy after not touching anything for close to a year.
 
Nerdman, I'm glad to see you still around. I'm sorry to hear you are on permanent meds for Crohn's. Just bear with it, my prayers are going up for you. I also know how you feel being sick; I've been fighting a flu for the last ten days so I'm a little punch-drunk here myself. Congrats on the new baby, I hope he/she comes through with flying colors and is a healthy baby for you. I envy you all the work, savor it while you have it.


Okay, as mentioned; I'm still a bit sick, and was bored out of my skull most of the past week. Whenever I felt up to it, I went in and did a little bit here and there in my Hobby Room to slowly move things along. Today I managed to get a bit more done than expected so maybe I'm recovering a little. So, here's my latest progress on a few models, some of which was done before I got sick.


Let's start with my aircraft....


This is the B-377 all primed up. I also sanded this a bit with some 8000-grit sanding pads but there's still a few rough spots on the wings I need to re-spray and sand again:

WIP_B_377_II.jpg


Moving on, I also added the AA missile rails to my Crusader and masked the canopy off for painting:

WIP_SummerBreak_III.jpg


Later on I shot some flat white on the bottom of this:

WIP_SummerBreak_IV.jpg


I know it's a bit hard to see the difference here, but it will show more when I mask this off and shoot the upper grey color.

Moving right along; I had already shot the white on select parts of the Fokker DVII so I masked them off and shot the red on the front of this plane:

WIP_Fokker_DVII_d.jpg


Later on, after the red had sufficiently dried, I masked off the red and shot the blue over this:

WIP_Fokker_DVII_e.jpg


This plane is almost ready for decals now, just like the SE-5A. It won't be long now.


That's all I have so far to show on my aircraft. Now for some of the work on my armor and vehicles.


I'll start with the Ludwig Areo bus. I had already shot some dark grey over it as a basecoat. Now I shot some lighter grey over select areas to modulate the color. This bus is almost done:

WIP_Ludwig_Areo_Bus_XII.jpg


Next up, I decided to get the lower hull and running gear of my T-90 MS done. I had already added the wheels to the suspension arms and painted and weathered them. Now I added the tracks. I chose to use some of the link and length tracks given to me by my friend Dave O'Barr. Because the top run would be hidden by skirts, I only did the lower part of the tracks:

WIP_T_90_MS_IX.jpg


WIP_T_90_MS_X.jpg


Here's a shot of the lower hull and upper hull together to see how it looks:

WIP_T_90_MS_XI.jpg


Then I looked at the instructions and realized that I hadn't added the rear fuel tanks, so I got them installed straightaway:

WIP_T_90_MS_XII.jpg


I also completed adding the fiddly bits on the turret that I knew would fall off if I'd installed them earlier. All that's left here is touch up painting and additional weathering:

WIP_T_90_MS_XIII.jpg


The next pics you see of this tank will be in the completed Armor Forums with the T-64BV tank. Shouldn't be long now.

Finally, since my Ludwig Areo bus is so close to being done, I was determined to get the Vomag bus closer to being done as well. Here are the results....

I started out shooting the white on the top and the stripe on the sides of the bus:

WIP_VOMAG_7_Bus_XIX~0.jpg


After the white was dry, I applied the first masking to this, making sure to cover the white stripe on the sides:

WIP_VOMAG_7_Bus_XX.jpg


Once that was on, I shot the first part of the green color that I wanted on this bus:

WIP_VOMAG_7_Bus_XXI.jpg


After some more drying time, I pulled the lower masking off and added masking to the upper part; again covering the white stripe:

WIP_VOMAG_7_Bus_XXII.jpg


Finally, I shot the final set of green on the lower part of the bus:

WIP_VOMAG_7_Bus_XXIII.jpg


WIP_VOMAG_7_Bus_XXIV.jpg


After allowing some time to dry, I pulled all the masking off to see how this looks. Despite a couple areas needing some slight touch-up; I was quite pleased with the final result. It was actually better than I expected:

WIP_VOMAG_7_Bus_XXV.jpg


WIP_VOMAG_7_Bus_XXVI.jpg


Now all that's needed is to paint the fenders black; gloss the whole thing, apply decals and complete it. I'm really getting pretty excited about this bus!


Okay, getting all this done, edited and uploaded; along with typing out this post has drained me quite a bit. Time to pop some more meds and hit the bed again. Here's hoping I recover a little more again tomorrow.

Meanwhile, thanks for looking in, comments are welcome.
 
Back
Top