Well Done Ed. Here's hoping you can find some replacement gear soon.
Have fun Sherman! There's nothing like spending quality time with your daughter in a (semi) warm basement during a blizzard. The best of times!
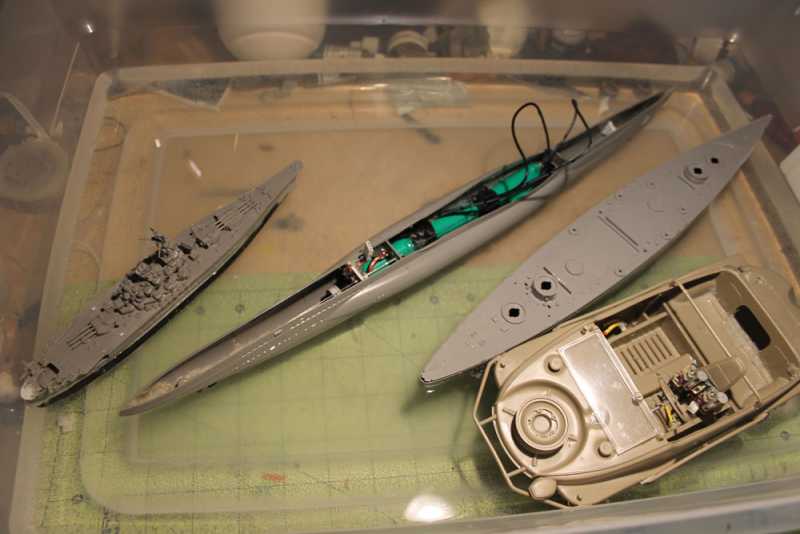
After a couple more days, I finally have some decent progress to show, so here it is. I decided that since I have a bit of spare real estate on the bench, I'd go to my queue and pull out something that's been sitting awhile. I chose this monstrosity since the box was a mangled mess and pieces were threatening to get lost:
That 'mummified' beast above is the old Lindbergh 1/350 scale President Liner that I got for about three bucks. I cemented the hull together and then had to add the decks to the top in order to be able to tape the badly warped hull together so it would glue along the keel. I finally succeeded. I had also added some Mr. Surfacer 500 to select areas and did some sanding to other areas, but it wasn't worth shooting pics.
Moving along; I picked up another model that's been sitting for so long. I was looking for a simple model that I could relax a bit with. Enter the Huey Hog that I'd glued together some time ago. I filled and sanded this Huey down along the seam line:
Later on when I pulled out the airbrush to paint the C-46 and the Diamond T truck with OD, I painted up this little guy as well:
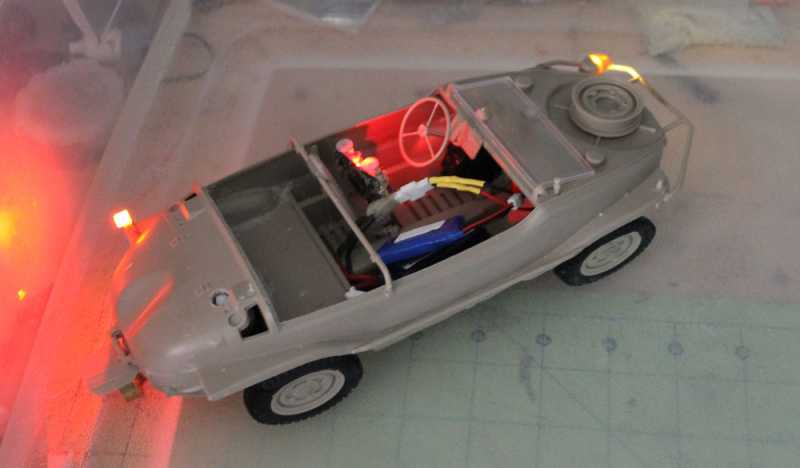
Speaking of my Diamond T Cargo Truck; this beastie was becoming quite a problem model. This time, several of the windows had come unglued so I had to pop open the cab again to repair them:
After getting those windows glued again, I closed this up, masked off the windows and sanded smooth a few rough spots:
While the masking was drying, I completed the chassis by painting the wheels. Now this part is finished and ready for weathering:
Later on, when the airbrush was out and the window masks were dry, I shot another coat of OD on the cab:
Let's hope those windows stay in place when it's time to pull the masks off. Now, some Fun with Dry Fitting:
I'm finally getting somewhere with this model. I might even be able to finish it by next week.
After all that, I wanted to do something different. My brother's Boss had given me a 1/25 scale VW Van from Revell back while I was visiting him during the Columbus Nationals. He recently sent me an E-mail saying his Boss wants to see the van done. What better excuse to pull it out now and get started on it:
First things first, I started on the chassis of course, I did the front suspension parts first:
Next I did the engine..... or whatever this representation is supposed to be:
Here's the "engine" dry-fit onto the rear of the chassis just to see how it fits:
It does fit surprisingly well. I went on to assemble the rear suspension parts here:
Once again, engine only dry-fit in place. I'll probably glue it into place later.
Next I started on the driver's cab. This brought back memories as we used to have a VW bus in my youth and I used to drive it around when my mom sent me out to drop off or pick up one of my brothers and/or sisters:
Here it is all dry-fit together so far. It is now ready for some preliminary painting:
Speaking of painting; I'm NOT going to be painting this in that sickly, ugly green that is on the box top. No way! I hate that color, and I hate it even more on these parts! The instructions call for a light blue interior with dark blue seats so I'll be painting the inside as called out in the instruction sheet. The outside will be a white roof over sapphire blue metallic sides. I'm not real certain I'll use the decals either, but we'll see how this goes first.
Okay, with all that fun accomplished, I was ready for more fun! Lyle's Stearman was calling to me, so I pulled it out and shot the interior green on the interior parts while I had the airbrush out:
Now the instructions called for a very bland interior, but I wanted to do more to it. That being said, I didn't go researching the interiors of Stearmans; instead I took a little 'artistic license' and painted it up with leather seats, field-drab colored seat belts with metallic buckles, and red and black knobs on the side. I also added black on the sticks and I dry-brushed a little steel on the rudder pedals and floor:
The instrument panels are decals too. I think this gives it a bit more visual interest.
Next up of course, was closing this up inside the fuselage. First, here's a shot of the interior inside the one side of the fuselage:
Finally, she's all closed up. I even added the horizontal stabilizers:
Next I added the firewall details and then the engine mount before adding the sides of the cowl covering all this up:
Speaking of engines, I decided to detail out the engine with some extra paint to make it stand out a bit more:
That will be getting a wash of Oily Black on it before I'm finished with it. Now I added all the final cowl parts before it's time to add the engine. I also installed the lower wing:
Now this model poses a bit of a problem. The round facing of the cowl needs to be trapped between the propeller and the engine. So, I need to color match a red with the decal for this part before I can complete the engine and cowling assembly. A red decal would certainly never cover that part at all! I'll keep you posted on how that turns out. This little biplane is almost ready for paint.
Finally, after all that fun, I figured I needed to get back to something that was languishing on my bench for too long. I pulled out the two flat cars I had started earlier, starting with the shorter one. The instructions called for a metal rod to be bent and cemented into place underneath the body. I opted to use plastic rod instead for ease of assembly:
After that, it was only a matter of finishing off the top of this with the end pieces, bumper shafts and side rails. This little flatcar is ready for P/E parts:
I did the same with the longer one; adding the plastic rod on the suspension:
I'm not worried about those bad ejector pin marks on the side; they'll be covered by P/E sheeting
I then flipped this over and added the end pieces, bumper shafts and upper side rails. Once again, this one is ready for P/E parts:
I think they look pretty good together so far:
Okay, that's about all I have for now. Hopefully I'll get some more done soon. I know I'll make some pretty good progress this Hobby Day Friday and Saturday, so maybe I'll be able to get a few of these things closer to the finish line. Stay tuned for more, and remember; comments are welcome. Thanks for looking in.


