Duke Maddog
Well-known member
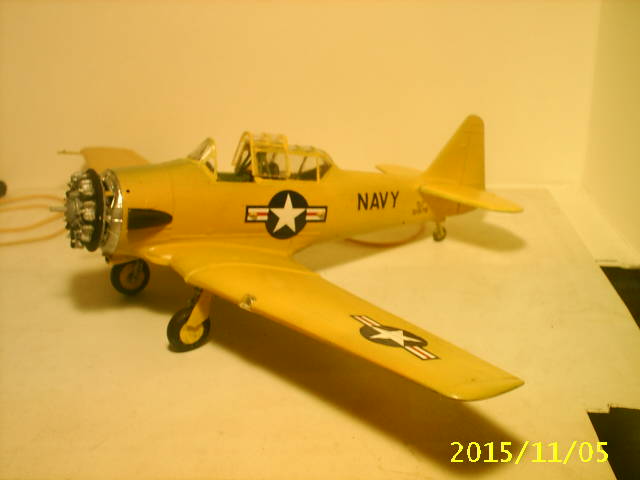
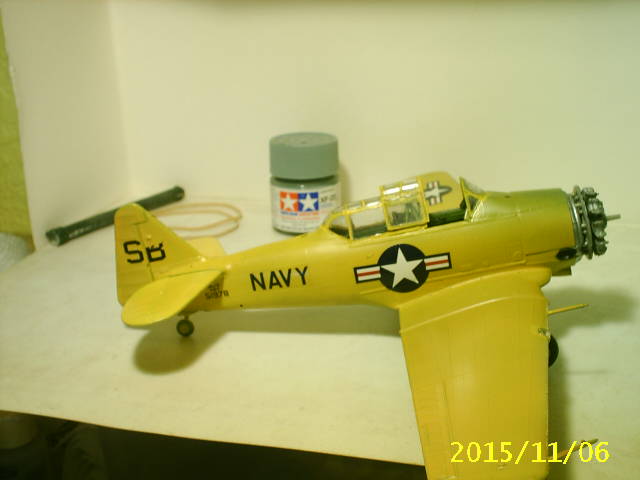
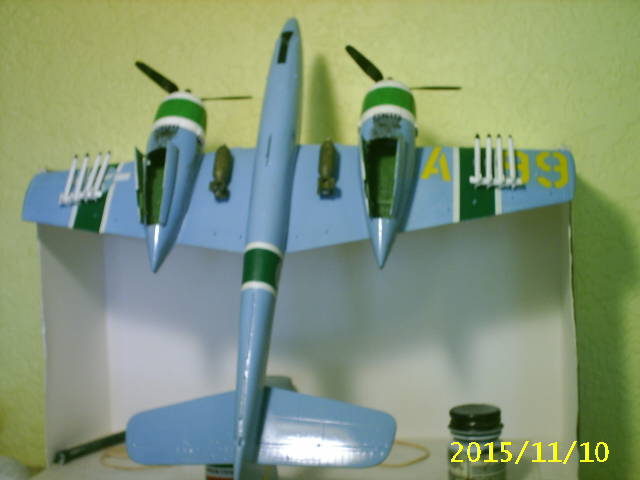
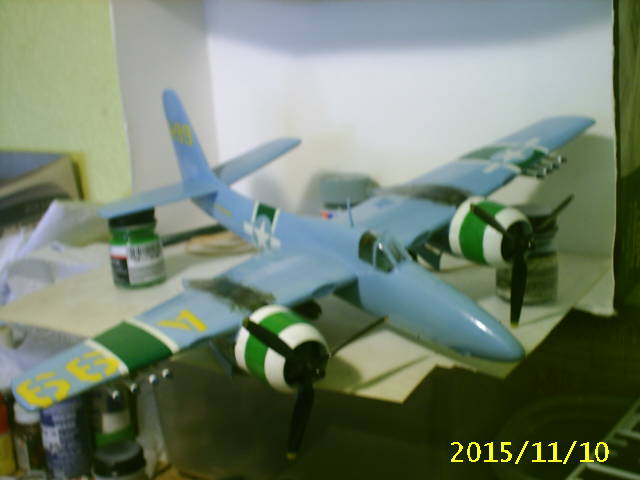
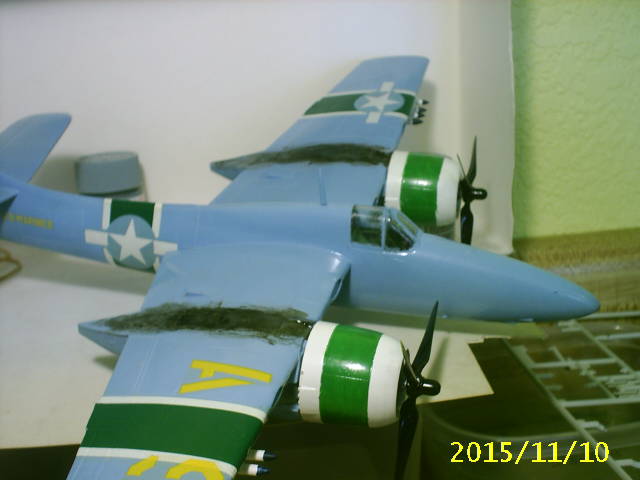
Well Ed, in the first pic it looks right, but in the second pic, the paint looks lighter than the decal. Are they different paints or the same one?
Sherman, I'm guessing that your Top Secret project just might be a Sherman..... :hmmm
I could be wrong...... :idonno
Okay, here's the latest on my not-so-Top-Secret, mostly small scale, out-of-the-box projects that I've been working on.
I'll start with the Space Shuttle since there's only the one pic. Seems the bottom seam is atrocious, so I slathered a good amount of Mr. Surfacer 500 in preparation for cleaning this up:

Hopefully tomorrow I can install the interior into this model and move on....
Next I went to work on my little Huey Hog helicopter that I've been neglecting for a while. I finished up painting the pilots and adding the main rotor stem:

I also dry-brushed white on the instrument panel:

I kept it simple since I didn't expect much would be seen through the windows anyway...
Finally, I slapped it all together and set it up to dry. "Attack of the Killer Clamps!" movie preview:

More to come on that later. I have a lot of touch-up to do on that. I'll also probably need to shoot another OD coat on it.
Moving on, I also went back to another model I've been neglecting a bit. It was time to complete the cab for my Diamond T cargo truck. Before that though, I didn't like the gaps between the tanks on the running board and the forward fender. So, I took out the Mr. Surfacer 500 and added some to the gaps. Then I used Mr. Hobby Thinner to smooth it out so that I wouldn't need to try and get some kind of sanding implement in the corner:


Next I added the windshield and door windows to this. Here's the windshields:

Seems the Mr. Surfacer 500 got a little thin and opened up again. Gonna have to fix that...
Windshields were kind of hard to see in that pic, here's another one:

Then I added the windows to the doors:

Don't know where all that dirt came from on those; I already got them cleaned off. I also noticed that they didn't include a window for the back of the cab. So, I used my Micro Crystal Clear to make one:

While all that was sitting and drying, I went ahead and added the wheels to the chassis:

Gonna be painting those wheels later on, possibly tomorrow.
Finally, I got the cab finished:

I didn't add the headlight guards on this because they are solid plastic and look terrible. I'm going to try and find some P/E mesh I might have somewhere to replace it on this model. Hopefully I have some.
Finally, some more Fun With Dryfitting:

Last but not least, a friend of mine on another Forums posted that he'd received a 1/48 scale Revell Stearman biplane and needed a builder to build it for him. I mentioned that if nobody else was willing to build it for him, I'd give it a shot. Long story short, he sent it to me.
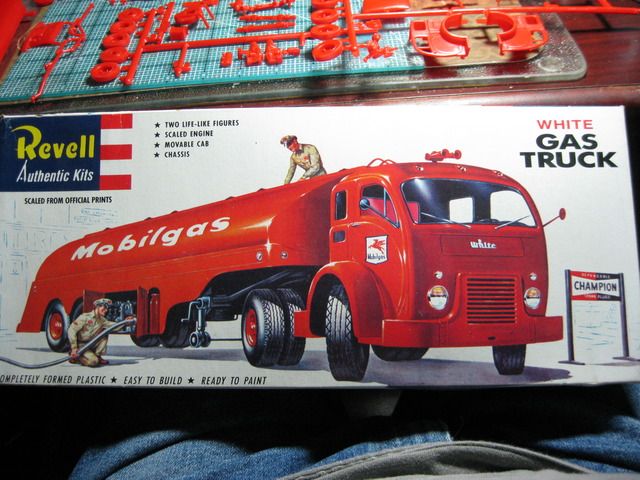
This is the box I got in the mail this week:

Some nicely molded parts in this model. It looks pretty good in the box:

After looking it over, I cleared my bench and got started. First off was the cockpits and interior:

While that was drying, and while I was waiting to find out what scheme he wanted this done in, I painted black on all the black and metallic parts. The metallic parts will be dry-brushed with aluminum or steel, depending on what I'm painting:

By the way, he left it up to me to choose the scheme so I'll do the one shown on the box top.
Tomorrow I was supposed to help someone move, but the place he's supposed to move to isn't ready yet so I have the whole day free. The airbrush is coming out so I'll be painting the Stearman interior and several other models.
Stay tuned for more! Meanwhile, comments are welcome; thanks for looking in.
Sherman, I'm guessing that your Top Secret project just might be a Sherman..... :hmmm
I could be wrong...... :idonno
Okay, here's the latest on my not-so-Top-Secret, mostly small scale, out-of-the-box projects that I've been working on.
I'll start with the Space Shuttle since there's only the one pic. Seems the bottom seam is atrocious, so I slathered a good amount of Mr. Surfacer 500 in preparation for cleaning this up:

Hopefully tomorrow I can install the interior into this model and move on....
Next I went to work on my little Huey Hog helicopter that I've been neglecting for a while. I finished up painting the pilots and adding the main rotor stem:

I also dry-brushed white on the instrument panel:

I kept it simple since I didn't expect much would be seen through the windows anyway...
Finally, I slapped it all together and set it up to dry. "Attack of the Killer Clamps!" movie preview:

More to come on that later. I have a lot of touch-up to do on that. I'll also probably need to shoot another OD coat on it.
Moving on, I also went back to another model I've been neglecting a bit. It was time to complete the cab for my Diamond T cargo truck. Before that though, I didn't like the gaps between the tanks on the running board and the forward fender. So, I took out the Mr. Surfacer 500 and added some to the gaps. Then I used Mr. Hobby Thinner to smooth it out so that I wouldn't need to try and get some kind of sanding implement in the corner:


Next I added the windshield and door windows to this. Here's the windshields:

Seems the Mr. Surfacer 500 got a little thin and opened up again. Gonna have to fix that...
Windshields were kind of hard to see in that pic, here's another one:

Then I added the windows to the doors:

Don't know where all that dirt came from on those; I already got them cleaned off. I also noticed that they didn't include a window for the back of the cab. So, I used my Micro Crystal Clear to make one:

While all that was sitting and drying, I went ahead and added the wheels to the chassis:

Gonna be painting those wheels later on, possibly tomorrow.
Finally, I got the cab finished:

I didn't add the headlight guards on this because they are solid plastic and look terrible. I'm going to try and find some P/E mesh I might have somewhere to replace it on this model. Hopefully I have some.
Finally, some more Fun With Dryfitting:

Last but not least, a friend of mine on another Forums posted that he'd received a 1/48 scale Revell Stearman biplane and needed a builder to build it for him. I mentioned that if nobody else was willing to build it for him, I'd give it a shot. Long story short, he sent it to me.
This is the box I got in the mail this week:

Some nicely molded parts in this model. It looks pretty good in the box:

After looking it over, I cleared my bench and got started. First off was the cockpits and interior:

While that was drying, and while I was waiting to find out what scheme he wanted this done in, I painted black on all the black and metallic parts. The metallic parts will be dry-brushed with aluminum or steel, depending on what I'm painting:

By the way, he left it up to me to choose the scheme so I'll do the one shown on the box top.
Tomorrow I was supposed to help someone move, but the place he's supposed to move to isn't ready yet so I have the whole day free. The airbrush is coming out so I'll be painting the Stearman interior and several other models.
Stay tuned for more! Meanwhile, comments are welcome; thanks for looking in.

