Today I got to the workbench and got started on those train flatcars like I wanted. Here's my latest progress on everything today.
First off, I hate when they make the sprue gates so big like this that they fill up the channel where the wheel is supposed to sit on the rails:
I was working on two flatcars; one long and one short. I had to clean
eight of those wheels! What a PITA!
After doing all of those and getting the wheels and axles assembled, I built up the rest of the flatcars. These are by no means done; I have a lot of detail parts to add to these, as well as the side rails. However, you can see here the basic look of these little cars.
Here's the short one:
And this is the long one:
There are four parts to that long flatbed that had to be glued flat. I'm still not sure I succeeded. Oh well, this one is done so far.
After all that, I'd had enough of UM's trains so I took a break. I didn't want to fire up the compressor today to airbrush, so I decided to do a few simple kits and a couple of easy distressed kits. Here's the first of the simple kits. This is the 1/72 scale Hasegawa Huey Hog I started some time back. I found it again and went ahead and painted the interior of the cockpit and cargo bay:
Later on I'll paint the pilots and drybrush the instrument panel. For now, I just went ahead and painted some of the other details, as well as the interiors of the fuselage halves:
Once the pilots and IP are done this little bird will be ready to close up!
Moving on, I picked up one of the first of the Distressed Kits I wanted to (re)start. This is a Trumpeter 1/72 scale LAV-25 that someone "severely started" before I got it in the Distressed Kit Auction at my IPMS club's June meeting. This is what it looked like when I got it:
Notice everything is there....... except the instructions.....
Oh well, I'm a model builder; I don't need no steenkin' instructions!
I went ahead and finished fixing the suspension parts that had broken off:
I kept thinking, 'what's up with this green color anyway?' but I went on and started the turret. Once I got the turret all assembled, I noticed a fairly large gap that I was sure wasn't supposed to be there. So out came some strip styrene that got cut up and placed in the hole to plug it:
That will get sanded smooth later on.
Here's a test shot showing the hull and turret together:
That's gonna look pretty good when I finally cover that nasty green...
The next Distressed Kit I got was actually given to me because they felt I'd do a better job on it that they'd already done. (Whaaaa...?) This is the Minicraft 1/700 scale spru-can that was; again, "severely started". The whole hull and superstructure as well as the masts were already built; and the masts and tops of the stacks had already been painted a gloss black. I started out by replacing the lost antennae on the masts and added the weapons to the hull. The previous builder had also added the poor decals which had already started flaking off. I hit them with Solvaset to lock the remainder of them down and then I re-painted the masts and tops of the stacks with flat black. Here is what it looked like when I got done with all that. The white parts were what I'd added to the masts:
After looking at this, I noticed that I'd used the wrong type of gun on the front of this ship. I fixed that straight away:
Next I painted the hull. Then I looked at several of the gaps on the superstructure and decided I couldn't live with those. Out came the Mr. Surfacer. I started out with the gaps on the forward superstructure under the bridge:
Yes, I already fixed the drooping antenna...
Then I filled the gaps around the hanger doors:
All that will be carefully sanded down till it's smooth and then I'll paint the superstructure. Some gaps are still there, but I can't get to them with what I have so they'll just have to remain.
Well, after doing all that work on that spru-can, I got motivated to finish off the USS Virginia, despite not finding the replacement parts someone had sent me. Out came more of the styrene strip and rods.
Okay, remember this? This is where I stopped before:
Well since that pic was taken, the masts had all broken off; the big square radar disappeared and several other parts broke off and disappeared. *cough*torpedo tubes*cough.
Okay, after tearing apart the Hobby Room again looking for the square radar; I finally found the back of another one. I added the front of it using sheet styrene and then added the extra parts that made this radar:
It looks like crap, but at least I got one on this ship again! I also added modified launcher arms to look similar enough to the ones in back that are still on; then I replaced the masts, and fixed the other missing parts:
Then I touched up the paint a little more, and fixed a few more bits and bobs:
I'm not sure why I posted that pic; it doesn't look much different than the previous one. Oh well, here's a stern shot I haven't included before:
Okay, I guess I can now declare that ship ready for decals. Finally, I'll have that ship added to my fleet; after so many, many years of waiting!
Okay, that's all I got done so far today. Tomorrow promised to be just as open for working on my Hobby so this time, I think I'll fire up the compressor and start shooting some paint. So stay tuned, more to come.
Meanwhile, comments are always welcome, thanks for looking in.

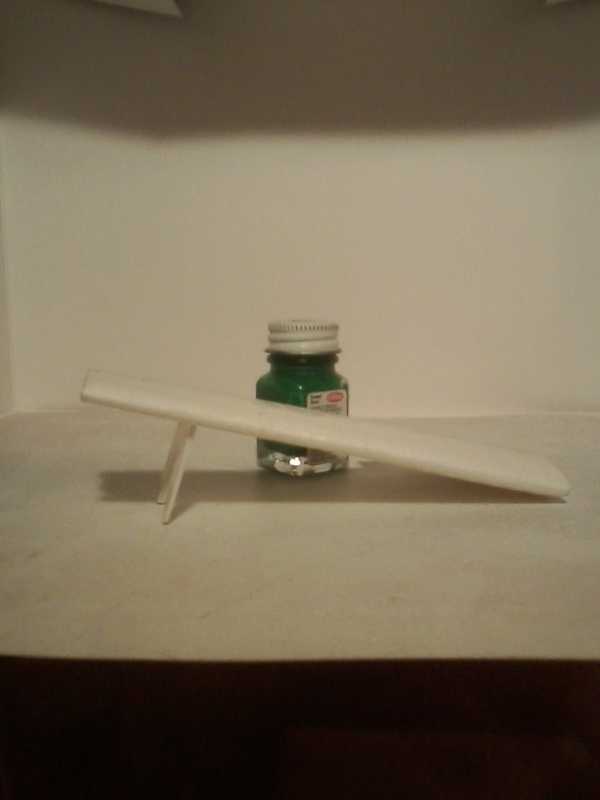
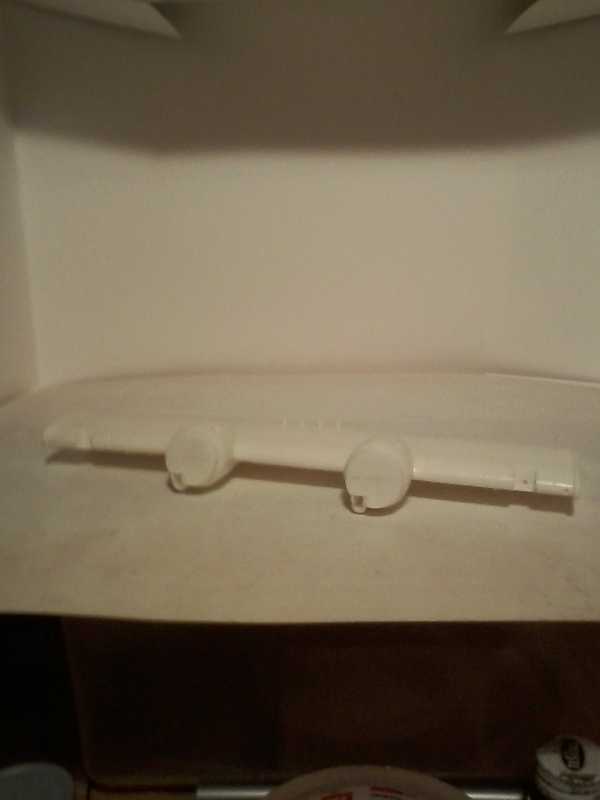
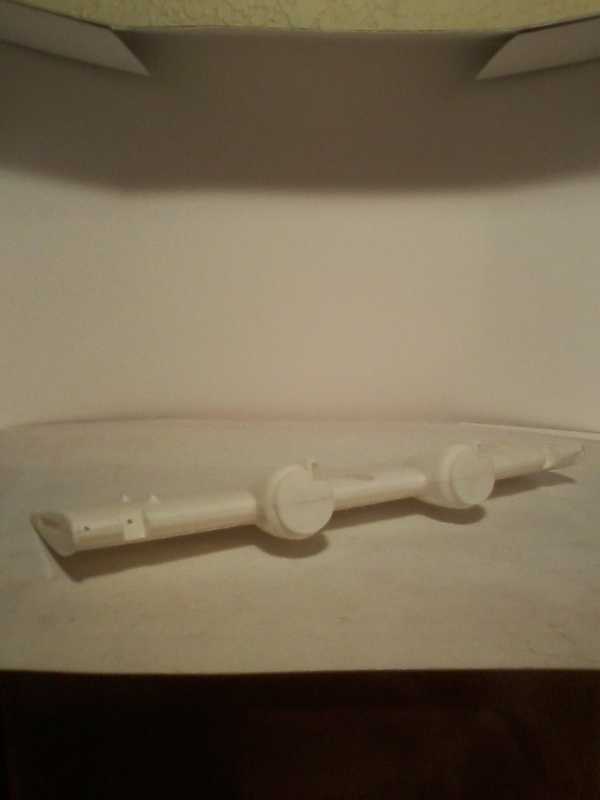
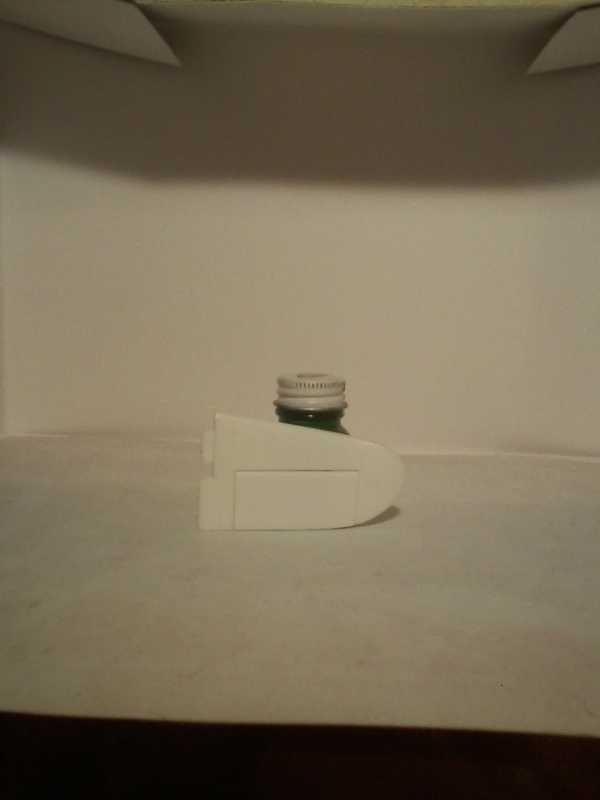

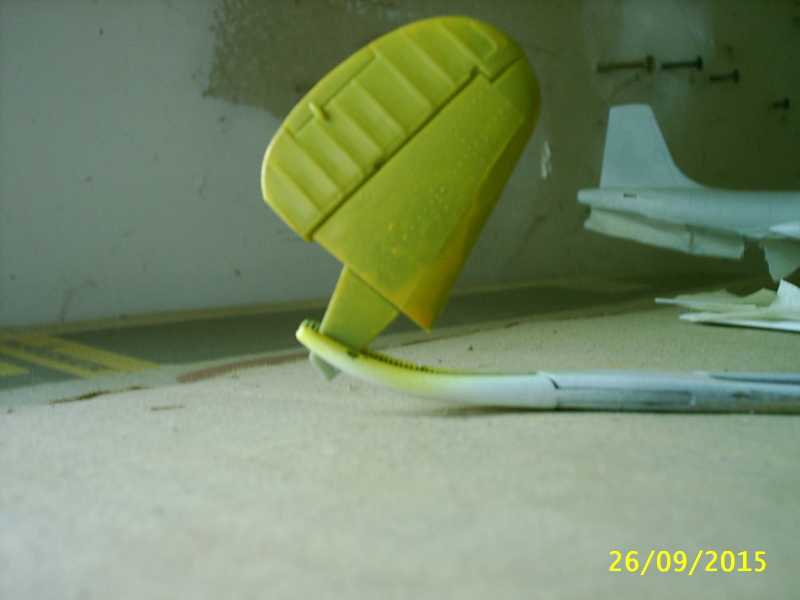
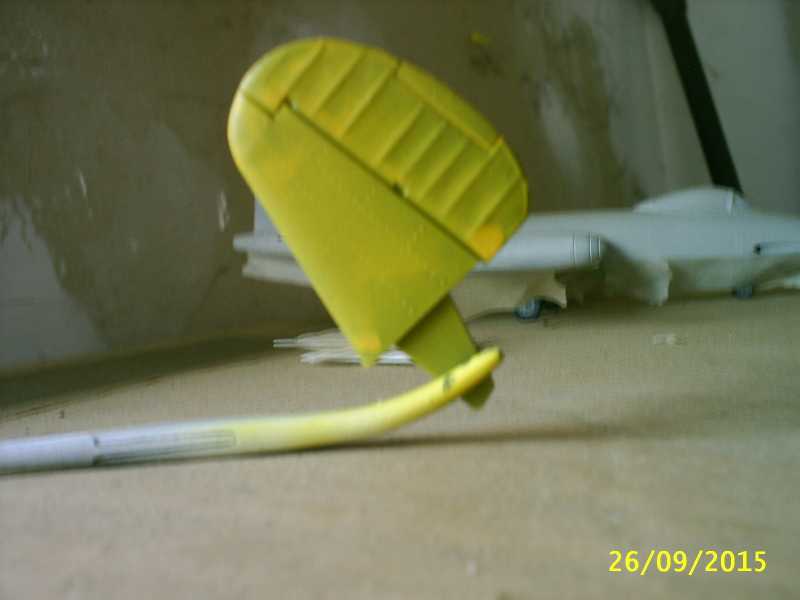




 at least nothing vital got hit in this! Had about a 3rd of a bottle of the Flex-i-file Plast-i-weld but, not no more :facepalm I do have the Tenax7R so, I'm still in the game :drinks


