-
Modelers Alliance has updated the forum software on our website. We have migrated all post, content and user accounts but we could not migrate the passwords.
This requires that you manually reset your password.
Please click here, http://modelersalliance.org/forums/login to go to logon page and use the "Forgot your Password" option.
You are using an out of date browser. It may not display this or other websites correctly.
You should upgrade or use an alternative browser.
You should upgrade or use an alternative browser.
All Righty ... What's on the bench today?
- Thread starter panzerace007
- Start date
Lookin' damn good Mike! 
That's very cool-- don't forget the reading material that doubles as TP
Been putting the last touches on the wrecker...might be pretty near close to done

Mighty fine job thar Mike!!
Swordsman
Active member
Missing the corn cob...I know, rivet counting again.
Yes I thought of the corn cob ..... But the House ain't finished yet ..... And Ed I really Luv Ya Man !!!! I was thinking of a Sears & Robuck catalog ....
Duke Maddog
Well-known member
Mike, I had already thought the truck was done, but you've managed to make it even better! Well done!
A Outhouse ......
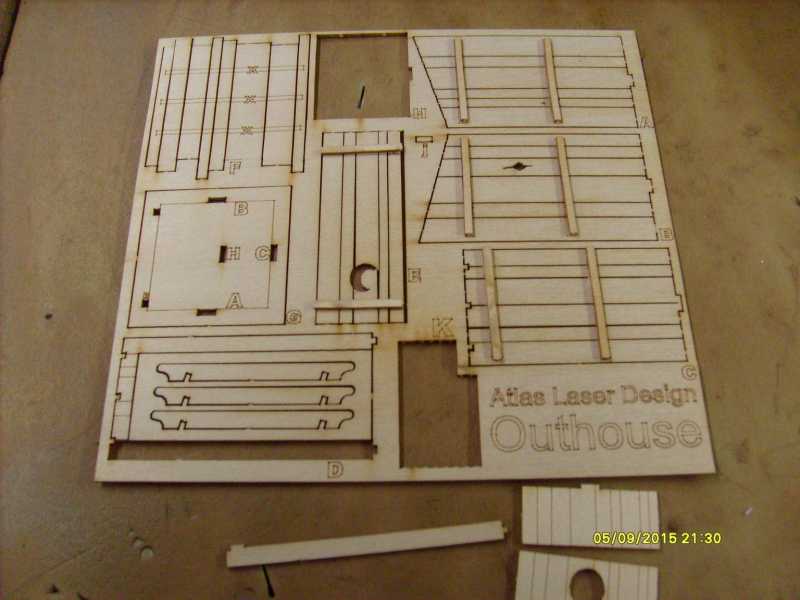
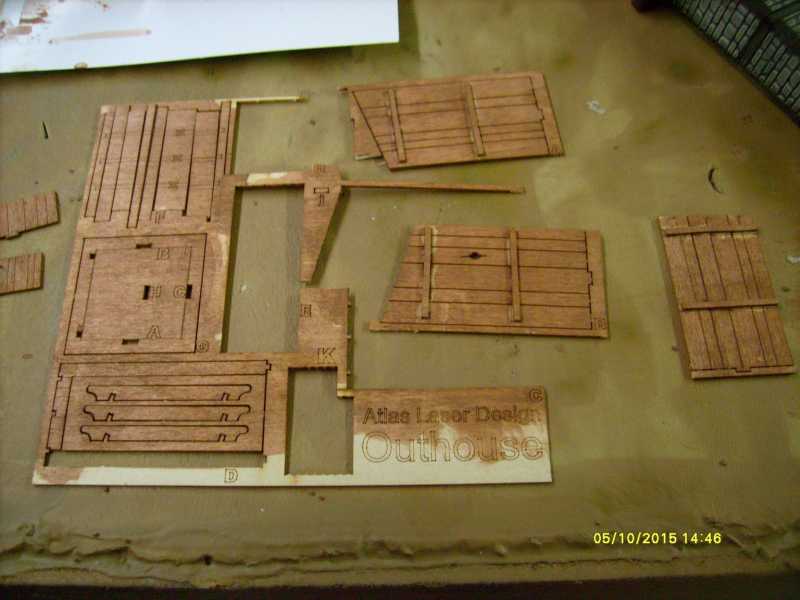
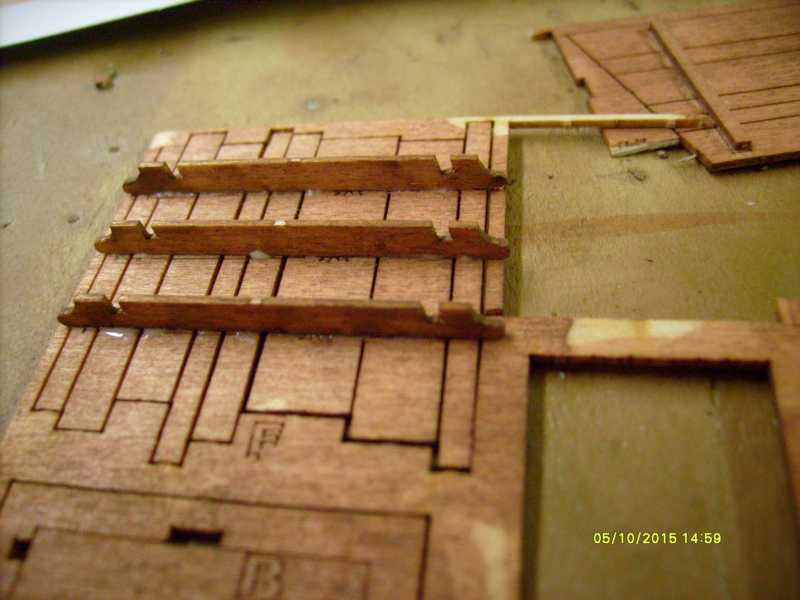
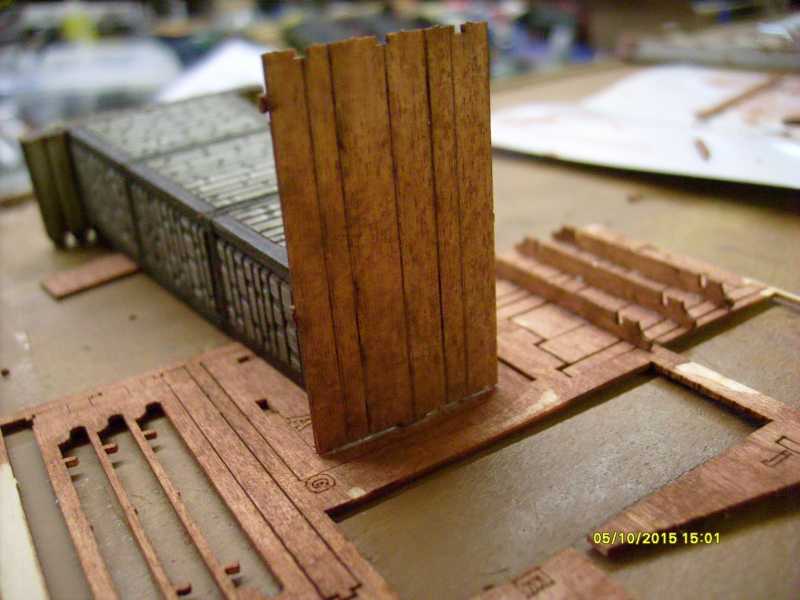
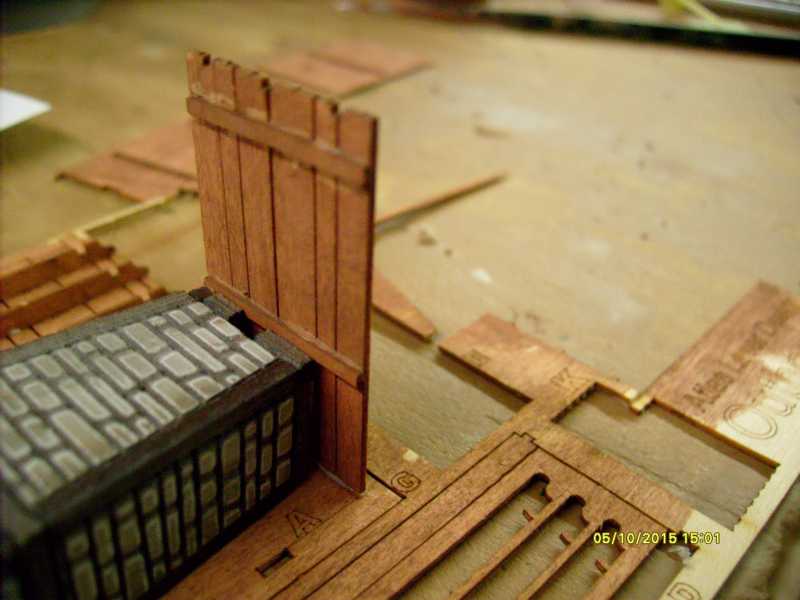
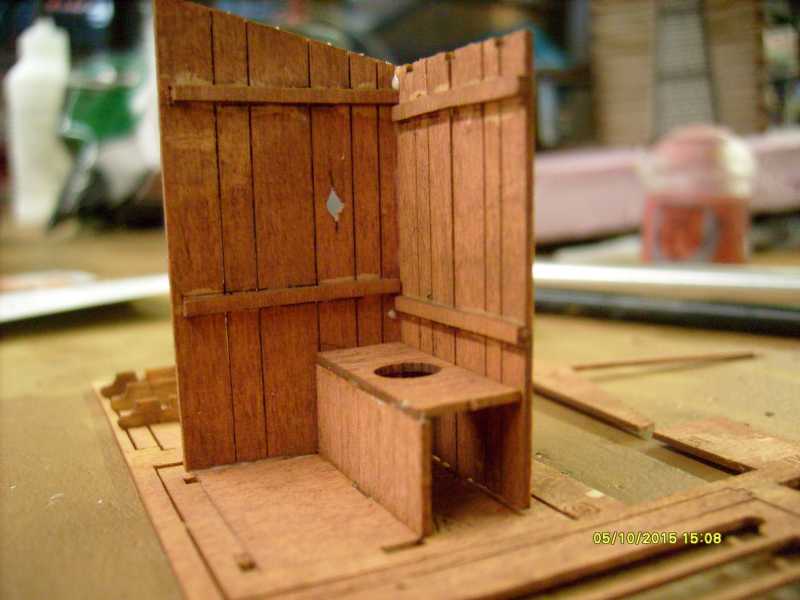
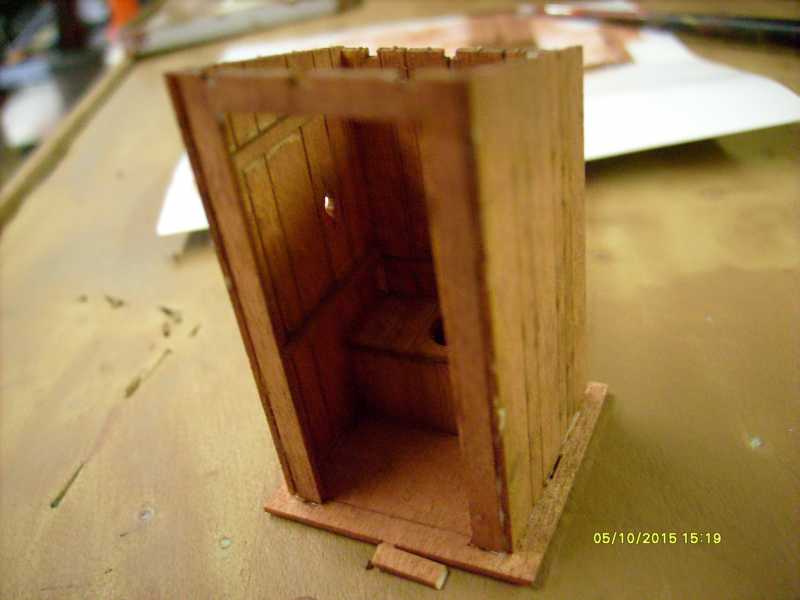
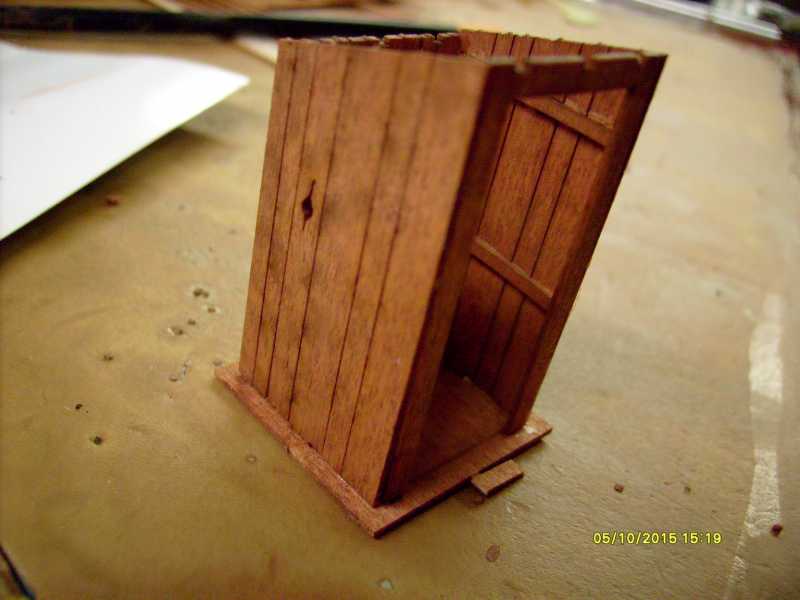
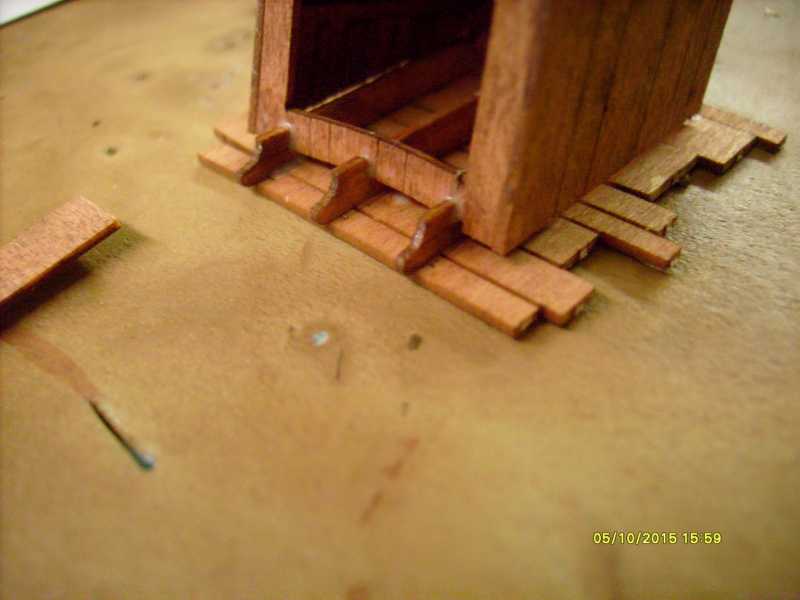
Start to finish ....... last photo I'm waiting for the roof to set ..... then over she goes for the door & some weathering .....ldguy
What scale is that outhouse?
Duke Maddog
Well-known member
Well, after a good long weekend, and a Build Night at my Orange County IPMS meeting; I was able to make a lot of progress. To start with, I added the wing to the C-46, gluing on the bottom side first:

There were some gaps at the wing roots on top, so I lifted the wings a bit to close the gaps and added Tamiya Extra Thin to glue them solid. Now to get this filled and sanded to be sure the seams are all taken care of:

Next up; it was time to do some painting. I pulled out all the models waiting for paint, fired up the compressor and got to work. The first one, and one of the easiest was the Japanese Three-ton truck. After painting it, I added the wheels as well:


Next I pulled out the Japanese radar and missile trucks. I had tried to mask these off, but there were too many nooks, crannies, and protrusions that made it almost impossible so I just hand painted the pattern on these trucks. Here's the radar truck after I painted it and added the wheels and other details:


The missile truck gave me some issues while I was trying to put the rear platform on the back of the chassis, but I finally managed to get it on the truck. Later on I got it all painted up and added the wheels and the rest of the detail parts to it:


Since I was already working on the Japanese vehicles, I pulled out the Japanese Type 10 tank and re-shot some green on it to cover some spots that got sanded off. Then I masked it with the Silly Putty to shoot on the second camouflage color:

A little later, I shot the brown color on this:

Since my Type 60 Self Propelled Gun vehicle was already masked, I shot the brown color coat over this one too:

A little later; after I'd finished painting the Atomic Annie, I came back and removed the Silly Putty masking from both these vehicles:


Now I just need to apply a clearcoat, then decals and then the final detail parts before I weather all these Japanese vehicles and call them all done.
Yes, I did mention that I painted Annie. Here's a shot of all the parts with the Olive Drab color shot onto them:

Later on I painted the chassis and engine parts with Floquil Oily Black dry brushed with steel color. After that was dry, I shot some Panzer Dunklegelb over the flat parts of the model to modulate the color. It was a bit too stark and bright so I re-shot a mist of Olive Drab over it again to tone it down. I'm pretty pleased with the current results:

The part of the barrel that is not painted will be done with a steel color. Then I'll do the same trick I did on the Dora to get the turned metal effect.
Moving right along, I decided to shoot flat black over the ends of the rocket stages and the rocket engines.
Here's the bottom of the second stage where five nozzles will be installed:

Next is the bottom of the third stage:

And the bottom of the command module:

And finally, the engines themselves:

Later on, at our first ever Build Night at IPMS Orange County, I spent the evening applying gold leaf to the bottom of the LEM. This took most of the night and was tough to keep burnished down sometimes, but here is the result so far:

The next day at home I test-fit the lunar module's upper stage to it since I'd forgotten to take it to the meeting:

While waiting for some of the above models to dry between coats, I found this old bottle of Pactra Navy Metallic Grey that was still viable after all these years. So, I decided to try it out on the engines to see how it would look. I took one of the main engines and painted it up. Here it is beside one still unpainted:

It is a bit darker than in these pics. The brightness is a bit high in these pics, but you can see it looks pretty good. I was about to put the color away when I thought, 'wait, lets dry-brush this color on the undersides of the rest of the bases of the stages' so I went to work. It's a bit hard to see the difference in these pics, but they do look good:


Of course, after all of this work; I'll be finding out that these should be painted a totally different color! Naturally!
Anyway, that's all I have done for now. I hope you enjoyed the Factory tour. Thanks for looking in, comments are welcome.

There were some gaps at the wing roots on top, so I lifted the wings a bit to close the gaps and added Tamiya Extra Thin to glue them solid. Now to get this filled and sanded to be sure the seams are all taken care of:

Next up; it was time to do some painting. I pulled out all the models waiting for paint, fired up the compressor and got to work. The first one, and one of the easiest was the Japanese Three-ton truck. After painting it, I added the wheels as well:


Next I pulled out the Japanese radar and missile trucks. I had tried to mask these off, but there were too many nooks, crannies, and protrusions that made it almost impossible so I just hand painted the pattern on these trucks. Here's the radar truck after I painted it and added the wheels and other details:


The missile truck gave me some issues while I was trying to put the rear platform on the back of the chassis, but I finally managed to get it on the truck. Later on I got it all painted up and added the wheels and the rest of the detail parts to it:


Since I was already working on the Japanese vehicles, I pulled out the Japanese Type 10 tank and re-shot some green on it to cover some spots that got sanded off. Then I masked it with the Silly Putty to shoot on the second camouflage color:

A little later, I shot the brown color on this:

Since my Type 60 Self Propelled Gun vehicle was already masked, I shot the brown color coat over this one too:

A little later; after I'd finished painting the Atomic Annie, I came back and removed the Silly Putty masking from both these vehicles:


Now I just need to apply a clearcoat, then decals and then the final detail parts before I weather all these Japanese vehicles and call them all done.
Yes, I did mention that I painted Annie. Here's a shot of all the parts with the Olive Drab color shot onto them:

Later on I painted the chassis and engine parts with Floquil Oily Black dry brushed with steel color. After that was dry, I shot some Panzer Dunklegelb over the flat parts of the model to modulate the color. It was a bit too stark and bright so I re-shot a mist of Olive Drab over it again to tone it down. I'm pretty pleased with the current results:

The part of the barrel that is not painted will be done with a steel color. Then I'll do the same trick I did on the Dora to get the turned metal effect.
Moving right along, I decided to shoot flat black over the ends of the rocket stages and the rocket engines.
Here's the bottom of the second stage where five nozzles will be installed:

Next is the bottom of the third stage:

And the bottom of the command module:

And finally, the engines themselves:

Later on, at our first ever Build Night at IPMS Orange County, I spent the evening applying gold leaf to the bottom of the LEM. This took most of the night and was tough to keep burnished down sometimes, but here is the result so far:

The next day at home I test-fit the lunar module's upper stage to it since I'd forgotten to take it to the meeting:

While waiting for some of the above models to dry between coats, I found this old bottle of Pactra Navy Metallic Grey that was still viable after all these years. So, I decided to try it out on the engines to see how it would look. I took one of the main engines and painted it up. Here it is beside one still unpainted:

It is a bit darker than in these pics. The brightness is a bit high in these pics, but you can see it looks pretty good. I was about to put the color away when I thought, 'wait, lets dry-brush this color on the undersides of the rest of the bases of the stages' so I went to work. It's a bit hard to see the difference in these pics, but they do look good:


Of course, after all of this work; I'll be finding out that these should be painted a totally different color! Naturally!
Anyway, that's all I have done for now. I hope you enjoyed the Factory tour. Thanks for looking in, comments are welcome.
Sherman 18
Master at Arms
Played at the bench last night. More later


Played at the bench last night. More later

Blasphemy!! :captain Love the bench
Heavens Eagle
Well-known member
Played at the bench last night. More later

Looks like you had to add more bench space to the front side.
Sherman 18
Master at Arms
Played at the bench last night. More later

Looks like you had to add more bench space to the front side.
Yes I did. It is an old desk and with the center drawer in it my knees hit it. So I put the thing on 2X4 blocks so my legs cleared but then the work surface is just a little to high, not a lot but just enough where it feels off. To stop that I was pulling open the center drawer and using it as much as a bench as storage. I had a piece of wood laying around and thought it would be to have it on top of the drawer. Works for now. I thinking of total new layout of the hobby room sometime down the road.
Duke Maddog
Well-known member
I see the Maddog factory has been busy! B)

Great update Duke
Thanks guys! I'm trying to keep production ramped up. I have so many projects that I want to have finished and besides, I need the space! Stay tuned for more...
Sherm, that bench looks like mine! I can barely find the room as well. I really need to do something about my workspace.
Bill, looking good. It always feels great making progress on a Shelf Queen doesn't it?
I see the Maddog factory has been busy! B)

Great update Duke
Thanks guys! I'm trying to keep production ramped up. I have so many projects that I want to have finished and besides, I need the space! Stay tuned for more...
Sherm, that bench looks like mine! I can barely find the room as well. I really need to do something about my workspace.
Bill, looking good. It always feels great making progress on a Shelf Queen doesn't it?

Duke Maddog
Well-known member
I see the Maddog factory has been busy! B)

Great update Duke
Thanks guys! I'm trying to keep production ramped up. I have so many projects that I want to have finished and besides, I need the space! Stay tuned for more...
Sherm, that bench looks like mine! I can barely find the room as well. I really need to do something about my workspace.
Bill, looking good. It always feels great making progress on a Shelf Queen doesn't it?


Now if you'd git busy & finish some projects, ya might have room on the bench :yipee :smack

Well gee Ed, what do you think I'm trying to do? :hmmm :idonno :smack
I have about five models that are a day or three from being finished, and several that are about halfway done. I might even have them completed by the end of the weekend.
:hmmm :idonno :franticI see the Maddog factory has been busy! B)

Great update Duke
Thanks guys! I'm trying to keep production ramped up. I have so many projects that I want to have finished and besides, I need the space! Stay tuned for more...
Sherm, that bench looks like mine! I can barely find the room as well. I really need to do something about my workspace.
Bill, looking good. It always feels great making progress on a Shelf Queen doesn't it?


Now if you'd git busy & finish some projects, ya might have room on the bench :yipee :smack

Well gee Ed, what do you think I'm trying to do? :hmmm :idonno :smack
I have about five models that are a day or three from being finished, and several that are about halfway done. I might even have them completed by the end of the weekend.
MM2CVS9
Active member
Later on, at our first ever Build Night at IPMS Orange County, I spent the evening applying gold leaf to the bottom of the LEM. This took most of the night and was tough to keep burnished down sometimes, but here is the result so far:

Lookin good. What did you use for the gold leaf?
EJ
Similar threads
- Replies
- 39
- Views
- 10K
- Replies
- 60
- Views
- 19K

