-
Modelers Alliance has updated the forum software on our website. We have migrated all post, content and user accounts but we could not migrate the passwords.
This requires that you manually reset your password.
Please click here, http://modelersalliance.org/forums/login to go to logon page and use the "Forgot your Password" option.
You are using an out of date browser. It may not display this or other websites correctly.
You should upgrade or use an alternative browser.
You should upgrade or use an alternative browser.
All Righty ... What's on the bench today?
- Thread starter panzerace007
- Start date
Adam Baker
Active member
Not much bench time in, per se, spent most of my time this afternoon/evening sorting through my small collection of Vallejo paints, to see what I've got, to make working on my figures a bit easier. Wrote the number of each color on the cap, and then put a dab of color on the very tip of the cap, to make it a bit easier to find the colors I want. This will come in especially handy once I'm able to add the cabinets w/ drawers under my bench that I want, so I can just put the bottles in a drawer, and will be able to see the number & color still.
Jeeves
Well-known member
More going on in the Quonset Hut today 
Starting to get packed in today...


First attempt at a bunk using measurements from my son's...and we ended up being a bit too big- so it's now a table

Next one was a bit better-- even found some styrene rod for the legs...

But then I found I still need to improve on it after finding this pic...

First stage-

Gotta tie it in with the wire I bent from a paper clip for the top part of the frame-- that's on for tomorrow...
Starting to get packed in today...


First attempt at a bunk using measurements from my son's...and we ended up being a bit too big- so it's now a table

Next one was a bit better-- even found some styrene rod for the legs...

But then I found I still need to improve on it after finding this pic...

First stage-

Gotta tie it in with the wire I bent from a paper clip for the top part of the frame-- that's on for tomorrow...
Swordsman
Active member
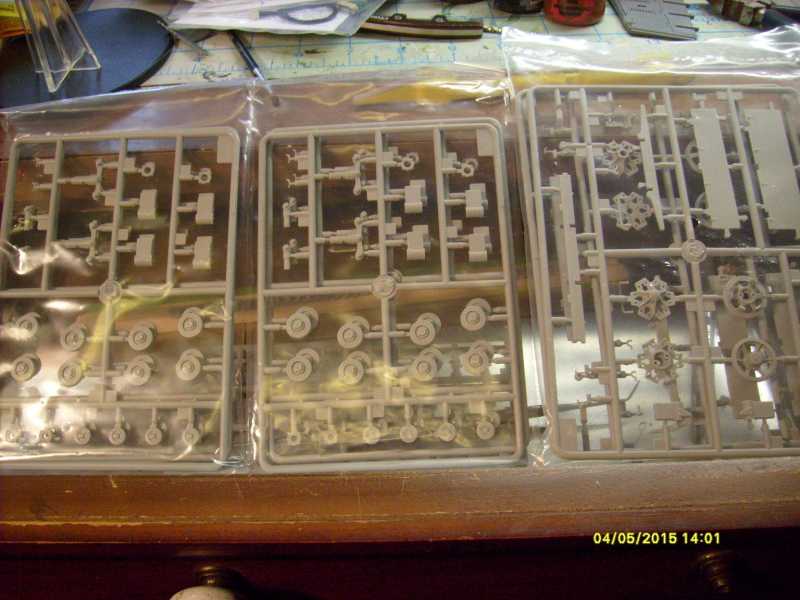
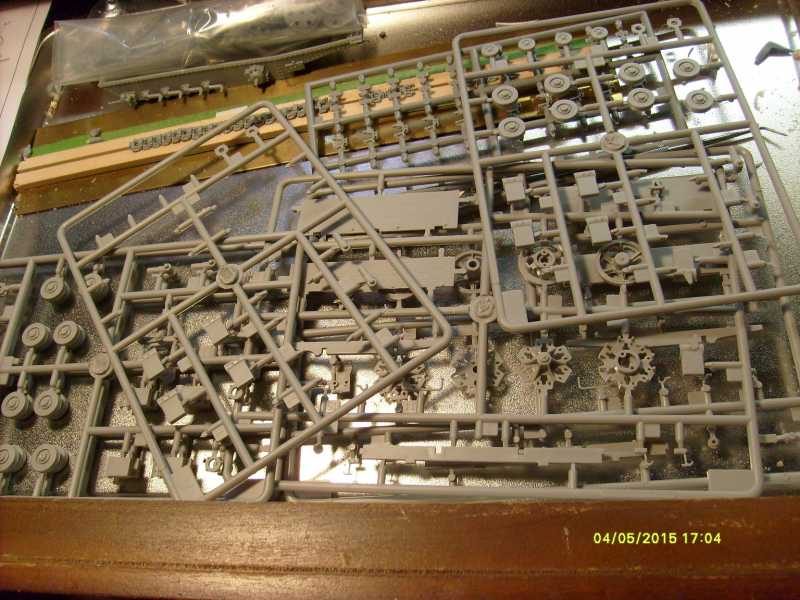
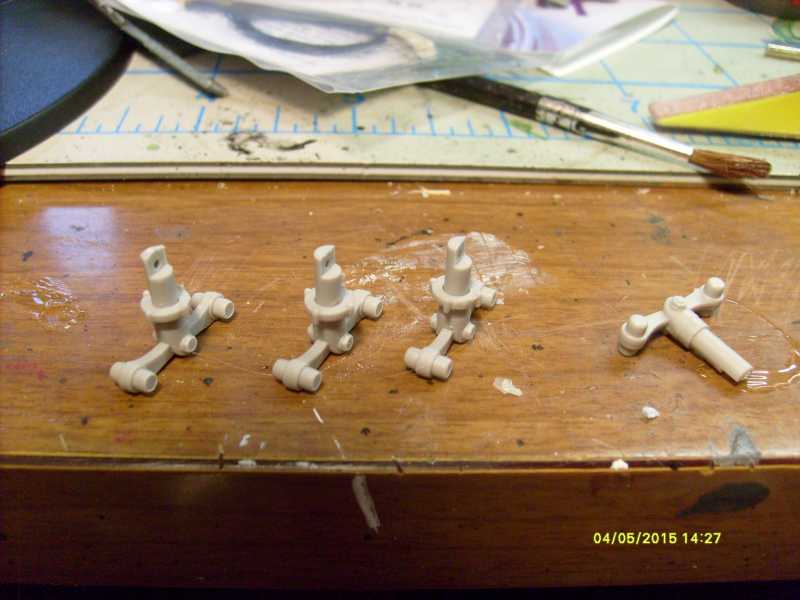
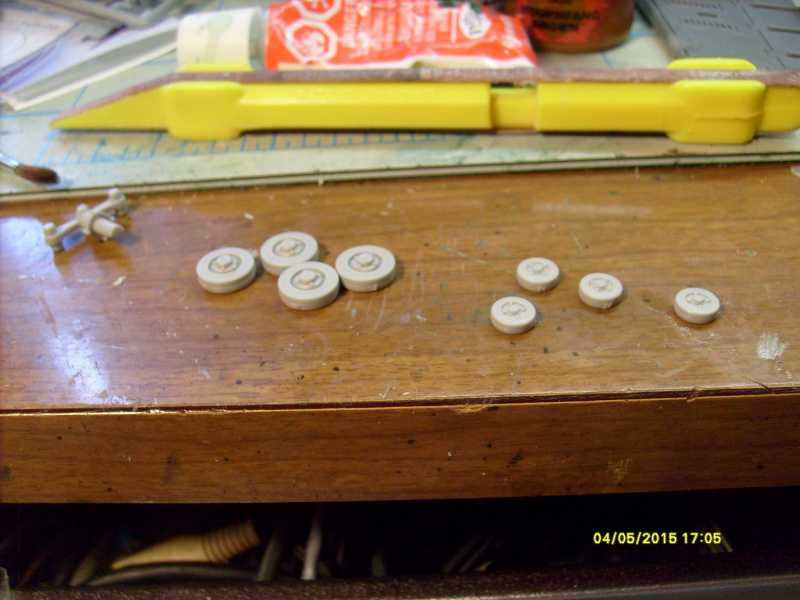
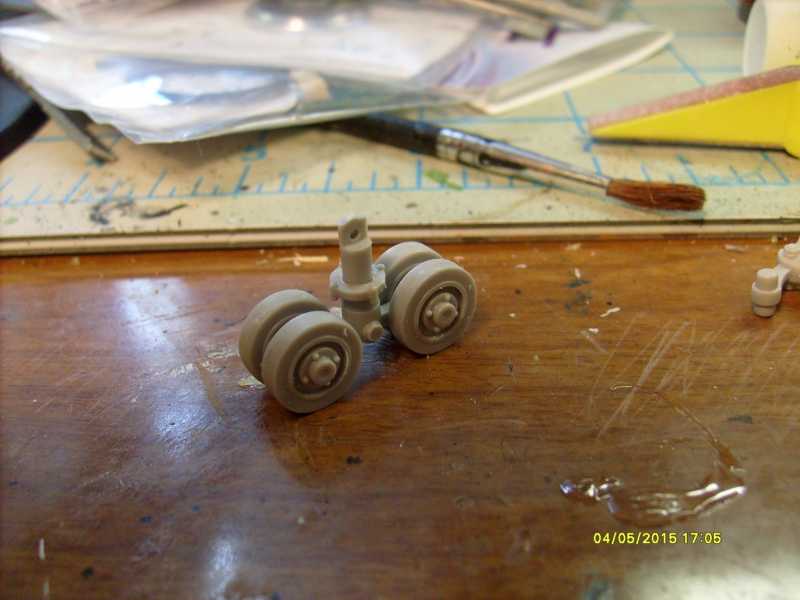
:frantic roadwheels! :frantic
Yep !!! Need Russian paint ......
Jeeves
Well-known member
Bit more progress on the Quonset Hut-- while I was already using the oils to weather the halftrack, I figured I'd do the same to the exteriors of the hut...more pics in the build thread in dioramas...but here is a teaser of two...

And I am pretty much done filling the first section with guys...added the second section to it and I still need to add a couple bunks here...

And a rough mockup of how it'll look when all is done...

Please excuse the rough chimney cap-- tried using some spare Sculpt...not sure how else to do it- but it is a bit thick as is...

And I am pretty much done filling the first section with guys...added the second section to it and I still need to add a couple bunks here...

And a rough mockup of how it'll look when all is done...

Please excuse the rough chimney cap-- tried using some spare Sculpt...not sure how else to do it- but it is a bit thick as is...
Good weathering on the outside Mike. 
Adam Baker
Active member
Working on the camo for my Verlinden figure, and so far I'm not liking it, but I'm gonna push through it and finish it and see whether I like it or not. Might be stripping it tomorrow and starting over.
Duke Maddog
Well-known member
This past weekend was my Hobby Day weekend and I was able to get a lot of little things done. Here's my latest update on what's going on.
First off, on Friday Hobby Day I made some more progress on my Japanese 3.5-ton truck. The cab and bed are all done, sans clear parts. I plan on getting some interior painting done, as well as paint the chassis. Then I'll be able to add the clear parts and assemble everything else more permanently. Meanwhile, here it is dry-fit together:

Another Japanese truck I worked on was the radar truck for the SAM system. I got the cab, control box and most of the radar stand box all assembled. Here it is all dry-fit together as well:

Since I worked on the radar truck, I naturally needed to work on the missile carrier. I got the cab and launcher box all assembled along with some other detail parts. One again, here's a shot of it dry-fit together:

With all these trucks being built, I figured one more should also get done. So, I pulled out one of my Birthday presents from Jeff and Saul and got started on it too. I managed to get the chassis and the cab finished on the Chevy 15 CWT truck:

I still have a few seams to deal with on that.
After all those trucks, I needed a break! Therefore I pulled out this old Hasegawa UH-1 Huey Hog to work on. I started with the cockpit and interior naturally:

Next I added all the clear parts to the window openings in preparation for painting the interior and closing it up:

On Saturday Hobby Day, I returned from my IPMS E-board meeting with my Annie and immediately got started on it. Because of numerous interruptions during the next four hours, I was only able to get this far on the forward towing tractor:

That is about all I have to show for this week. Hopefully I'll have some time this week to do more so stay tuned. Meanwhile, thanks for looking in, comments are welcome.
First off, on Friday Hobby Day I made some more progress on my Japanese 3.5-ton truck. The cab and bed are all done, sans clear parts. I plan on getting some interior painting done, as well as paint the chassis. Then I'll be able to add the clear parts and assemble everything else more permanently. Meanwhile, here it is dry-fit together:

Another Japanese truck I worked on was the radar truck for the SAM system. I got the cab, control box and most of the radar stand box all assembled. Here it is all dry-fit together as well:

Since I worked on the radar truck, I naturally needed to work on the missile carrier. I got the cab and launcher box all assembled along with some other detail parts. One again, here's a shot of it dry-fit together:

With all these trucks being built, I figured one more should also get done. So, I pulled out one of my Birthday presents from Jeff and Saul and got started on it too. I managed to get the chassis and the cab finished on the Chevy 15 CWT truck:

I still have a few seams to deal with on that.
After all those trucks, I needed a break! Therefore I pulled out this old Hasegawa UH-1 Huey Hog to work on. I started with the cockpit and interior naturally:

Next I added all the clear parts to the window openings in preparation for painting the interior and closing it up:

On Saturday Hobby Day, I returned from my IPMS E-board meeting with my Annie and immediately got started on it. Because of numerous interruptions during the next four hours, I was only able to get this far on the forward towing tractor:

That is about all I have to show for this week. Hopefully I'll have some time this week to do more so stay tuned. Meanwhile, thanks for looking in, comments are welcome.
:frantic roadwheels! :frantic
Yep !!! Need Russian paint ......ldguy
Yeppers...
Tankbuilder
Active member
Bit more progress on the Quonset Hut-- while I was already using the oils to weather the halftrack, I figured I'd do the same to the exteriors of the hut...more pics in the build thread in dioramas...but here is a teaser of two...
And I am pretty much done filling the first section with guys...added the second section to it and I still need to add a couple bunks here...

I like it!
Ah, that guy pouring the coffee looks like he's pouring it on his arm not into his cup. Is tthat an optical illusion due to camera angle?
Cheers
Tankbuilder
Active member
No...he's pissed that someone left it empty...it's just like at my house
Oh man did that comment ever bring back memories of when I was a child and someone left just a partial cup of coffee in the pot. I can still hear my dad.
Thanks and cheers
Prop Duster
Member
And a rough mockup of how it'll look when all is done...

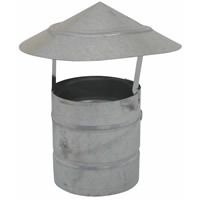
Please excuse the rough chimney cap-- tried using some spare Sculpt...not sure how else to do it- but it is a bit thick as is...
If your are going for the old conical cap type
Similar threads
- Replies
- 39
- Views
- 10K
- Replies
- 60
- Views
- 19K

 Kewl!!