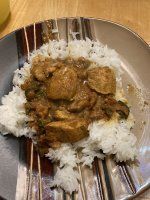
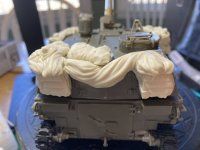
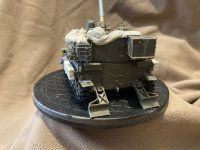
Rice, Salt...point is made. Crazy part detail for sure. You're doing great with it now put the rice back in the pot for supper!


Modelers Alliance has updated the forum software on our website. We have migrated all post, content and user accounts but we could not migrate the passwords.
This requires that you manually reset your password.
Please click here, http://modelersalliance.org/forums/login to go to logon page and use the "Forgot your Password" option.
ok so since you asked MP, here it is, my Butter Curry. I’m telling ya it’s restaurant quality!Rice, Salt...point is made. Crazy part detail for sure. You're doing great with it now put the rice back in the pot for supper!


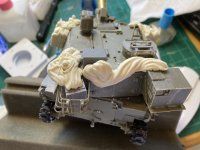
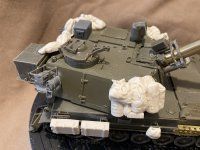
 ... watching, just not giving love to thumbnails, never have, never will.
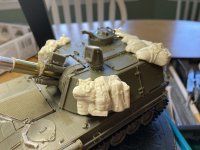
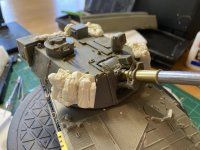
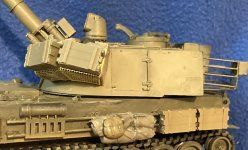
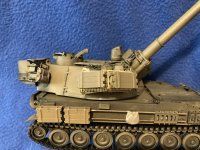
Hey Sharkie, are those rods on the turret cleaning rods, so black?FINALLY some full sized images!
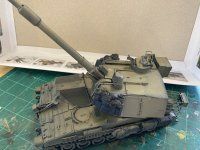
Red and white would be for ranging poles. These seem to be overpainted inthe same color as the vehicles but could have ben black once. I have photos of the former but not the latter.Hey Sharkie, are those rods on the turret cleaning rods, so black?
Or are
They red & white?