• Modelers Alliance has updated the forum software on our website. We have migrated all post, content and user accounts but we could not migrate the passwords.
    This requires that you manually reset your password.
    Please click here, http://modelersalliance.org/forums/login to go to logon page and use the "Forgot your Password" option.

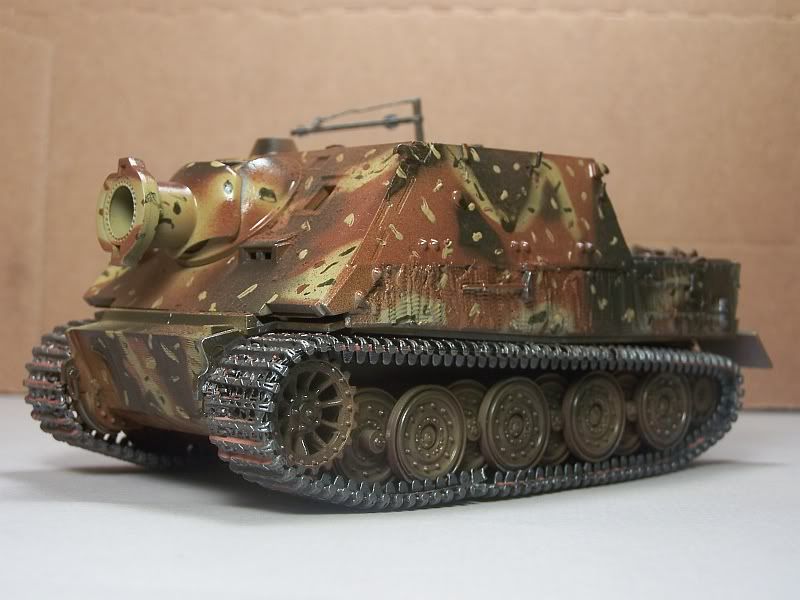
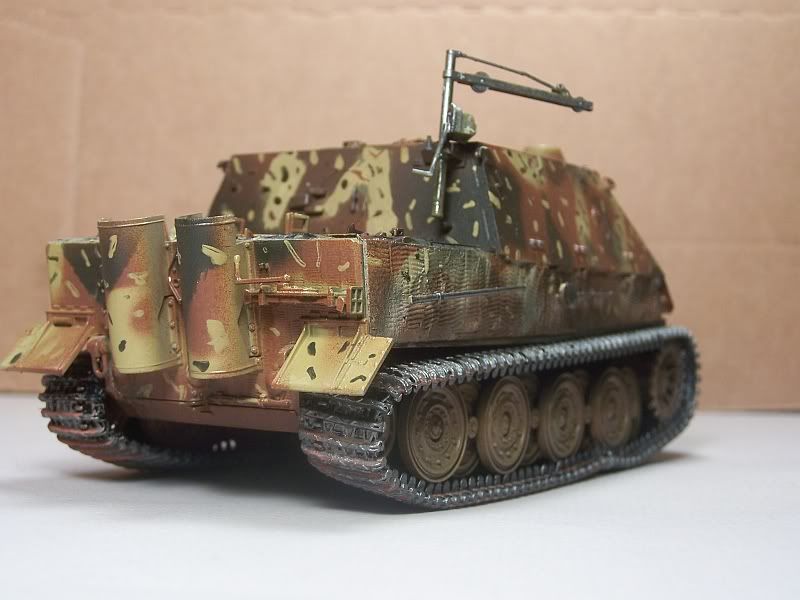
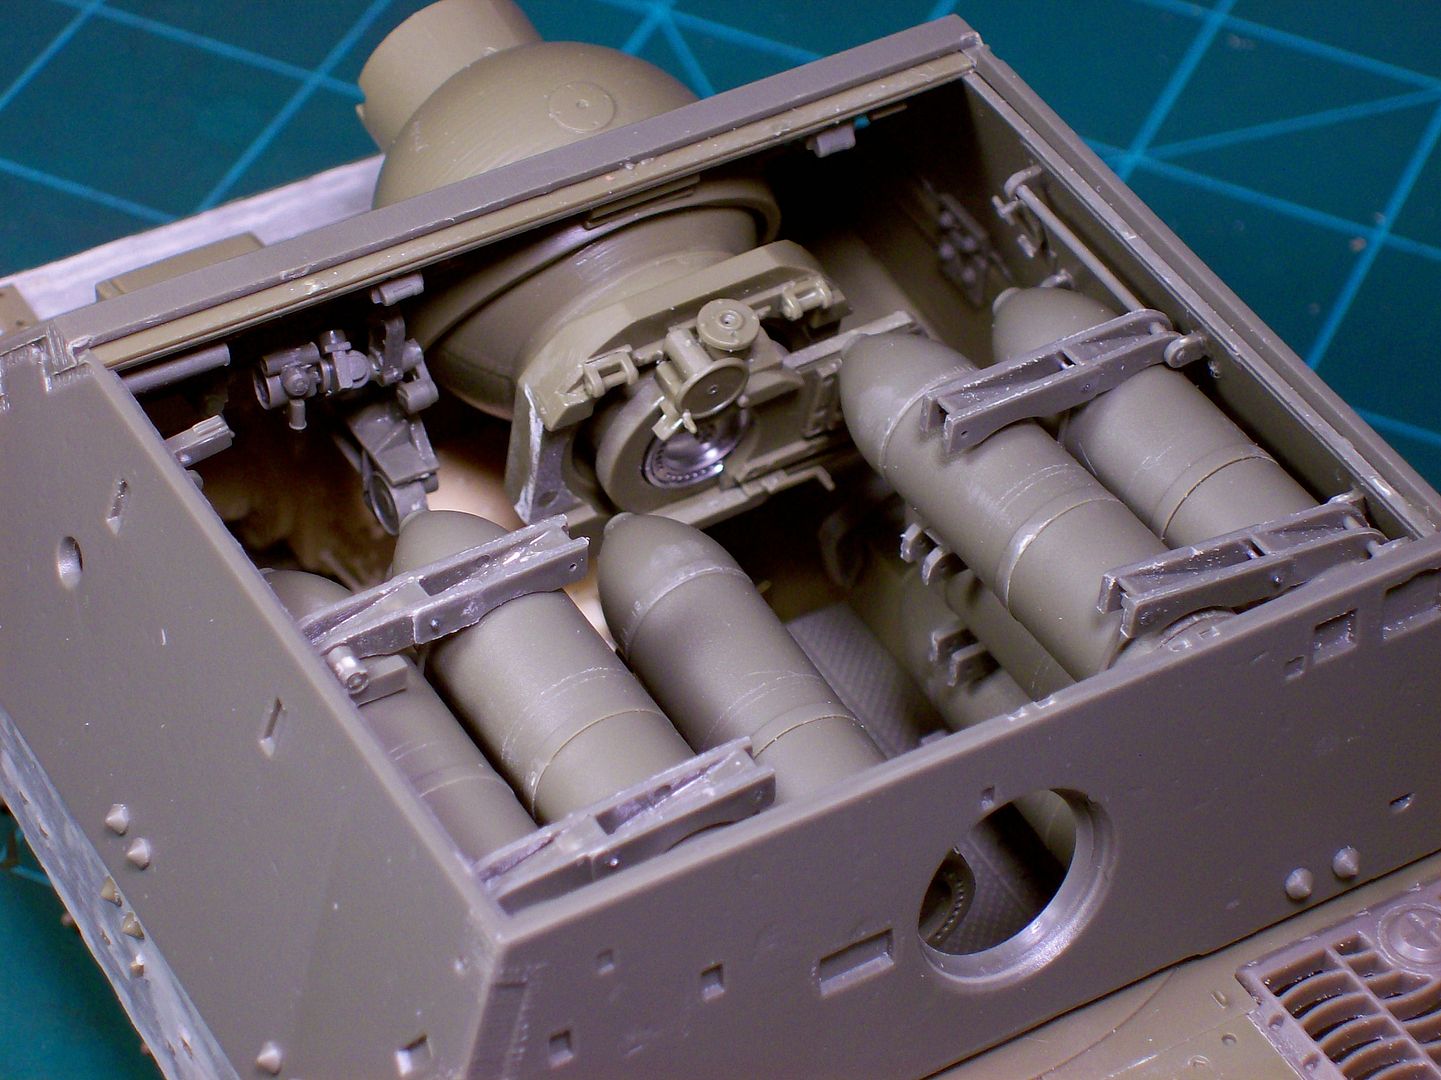
AFV 1/48 Sturmtiger

Built this one a while back and really loved it...as well as their Tiger tank in 1/48...even sprung for the mortar shells for it! Looking forward to seeing yours come together!
Right on, feel free to post any pics here if you'd like, as anyone can post pics of their models on any of my threads if they wish :D

Here is a shot of the moulded on Zimmeritt,
IMG_0428.jpg


and the area that needs the Zimmeritt added, and I'm skeered cuase I've never tried to do that before
IMG_0429.jpg


so things might come to a halt at that point until I face my fears and move blindly forward... :snoopy
 
BoBs going to bust you for all those paint drying pictures Tim :evil: (Hit him hard BoB)

Nice progress there and thanks for the PE lecture but I still not ready to face PE.
 
What about these?

http://www.armorama.com/modules.php?op=modload&name=Reviews&file=index&req=showcontent&id=4698

Tom
 
This poor thing has been waiting on the line for a long time and your build is rekindling the spark.
100_0551.jpg


100_0540.jpg


Keep me motivated guy :dance
Tony lee
 
Thanks Tony, I appreciate that :notworthy . That sure is looking sweet by the way . I know I'm not the best for posting on other peoples threads but just so you know I do like watching your builds (y) . Jeeze, the way everybody is posting on this thread I may have to set the KV-1 aside for a bit and get started on this one, at the moment I'm just not up to the challenge of doing them both at the same time.
 
I decided that I would set the KV-1 aside for a bit, at least until my book arrives, and do a bit on the Sturmtiger, so I instigated a bench clearing brawl
IMG_0454.jpg


time to mop up the mess as it were, I like to use a piece of white cardboard as a base for my working area on my bench
IMG_0455.jpg


This has a number of advantages, one of which is it's dirt cheap, the last one seems to have made it through a couple of years, which is not a good sign, and was due for replacement. I just use regular tape to secure it to the top of the bench.

Time to get re started
IMG_0456.jpg


Now at this point in the build it would be a good idea to start applying the zimmerit, but that scares me so I moved onto the tracks instead
IMG_0457.jpg


The packaging calls for 95 links per side, and each bag contains 100, so you get 10 screw ups :D
screw up number one :bang head
IMG_0458.jpg


OK, so being a bit new at this, it took me a while to figure it out, 7 broken pins all together and I only had half a run done, k so I was tired :java ...........and gitiin a little skeered, but what I came up with is place the track about a third of the way over the edge of a cutting matt and push down on the end of the track pieces which allows the pin to pop into place with out breaking off. Once I got that figured they started to go together fairly quickly and easily :woohoo:
IMG_0459.jpg


Whilst doing a bit of browsing I came across this
Sturmtiger Zimmerit & Fenders

Does anybody know anything about this set? or is it a typo? As this is the only place I've seen it or can find it.
 
Well looking into it it's just a typo, the part number is for 1/35 scale so SOL for me on that count, but whatever. On that note after scouring the internet for cheap and easy ideas in how to replicate that Zimerit coating somewhere some one mentioned Testors filler. Now I just happen to have a tube and a half of the stuff kicking around from way back. I found it to be absolutely horrible stuff for filling gaps, and general filling, so don't ask me why I have 2 tubes of it. But every time I came to clearing out the redundant stuff I have collected over the years I could never bring myself to throw the stuff out so........anyway after reading that bit that mentioned it I thought I'd have a go at playing around with it, just see what thins it out and how it behaves etc. nd low and behold good ole rubbing alcohol and nail polish remover.

So after mucking around a bit with trying various techniques I came up with using a stiff brush that was cut short to mix and apply the stuff in a way that kind of established the pattern and then used a dull knife to "enhance" it if you will. The nice thing is if you muck it up it can be scraped off or removed with the alcohol and there fore easily fixed as it doesn't attack the plastic yet sticks well enough, nor does it get really hard either so mis handling it can cause a bit of grief.
IMG_0462.jpg


Maybe not the best for 1/35 but it does look close enough in 1/48

Also got one run of tracks finished without any further difficulties once I figured out the method
IMG_0461.jpg


Hope this is workin on ya Tony :D
 
Looks good so far Tim. Those AFV 1/48 kits sure are worth the price. Now you do realize your workbench will stay clean for all of a week. Telling you paint and random parts come alive at night and trash the workbench all the time.
 
Back
Top