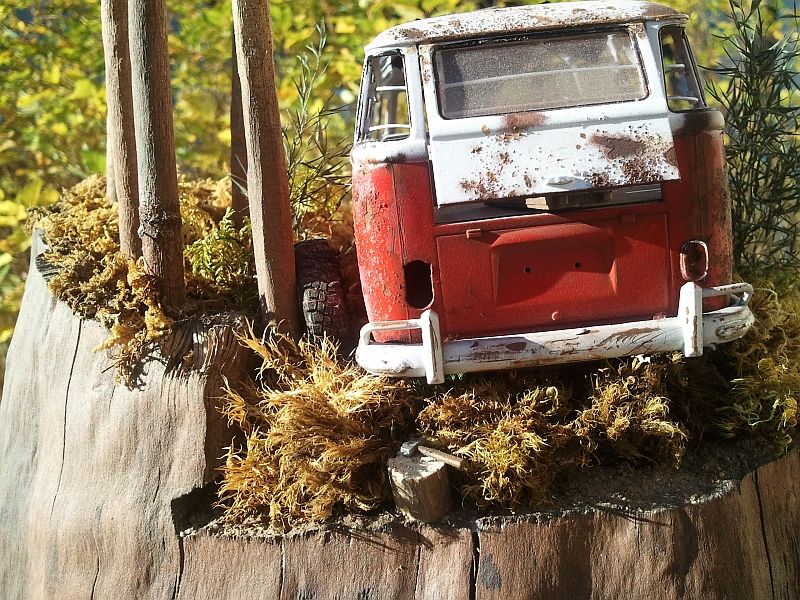
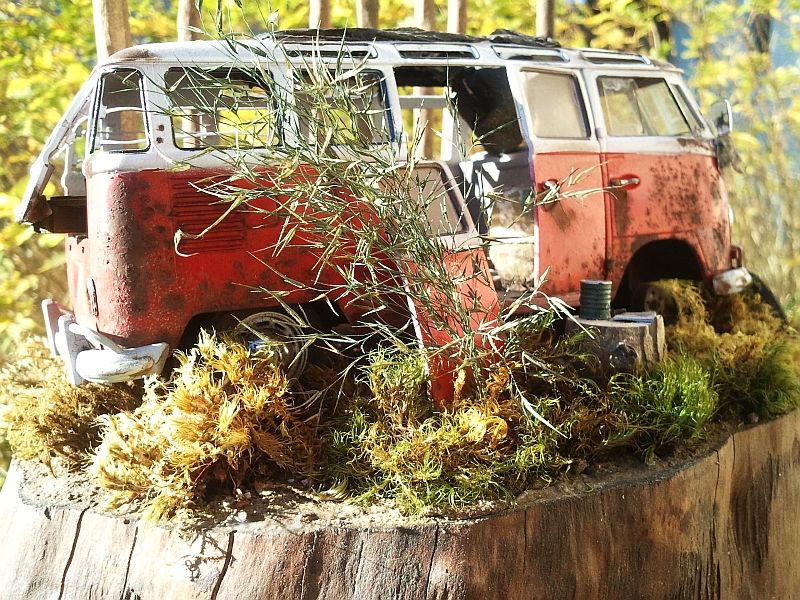
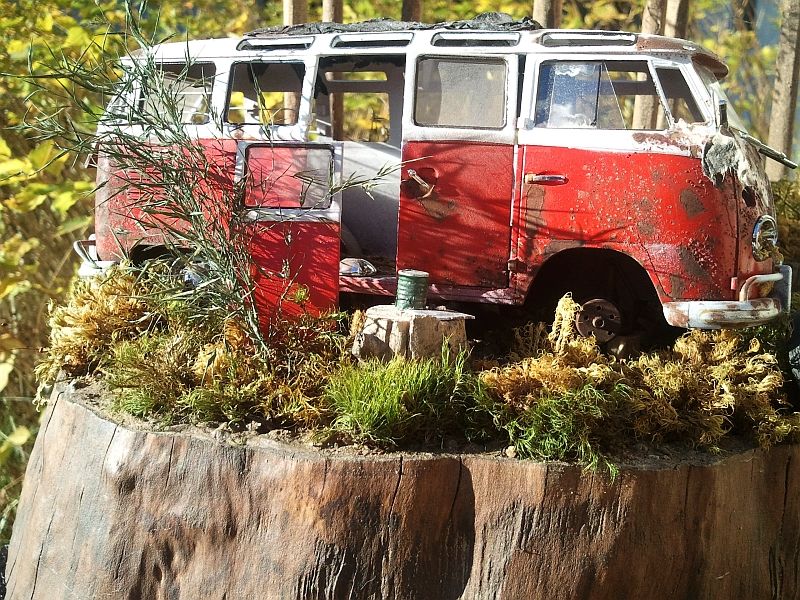
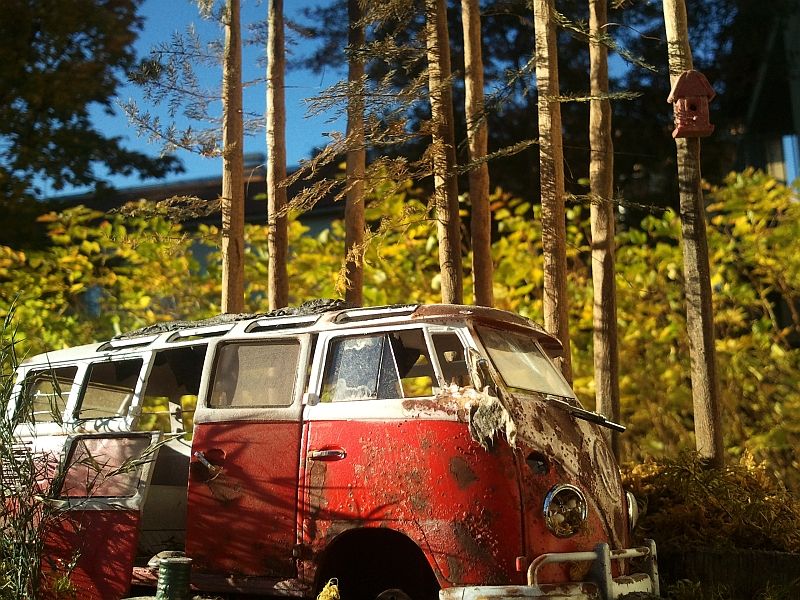
Wow I really love the bubbled up paint and rust. How did you do that?
Thanks a lot. It is pretty simple. I used the hair spray method; more or less to a point. I am sure you have heard of it. Anyway, First;
1. I prime ( let dry for a day or two. If you're like me, I do not wait that long.
2. I then spray a brown color to act as my base or the base for the rust to be precise. Any deep earth brown would do. I do not use an air brush. All painting is done out of a can.
3. Then I would spray hair spray over the brown to act as a shield for when you spray your final color. It is not a must but sometimes when you will remove the top color, the bottom tense to follow with it if it is not dried properly. You'll see in the next step.
4. Then I sprinkle ordinary salt; the grain of salt is totally up to you. The bigger the salt grain, the bigger the area. I use both small and big grains.
5. You can use either water or hair spray to attach the salt to the model.
6. After the water dissipate, you can now spray on your final color.
7. after it dries, you can take your fingers or a stiff brush and remove the salt. You can also spray on some water to help loosen up the salt.
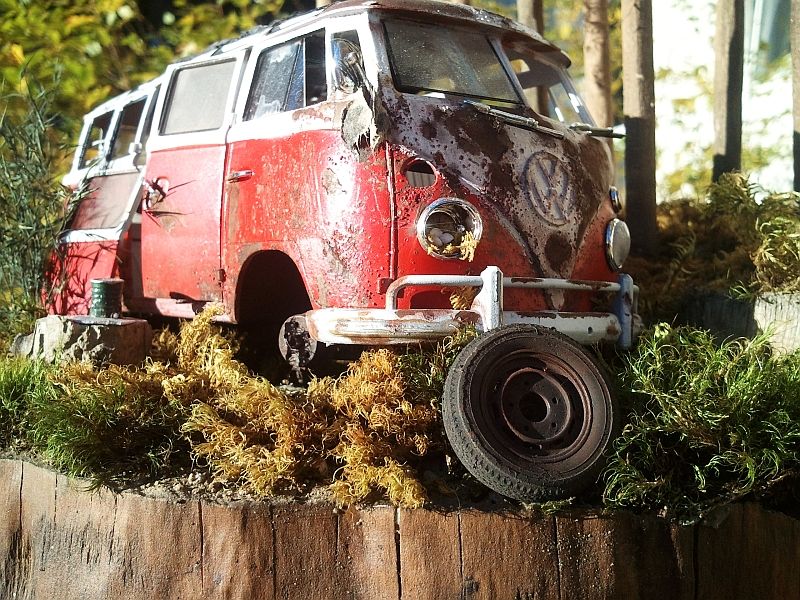
8. The effect you will get is the under-lining area where the salt had been thus revealing the brown areas you painted before.
9. Then I use real grounded rust or in most cases, MIG different shades of rust. I just take a rounded old brush and power the brown area. Now, I tend to mix the rust power with black power to give it the depth it needs to look old or light for new rust build. I think testing is you best teacher to get the results you need.
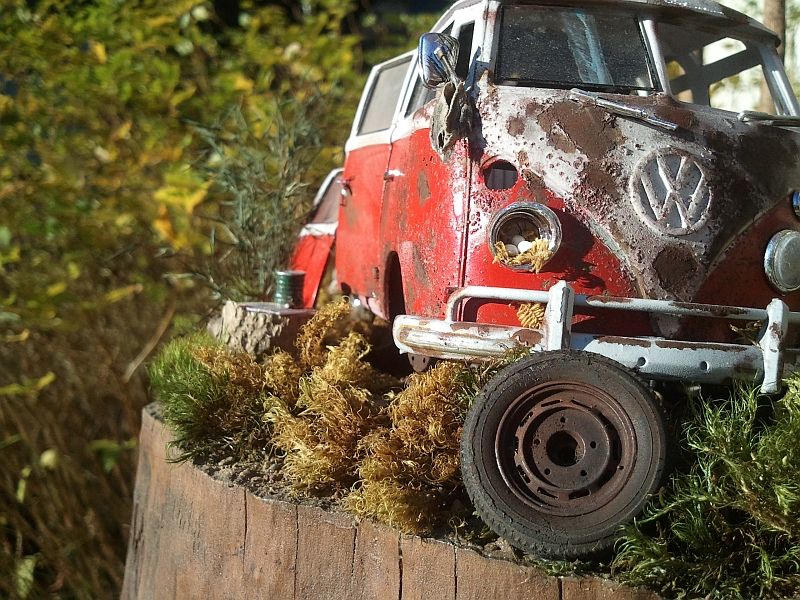
10. Then I go over the areas with real dust or dirt I scraped up form my work place. It is not necessary but I tend to try and experiment with anything that nature has to offer.
You will probably have to go over and blow off the excess every now and then through out the process, until you are satisfied. Another neat feature is scraping of the paint before it has time to really dry. Say about 4-5 mins after you painted your final coat. This method, I found gives the most realistic effect of dried peeling paint.
I also use the Q-tip method. I spray the top or final spray color over the the rusted area. Then take the Q-tip and tap it on the surface I just sprayed. This removes the freshly painted leaving the underlying brown rusted aread exposed. You have to decide when the look you want is right before stopping the procedure.
Again, as with every method, there are many ways to achieve the desired effect. This is just my way. Hope this helps.


")
