Skinny_Mike
Well-known member
Hi guys! Sorry it's been so long since my last post. I've been chugging away on my mig-21 trying to get it finished for my local club's March in house contest. Unfortunately I don't think I'm going to make it, but realistically I might have a shot with my -109 so I'm back.
Ian and Matrixone - your probably right, just a bad sheet. I have lots of Eagle Editions decals so I'm not going to give up on them.
Smurff and Luiz - thanks for following along.
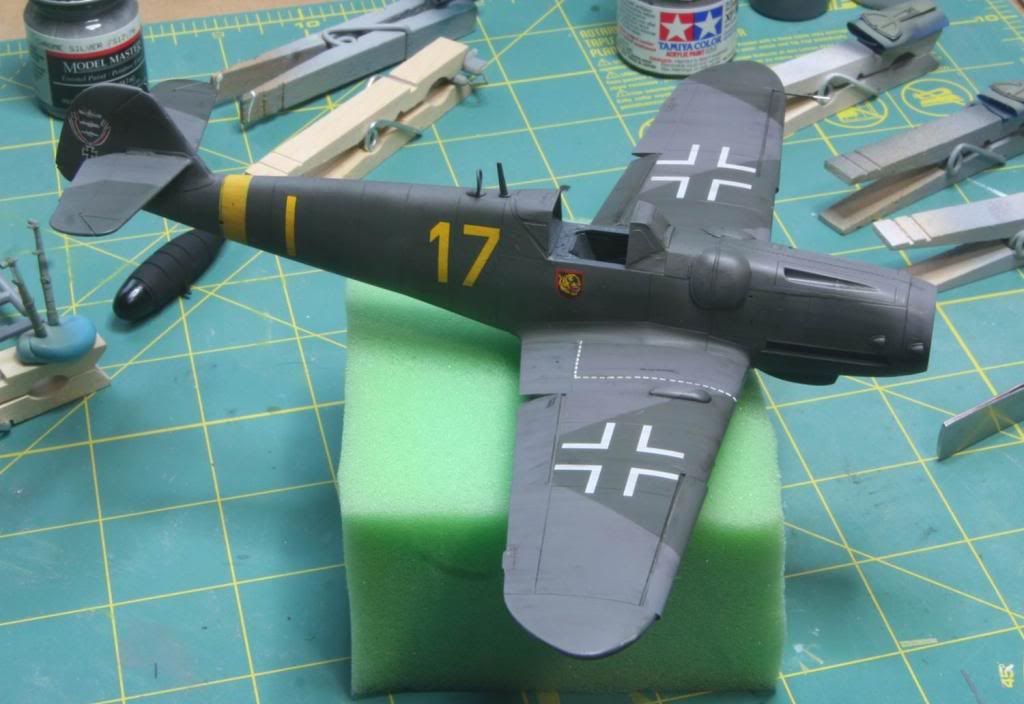
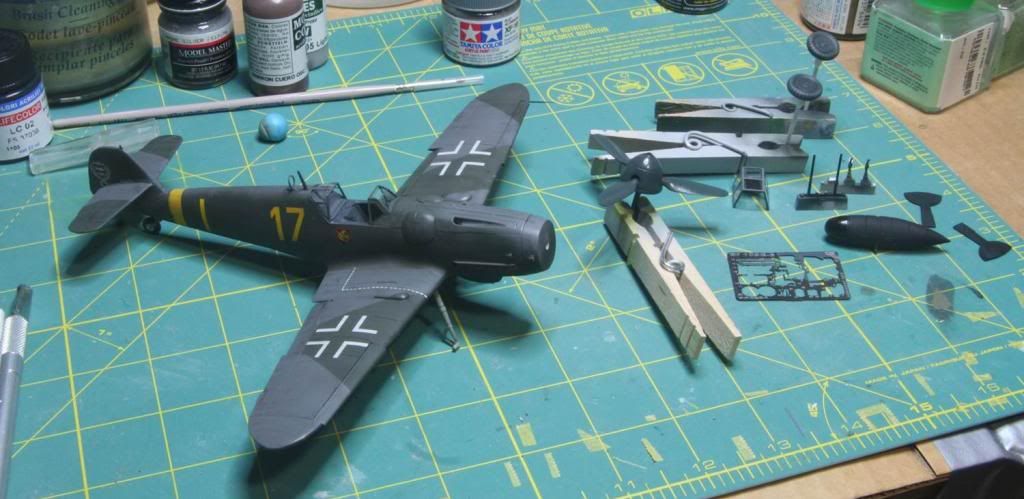
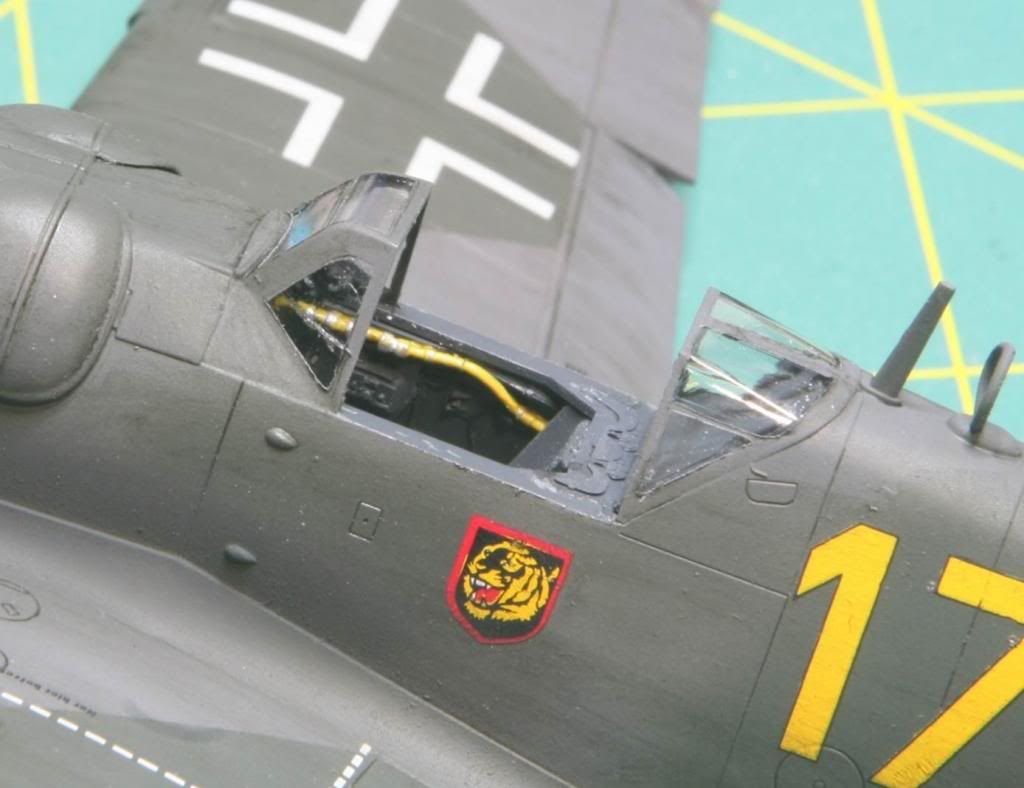
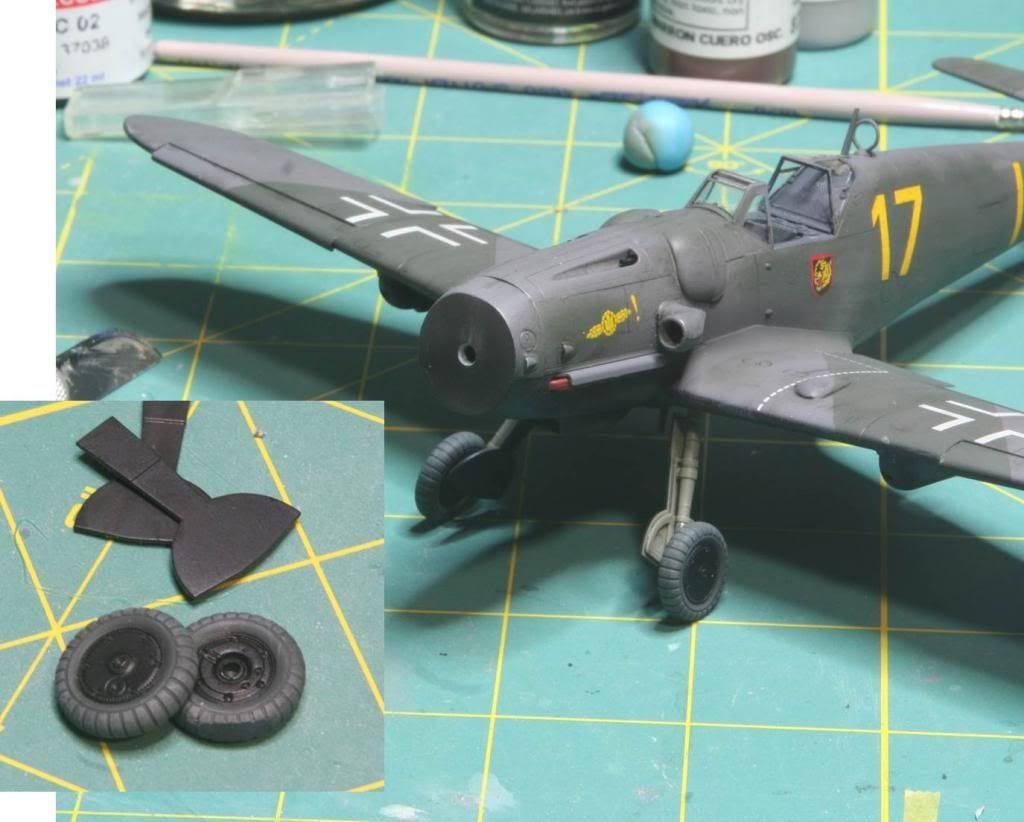
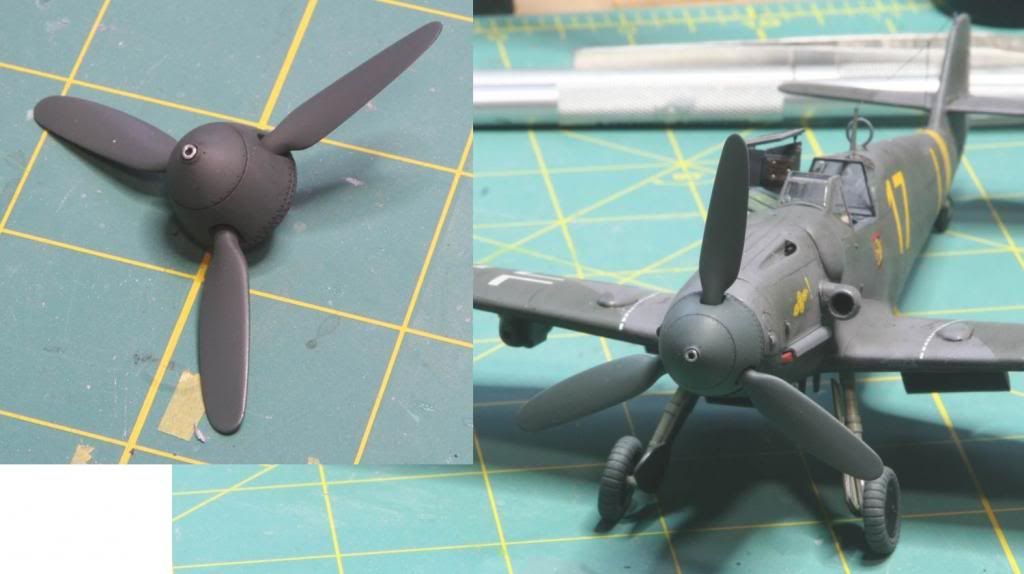
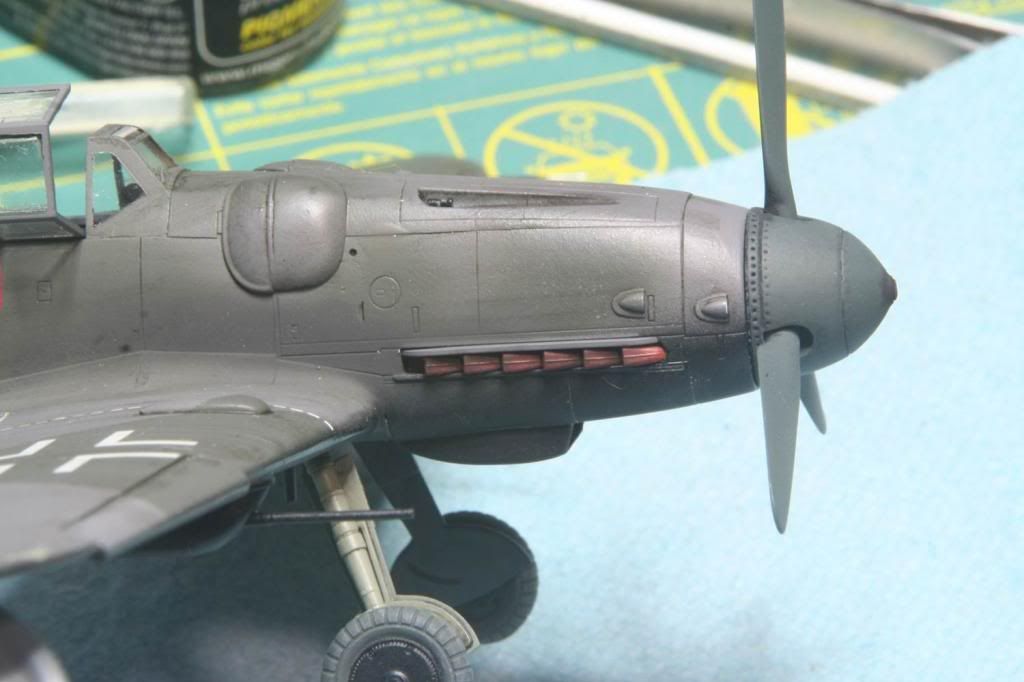
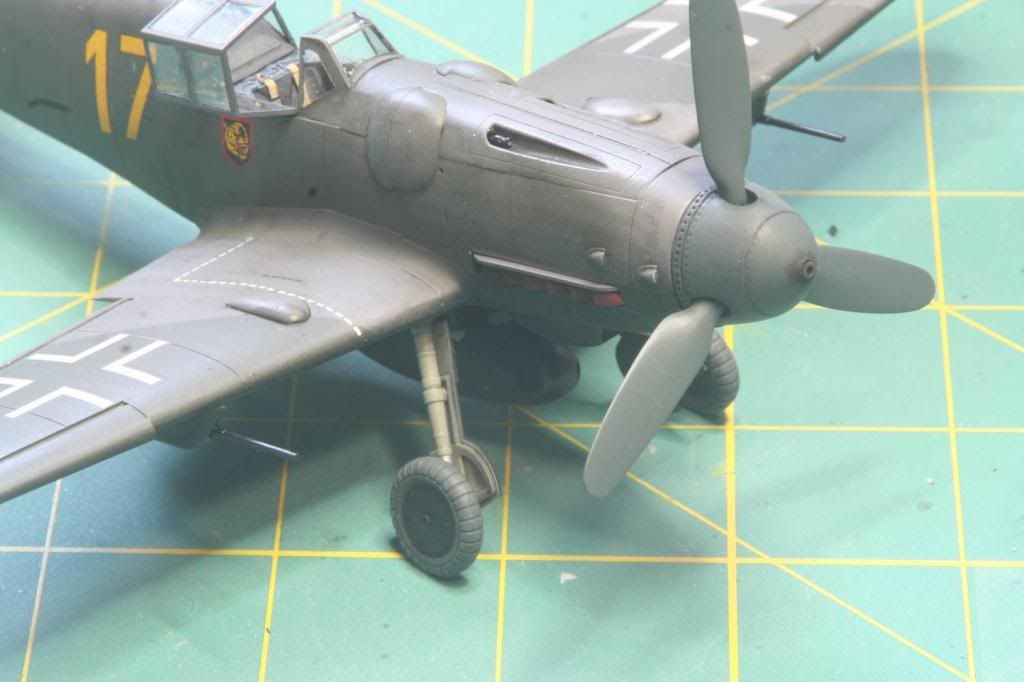
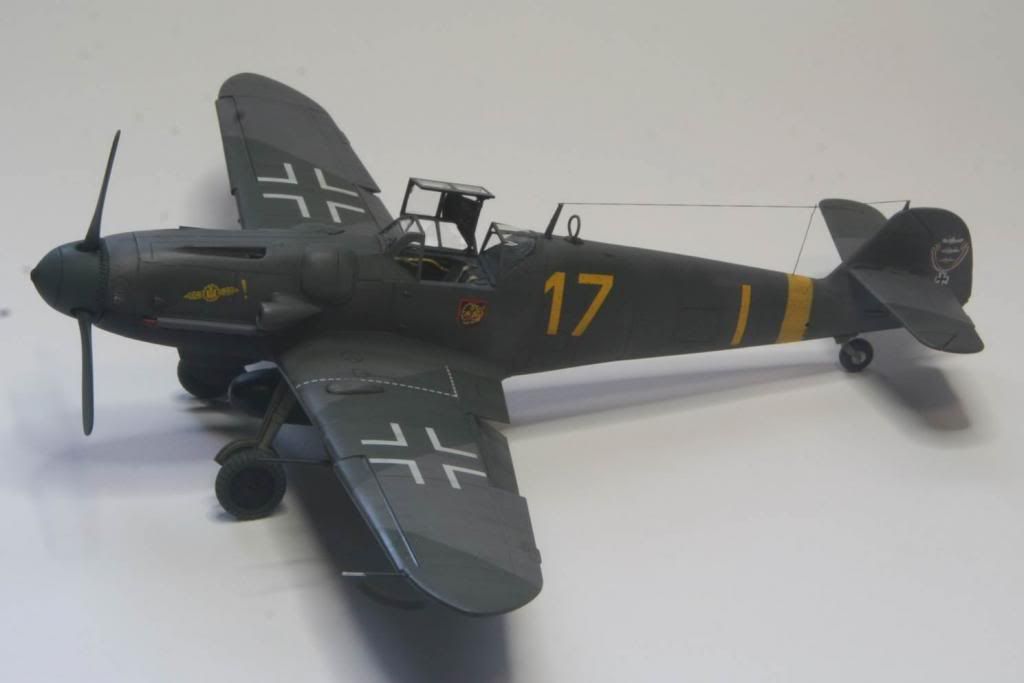
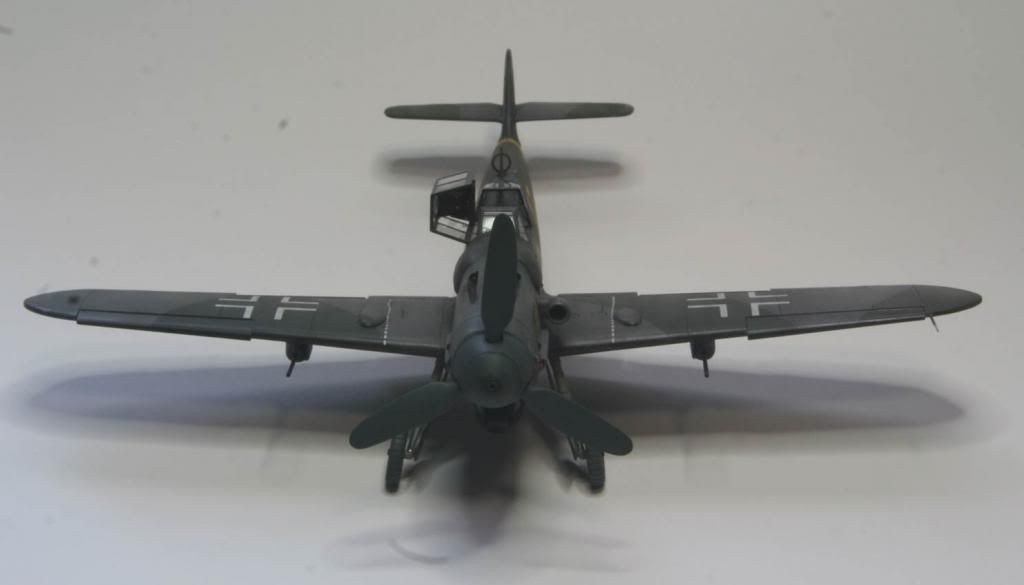
Now I need to ask for some help. This is my first black aircraft. I have been experimenting with some different colored washes on my paint hog, but nothing has looked right. Has anyone had success with weathering black aircraft and might share some suggestions? Here is what it looks like right now. I appreciate the help!
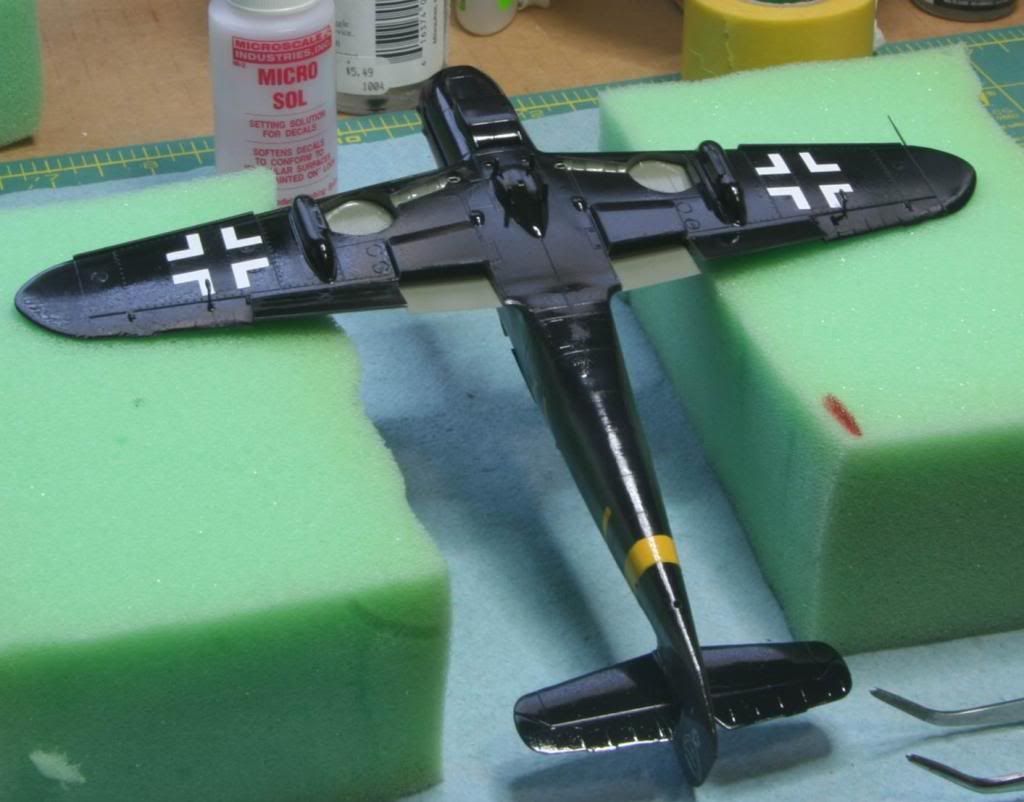
Thanks again!
Mike
Ian and Matrixone - your probably right, just a bad sheet. I have lots of Eagle Editions decals so I'm not going to give up on them.
Smurff and Luiz - thanks for following along.
Now I need to ask for some help. This is my first black aircraft. I have been experimenting with some different colored washes on my paint hog, but nothing has looked right. Has anyone had success with weathering black aircraft and might share some suggestions? Here is what it looks like right now. I appreciate the help!
Thanks again!
Mike
")