• Modelers Alliance has updated the forum software on our website. We have migrated all post, content and user accounts but we could not migrate the passwords.
    This requires that you manually reset your password.
    Please click here, http://modelersalliance.org/forums/login to go to logon page and use the "Forgot your Password" option.

1/48 Hobbycraft Bf 109G-1

nerdling

Active member
So for a replacement build for the terrible Storch I decided to pull this kit out of the stash and do a quick build. Started this over the weekend. So I've got 12 days left to put it together. So far everything is going together wonderfully. This is actually a dang nice kit for the price.

IMG_2839.jpg


IMG_2841.jpg


IMG_2840.jpg


IMG_2842.jpg

Not very much for detail, but for me it is fine.

IMG_2843.jpg


IMG_2844.jpg


IMG_2845.jpg

They grey is darker then it looks

IMG_2846.jpg


IMG_2847.jpg

This is how it looks right now. Tomorrow will be sanding and putty time. Then a primer coat.
 
Thanks Randy. Yeah the canopy on the Storch was a good 2mm to wide so it just didn't fit at all. The fit was terrible on it as well. Everything had an odd bevel to it. Maybe it was just my kit.
 
Thanks Saul. Figures I would mess it up lol. Actually the instructions are really vague. They just showed the rudder pedals as tiny rectangles. Oh well you can't really see them inside the cockpit anyways. But thanks for letting me know. I'm not much of an expert on the Bf 109. This is my first 1/48 scale build of one. Shocking I know hehe.
 
This may sound silly but I sure wish someone would make some of these umbrellas in different scales as they appear in a lot of pictures.

Cheers, Christian B)
 
Oh well you can't really see them inside the cockpit anyways.

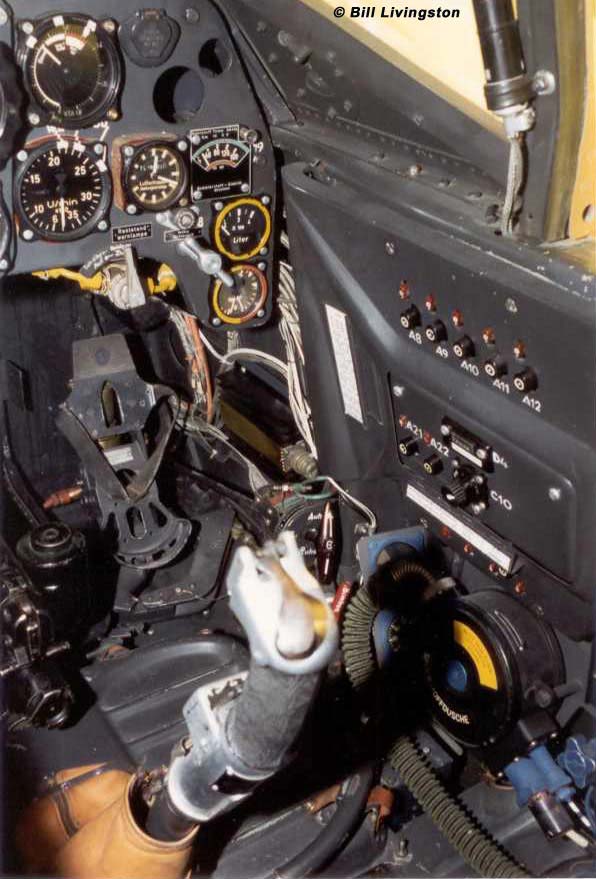
Very true, so it is not worth fixing (in my opinion). The following image is simply for anyone else building a G-1/G-1 as I have seen some really old references showing the wrong rudder pedals on a G model.

bk6.interior.2.jpg

This is from Black 6, a Bf-109G-2 which was (is again?) in flying condition.

Regards,
 
Thanks guys. Thanks for that photo Saul. The umbrella would be a great idea for a cheap aftermarket item. If I knew how to make a mold and pour resin I would make a copy of the one in the kit.
 
The umbrella would be a great idea for a cheap aftermarket item. If I knew how to make a mold and pour resin I would make a copy of the one in the kit.

Better than that would be to vacuum form over a few and sell a sheet of umbrellas. Just include the bump (mounts) on the vacuum formed sheet and a length of plastic rod.

Regards,
 
OK quick update for you guys. I have the basic camo painted. I used Testors Acryl RLM 78 and 79. I will say these paints suck. The 78 was really thin and the 79 was like paste. I do have a few spots to touch up but will try and hide them with the RLM 80 squiggles that I am going to attempt to do. This is my first attempt at even airbrushing a Luftwaffe plane so it isn't perfect lol. But hey a Hobbycraft kit is a perfect learning tool.

IMG_2974.jpg


IMG_2975.jpg


IMG_2976.jpg


IMG_2977.jpg
 
The 78 looks ok, but that 79 looks way yellow, or maybe it's just the lighting. Like the idea of squiggly lines. :popcorn
 
I'll go along with the vac form umbrella. Would be great for 1/72 since I have never figured a good way to make on yet.
I believe I could be a customer :pilot

Cheers, Christian B)
 
Nope :( Just got back home late yesterday. So I won't make it, but oh well I will still finish it up. Have maybe a day or so left lol.
 
Back
Top