
Paulw
Well-known member
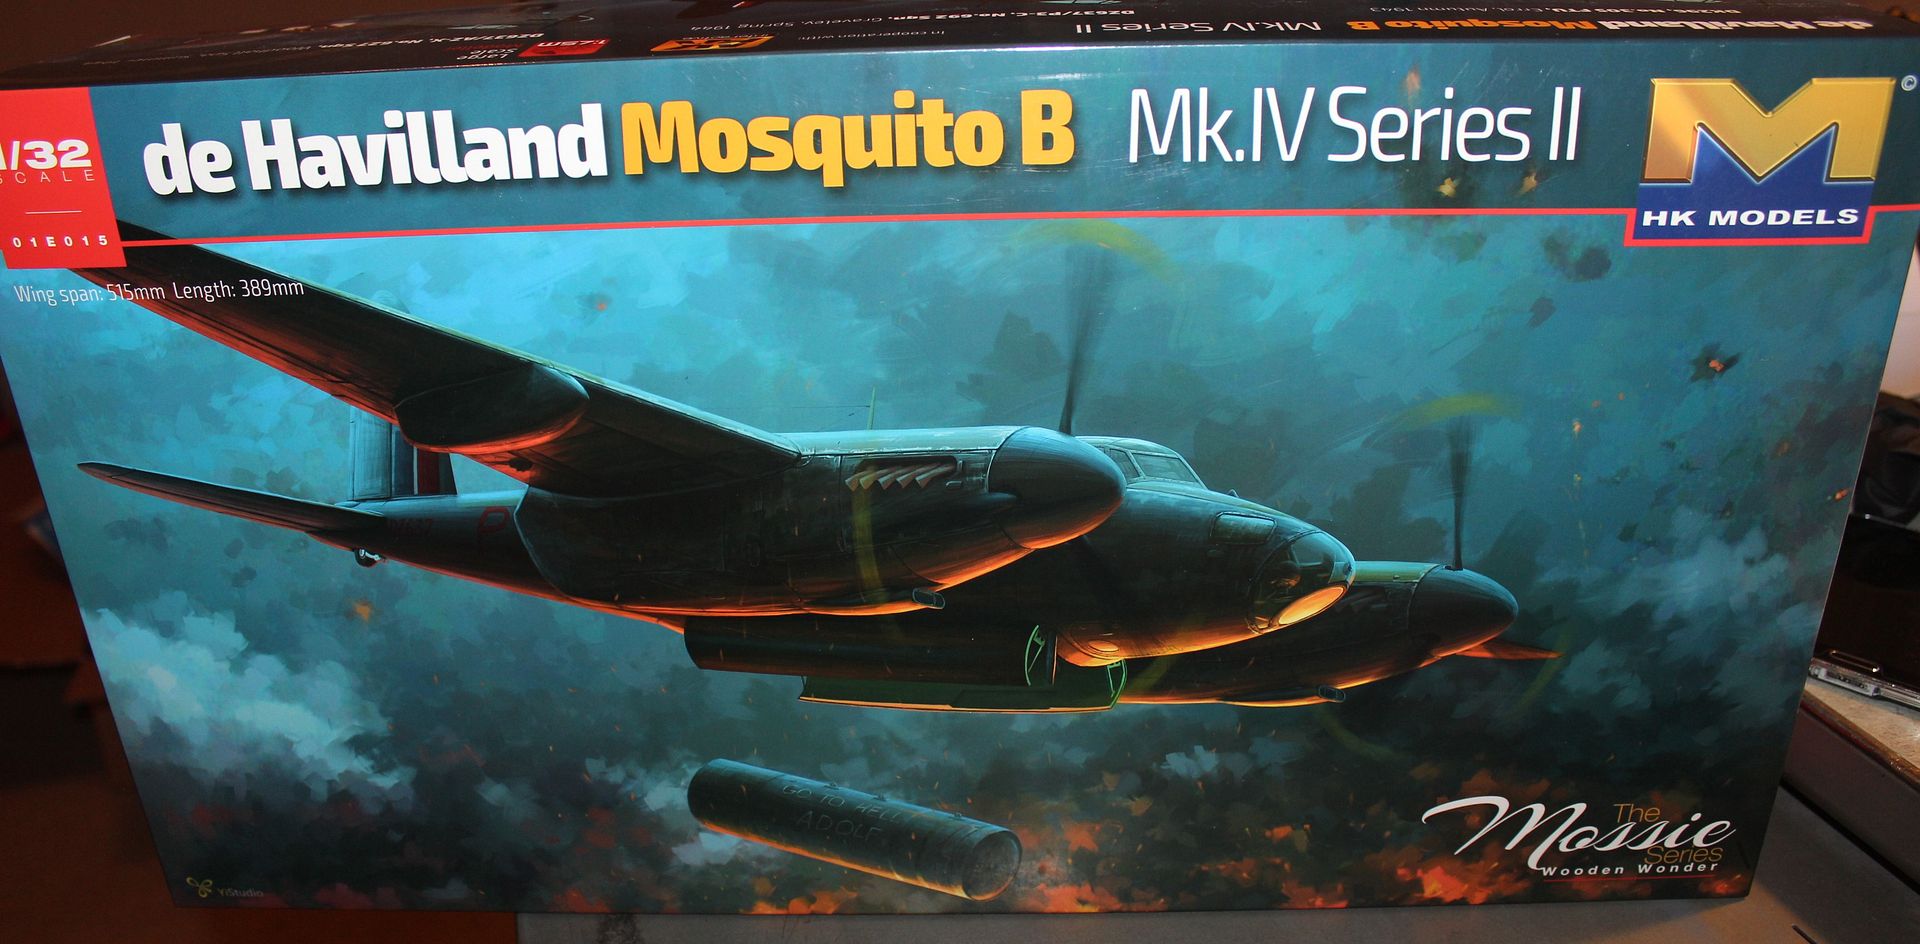
I have been working on this for the past few weeks.
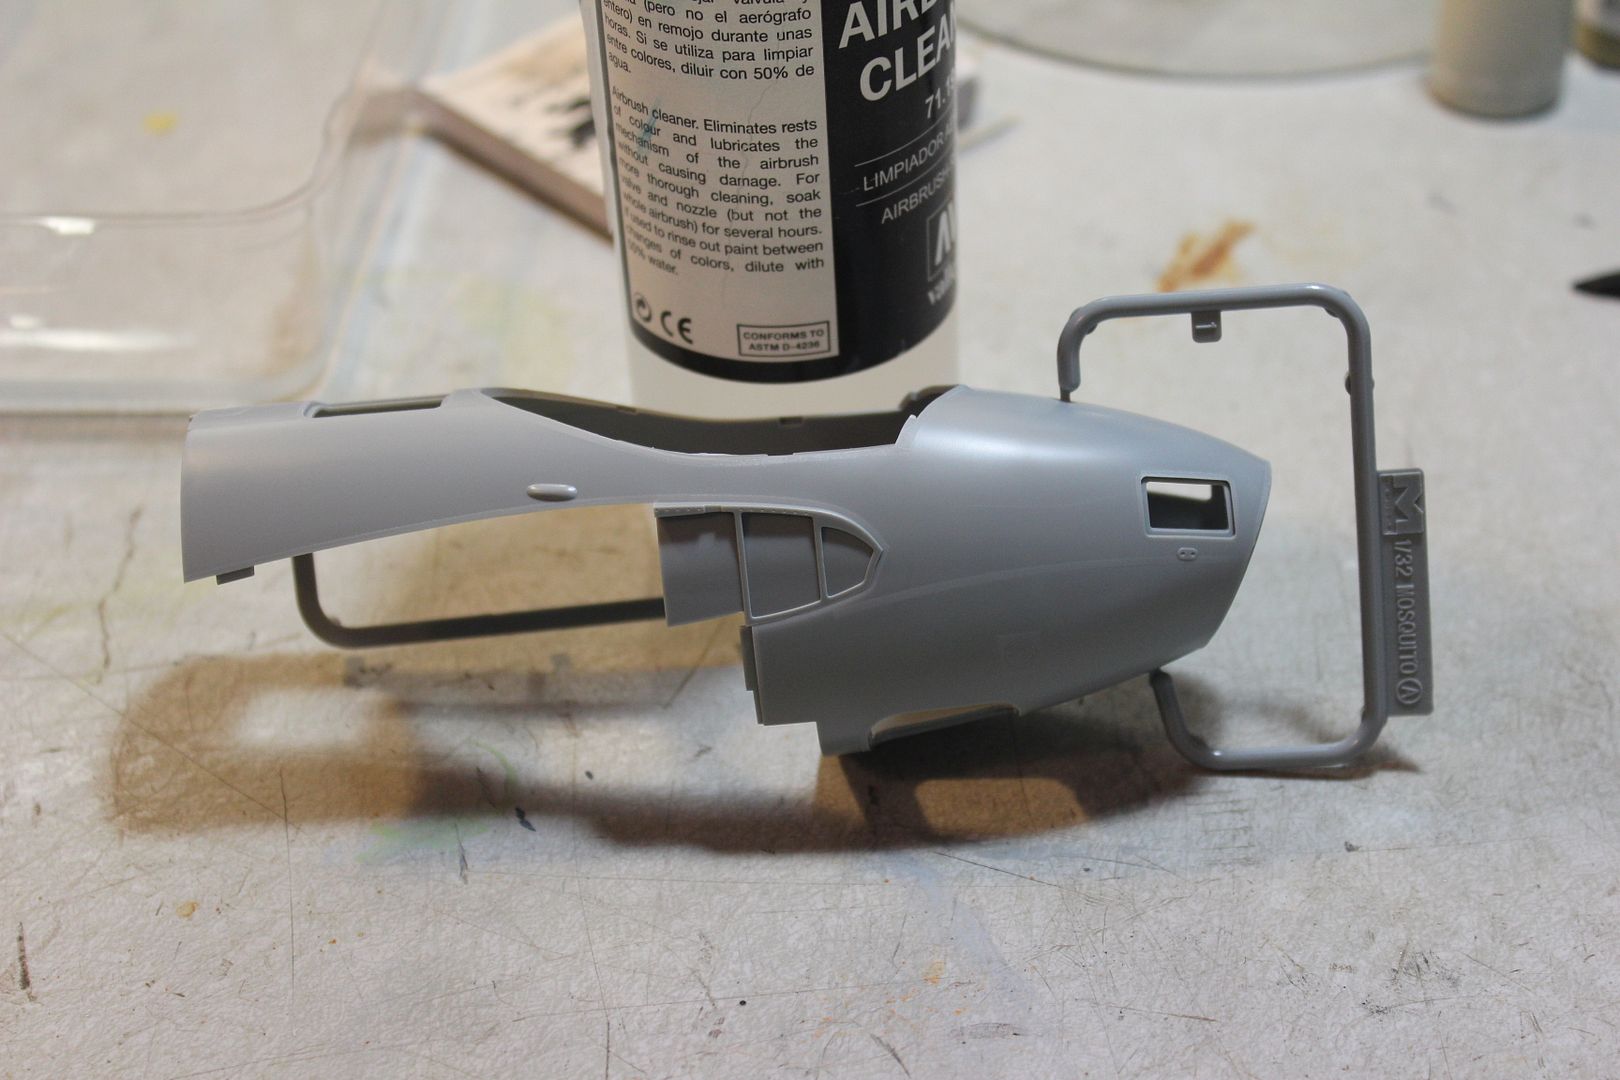
I started with the pit and the ip. There is not much to see in the pit but what you can appears to be fairly good. The kits decals settled in pretty good for the ip gauges and only required a small amount of decal set.

The seat has good surface detail but the pe belt are sort of hard to bend with out annealing. I chose not to do that because I usually wind up making a bigger problem than if I don't.

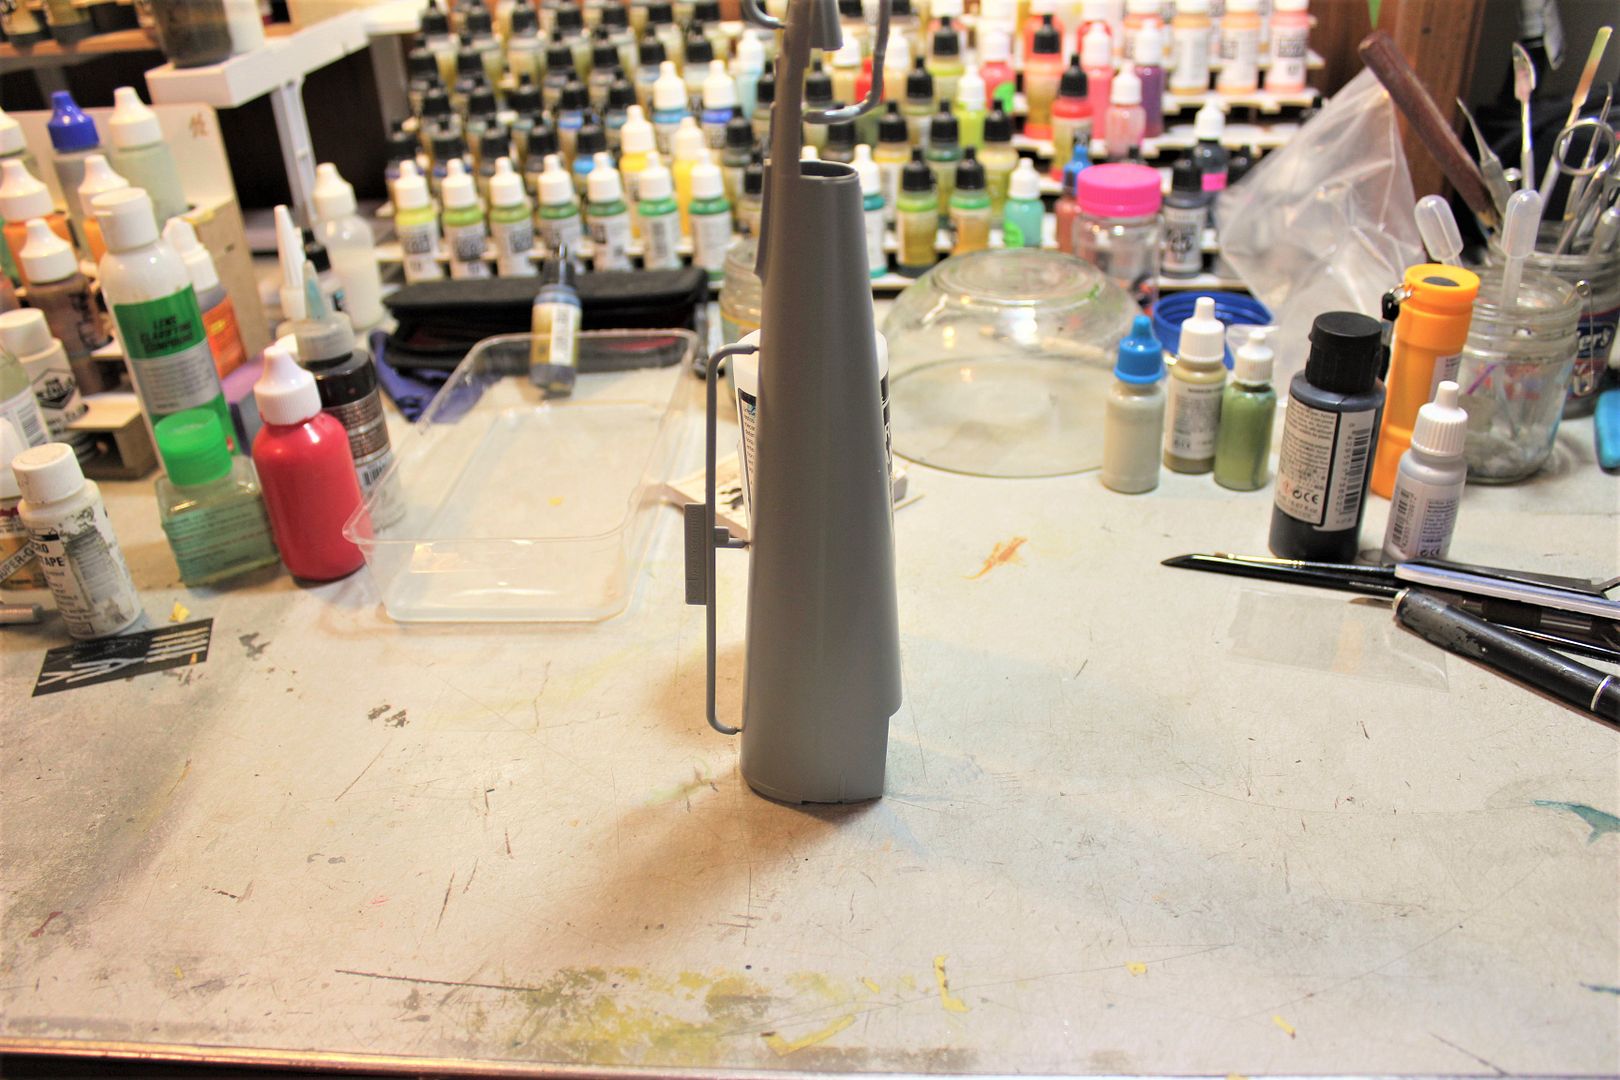
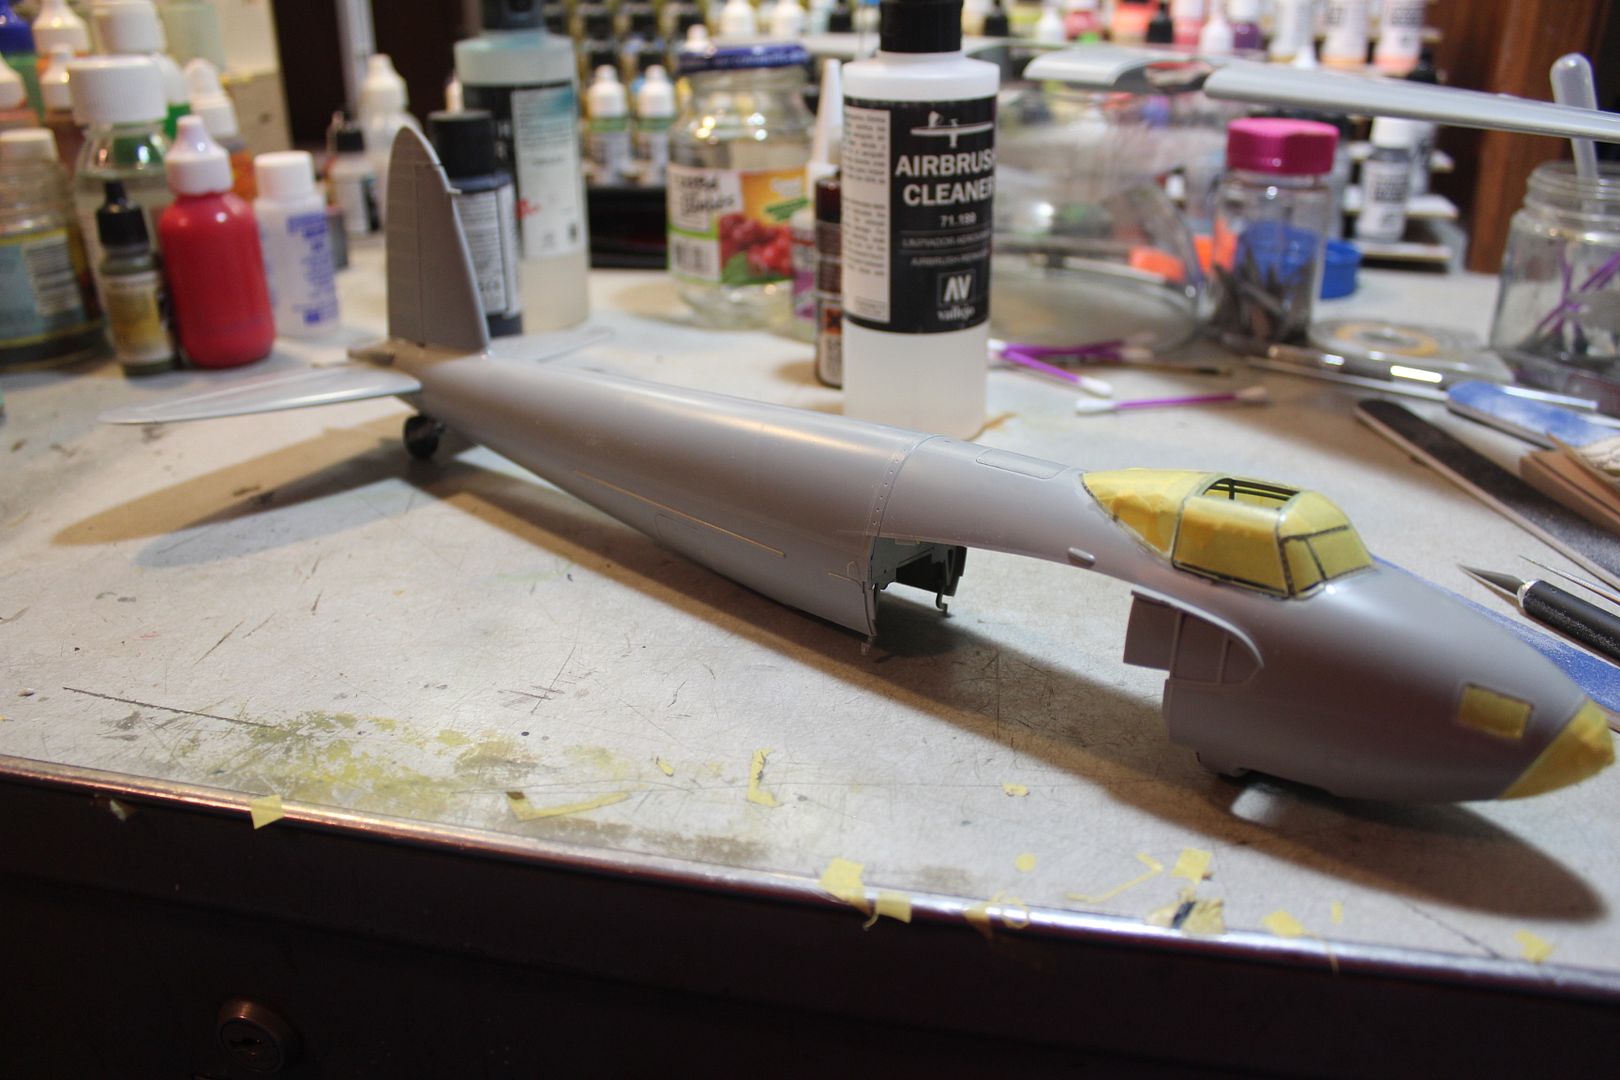
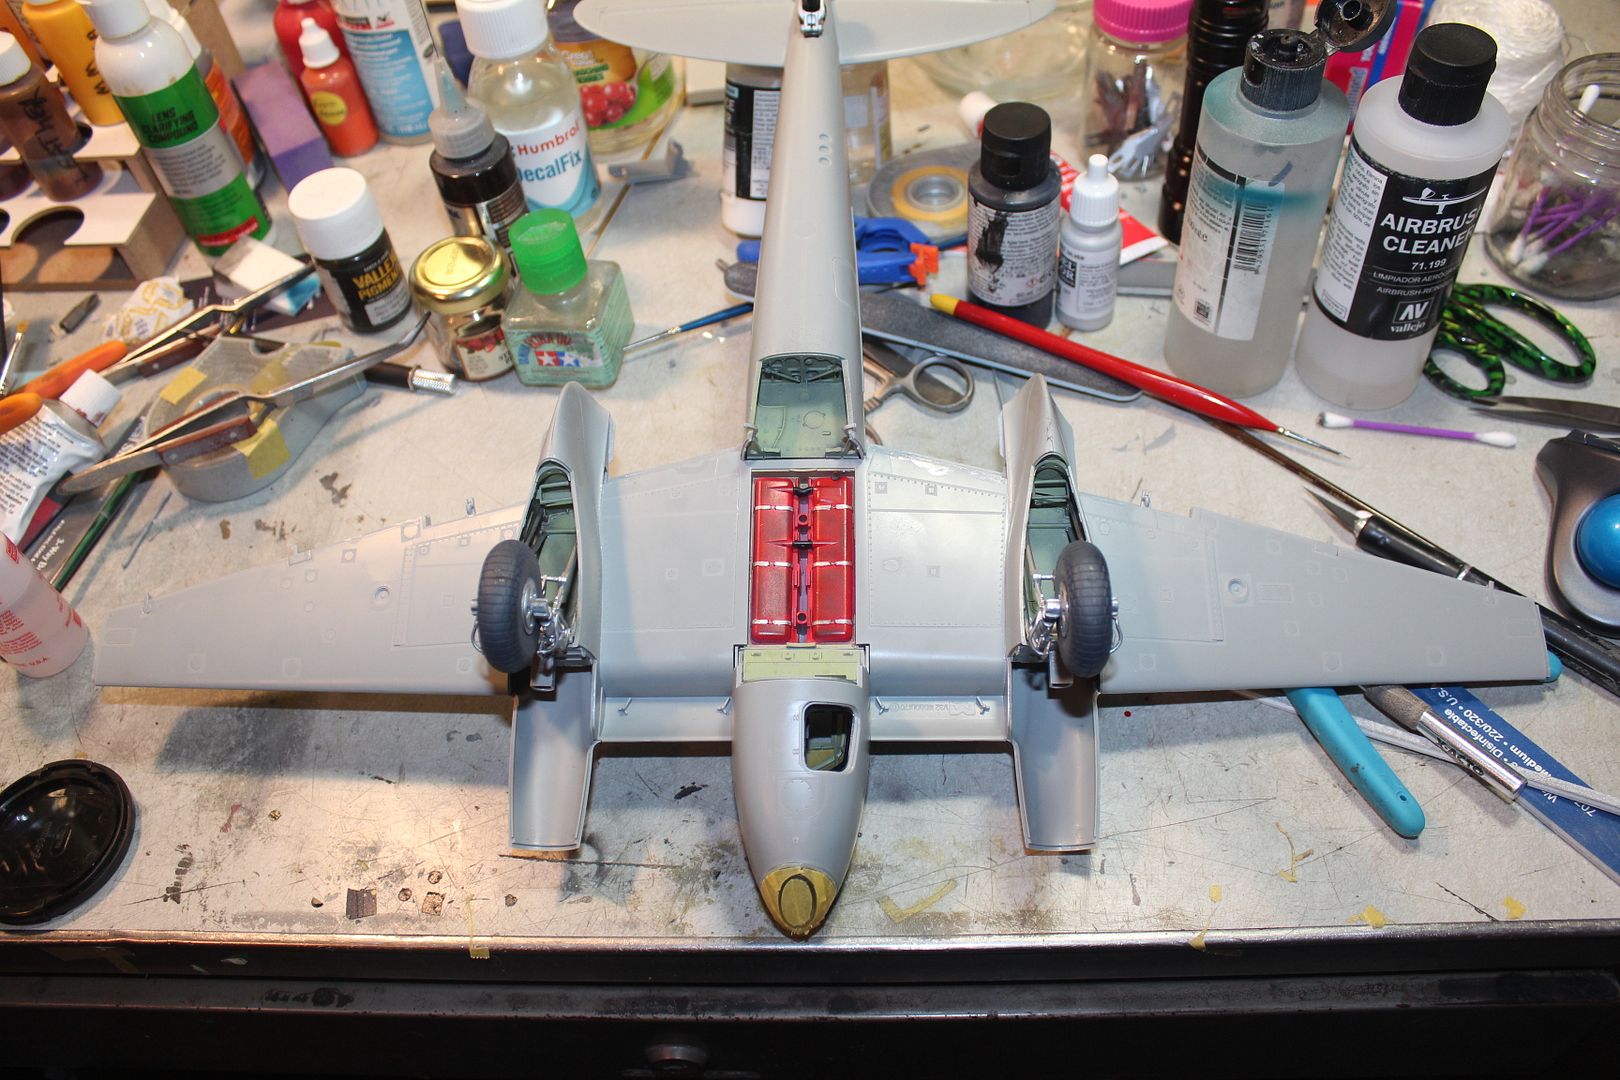
The feature that I really like is the way HKM molded the fuselage, flying and control surfaces. This way you don't have a nasty seam in those problem areas and where the halves come together it is in a location where there is a connection on the full scale bird.
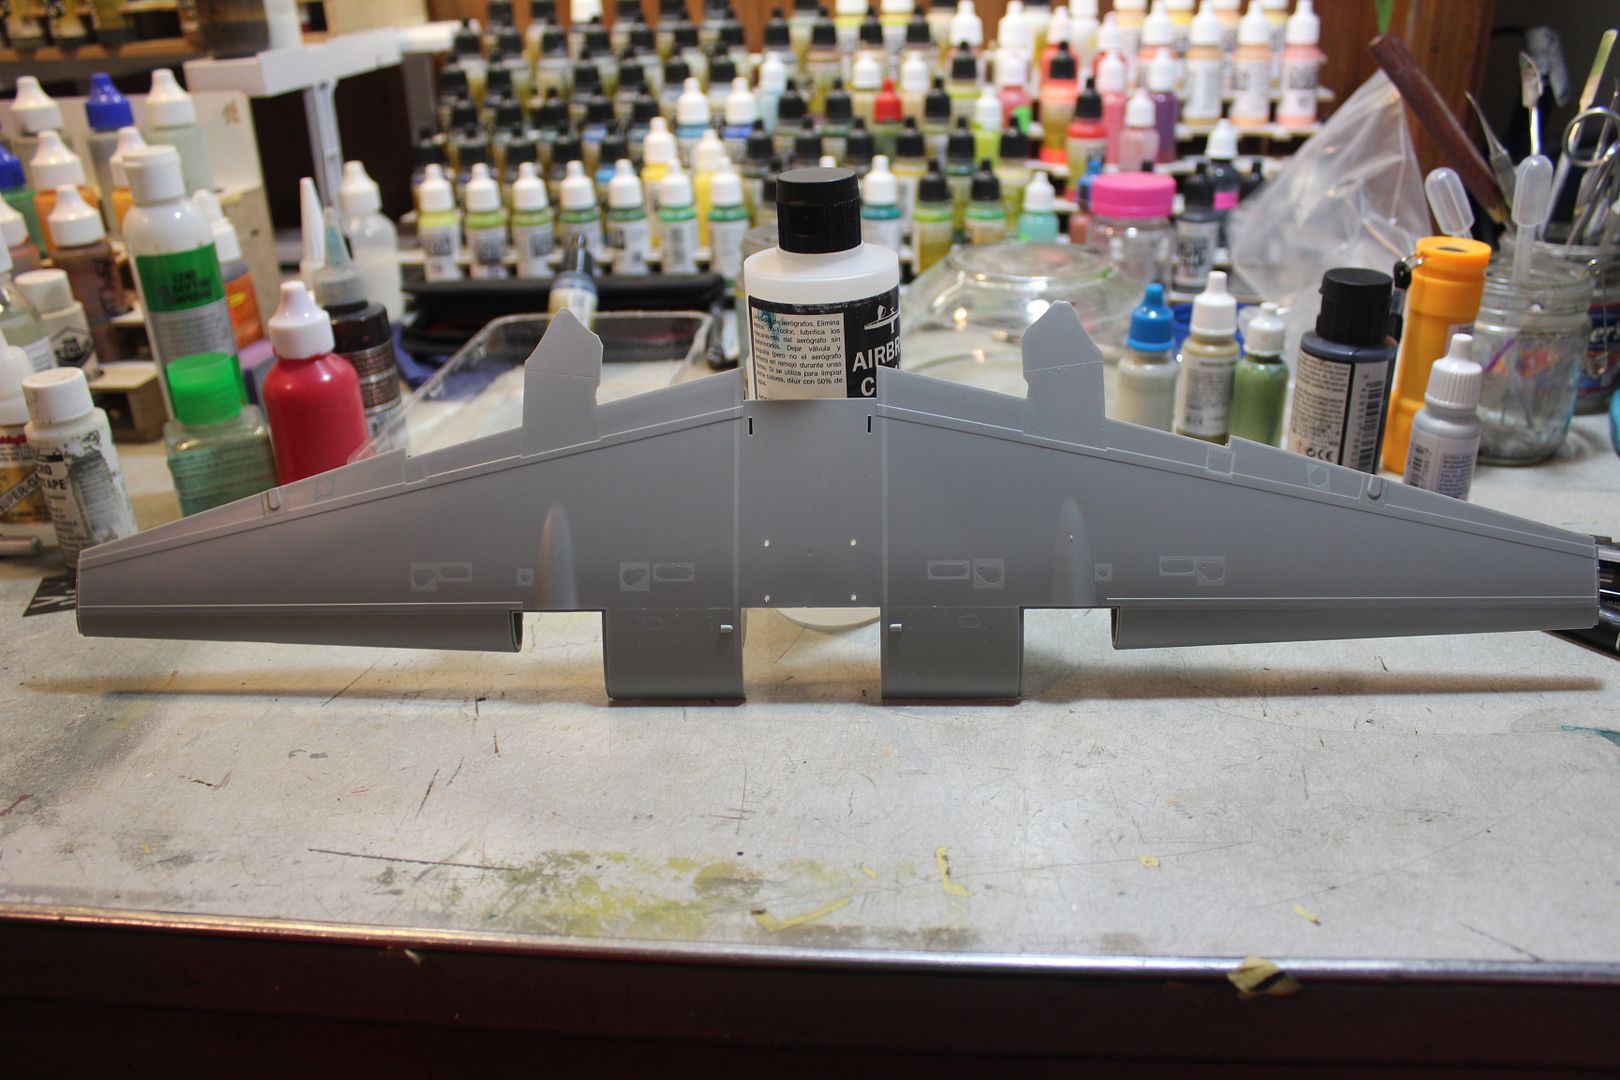
the one piece wing
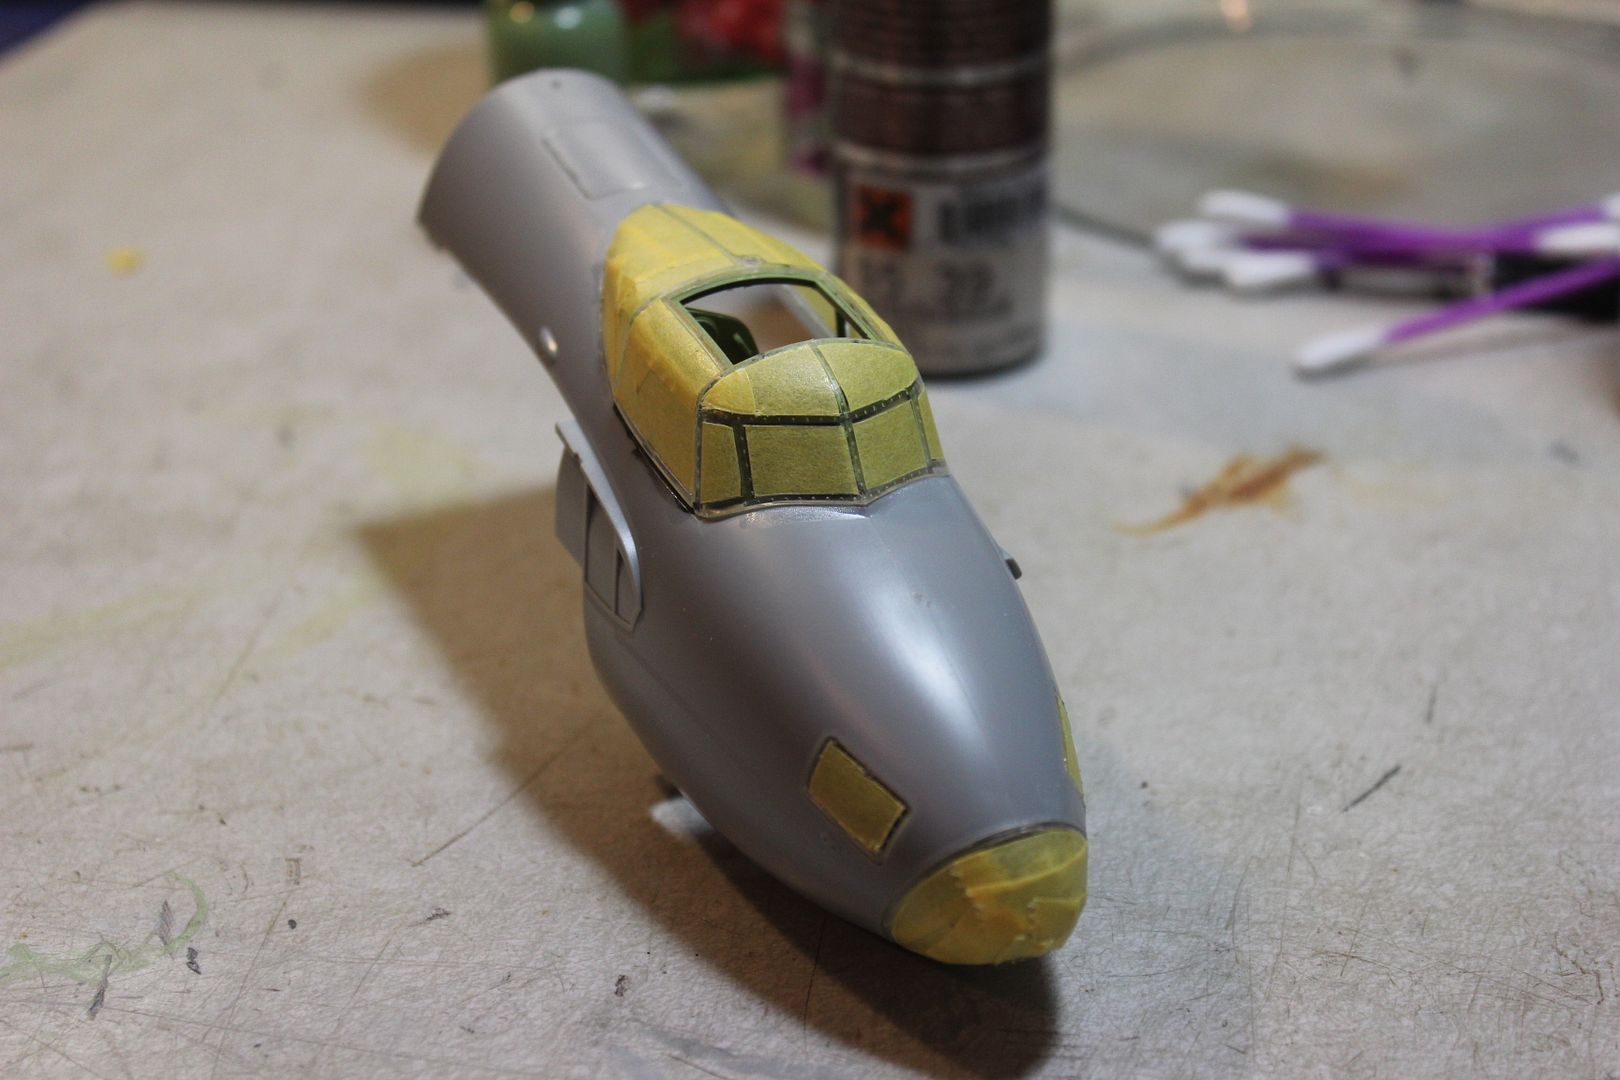
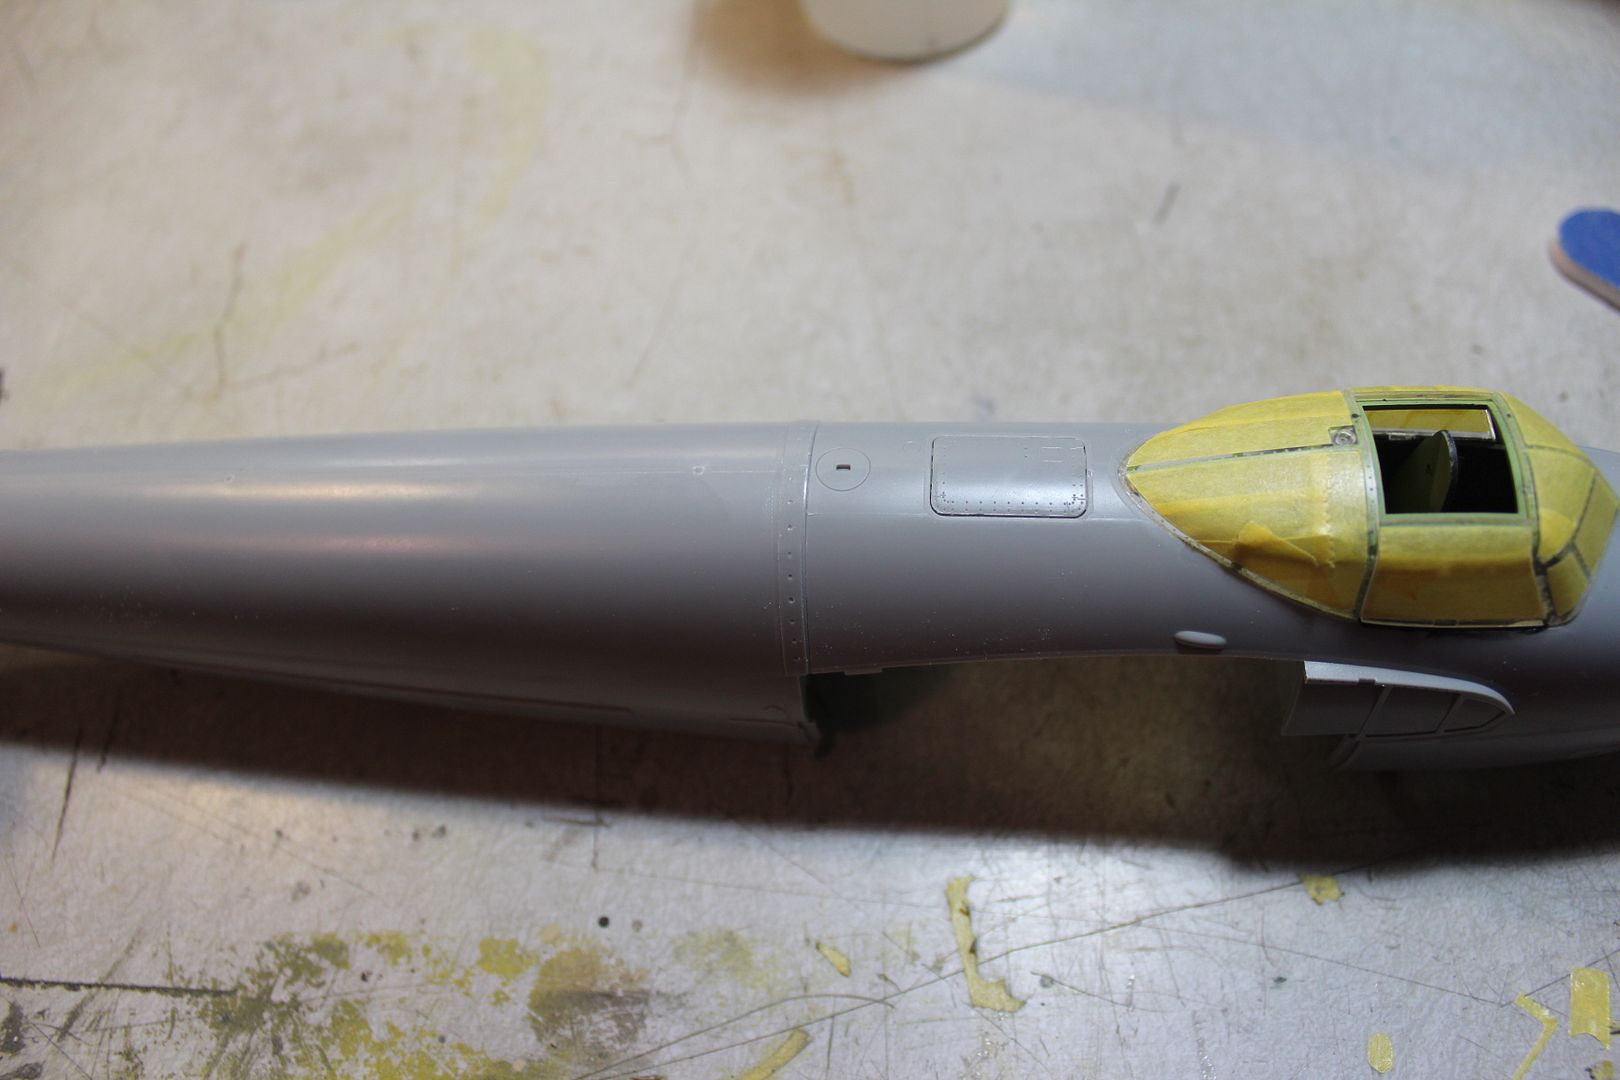
the pit just slides into the nose section of the fuselage and the multi part glazing went on with out too much fuss.
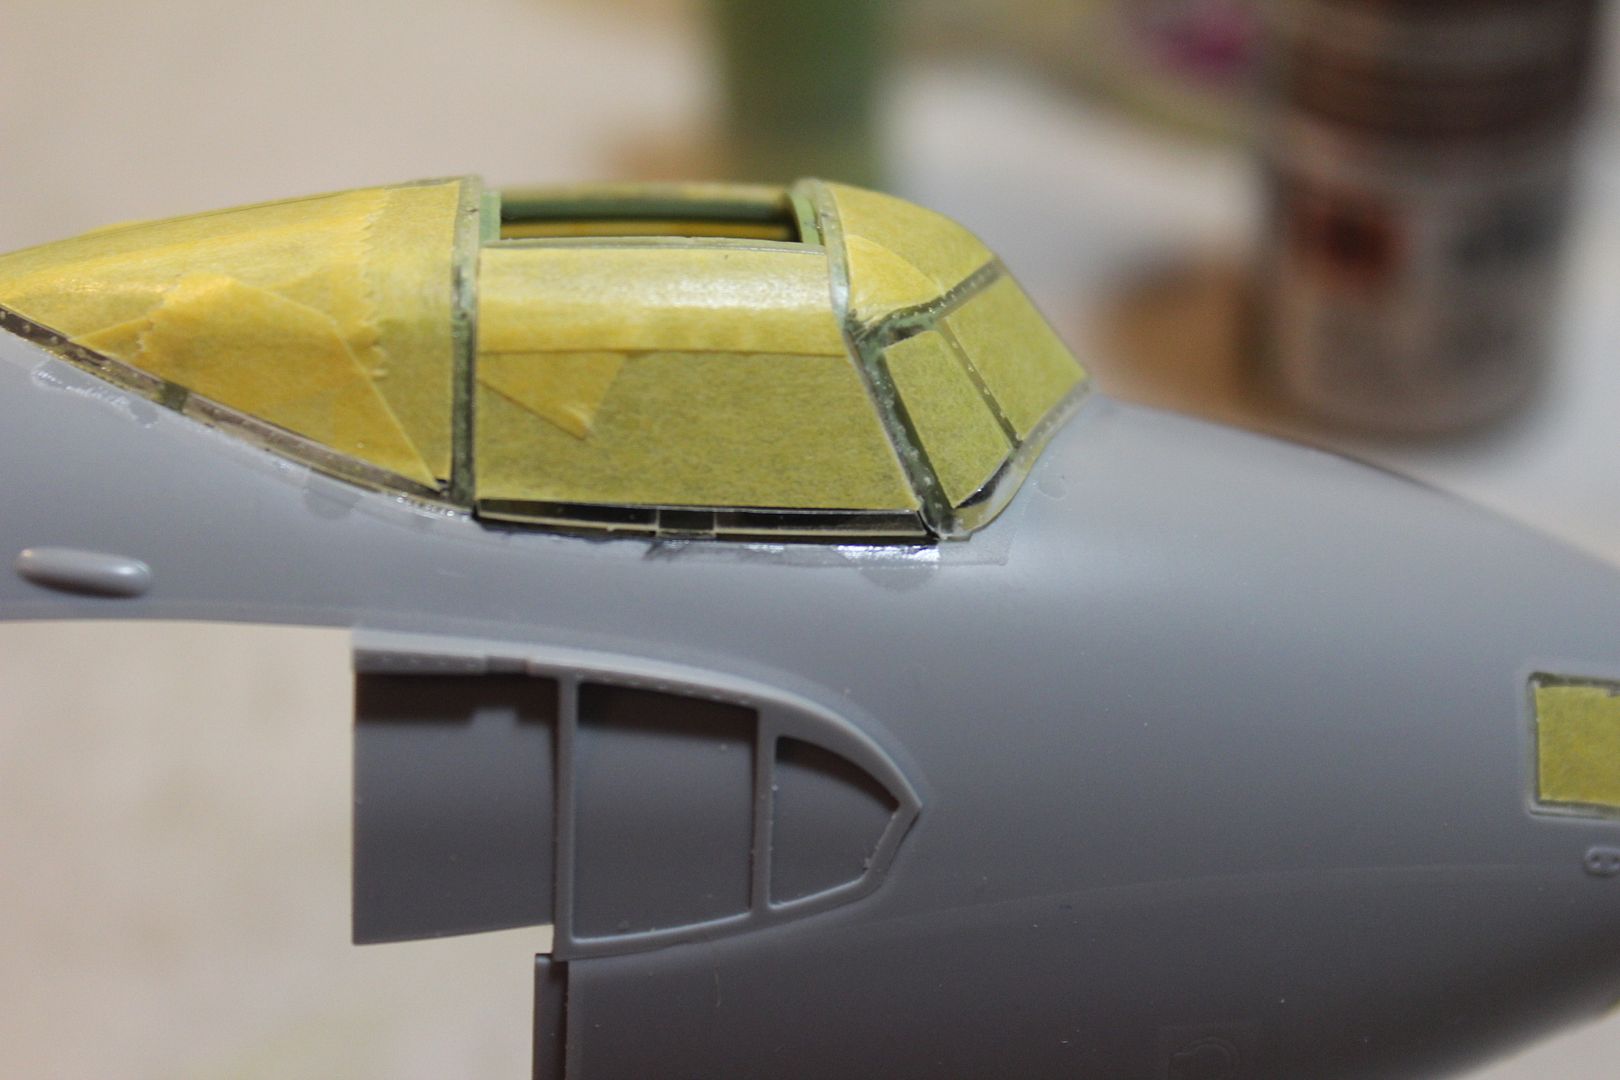
the gap here is my fault.
these parts just fit so well together I could hardly believe it.
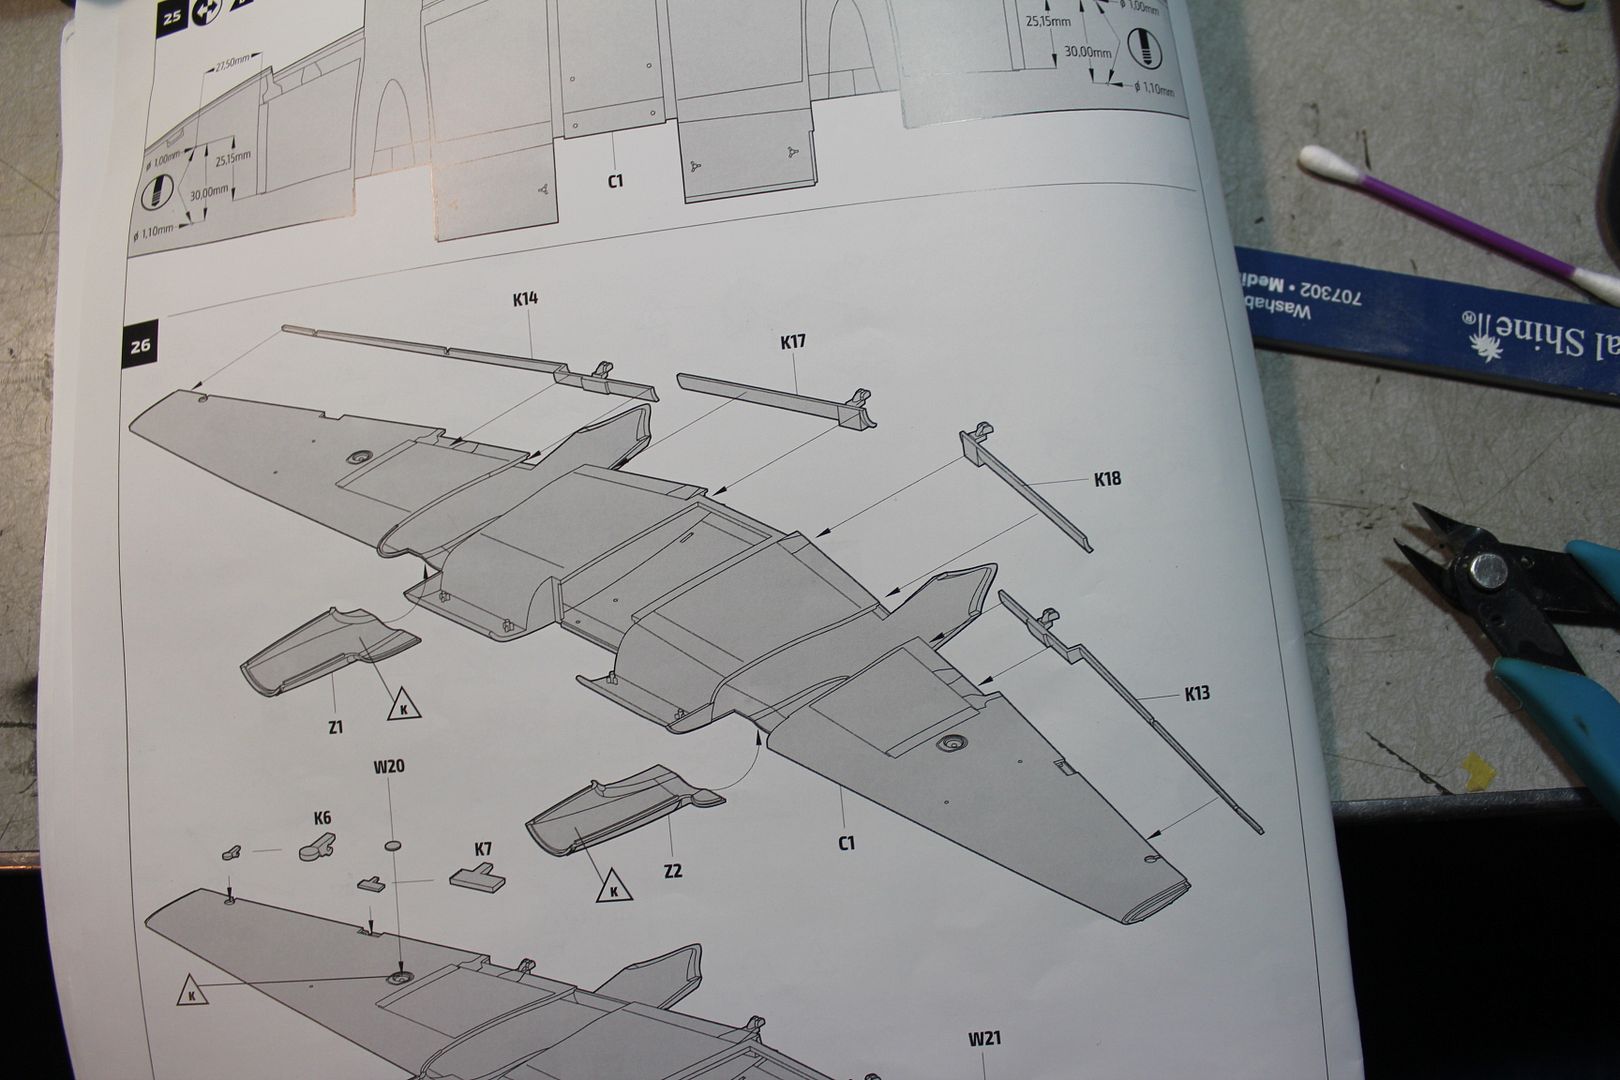
You can see the wing assembly here in the instructions as well as how the wing is molded in the following pic.
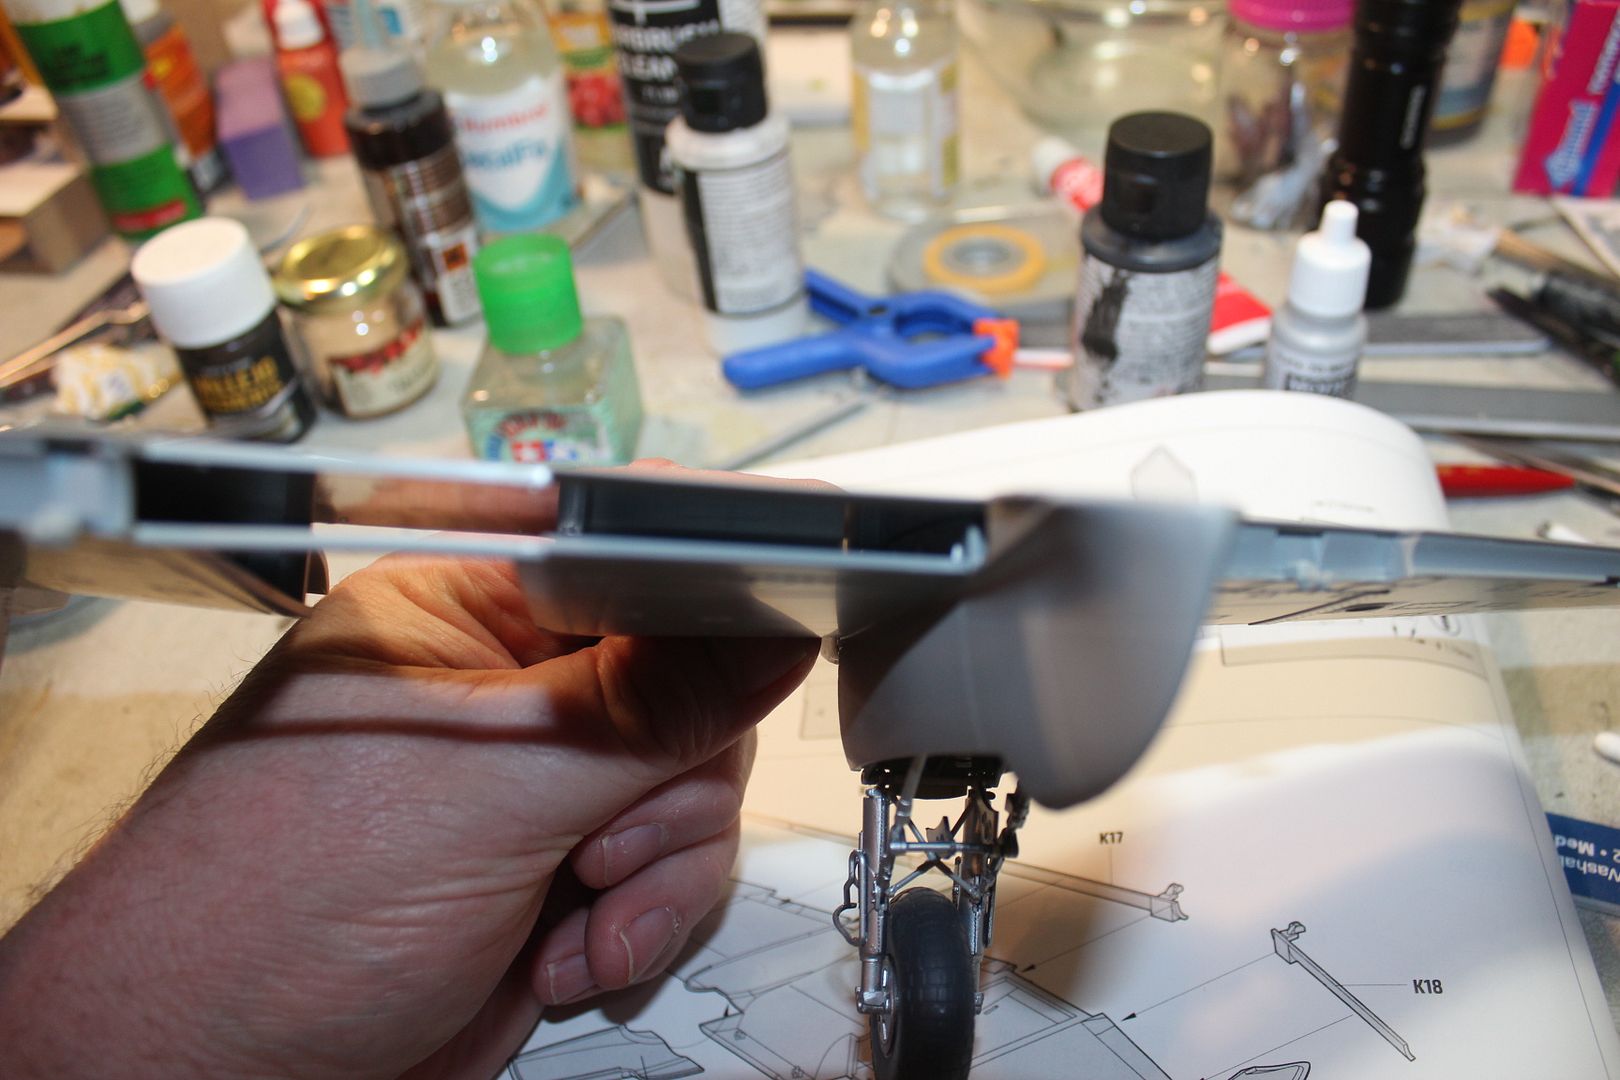
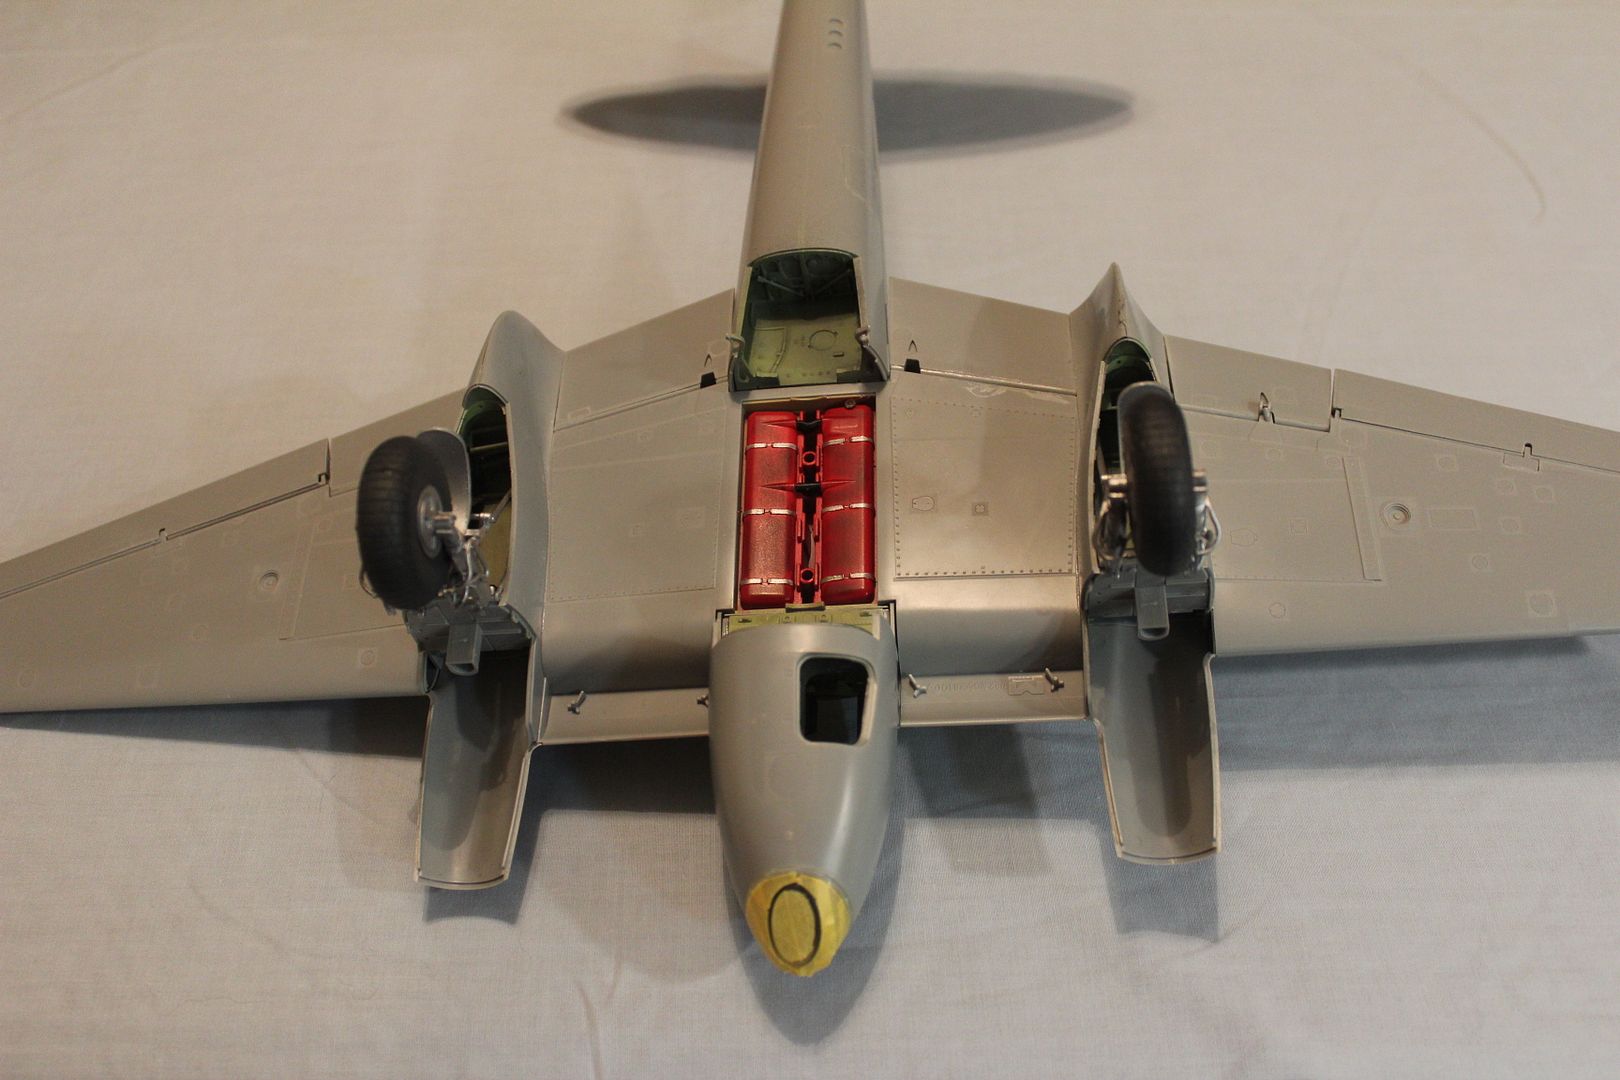
I guess the most fiddly assembly was the landing gear I got some of the assembly out of sequence so when it came time to install the finders I had a challenge. Getting the nacelles and gear assembly attached to the wing took a little patience only because I got out of sequence. The end result.
It's about this time that Gomez decided he needed to help.
That's about it for now but as soon as I can get back into it I will have the engines on and hopefully the nacelles all closed up. I am choosing to do this to copy Kermit Weeks Mossie that is located in the EAA museum in Oshkosh, Wi.
Thanks for lookin in.

I started with the pit and the ip. There is not much to see in the pit but what you can appears to be fairly good. The kits decals settled in pretty good for the ip gauges and only required a small amount of decal set.

The seat has good surface detail but the pe belt are sort of hard to bend with out annealing. I chose not to do that because I usually wind up making a bigger problem than if I don't.

The feature that I really like is the way HKM molded the fuselage, flying and control surfaces. This way you don't have a nasty seam in those problem areas and where the halves come together it is in a location where there is a connection on the full scale bird.


the one piece wing

the pit just slides into the nose section of the fuselage and the multi part glazing went on with out too much fuss.

the gap here is my fault.

these parts just fit so well together I could hardly believe it.


You can see the wing assembly here in the instructions as well as how the wing is molded in the following pic.


I guess the most fiddly assembly was the landing gear I got some of the assembly out of sequence so when it came time to install the finders I had a challenge. Getting the nacelles and gear assembly attached to the wing took a little patience only because I got out of sequence. The end result.

It's about this time that Gomez decided he needed to help.


That's about it for now but as soon as I can get back into it I will have the engines on and hopefully the nacelles all closed up. I am choosing to do this to copy Kermit Weeks Mossie that is located in the EAA museum in Oshkosh, Wi.
Thanks for lookin in.

")


