• Modelers Alliance has updated the forum software on our website. We have migrated all post, content and user accounts but we could not migrate the passwords.
    This requires that you manually reset your password.
    Please click here, http://modelersalliance.org/forums/login to go to logon page and use the "Forgot your Password" option.

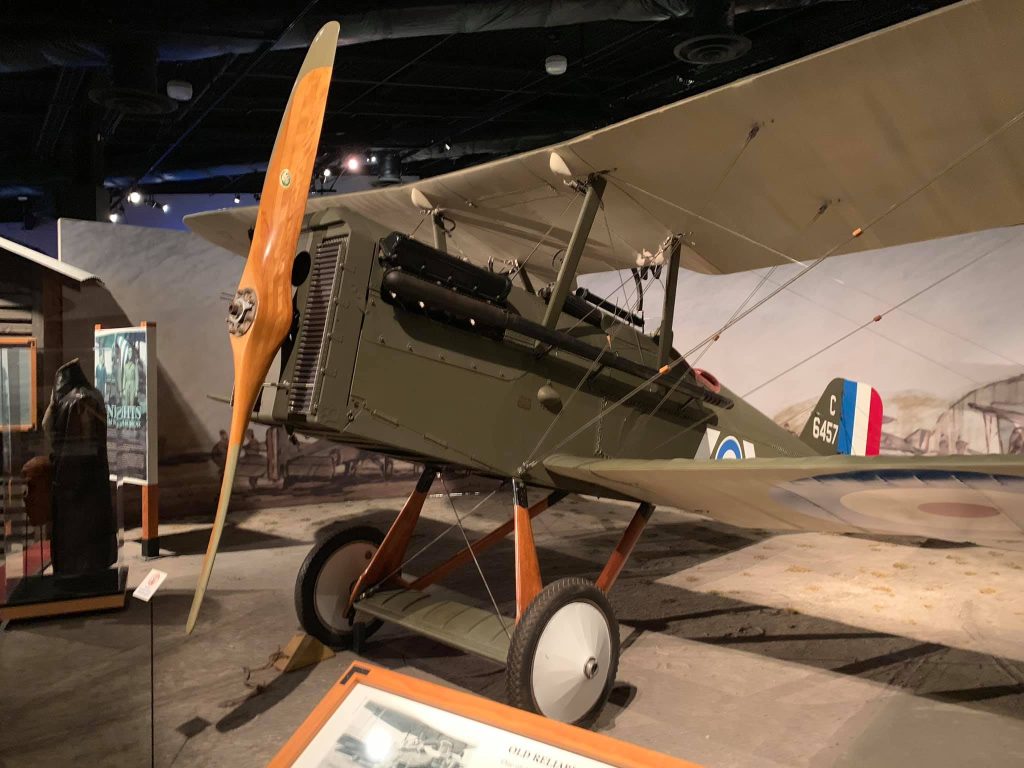
Wingnut Wing SE.5a

1792376353491.png


About 80% there.
 
That's why it's only 80%.

If there's a note I can add it's this. Drill out those attachment points for the rigging WAY before now.
 
Last edited:
If you have a steady enough hand you can use a hot needle to start a hole, then drill it out to size. Note, I said "start" because if you insert it too deep it does other things around the edge of the hole you won't want.

Oh and now Yahoo mail search is broken with their new update. About par for the course, like certain politicians, they promise new and improved and it is more broken than it was before. Can't even send an email to complain now. Also about par for the course.
 
@paddy this is what I was talking about with these 3d printed endpoints.
1792628069632.png


The line is secured into the attachment point hole, then slide the end point down in place.

1792628116755.png


then slide the anchor point into place, a little thin CA secures it even more.
I've been really inconsistent with this on this build. Some of the attachment points are these anchors some are the thin turnbuckle type things. I used the .07mm brass pipe to represent that, as it is, it's far too thick. Those little anchor points are another question.

You can see what I"m talking about in these photos. With the German aircraft it seems pretty consistent that there's a turnbuckle on either end. RFC/RAF are a variety of attachments. I'm playing with the various ways to attach thinking about how to do the Camel.

1792628799371.png


OK, 85% done.
 
Back
Top