New build 1:32 Tamiya F-15C with lots of goodies
Well. It's been a bit since I've gotten enough work to get an update together. Over the last month and a half I've had a few chances to steal away a few hours here and there; culminating with today's major milestone.
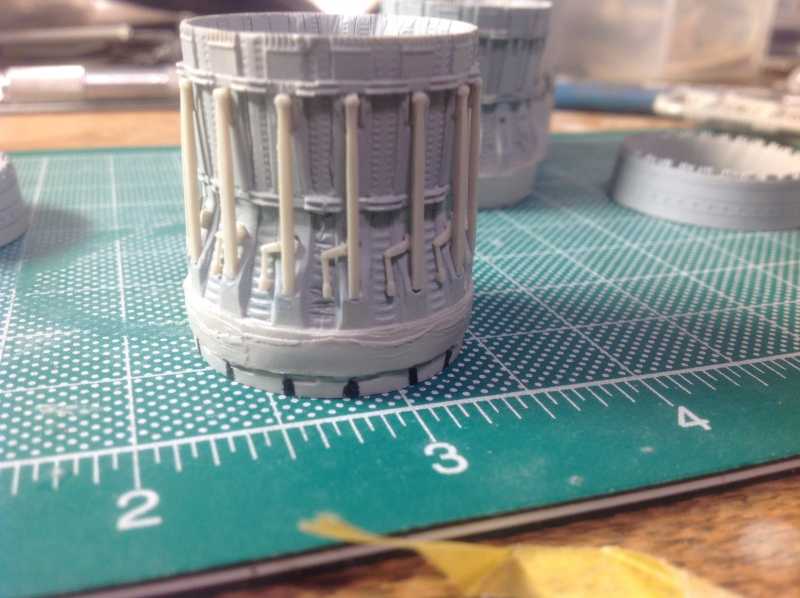
I have struggled with the aftermarket nozzles for quite a bit, but I think I've finally got them licked with the help of my new vernier calipers. The way they were assembled was with a mix of resin and modified Tamiya parts.
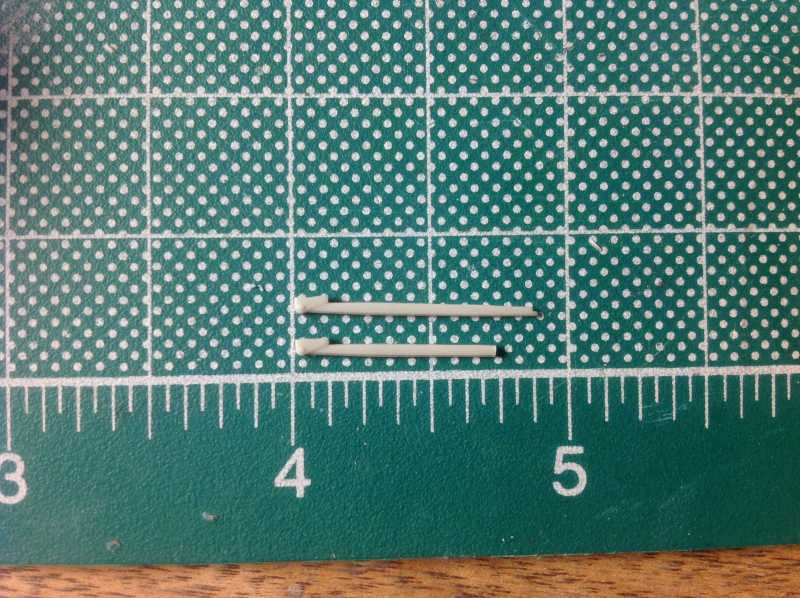
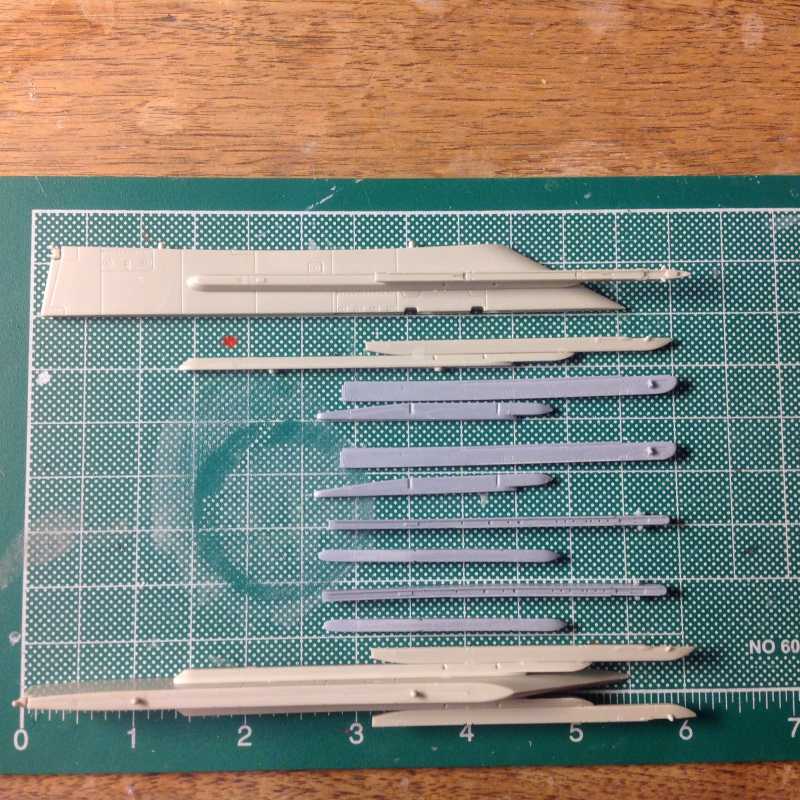
Here are the exhaust push rods. The longer one is from the box, and the shorter one has been modified to fit the corrected length aftermarket nozzles.
Here is an assembled nozzle, with only the priming and painting left to do.
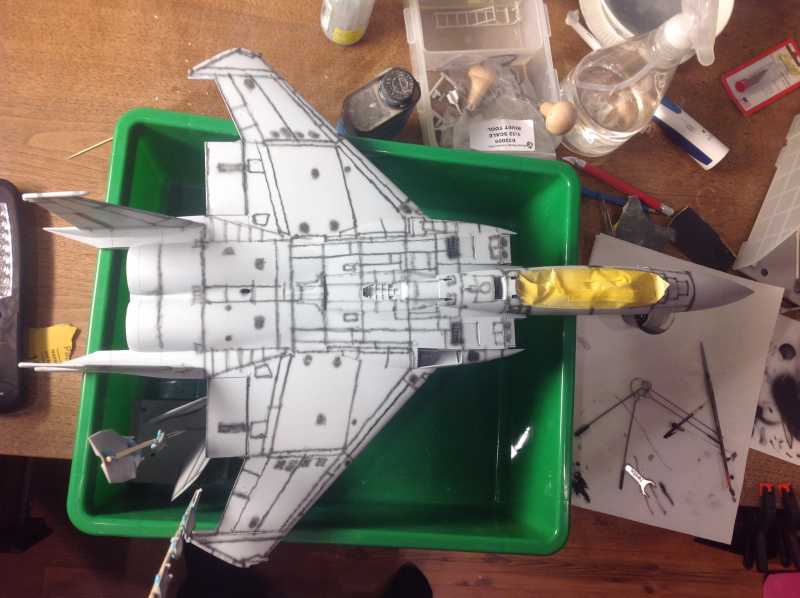
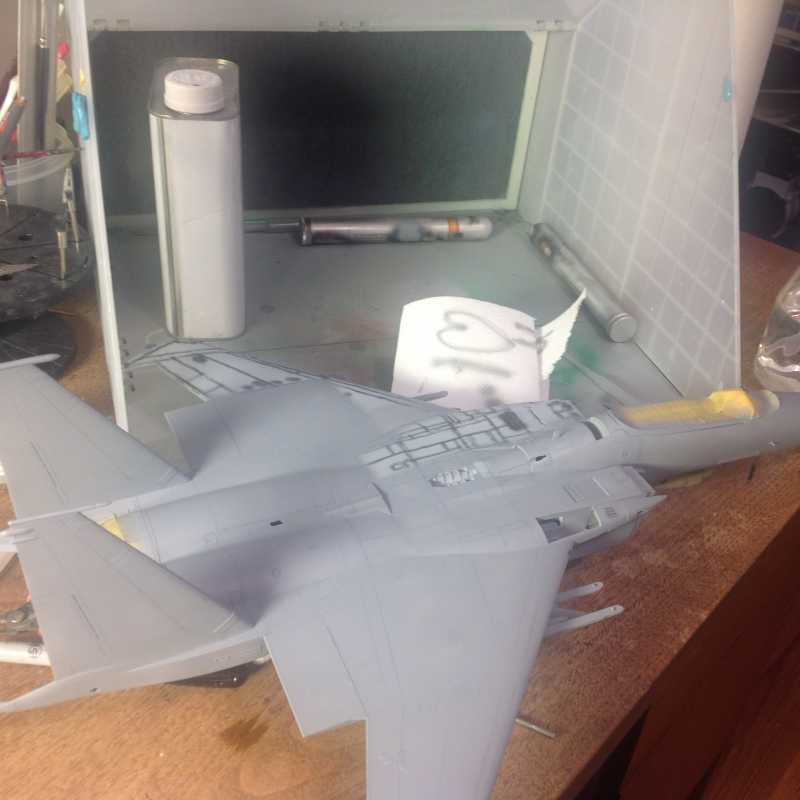
After that was all said and done, I decided to prime the metallic part of the plane. I've heard nightmares when using alclad primers under metallic paints, so I wanted to allow lots of time for the primer to fully cure before painting. Masking the area took two hours one night. So much for a quick evenings work!
Here it is primed, and when I started masking for today's endeavours.
But before I could paint, I had to attach the wonderful updated Wolfpack LAU-128 missile pylons. The detail these things were cast with is nothing short of amazing.
You can see the originals vs the shorter updated versions here.
I assembled the original pylons at the beginning of the build, before I bough the update set. Unfortunately that meant I had to carefully remove the injection molded parts to make way for the resin. A harrowing hours work for sure.
Finally!
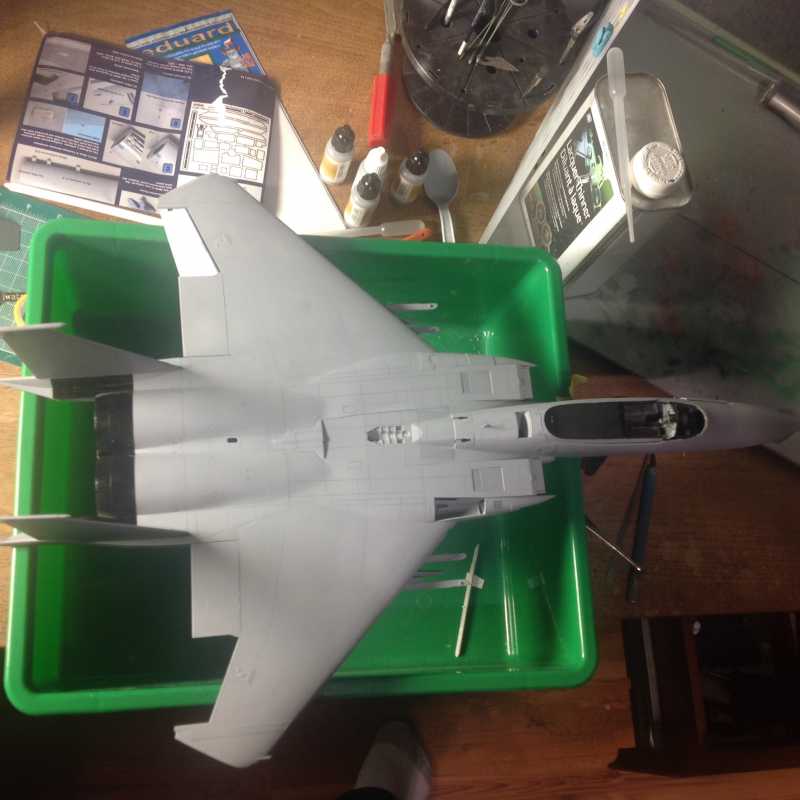
PAINT. Real, actual, not primer or preparation paint! This was a big moment, and some of you may remember from earlier in the thread that I was dreading the paint selection for this mammoth beast. After a bunch of research I finally settled on Vallejo 71.050 for the main paint. This should replicate the actual paint with about a 15% fade from everything I gathered.
Needless to say I was excited to get here. All the body work has been done, all the tediousness is behind me and I can smell the end. It should only take three or four short years to complete from this stage.
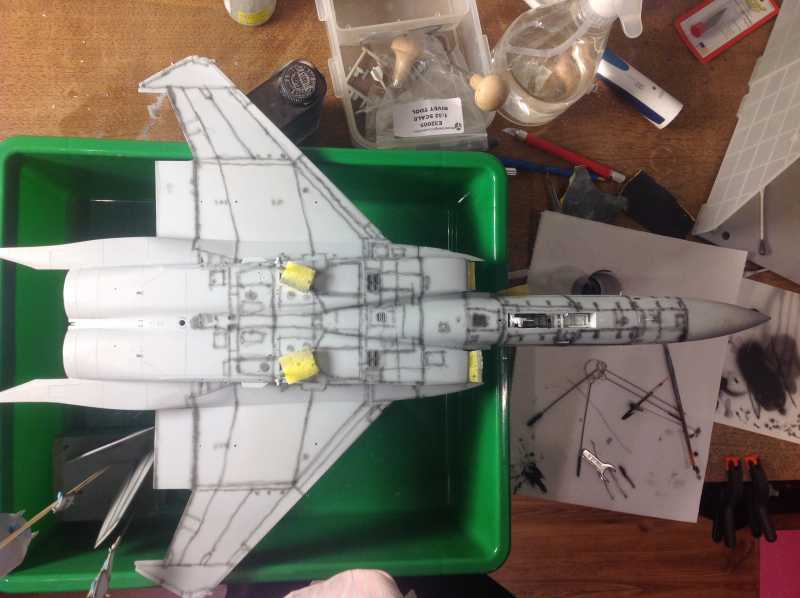
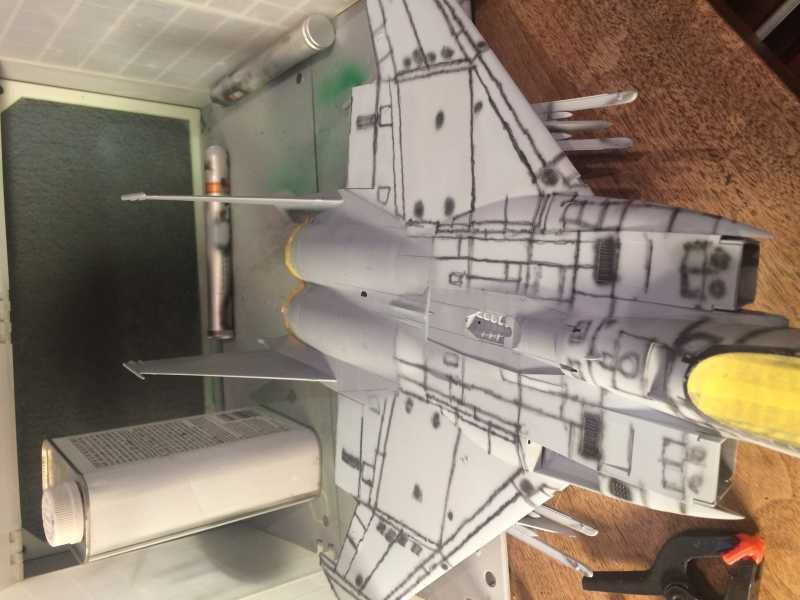
Here we are, partway through. This kit is way to big to fit into my spray booth, so I had to make do by spraying in front of the booth.
And here we are after about an hour and a half of spray time. I tried pretty hard to not come tell eliminate the pre-shading, but as I've mentioned before, the airframe I'm building is pretty clean so weathering will be kept to the minimum for the most part. Once I figured it the Vallejo paints, I quite liked them too. I found straight from the bottle they were a little too thick for my spray pressure, but I thinned them out by about 10% and they went down very nicely. What I did learn though was they do not like being cleaned up with alcohol. I had to disassemble and degum my airbrush after I tried a quick clean with rubbing alcohol. Oops. Luckily no kits were harmed in the making of that error.
Tomorrow I hope to get the second colour don as well as the titanium rear section all sprayed up. Then, it's just a few days of curing before clear coat and then decals!
Thanks for taking the time to read my novel. As always constructive critique and comments are welcome!