
-
Modelers Alliance has updated the forum software on our website. We have migrated all post, content and user accounts but we could not migrate the passwords.
This requires that you manually reset your password.
Please click here, http://modelersalliance.org/forums/login to go to logon page and use the "Forgot your Password" option.
You are using an out of date browser. It may not display this or other websites correctly.
You should upgrade or use an alternative browser.
You should upgrade or use an alternative browser.
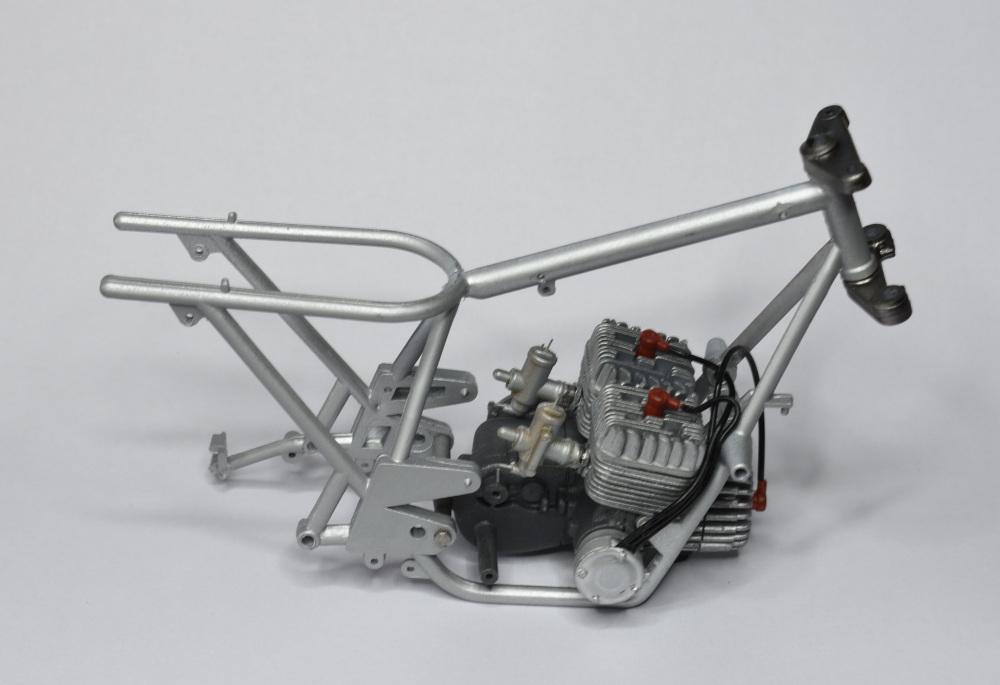
what colour is this ?
- Thread starter paddy
- Start date

This is my weakness...no clue.

You stated a color that seems to match... Graphite. My solitary opinion, of course!

Heavens Eagle
Well-known member
Problem is colors are different to different people. To me it looks like Alclad Steel, Stainless Steel, or maybe an Iron color. But then again, I am the guy on the right in this pic.


Greg Kimsey
Well-known member
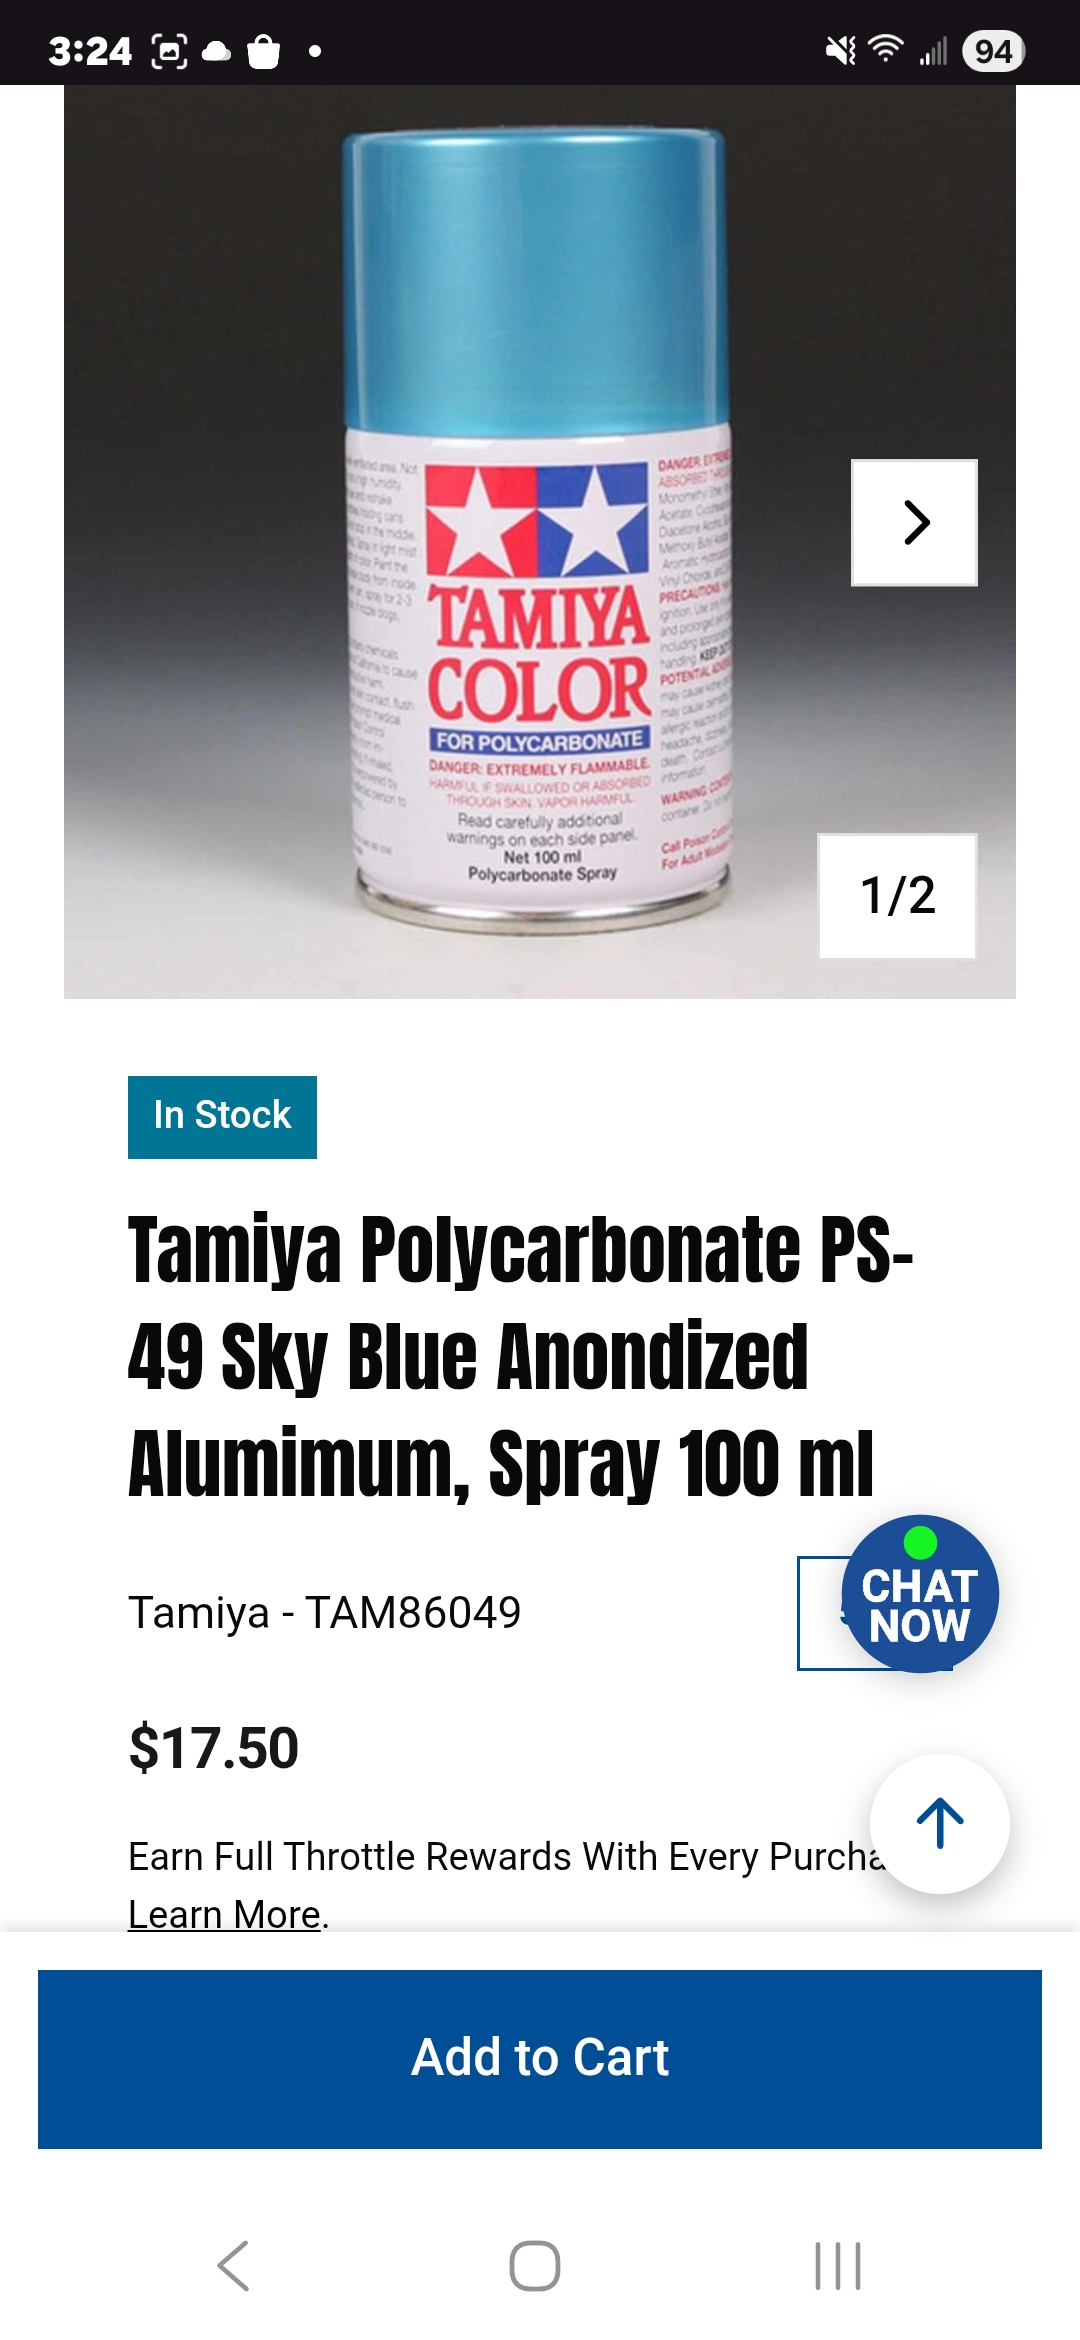
Maybe this

centaur567
Well-known member
Looks like a dark gray metallic to me. Gary S.
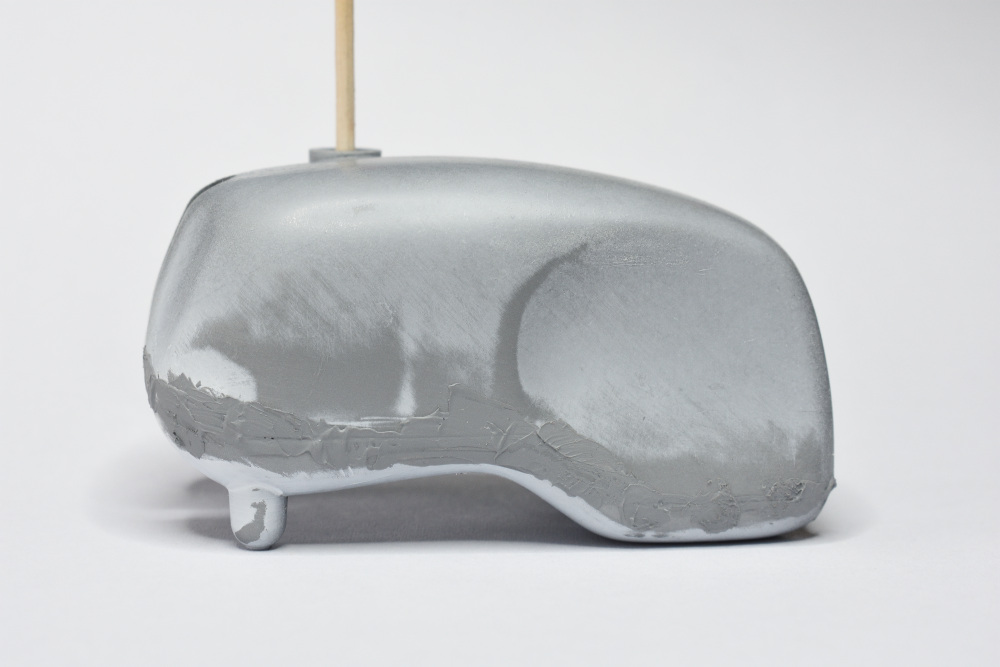
That seam is child's play for you Paddy. 
Color looks good to me.
Color looks good to me.
Heavens Eagle
Well-known member
You might try a 2 part auto filler then use a thin auto filler paste to finish up. I don't know what filler you are using, but if that is a metal tank, or even a plastic tank, if the filler isn't bonding and falling out in chunks you need to find a different filler.

RichB
Well-known member
You could try the super glue (thin type, not the gel) and baking soda trick to fill it. Just fill the gap with the glue, you may have to do short sections so the glue doesn't cure around the edges. Sprinkle the area liberally with baking soda (bicarbonate of soda on your side of the pond). Don't be tempted to press it down with your finger, let the chemical reaction happen. Let it cure for 20-30 seconds, brush off the excess and there will be a rough surface that should be hard enough to begin sanding with your favourite files and grits of sandpapers and a final buff with a cotton cloth. If there are any gaps or depressions repeat the glue and baking soda steps as required.
Cheers,
RichB
Cheers,
RichB
As @RichB stated but I will add that you can use a putty (silly putty, mounting putty, tack putty) to create a dam and keep the liquid CA on the horizontal plane as you work in sections, I would glue strip or wire in there to save on the CA. Another, expensive as you know, alternative is the UV resin.

paddy
Well-known member
I still think the plug leads look over size but i have measured them at .8mm so that makes a true life size 7.2mm which is probably on the smaller size for rubber leads from the 1950's. I think its just that the engine is very small being only 110cc a pot and a 2 stroke.
The original tanks were hand beaten, roughly to a shape
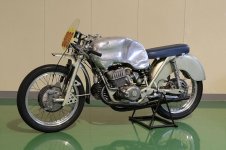

You get the idea. I have seen people build this model and just add a weld line to the join and others try and beat the tank up even more however i will try and fill it first and bashing it up is always a plan B
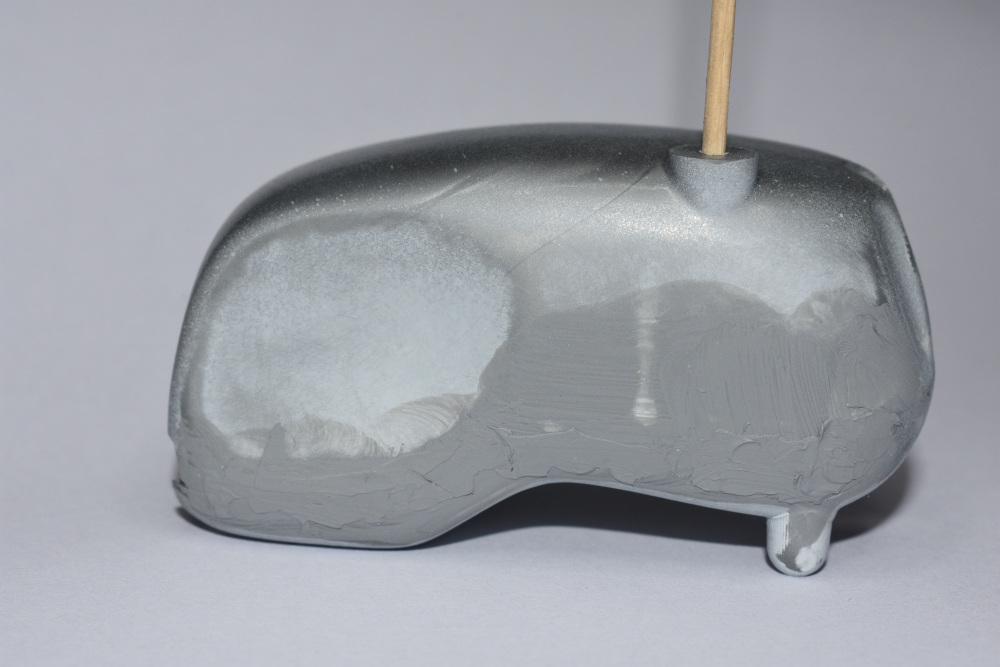
The original tanks were hand beaten, roughly to a shape
You get the idea. I have seen people build this model and just add a weld line to the join and others try and beat the tank up even more however i will try and fill it first and bashing it up is always a plan B
What's your putty?
paddy
Well-known member
AK grey ? I tried rubbing it back today as it had overnight to dry and i think my problem is i do it wet and it turns the dry putty back to wet putty, i might try a filler primer at this stage as its easy to strip it back and start again. I thing the beaten up tank might be even harder to replicate than getting this one filled 
Heavens Eagle
Well-known member
Ah, a water based putty. I use the old Squadron green putty. Squeezed it out of the tube into an old Testors square liquid solvent bottle, and add MEK to it occasionally and mix to get it back to the right consistency. It seems to work extremely well for me.
Hey you got it! Hit'er again and get that one spot.


