Thanks guys. I'm definitely hoping that it comes out as well as I'm planning, but we'll see. A lot of what I'm doing, I've never attempted, so we'll see. I've never opened doors on a build before, so that part has definitely been a learning experience. The really nice thing is I found a build thread on another forum, where a guy built this same kit, and did several of the things I had thought about doing before I started the thread, so that's helping out a lot.
I'm really hoping to have this build done by November, so that I can take it to the Southern NNL show in Atlanta. Its looking promising that I might actually be able to attend it for the very first time, and I'd love to have this build there.
Small update tonight. Left work early today to bring my wife home b/c she was sick, so I've had most of the day to work on this, and actually managed to make quite a bit of progress. Doesn't look like a whole lot, but I feel that I've been able to get a lot done.
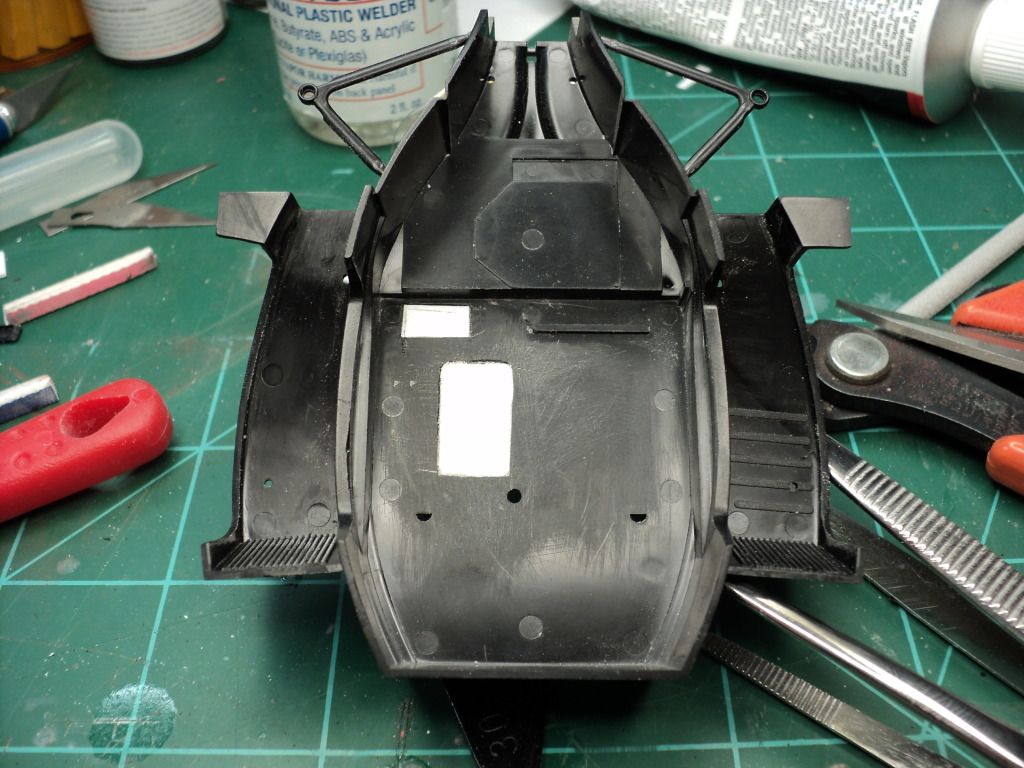
B/c the cockpit tub is being covered in carbon fiber decals, I'm trying to get it cleaned up so that I can lay down decals w/o having to fight w/ various bits in the way.
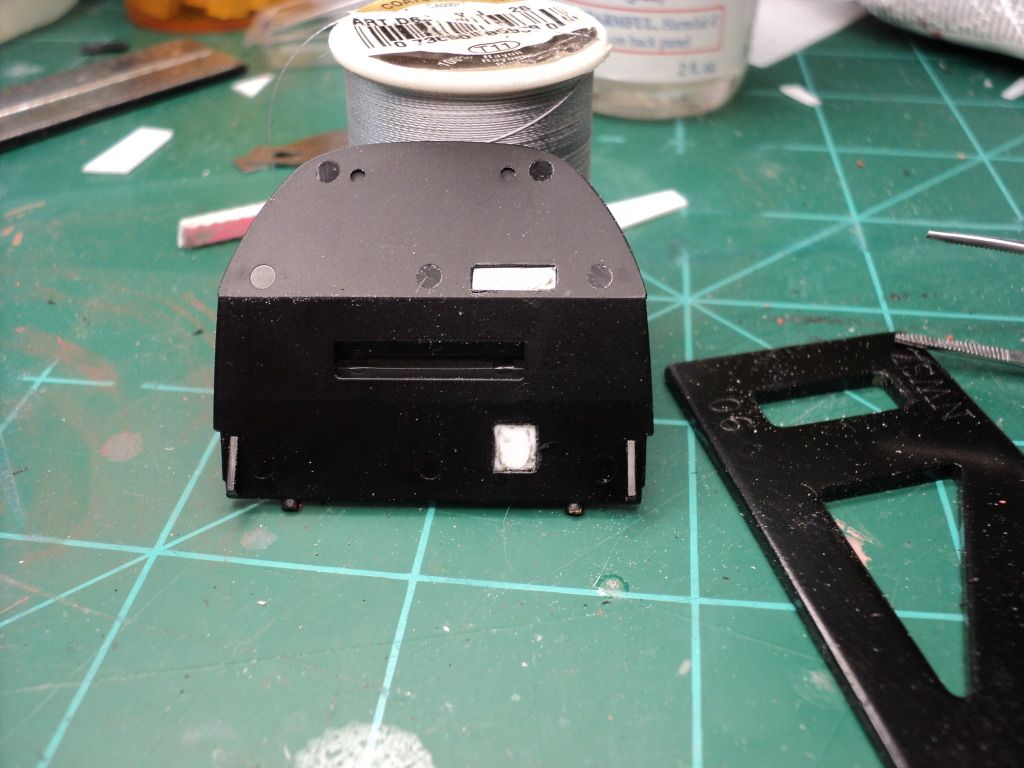
My update last night showed the start of this w/ the white plug in the cockpit floor, I continued on w/ this today by removing another box, as well as cutting out an inaccurate part. In the pics posted last night, you can see what looks like a fire bottle or some kind of cylinder. Looking through my various reference images, that part is wrong. In the real car, it looks like there should be some kind of vent or a/c tube, so I went ahead & cut that out completely, and I'll replace it w/ some tube when I assemble the cockpit. I've also removed a couple boxes from the rear cockpit wall. One is some kind of electrical box, the other shouldn't be there.
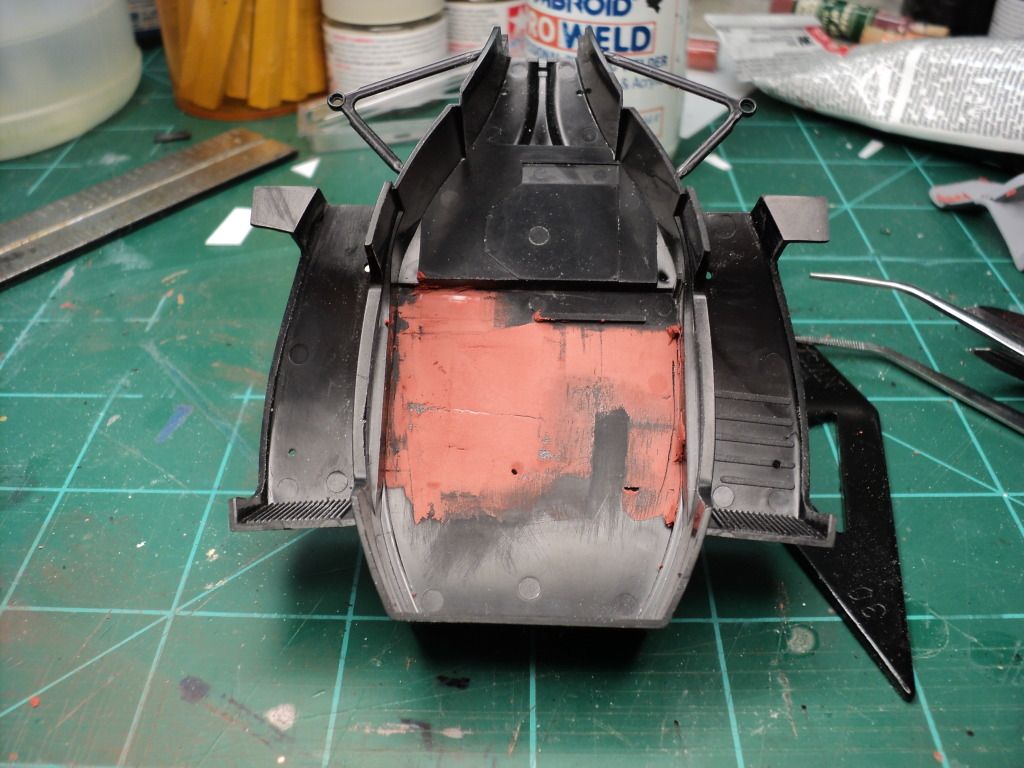
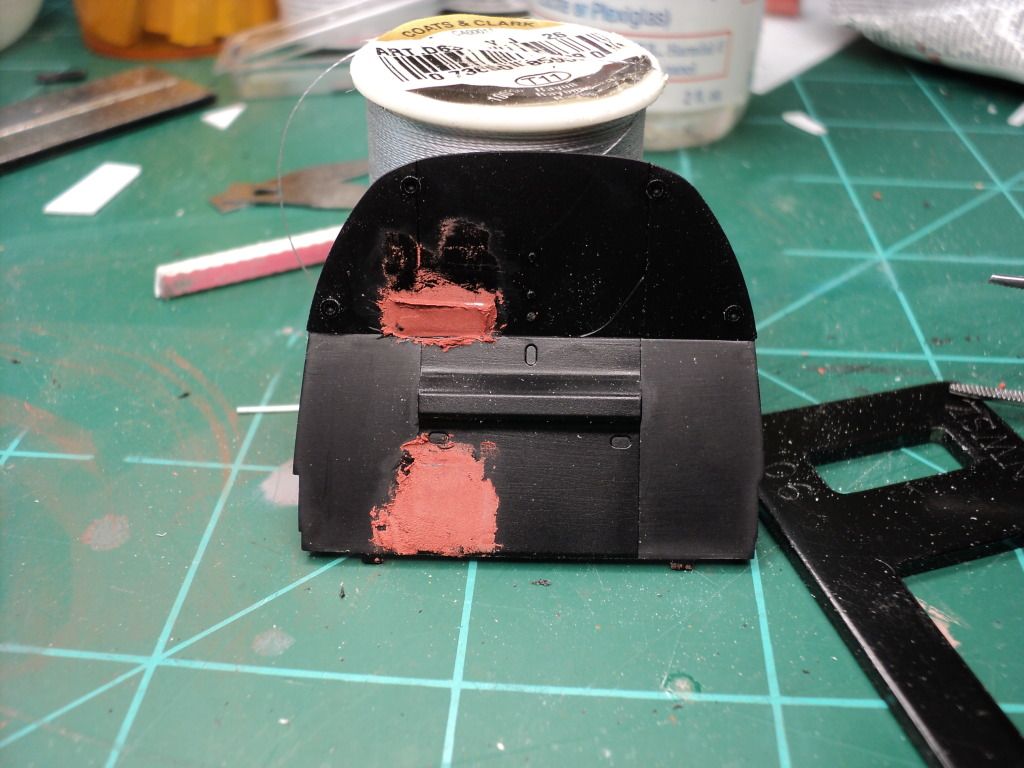
I used the same method for the other removed parts, that I used last night. Cut all the parts out carefully w/ the back of of an xacto blade, and then filled the hole w/ .030" styrene sheet. I topped this off w/ a coat of Bondo glazing putty applied w/ a razor blade, so I was able to keep the putty pretty thin.