• Modelers Alliance has updated the forum software on our website. We have migrated all post, content and user accounts but we could not migrate the passwords.
    This requires that you manually reset your password.
    Please click here, http://modelersalliance.org/forums/login to go to logon page and use the "Forgot your Password" option.

Tamiya 1/24 Toyota GT-One TS020 '99 24h Le Mans

Adam Baker

Active member
Thought I'd give a bit of a teaser on a project I started in the last couple of weeks.

DSC01689.jpg


DSC01691.jpg


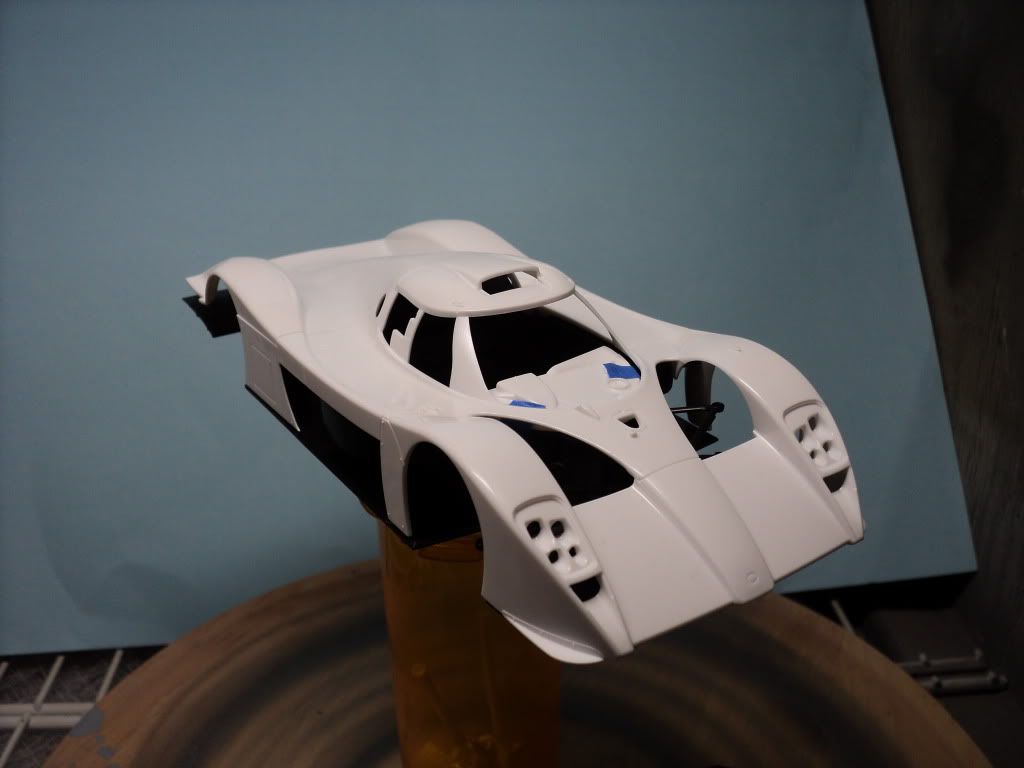
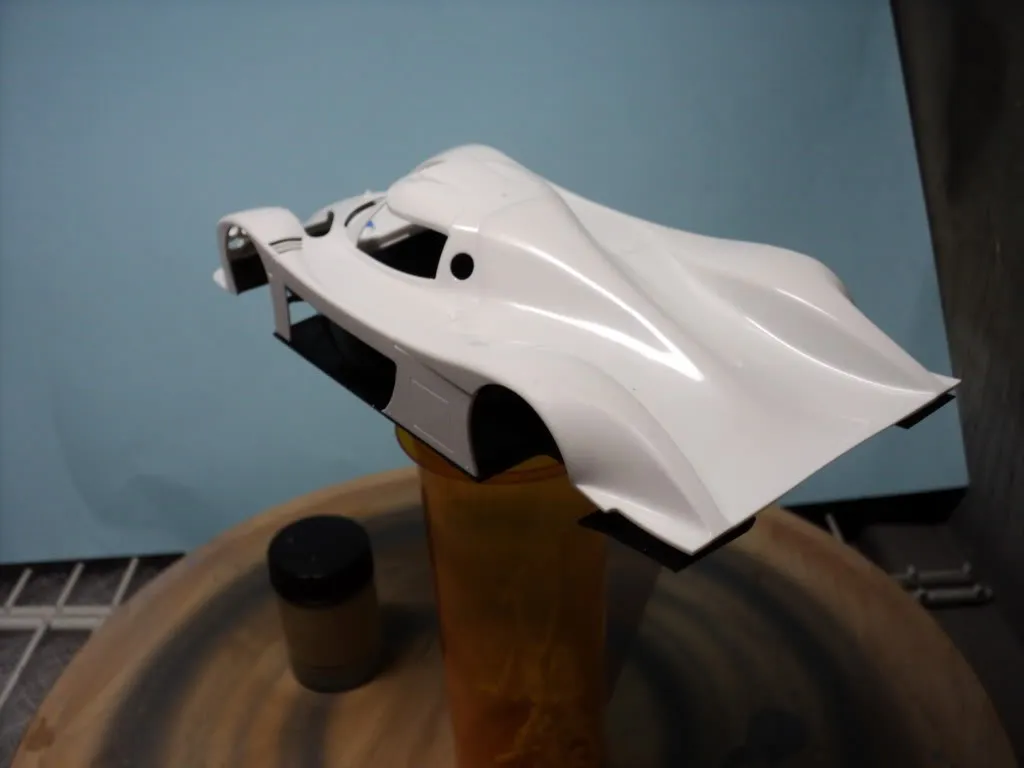
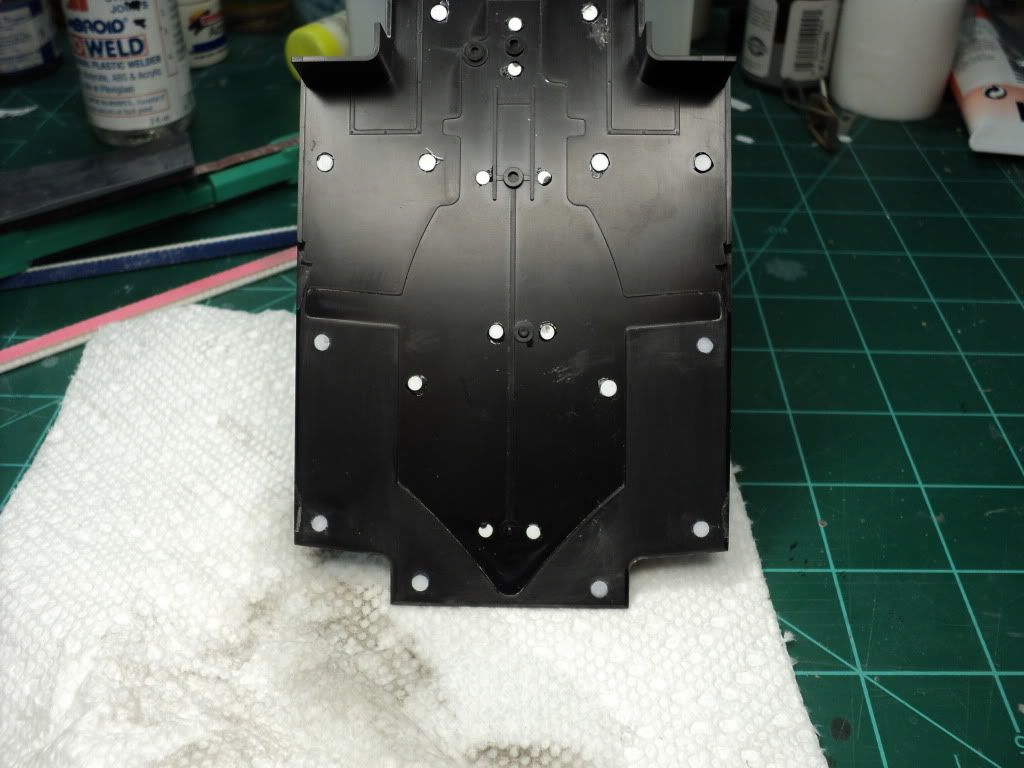
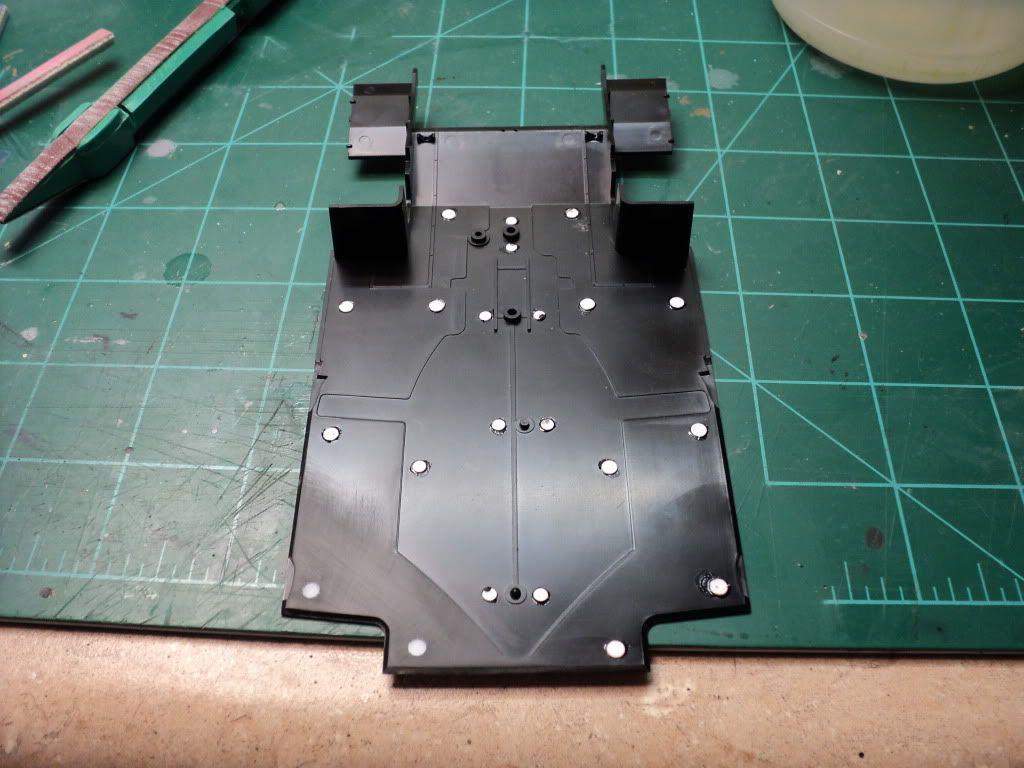
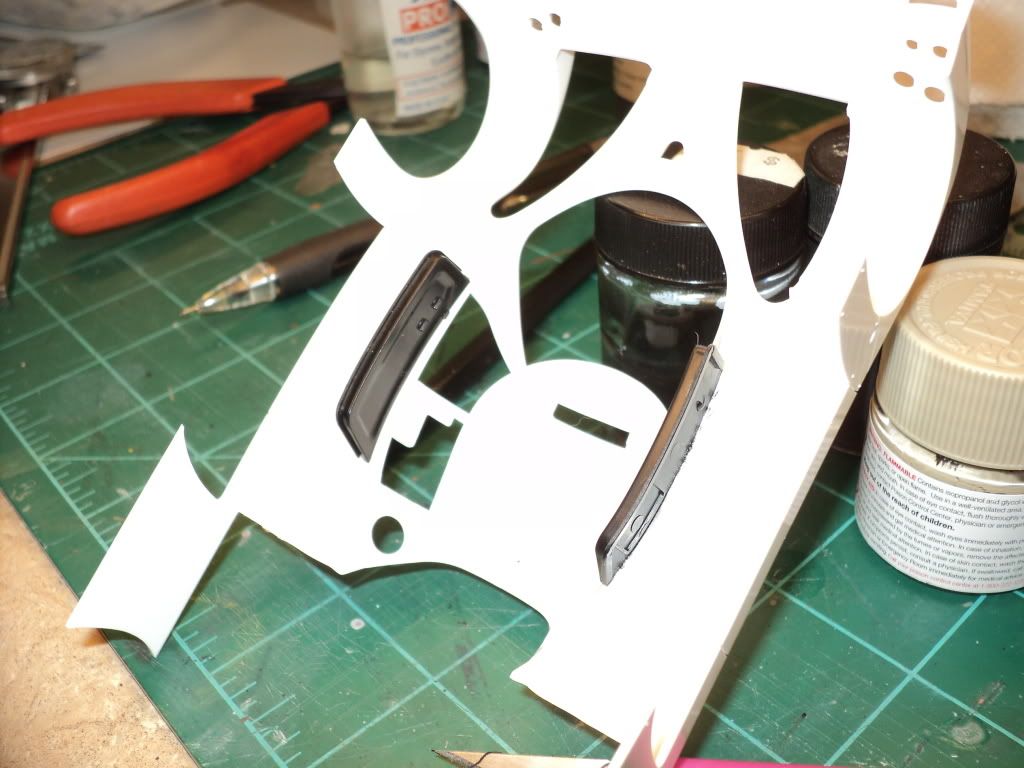
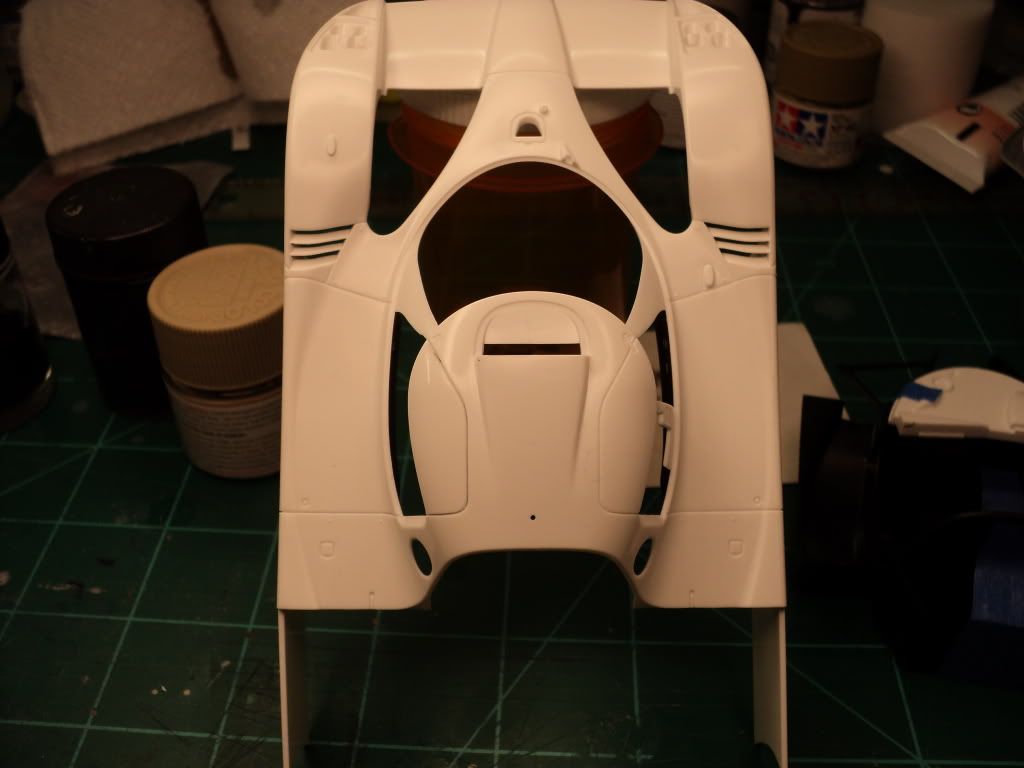
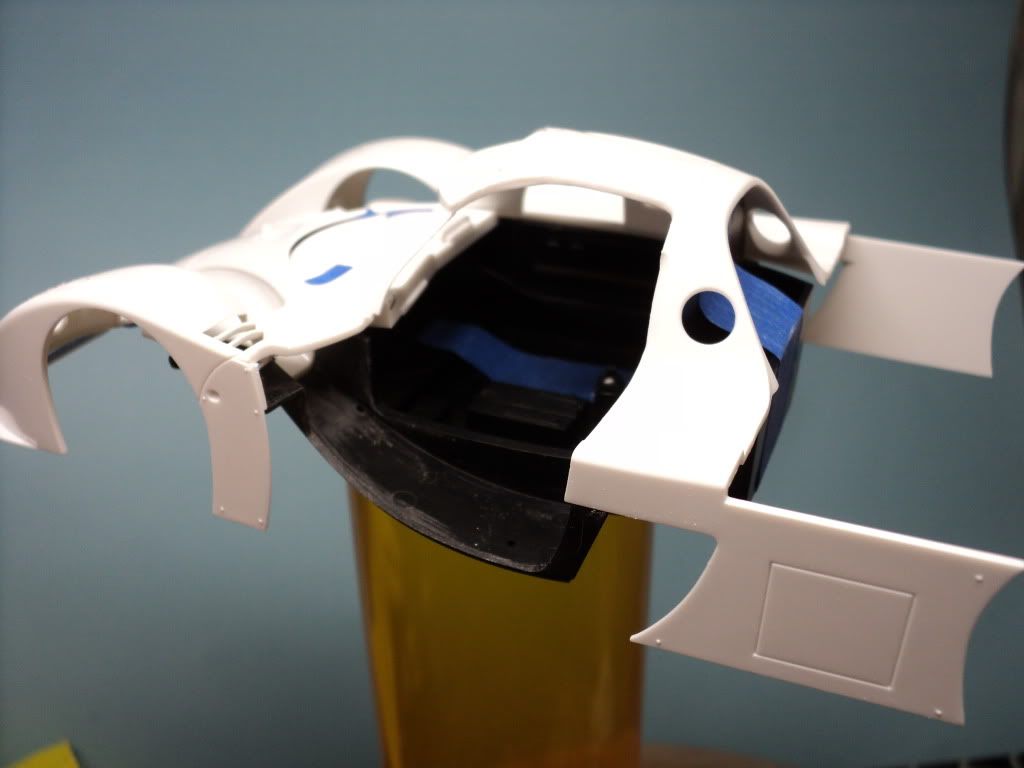
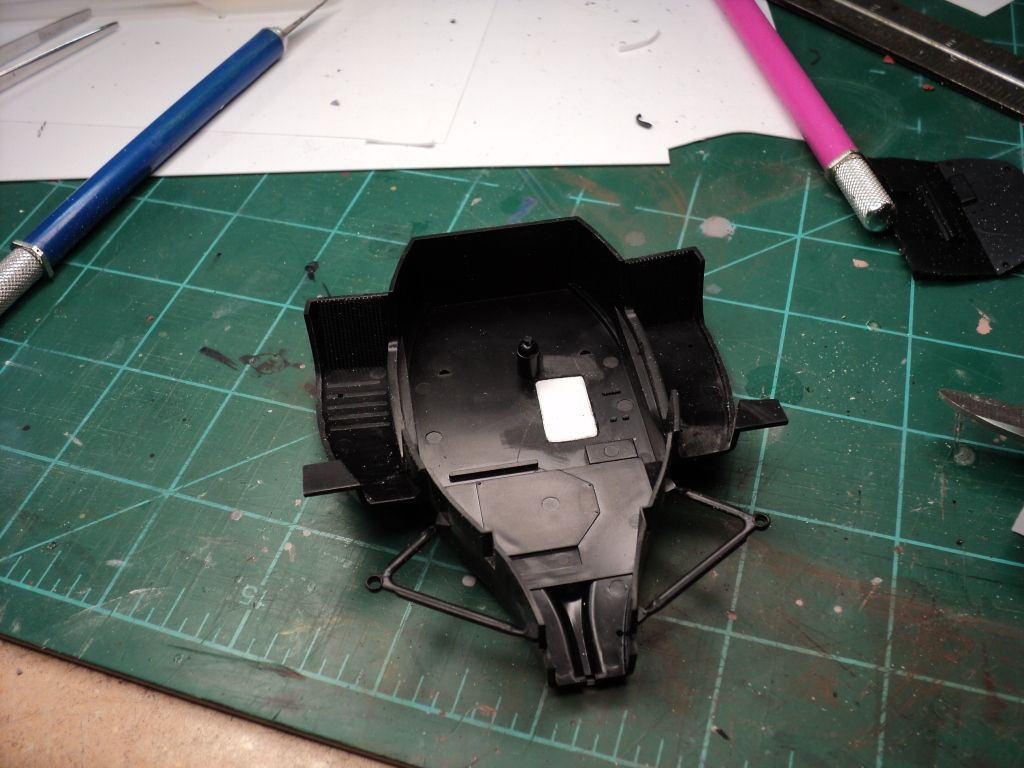
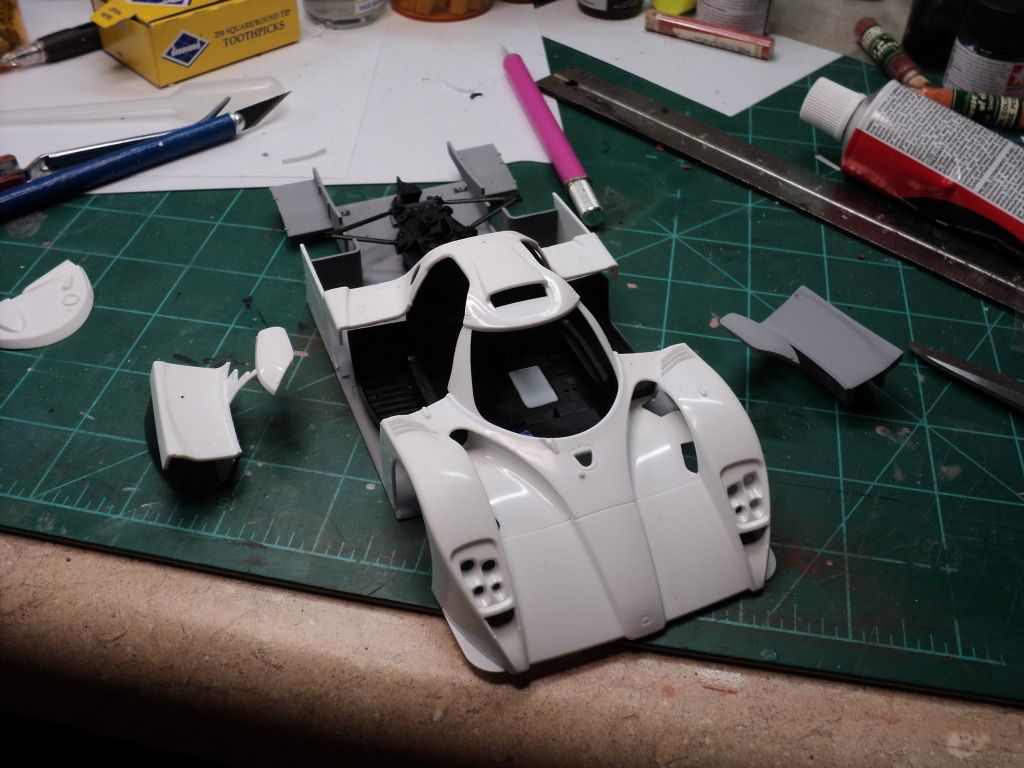
Like said in the title, this is Tamiya's 1/24 Toyota GT-One TS020 race car that was run in the 1999 24 Hours of Le Mans.

autowp.ru_toyota_gt-one_3.jpg


I havent completely decided on what I'm going to do for this build, but so far I have a photo etch set and a complete set of carbon fiber decals for this build. I'm trying to decide if I'm going to open one or both doors on the car, but havent decided if I want to take that level of challenge on yet, as it would mean having to completely scratch build most of the door components.
 
Very nice looking race car you got there. Those take a lot of skill and so far, you are doing very well. Congrats.

Dave W.
 
Thanks guys. Been able to get a decent amount of work done on it this week. Ive been focusing on filling all the punch marks in the chassis pan, so that it will be flawless when it comes time to cover it w/ the carbon fiber decals.

I've also spent a lot of time pouring over my reference images so that I can figure out how to open the doors. I've decided to take the plunge and open both doors, so I'm going to have to scratch the air ducting the runs through the doors, but thankfully I've got quite a few very nice pictures of the real car, plus I've come across a couple build threads on the net where people have done a GT One almost exactly how I want to do mine, so it gives me some good places to rely on for build info.
 
Got a bit of progress to post on this one.

Started getting the punch marks in the chassis pan filled in. Using punched styrene disks instead of putty.

DSC01715.jpg


DSC01714.jpg


Also started working on cutting open the doors.

Interior door panels glued in place

DSC01759.jpg


And started scribing the upper door panel gap. The panel is almost loose, I can see on the inside of the body where the scribing mark is at, but I'm not ready to remove it yet.

DSC01762.jpg

:popcorn
 
Looking good so far. Nice work on the chassis pan. But couldn't you just sand them off, or were they too far into the pan?

Dave W.
 
Yea, most of them were too deep for me to comfortably feel like sanding them down. Most of the time, if it was just a flat paint that would go down on them, or in an area not overly easy to see, I'd either ignore them, or just sand htem out, but b/c they will have decals covering them, it would make it pretty visible if the surface wasnt almost completely flat.
 
Got some progress to report, but unfortunately the pictures kinda suck, either too much, or not enough light, to show everything. I really need to get another photo booth. I used to have a home made one that worked really nicely, but dismantled it b/c of a move. Probably look at getting a portable one from Wally World this week.

Anyway, on to the pic's.

I finally managed to get the left side door cut completely out. I glued in the B pillar material prior to getting it completely removed. Still a bit concerned about the door loosing its shape, but there's not really much I can do about it, so I'll live w/ it, if it happens, and as long as its not a really dramatic change, you'll never be able to tell, especially once they're glued in the open position. Thinking I'll probably pin it in place w/ metal wire to help support the door, so that should hopefully keep it from moving in the future.

So anyway, here's the body w/ the door removed. Like I said, less than great pics.

DSC01796.jpg


DSC01805.jpg


And the door. I fitted a piece of .020" sheet styrene into the opening between the top & bottom panels, and then glued it in place. Its not perfect, and needs quite a bit more work on the inside to clean things up the way it needs to be, but its a pretty nice start. The next job on the door is to fare in the ducting so that its solid, and then finish the interior trim on the top panel and down the B pillar to match my reference images.

DSC01798.jpg


DSC01802.jpg
 
Wow, didnt realize it had been a month since my last update. The last few weeks haven't been very productive, but then in the last couple of days I've managed to get quite a bit done.

A couple weeks ago I managed to get the first door pretty much finished, I boxed in everything using .010" styrene sheet, and put a bit of putty in the places that need it, but I've discovered a couple other places that need putty still. I also still need to cover up the ejector pin mark thats on the underside of the door, but I've got a couple ideas on how to deal w/ that one.

I finished off cleaning up the chassis pan and got it primed to check my work, but I think I'm going to have to strip the primer b/c it came away real rough, a case of too much pressure & not enough paint when I was airbrushing the primer on. I did get the first door primed though and it looks good.

The 2nd door cut loose and the duct panel glued in place, tonight I hope to get it all boxed in w/ the styrene sheet.

Along w/ everything else, I've also begun working on the cockpit. Last night I removed a molded in electronics box, which will make putting in the carbon fiber decal a lot easier. I'll get the box covered w/ its own decals, and then reinstall it once everything else is done in the cockpit.

Sorry for the crappy pictures, dont have a photo booth at the moment for taking pictures, but that should hopefully change in a couple months after I've moved.

DSC01835.jpg


DSC01837.jpg


DSC01846.jpg


DSC01844.jpg
 
Back
Top