• Modelers Alliance has updated the forum software on our website. We have migrated all post, content and user accounts but we could not migrate the passwords.
    This requires that you manually reset your password.
    Please click here, http://modelersalliance.org/forums/login to go to logon page and use the "Forgot your Password" option.

Takom WWI MarkIV - Thanks!

wds

Active member
I think I will give this a go!
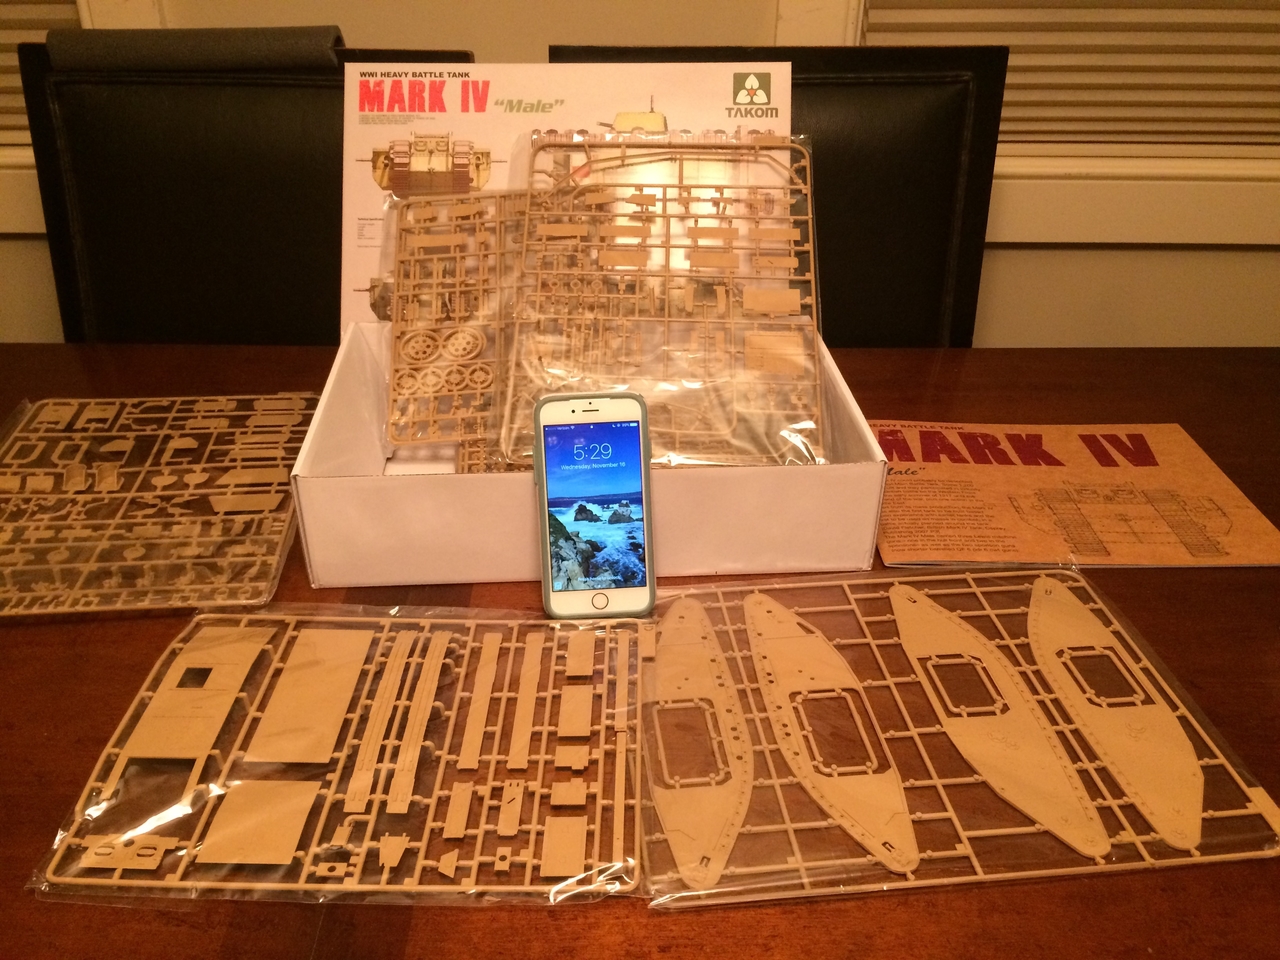
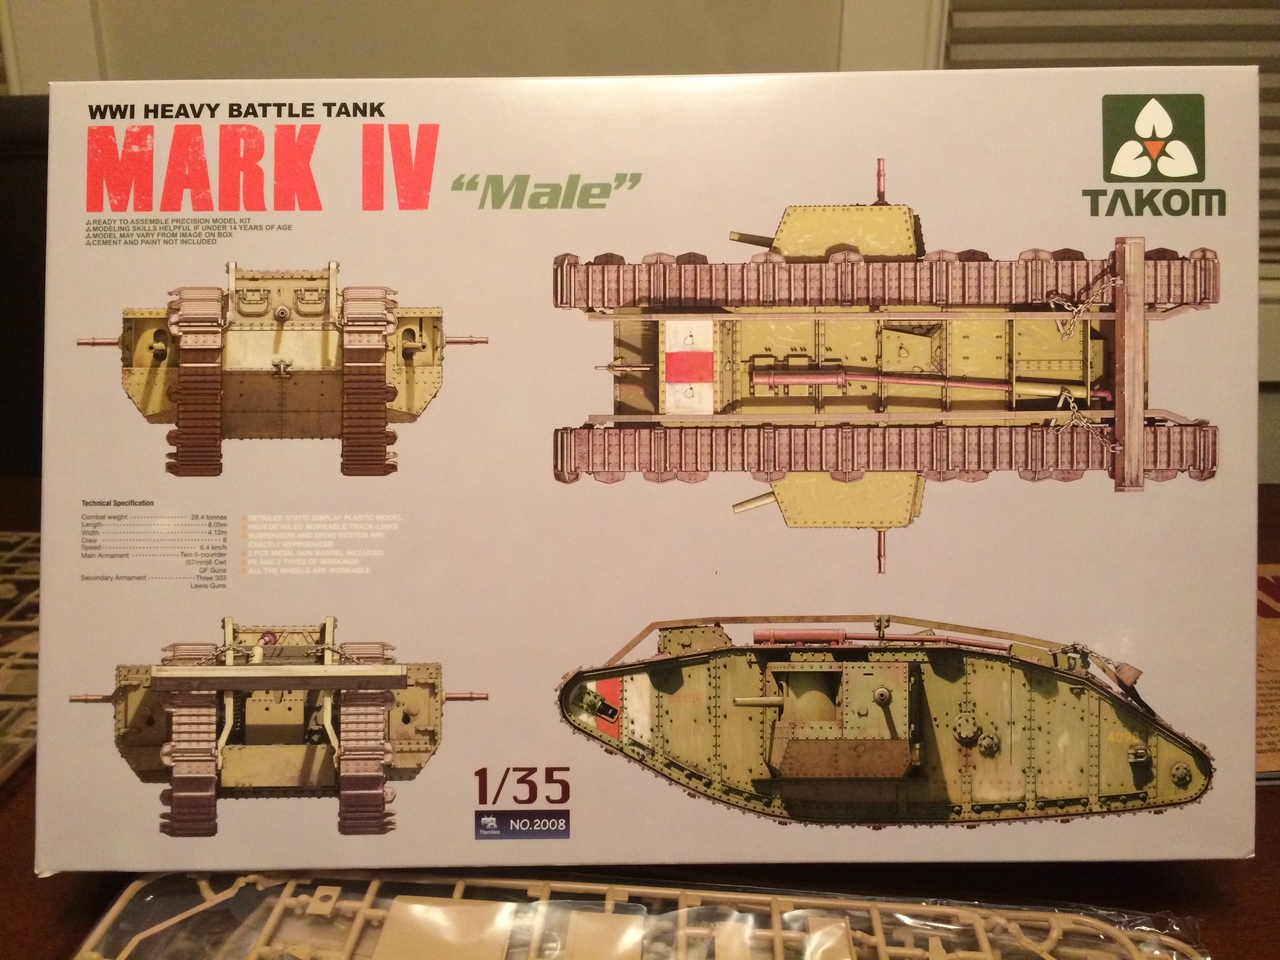
My first Takom product. I hope it goes together as nice as it looks. We shall see (y)
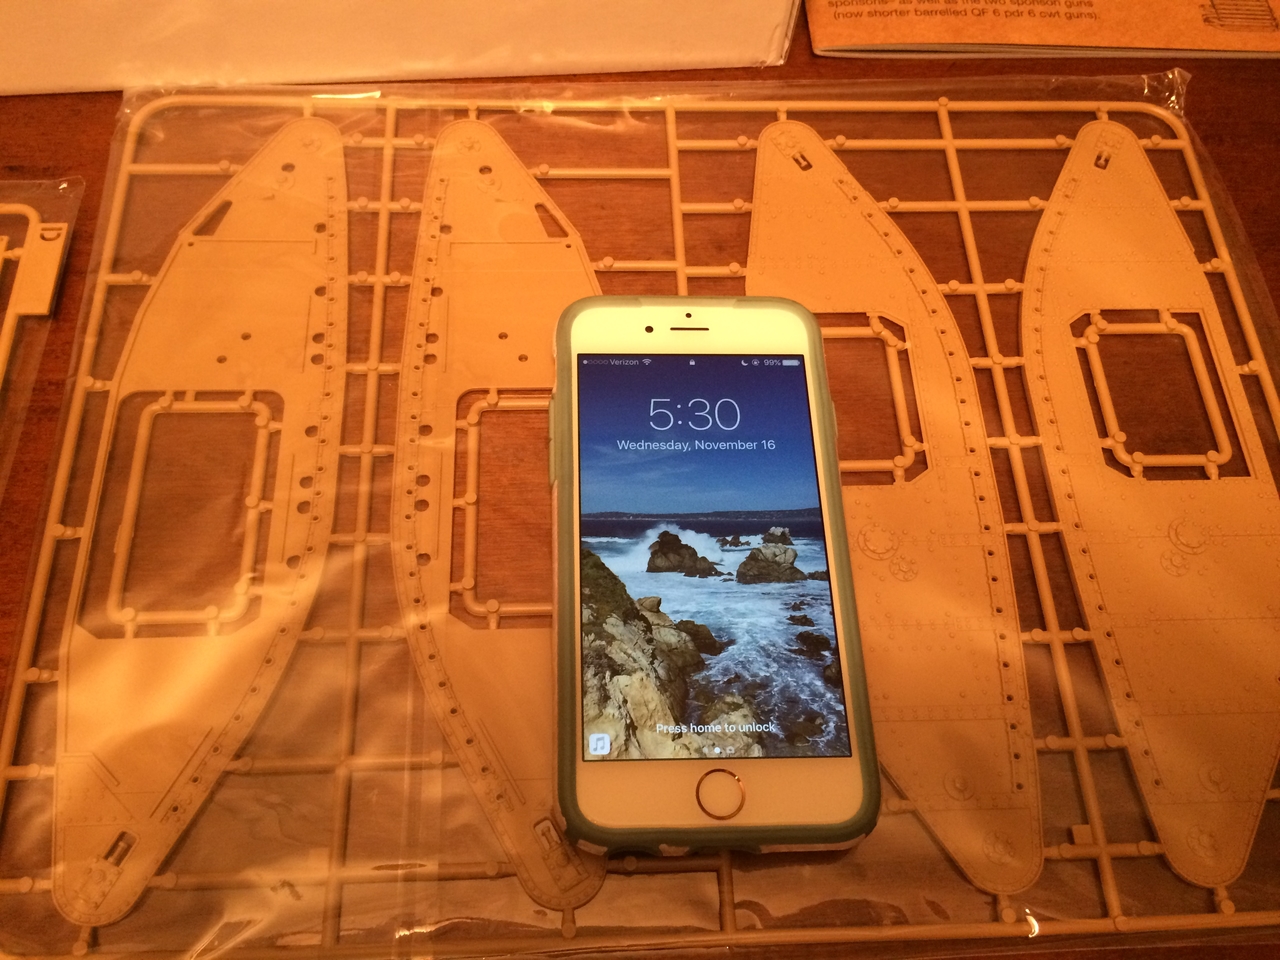
I purchased the snap together track links from Takom. That will save alot of time. The tracks in the kit require you to free the track plate and four smaller pieces from sprues for each tack link (x95 per side. x2 sides.) Pass. I'll save these for my Emhar Whippet.

See ya down the road,

Bill
IMG_3970.jpg


IMG_3968.jpg


IMG_3969.JPG
 
Takom WWI Heavy Battle Tank MarkIV

Very nice, looking forward to this.

I have the Tamiya, I expect/hope that the Takom is better detailed.

:popcorn
 
Takom WWI Heavy Battle Tank MarkIV

Watching with interest. Just a small tip for when you make the rhomboid. I used one of the side sponsons as a guide when I made the rhomboid body. I glued it together as the instructions say but then I sat it on the sponson to make sure it was all aligned, then put the other side on and let it dry. Just don't glue the sponson sides on yet. Also I have seen a lot of these built where the modeller put in a plastic sprue brace in the center of the body so it would not sag at all. I hope that is of some use to you.
James
 
Takom WWI Heavy Battle Tank MarkIV

Thanks, Guys!
Initial impression is good. The styrene is on the softer side, so the parts seem to squish off the trees. Maybe I need some sharper cutters.

Watching with interest. Just a small tip for when you make the rhomboid. I used one of the side sponsons as a guide when I made the rhomboid body. I glued it together as the instructions say but then I sat it on the sponson to make sure it was all aligned, then put the other side on and let it dry. Just don't glue the sponson sides on yet. Also I have seen a lot of these built where the modeller put in a plastic sprue brace in the center of the body so it would not sag at all. I hope that is of some use to you.
James

Thanks James!
I was looking at the instructions and was thinking something of the same thing. You need some thing to keep those 5 pieces jigged up.
I will look into the idea of adding some interior bracing as well. (y)

Thanks for looking! Cheers,

Bill

IMG_3980.JPG
 
Takom WWI Heavy Battle Tank MarkIV

Nice choice Bill...following with interest!...good lucky my friend!

Best !

Luiz
 
Takom WWI Heavy Battle Tank MarkIV

Thanks, Luiz, Jeeves, and Swordsman!

OK, back home from a week of tropical vacation over the thanksgiving school break.
Some progress on things. The individual tracks are indeed a nightmare. I had to try to assemble one for my own curiosity/anguish. Again, the styrene is on the soft side (IMHO), so you are left with tags that need to be sanded/cleaned up. The bits (4 per track) are small and not easily manipulated. The four pieces do not index fore and aft on the track itself, nor is there anything to keep the pieces vertical. They need a precise set, so that the next track can connect to it. Not user friendly at all (x92 tracks per side) WOW! I give this a hard NO. On a positive note, the instructions give you an out, and state that if you don't need the tracks to be "workable", you can just glue the track plates together at their edges.

The ray of sunshine (The glorious parting of the clouds and the fanfare of orchestral horns (or screaming electric guitar) is the aftermarket tracks which are a treat! Problem solved! Lock and load-Move out!

Thanks for listening.

Cheers,

Bill

Instructions for the individually assembled tracks
IMG_3978.JPG


These are the snap-together- links from Takom -Sweet!
IMG_3983.JPG


Grousers: 15 per side. One grouser every 6 tacks x 13, and one every 7 tracks x 2. ('Cause 15 doesn't go in 92 evenly)
IMG_3982.JPG
 
Takom WWI Heavy Battle Tank MarkIV

Comfy chair, good light, good tunes and POOF! You're there. (y)
 
Takom WWI Heavy Battle Tank MarkIV

Thanks, Mike! I got all three! ... and I'm getting "there". :good:


(edit) ....... I used one of the side sponsons as a guide when I made the rhomboid body. I glued it together as the instructions say but then I sat it on the sponson to make sure it was all aligned, then put the other side on and let it dry. Just don't glue the sponson sides on yet. ..... (edit)

Back to Jame's suggestion for assembling the sponson sides as well. Lots of pieces to will need to be aligned when the other side of the sponson is added later. Use the other side for alignment, glue later when the other bits (wheels) are ready. (Photo: 1)

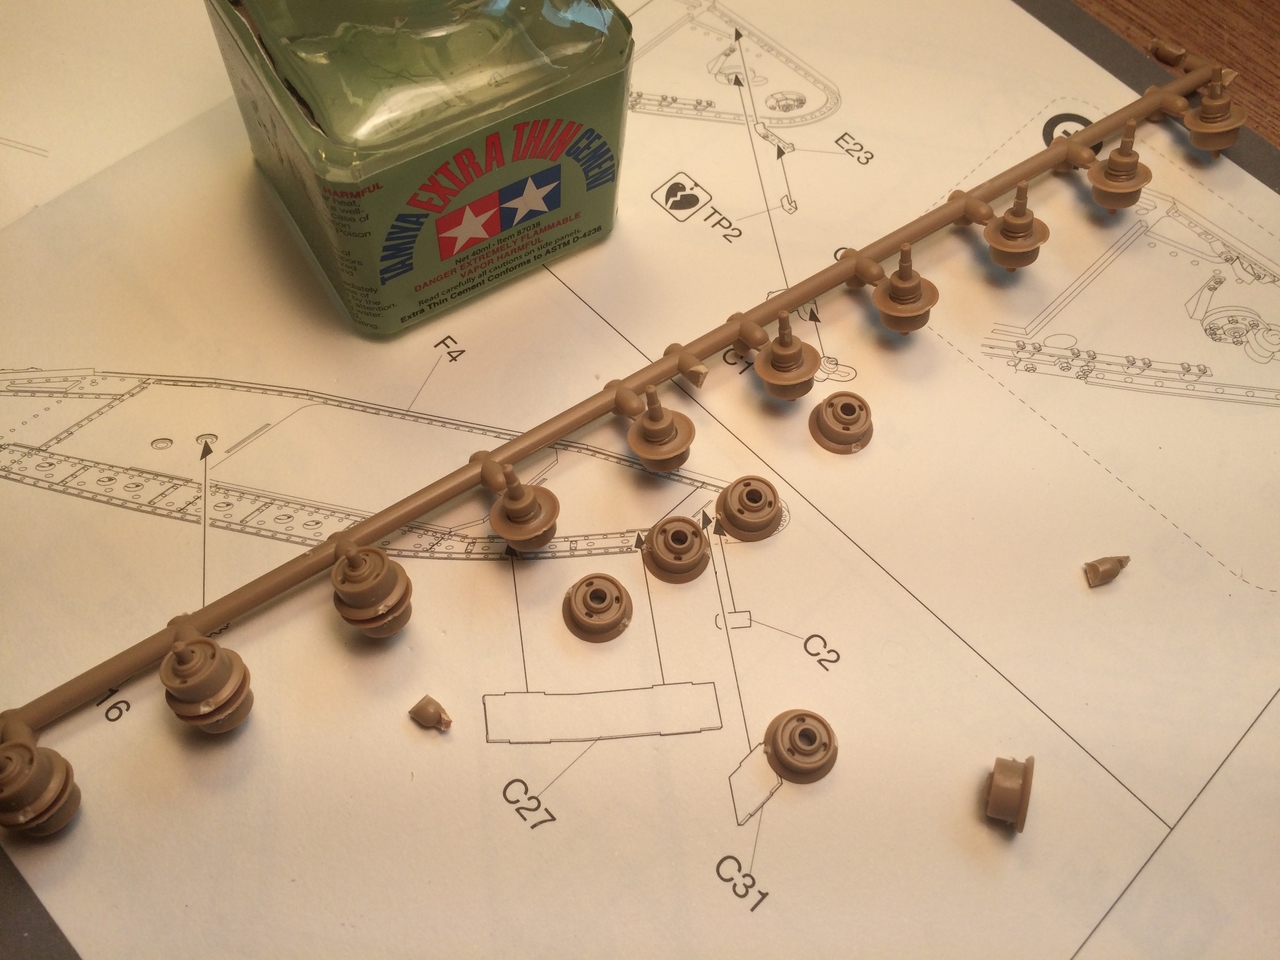
The wheels were assembled on the sprues for ease of handling. I am not concerned about the rough cuts and minor misaligments. The wheels will be completely covered by the tracks. (Yes, I'm "that guy"). (Photo: 2)

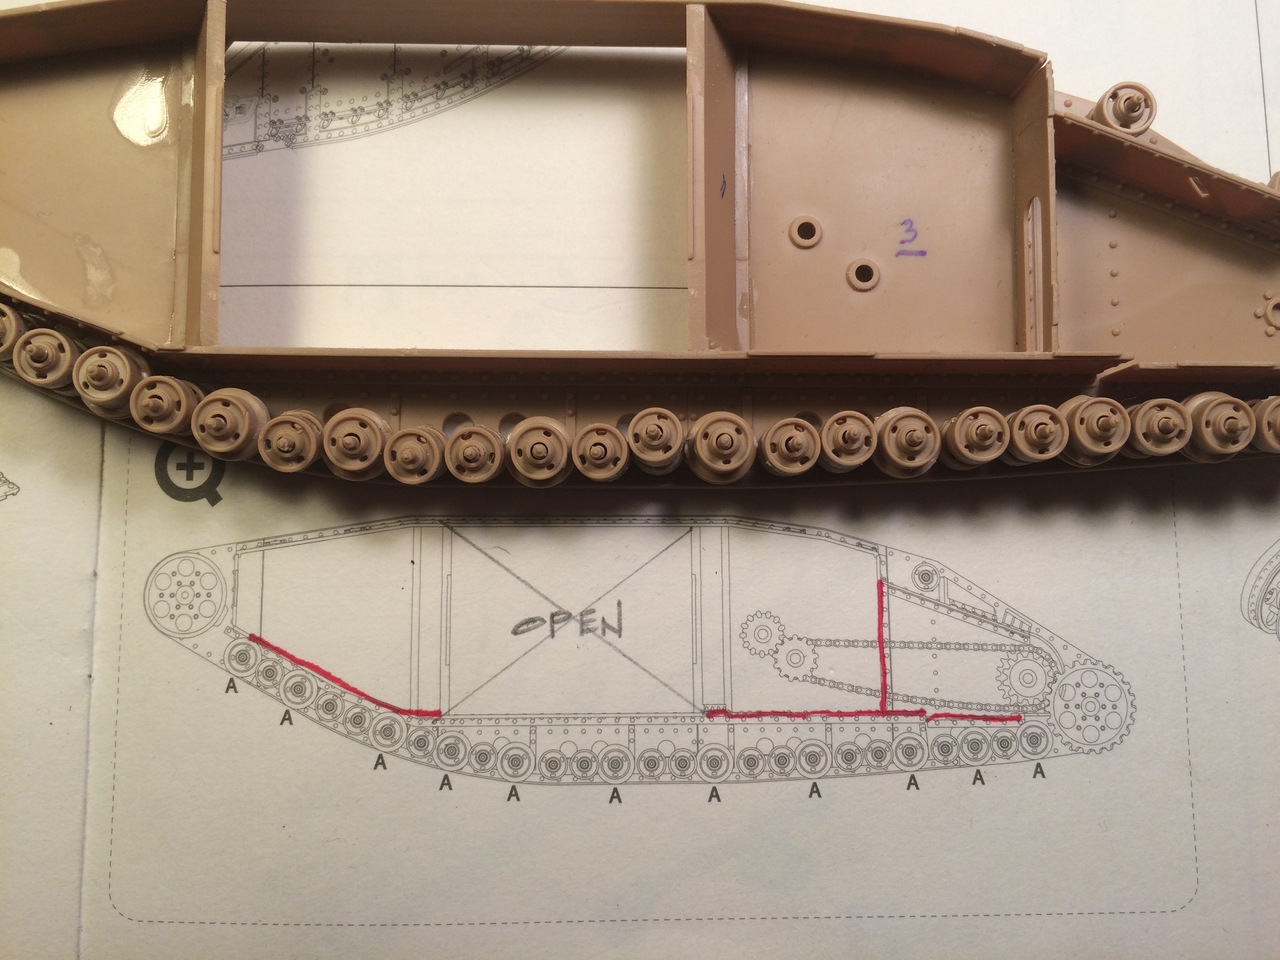
I noticed that once you get the wheels in place, you won't be able to apply glue to certain areas when you put the other sponson side on. Yes, you could pre-glue those areas (shown in red), but there will be a lot of time spent working around all of those little wheels to get them in alignment before the glue dries. Some work around is required to figure out how to glue this area. (Photo: 3)

The sponson sides 95% done. Figure is from Tamiya 25 lb. gun crew (WWII) for scale. (Photo: 4)

Thanks for looking.

Cheers,

Bill


(Photo: 1)

IMG_3981.JPG


(Photo: 2)

IMG_4047.jpg


(Photo: 3)

IMG_4044.jpg


(Photo: 4)

IMG_4050.JPG
 
Takom WWI Heavy Battle Tank MarkIV

Looking at the last shot gave me a crazy idea for a couple motorcycles. :eek:hyeah

Looks swell, Bill! (y)
 
Takom WWI Heavy Battle Tank MarkIV

Looking at the last shot gave me a crazy idea for a couple motorcycles. :eek:hyeah

Looks swell, Bill! (y)

Now THAT would be a sight to see! :blink Anybody selling tickets to this yet? :woohoo: (y)
Nice work on those side pieces. This is really looking sharp.
 
Takom WWI Heavy Battle Tank MarkIV - sponsons

Thanks, Mike!
Thanks, Mark!

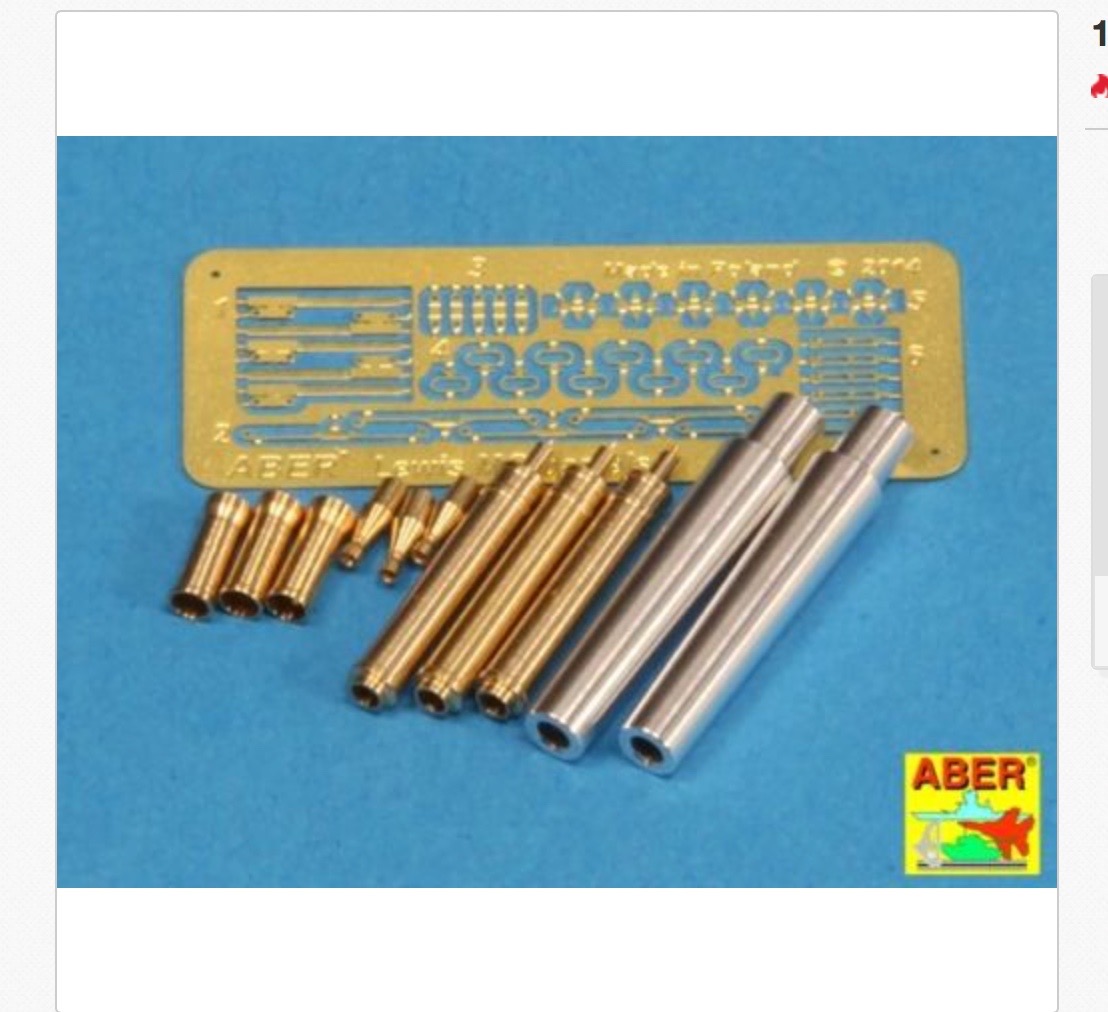
Well it seems that Takom shorted me one of the turned metal cannon barrels (or I lost it. But I honestly don’t remember ever seeing two when I opened the bag). I thought that I might try the guns from the Emhar kit that I have in the stash, but they are garbage. I pondered asking a friend who has a metal lath to take a crack, but instead found some replacements from Aber on Ebay. $16 + shipping gets me the cannons plus some brass machine gun barrels as well. Worth the wait.(E-mail says they have been shipped. From where I don't know)

The turret sides were assembled. The first on was assembled piece by piece with frustrating results. (8 pieces to make each "box") On the other side, I tacked the bits in place on he sponson side with rubber cement. (Using the sponson sides AGAIN as a guide. "Right James?") This worked great. It holds the parts in place, and then allows the assembled turret to be “popped” off and the gun added. The rubber cement then just rubs off easily, leaving everything clean and perfectly aligned and ready for final attachment. I also worked a little scratch work on some straps on the exhaust system in lieu of the photo etched parts.

Over and out. Stay warm.

Cheers,

Bill

mark4_barrel_28129.jpg


IMG_4074.JPG


IMG_4073.JPG
 
Takom WWI Heavy Battle Tank MarkIV - sponsons

Nice work on the exhaust. I hope you don't have to wait too long for the parts.
 
Back
Top