
-
Modelers Alliance has updated the forum software on our website. We have migrated all post, content and user accounts but we could not migrate the passwords.
This requires that you manually reset your password.
Please click here, http://modelersalliance.org/forums/login to go to logon page and use the "Forgot your Password" option.
You are using an out of date browser. It may not display this or other websites correctly.
You should upgrade or use an alternative browser.
You should upgrade or use an alternative browser.
Revell PBY Catalina in RDAF colours
- Thread starter sharkman
- Start date

Real cool Warren, now it looks like a fishing bobber. :fencing
I should throw it on a line and see what I catch! :yipee
Interestingly that MM Fluorescent Red is exactly what I just used on my T-33. I know what you mean about it being more orange. Also I don't think my or your pictures do it justice in just how FREAKING BRIGHT it really is!! B)
Looking very good!
True Adam, it is a lot more bright than the pics show! B)
Looking really good !Noticed the Danish Cat does not appear to have deicing boots though . Sometimes they just removed those if the missions do not require deicing . ( less maintenance )
Which ever, it looks very nice , Cheers, Christian B)
I know of all the ref pics I have I've never seen them on any of the PBY 6's but the pic I have for L-853 (a PBY-5A) that I'm modeling did have them. I kinda wish it didn't cause they are a pain to paint!
I didn't know they could remove them, i always thought they were standard equipment on the older PBY's. Interesting!!
Thanks Christian!
Thanks for the great comments from everyone else too!!
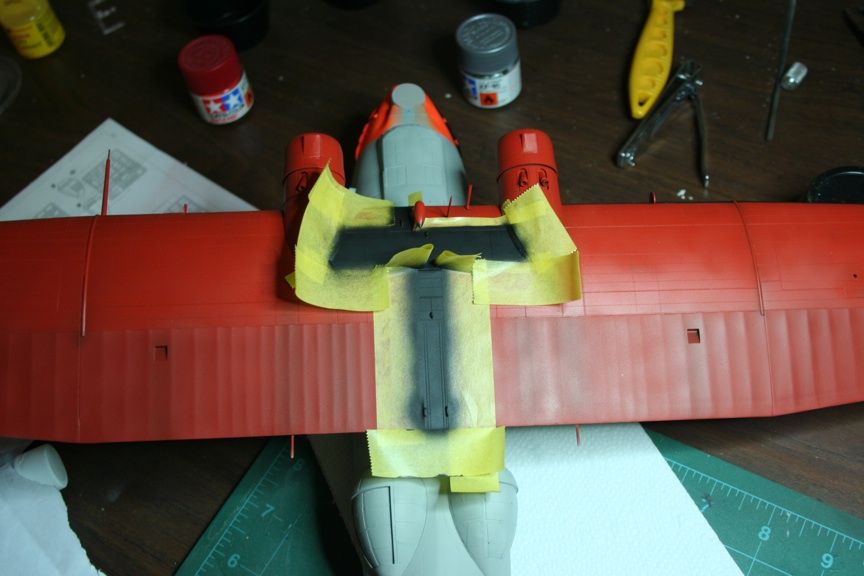
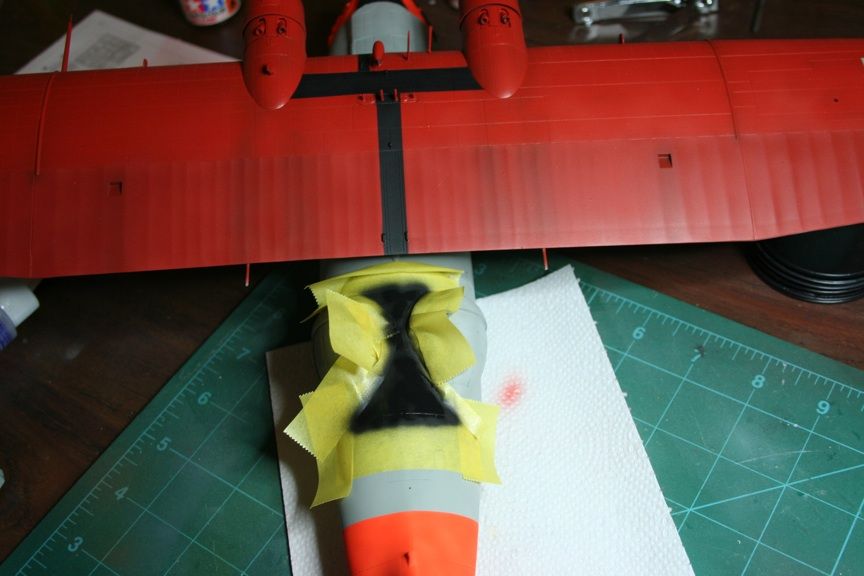
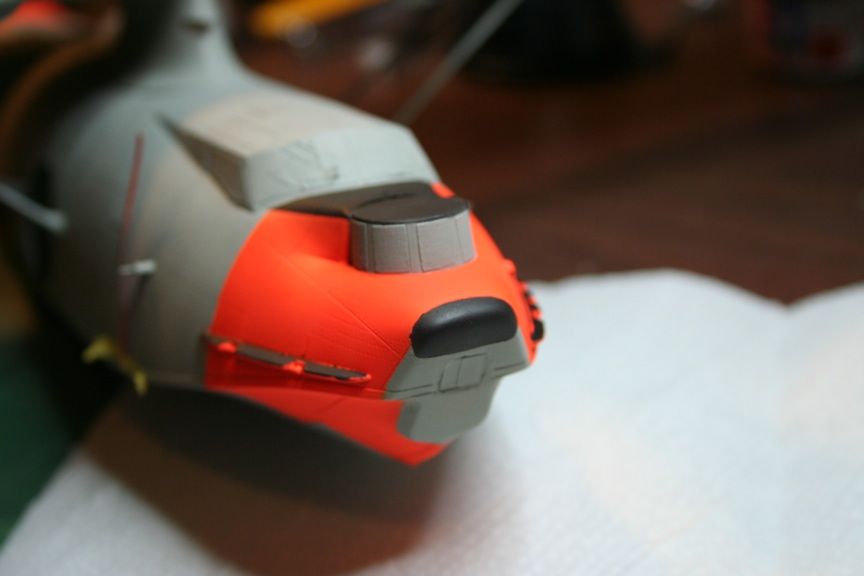
Got the de-icing boots painted as well as the non-slip areas on the wing and between the bubbles and the nose.
This has been quite a masking job for me! I'm glad the paint is working out well! Just showing pics here, not really sure what to describe except that the masking is painfully slow (especially around the curves). I've been using all Tamiya masking tape.
Just a little more masking and some grey and she'll be ready for a gloss coat and then some decals.
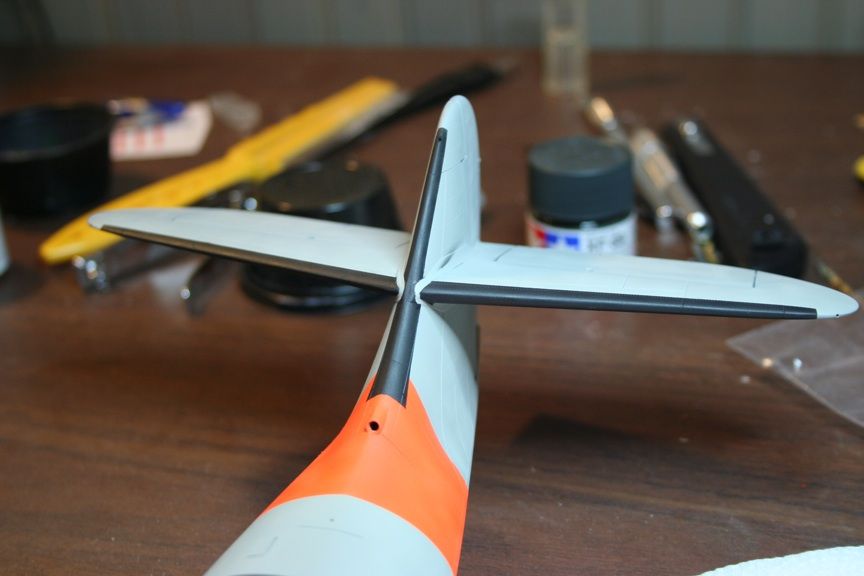
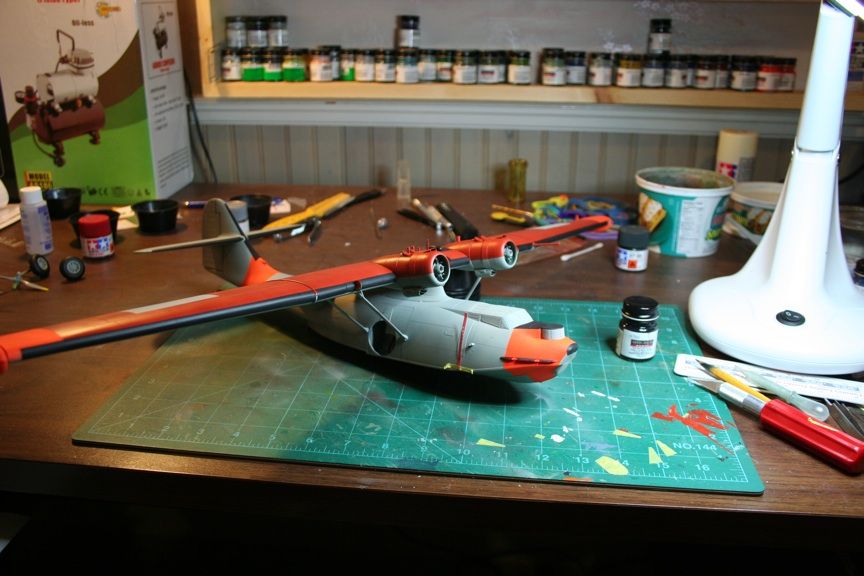
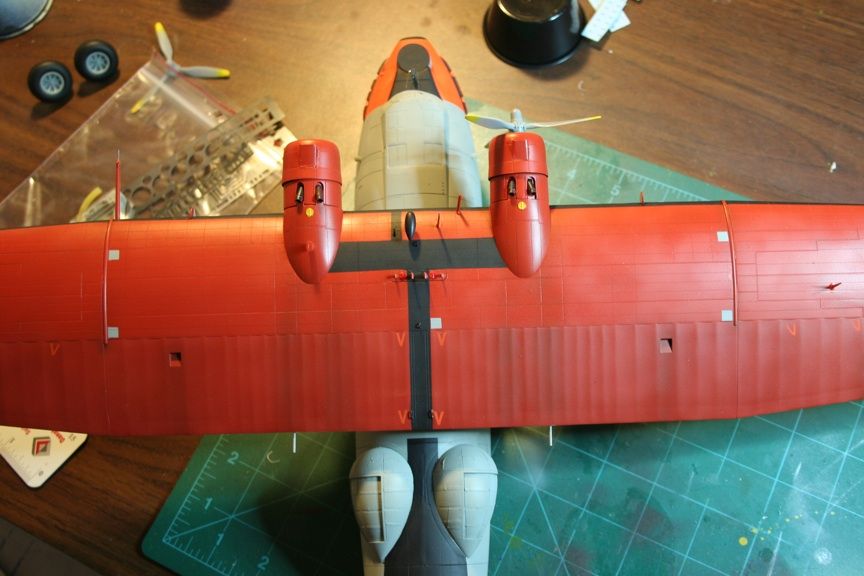
A couple overall shots. Its shaping up!

Got the de-icing boots painted as well as the non-slip areas on the wing and between the bubbles and the nose.
This has been quite a masking job for me! I'm glad the paint is working out well! Just showing pics here, not really sure what to describe except that the masking is painfully slow (especially around the curves). I've been using all Tamiya masking tape.
Just a little more masking and some grey and she'll be ready for a gloss coat and then some decals.
A couple overall shots. Its shaping up!
Doing a great job, can't imagine doing all that masking. 

Ok, by my count I have 12 days left to finish this before the deadline. I think I can do it!
Spent some time marking some of the smaller painting on the upper wing and fuse tonight. A lot of little masking but hopefully it will add to the finished model.
First off, I needed some markings for the beaching gear. These are supposed to be in red and lacking any decals I decided to free hand them. There was a total of 8 of these, three for each side and two for the tail gear.
Then it was on to the upper wing. I had in the notes from J-Christophe and in a couple computer skin images that there are marks to indicate things in the control surfaces. Its late and I forget exactly what these are at the moment. Anyway, they are basically like arrow heads. So, I made up three small masks from tape.
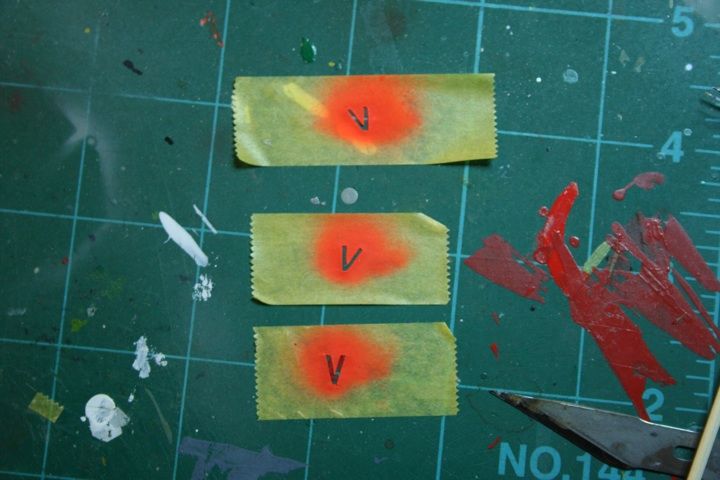
And started to apply them. Each one is about 5 mm in length. I measured them off the decals I have for the Monogram PBY-5

4 for the middle
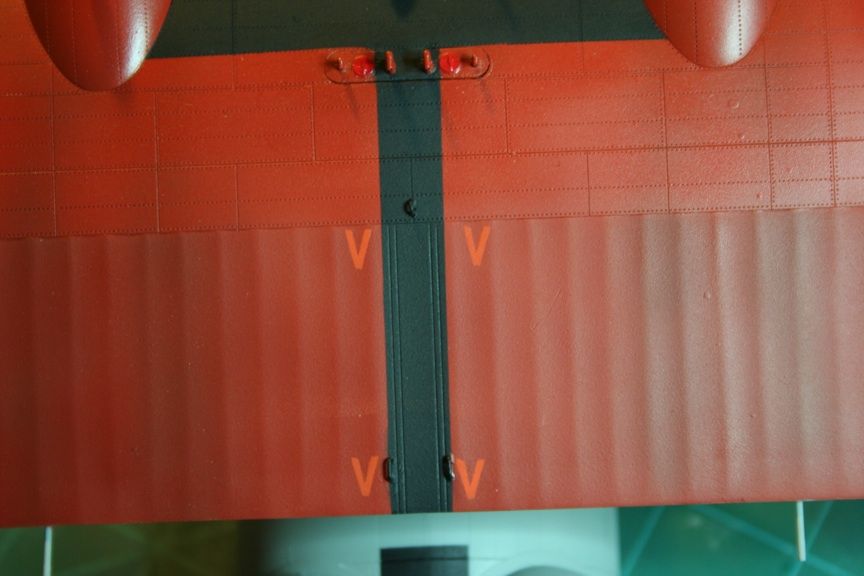
and 8 for each side

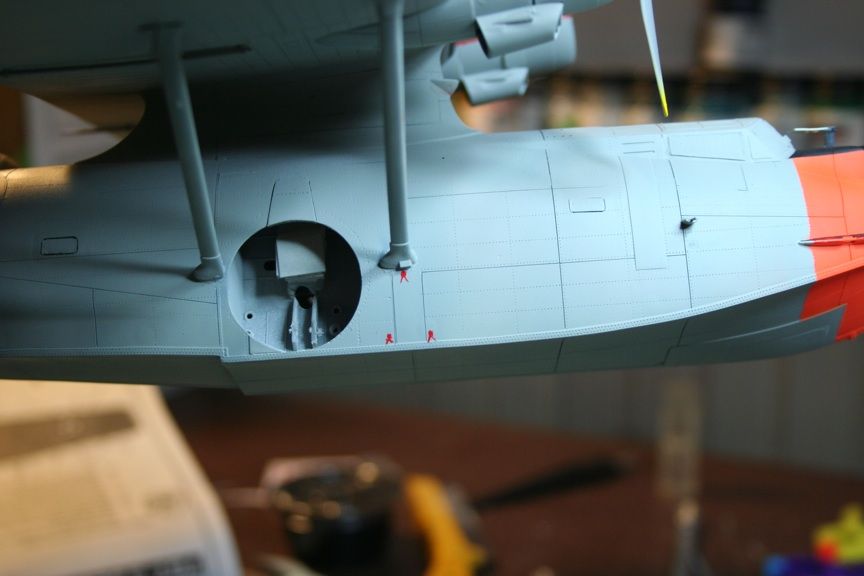
Then it was masking some points for lifting the big bird

5 in total. These are 4 mm x 4 mm
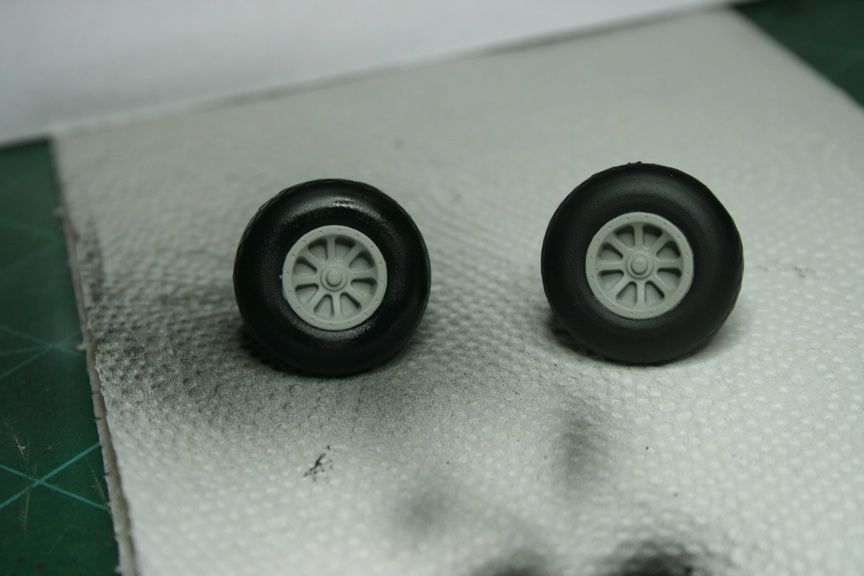
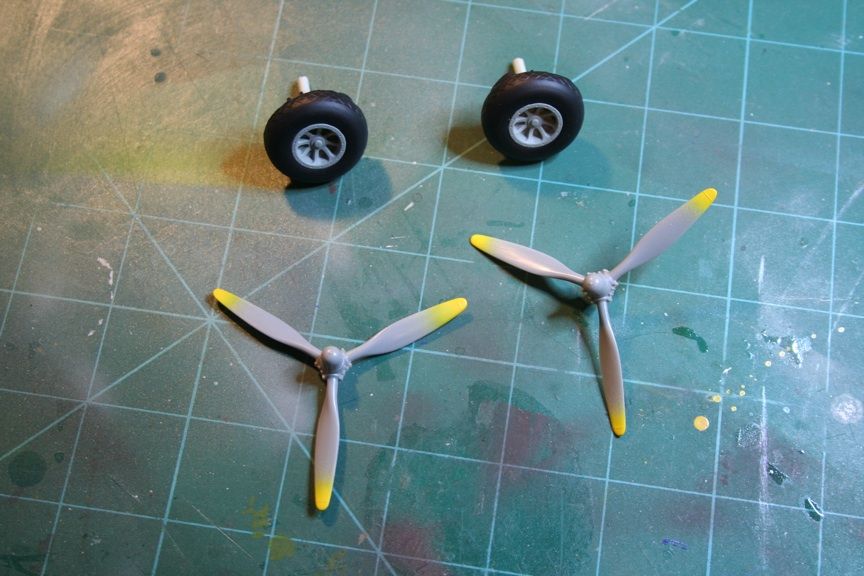
Next on the list, finish the props and the wheels, a gloss coat and then its time for decals! That clock is ticking!!!! :woohoo: :gogo
Spent some time marking some of the smaller painting on the upper wing and fuse tonight. A lot of little masking but hopefully it will add to the finished model.
First off, I needed some markings for the beaching gear. These are supposed to be in red and lacking any decals I decided to free hand them. There was a total of 8 of these, three for each side and two for the tail gear.
Then it was on to the upper wing. I had in the notes from J-Christophe and in a couple computer skin images that there are marks to indicate things in the control surfaces. Its late and I forget exactly what these are at the moment. Anyway, they are basically like arrow heads. So, I made up three small masks from tape.
And started to apply them. Each one is about 5 mm in length. I measured them off the decals I have for the Monogram PBY-5
4 for the middle
and 8 for each side
Then it was masking some points for lifting the big bird
5 in total. These are 4 mm x 4 mm
Next on the list, finish the props and the wheels, a gloss coat and then its time for decals! That clock is ticking!!!! :woohoo: :gogo
Working to the end! Nice,

Sherman 18
Master at Arms
I like all different colors!