• Modelers Alliance has updated the forum software on our website. We have migrated all post, content and user accounts but we could not migrate the passwords.
    This requires that you manually reset your password.
    Please click here, http://modelersalliance.org/forums/login to go to logon page and use the "Forgot your Password" option.

Revell PBY Catalina in RDAF colours

Thanks guys!

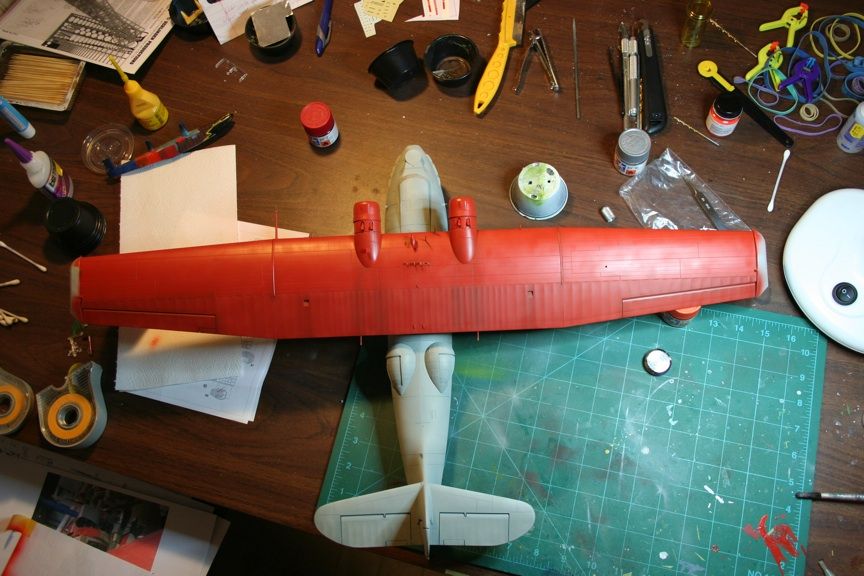
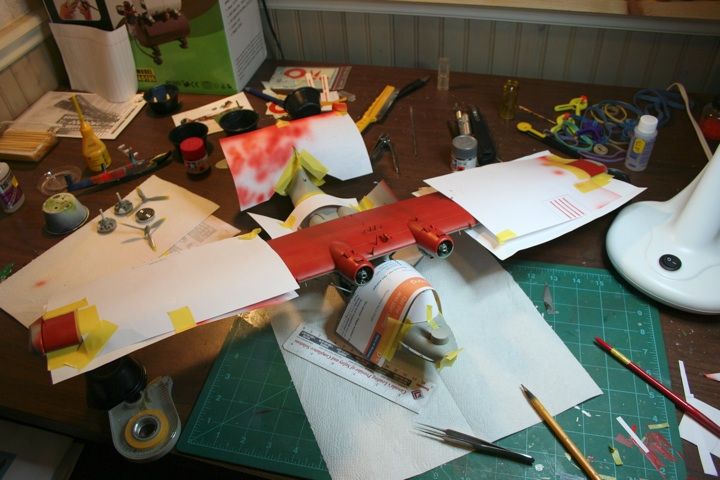
Another quick little update tonight! I'm ready for some more paint finally!

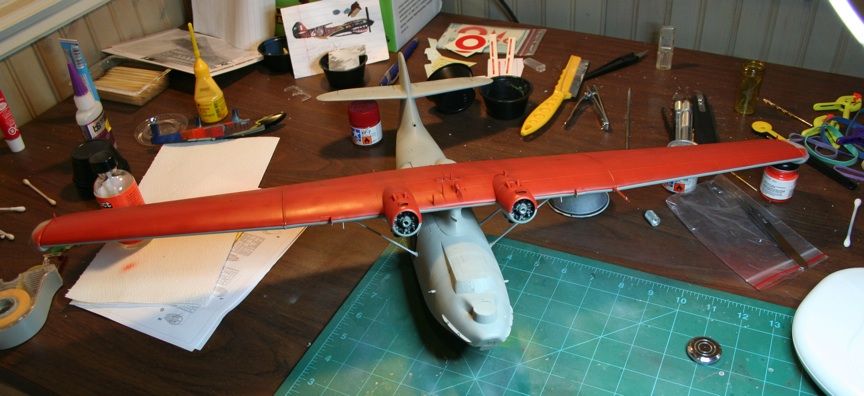
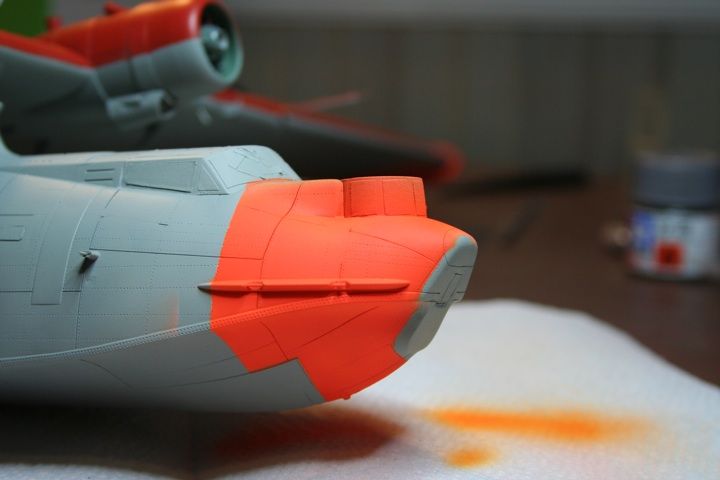
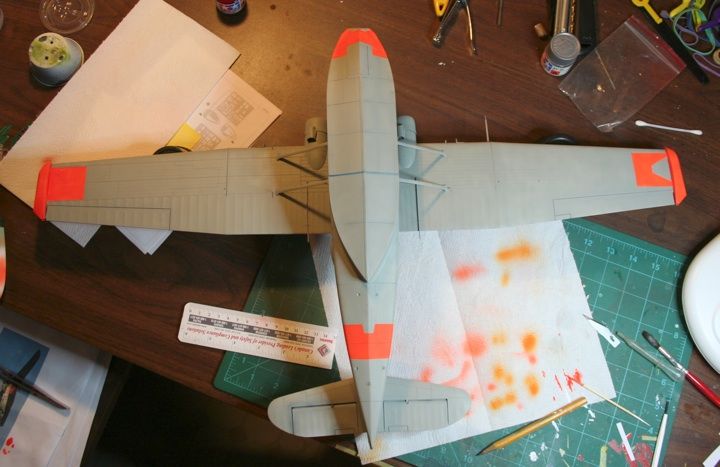
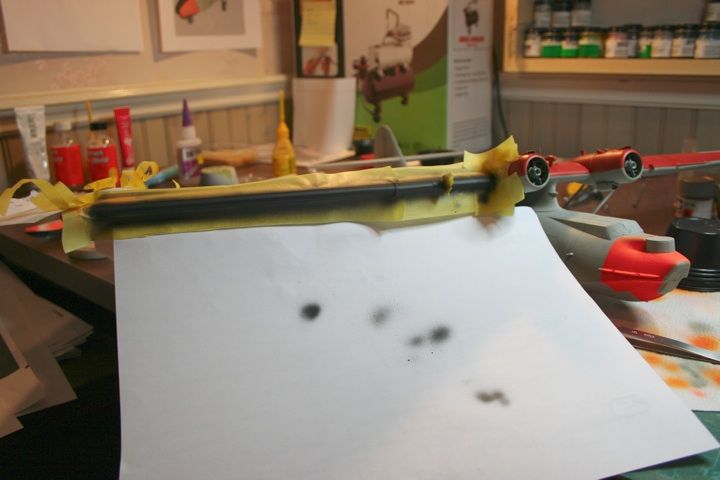
Had to fix up the pitot tube. All I did here was cut the small end off, and cut a small piece off the end of a needle. Then I drilled out the kit piece and glued the needle in. I then added a small piece of sprue for the triangle thingy on top!

pb126.jpg


pb127.jpg


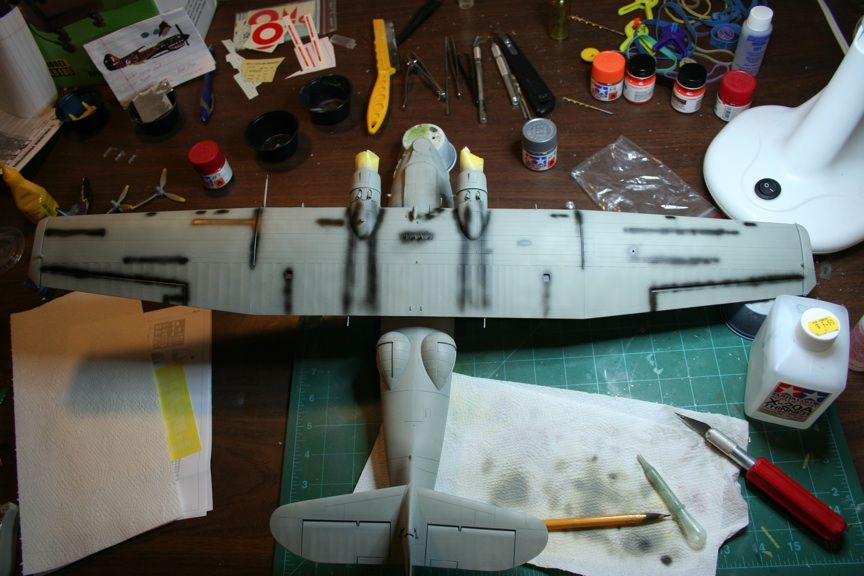
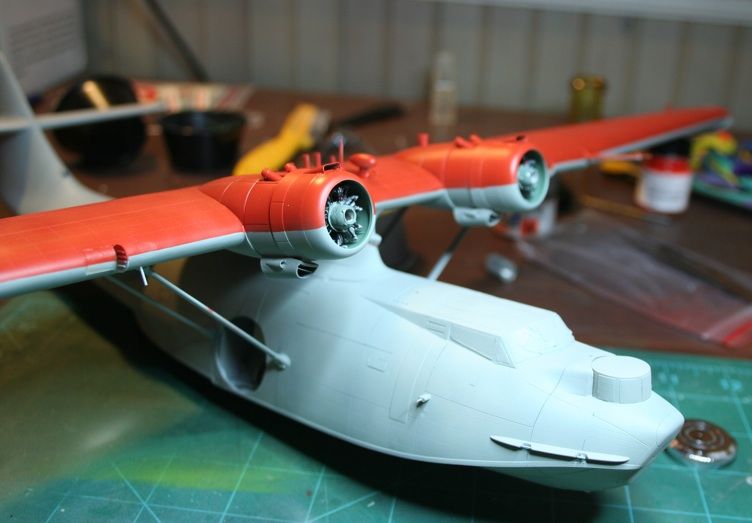
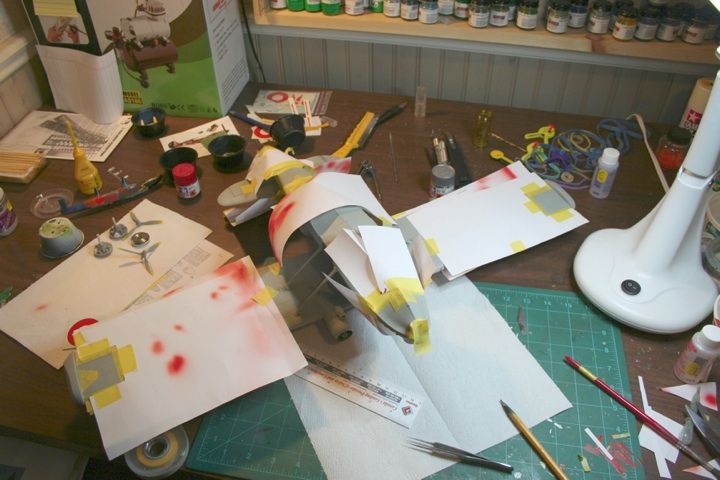
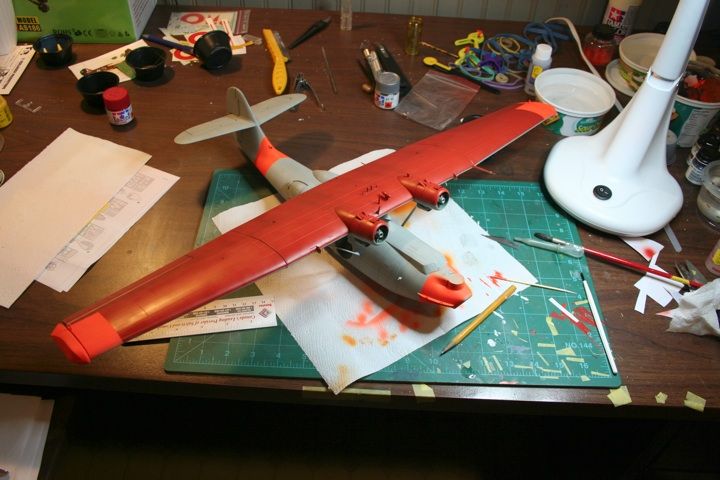
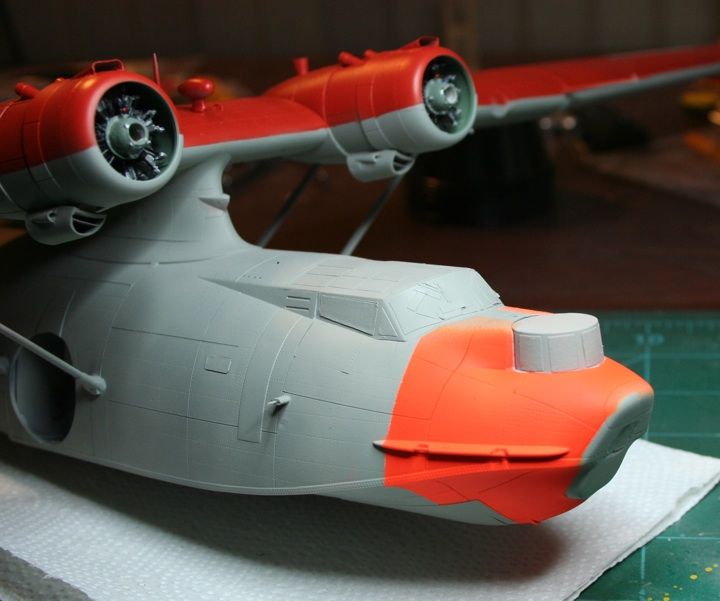
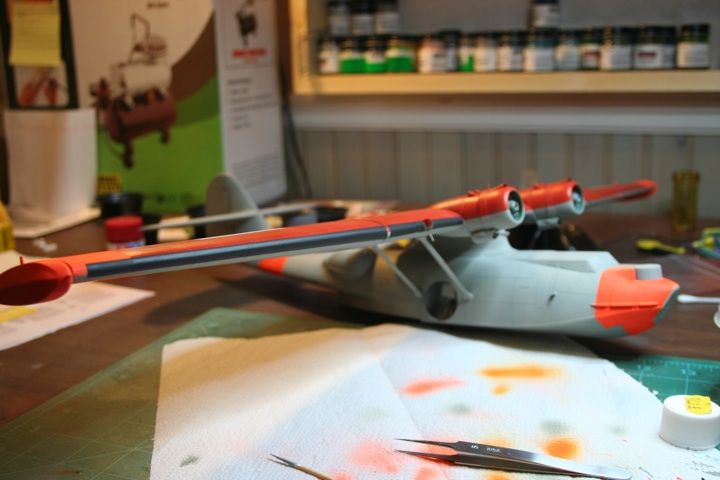
I also got the port engine and nacelle fixed up and mounted.

pb128.jpg


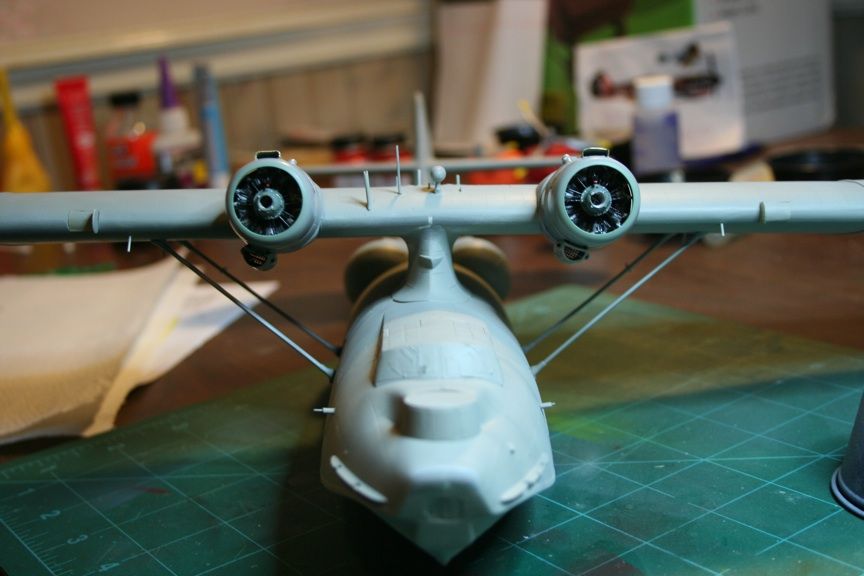
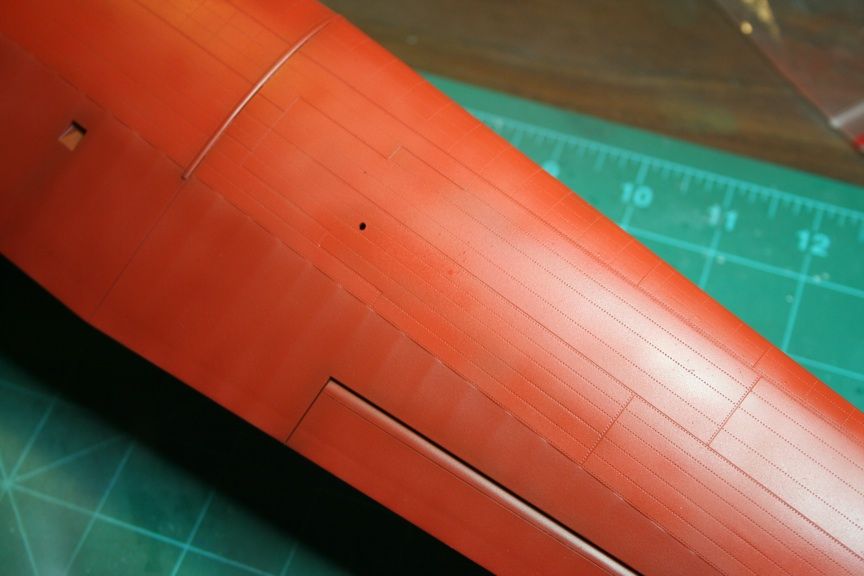
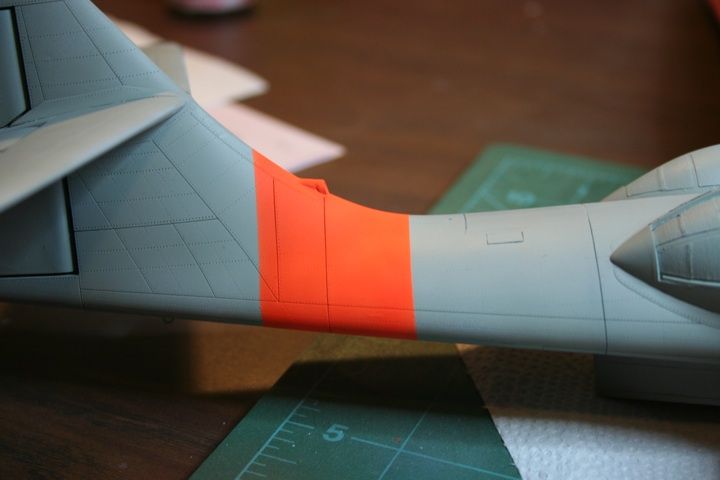
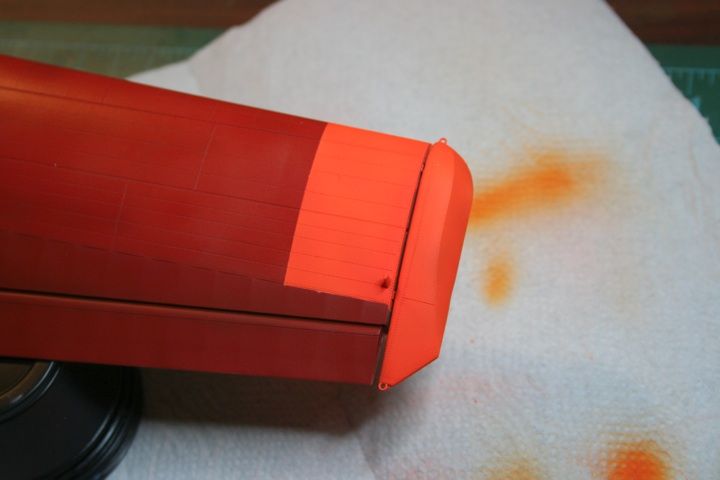
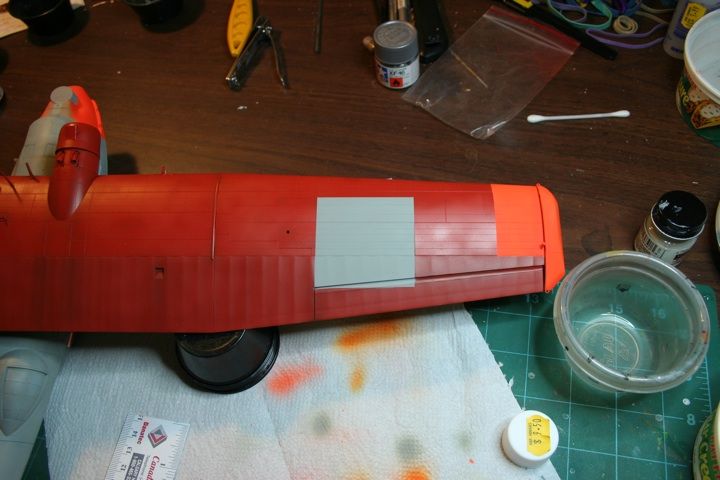
You can see one of the spots on the aft fuse I need to touch up.

pb129.jpg


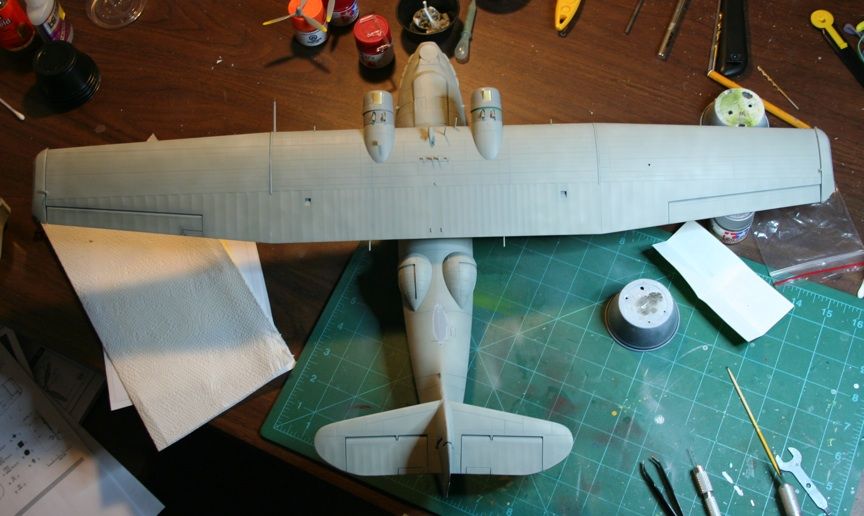
next step is some more painting! :eek:
 
Hey Sharkan, you got that PBY looking really good .

I agree with you on the HE 115 , that was an awesome build .

Cheers, Christian B)
 
Thanks Christian!

A quick update tonight. Need to be up early in the morning!

The propeller decals arrived this past week and they look fantastic! I can't wait to put them on!

pb130.jpg


I started out tonight with some post-pre-shading (I shaded the top wing again after painting it before)!

pb131.jpg


Then it was time to mix the upper wing colour. My reference pictures and references J-Christophe provided show this to be a flat reddish orange colour (the RDAF colour calls for it to be Red) and all the reference pictures I have show this plane with the fabric area a slight shade darker than the rest of the wing. So, I started to mix up what I thought matched the images the best using Tamiya flat red, Model Master international orange and flat black. I didn't keep track of the ratios unfortunately.

pb132.jpg


Once that was mixed and I was satisfied, I masked off the wing and sprayed the fabric covered area first. Then I lightened my batch of paint slightly with more international orange and then sprayed the rest of the wing. The difference is fairly subtle so I hope the images show it.

pb133.jpg


starboard wing

pb134.jpg


pb135.jpg


pb136.jpg


Next time, day glo orange!
 
Wow that's going to be colorful. Amazing that big ol' aircraft got off the water with those two engines. Really fine work :popcorn
 
Thats nice and purdy Warren. You can use it to locate you way through the house at night.
 
Thanks for the comments everyone! Still trying to work on getting this one completed for the group build!

A big update tonight! I've been working on this the last couple nights!

Dec. 12th

I started to mask off the areas to be painted day glo orange, or in this case, Model Master Fluorescent red! I don't understand it. The International orange I used on the wing is more red than the fluorescent red   :huh:

pb140_zps5f881b81.jpg


Masking was tough and believe it or not it took a good hour.

pb138_zps7c386c86.jpg


my hap-hazard masking style!

pb137_zps13a36995.jpg


I started off painting the areas orange but with the grey underneath the colour just didn't seem right. So, I then painted all the areas to be orange Tamiya flat white.

pb139_zps9de1b182.jpg


That did the trick! Now the orange jumps out!   B)

pb143_zpsef476c1b.jpg

You can see a bit of orange overspray here just by the ridge in the hull. Missed a spot!

pb142_zpsa288decd.jpg


pb144_zps0db90787.jpg


pb141_zps299bf705.jpg


pb145_zpsc065df6d.jpg


Dec. 13th

As usual for me, I made a few mistakes so I had to make a couple small corrections, like painting the forward turret grey and getting that small area of overspray. More masking!

pb146_zps0266307b.jpg


pb147_zpsbbc97651.jpg


Next, the grey patches on the upper wing. The roundels will go on these.

masking (sorry this pic is blurry)

pb148_zps9962adaf.jpg


simple paper overspray shield

pb149_zpsaa7256c8.jpg


finished!

pb150_zps5111f9cc.jpg


finally, I moved on to start spraying the black de-icing parts of the wing. Only had time for the starboard wing tonight.

pb151_zpsfc0c7ee2.jpg


pb152_zps72c35037.jpg


pb153_zps2770184b.jpg


should look good huh?  
 
Thanks Tim!

Its gonna take a bit to get all the black done! I have some decals for the black lines that are supposed to outline the orange areas. Not sure yet if I'm going to use them or paint them..... :huh:
 
Thanks for the comments everyone! Still trying to work on getting this one completed for the group build!

A big update tonight! I've been working on this the last couple nights!

Dec. 12th

I started to mask off the areas to be painted day glo orange, or in this case, Model Master Fluorescent red! I don't understand it. The International orange I used on the wing is more red than the fluorescent red   :huh:

pb140_zps5f881b81.jpg


Masking was tough and believe it or not it took a good hour.

pb138_zps7c386c86.jpg


my hap-hazard masking style!

pb137_zps13a36995.jpg


I started off painting the areas orange but with the grey underneath the colour just didn't seem right. So, I then painted all the areas to be orange Tamiya flat white.

pb139_zps9de1b182.jpg


That did the trick! Now the orange jumps out!   B)

pb143_zpsef476c1b.jpg

You can see a bit of orange overspray here just by the ridge in the hull. Missed a spot!

pb142_zpsa288decd.jpg


pb144_zps0db90787.jpg


pb141_zps299bf705.jpg


pb145_zpsc065df6d.jpg


Dec. 13th

As usual for me, I made a few mistakes so I had to make a couple small corrections, like painting the forward turret grey and getting that small area of overspray. More masking!

pb146_zps0266307b.jpg


pb147_zpsbbc97651.jpg


Next, the grey patches on the upper wing. The roundels will go on these.

masking (sorry this pic is blurry)

pb148_zps9962adaf.jpg


simple paper overspray shield

pb149_zpsaa7256c8.jpg


finished!

pb150_zps5111f9cc.jpg


finally, I moved on to start spraying the black de-icing parts of the wing. Only had time for the starboard wing tonight.

pb151_zpsfc0c7ee2.jpg


pb152_zps72c35037.jpg


pb153_zps2770184b.jpg


should look good huh?  

Man that jumps out at ya. Nice work :pilot

:popcorn
 
WOW!! it looks great! (y) :notworthy

Here's some photo's of the last Danish Cat:
P7190168_zpsf3e4286e.jpg

It's really huge :eek:hyeah
A close up of the squadmarking:
P7190162_zpsd566d35b.jpg

Shark with wings :ro:
 
That is beautiful. Really nicely done. Wish I could mask like that, I usually get a little bleeding. Just WOW (y) (y) (y) (y)
James
 
Looking really good ! :D Noticed the Danish Cat does not appear to have deicing boots though . Sometimes they just removed those if the missions do not require deicing . ( less maintenance )

Which ever, it looks very nice , Cheers, Christian B)
 
Interestingly that MM Fluorescent Red is exactly what I just used on my T-33. I know what you mean about it being more orange. Also I don't think my or your pictures do it justice in just how FREAKING BRIGHT it really is!! B)

Looking very good!
 
Back
Top