• Modelers Alliance has updated the forum software on our website. We have migrated all post, content and user accounts but we could not migrate the passwords.
    This requires that you manually reset your password.
    Please click here, http://modelersalliance.org/forums/login to go to logon page and use the "Forgot your Password" option.

Revell PBY Catalina in RDAF colours

sharkman

Master at Arms
Hi all,

I currently have this one going as a group build on Swanny's Forum but I thought I might post a few updates here too . If you want to check out what I've done already, look here:

http://www.swannysmodels.com/yabb2/YaBB.pl?num=1322871263

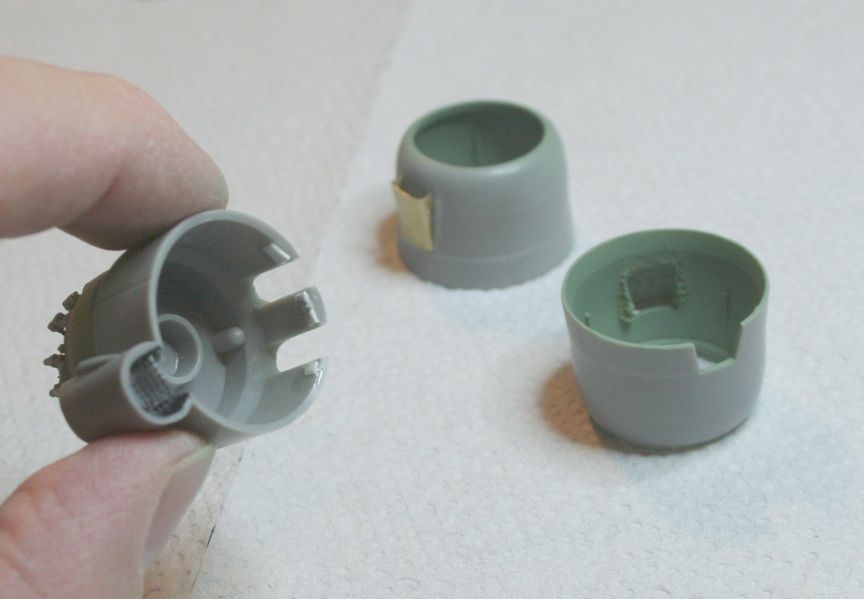
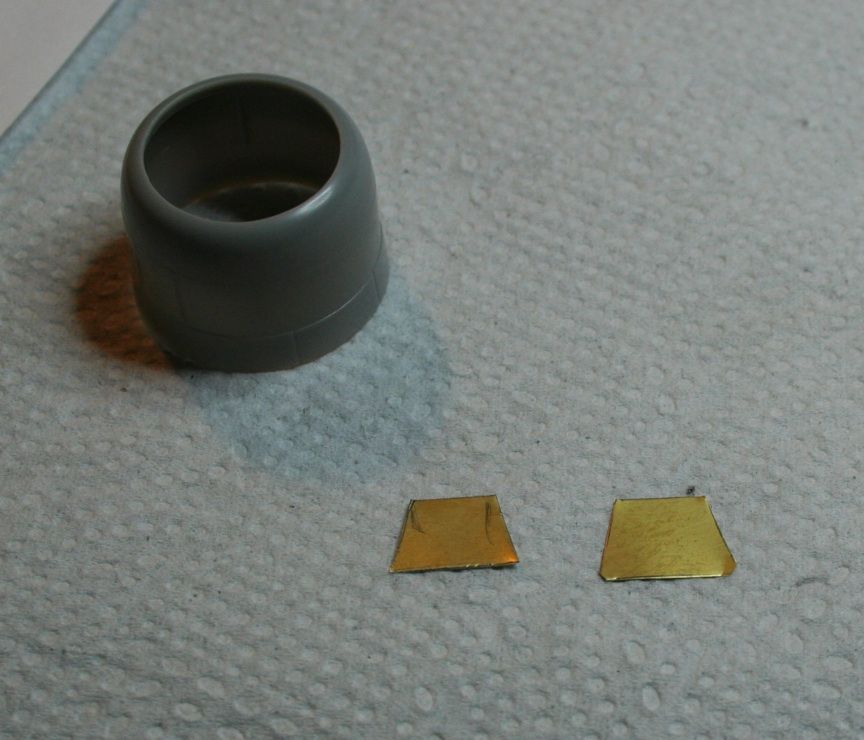
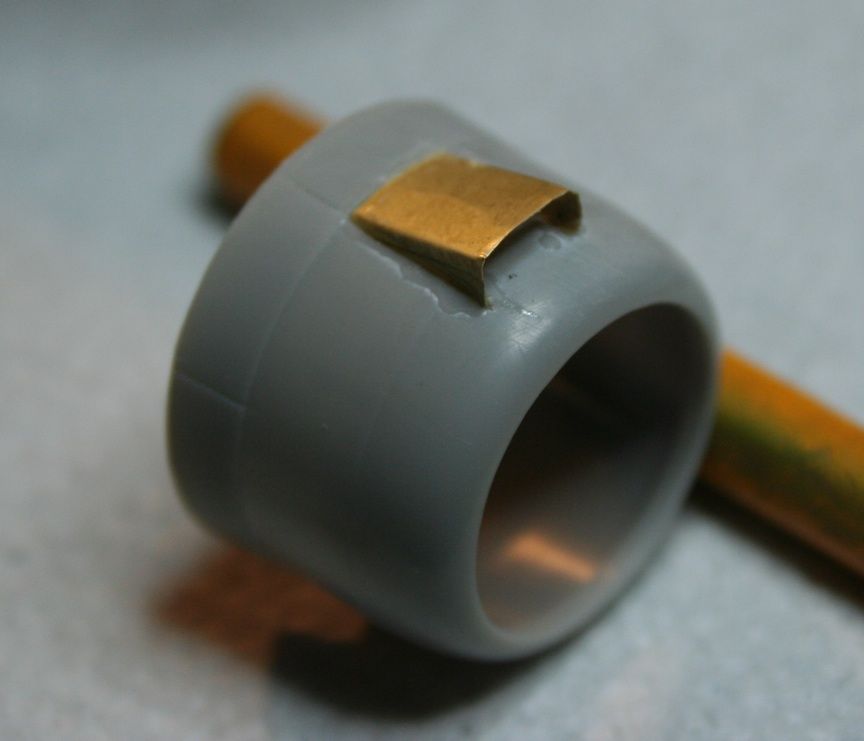
This particular plane has some novel carb intakes atop the nacelles which I'm trying to replicate with some PE

pb112.jpg


pb114.jpg


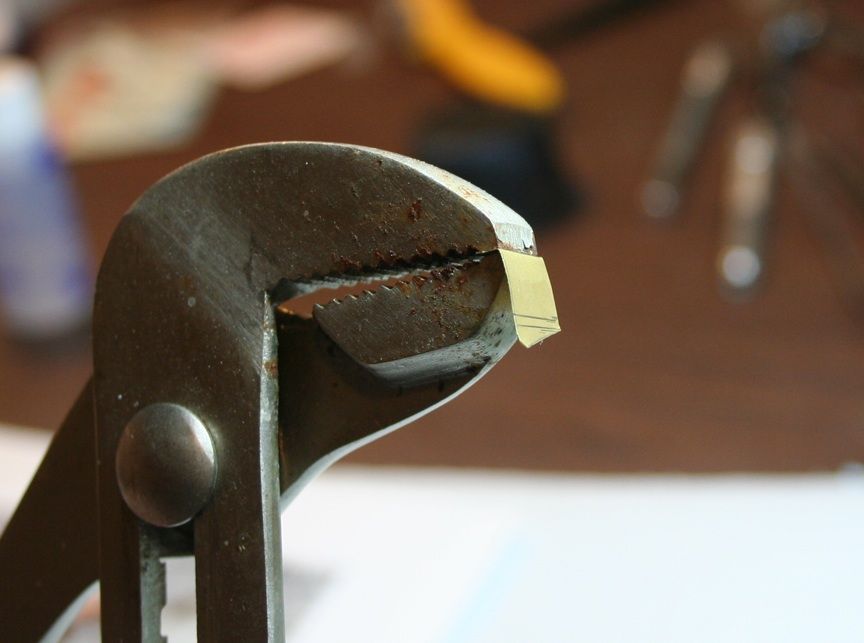
Using my fancy bendy tool!

pb115.jpg


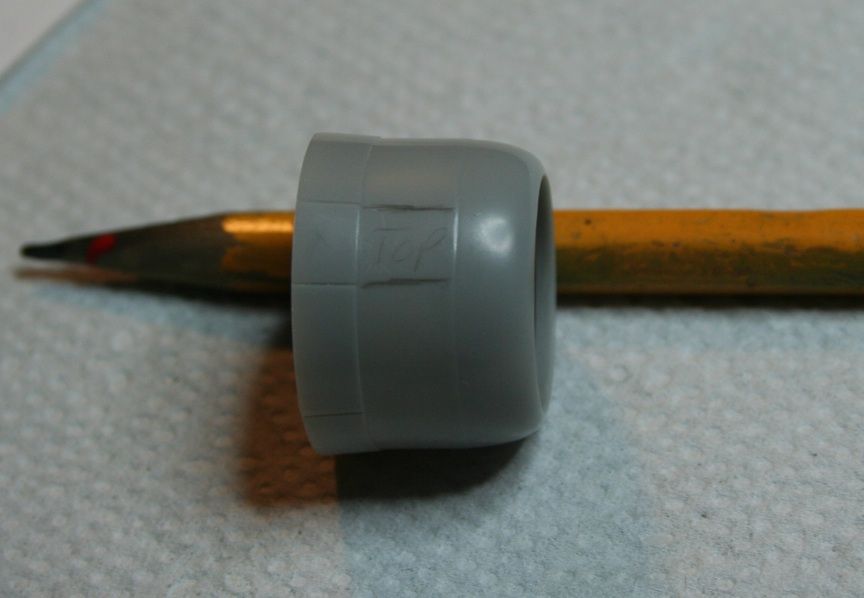
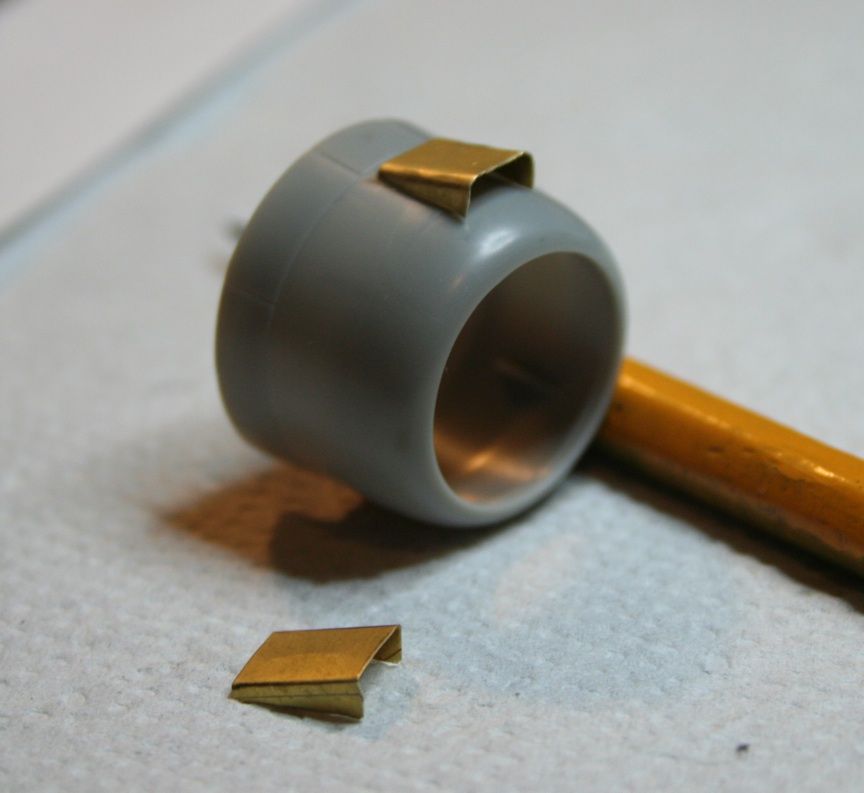
A little test fit, they look pretty good!

pb116.jpg


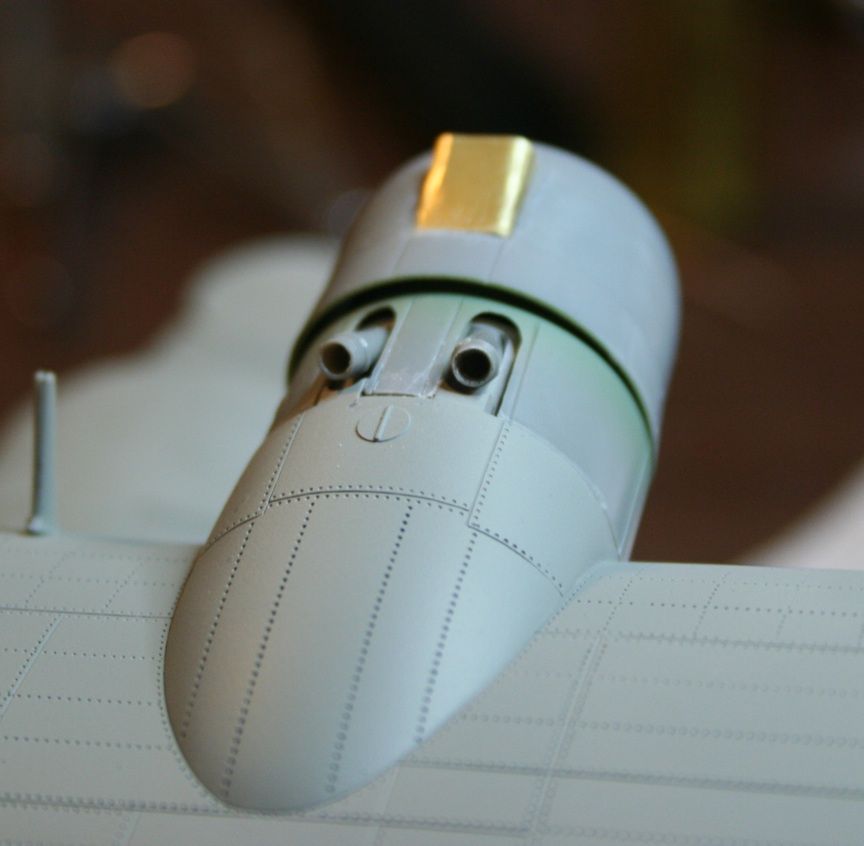
a little more trimming and some superglue to make them fit
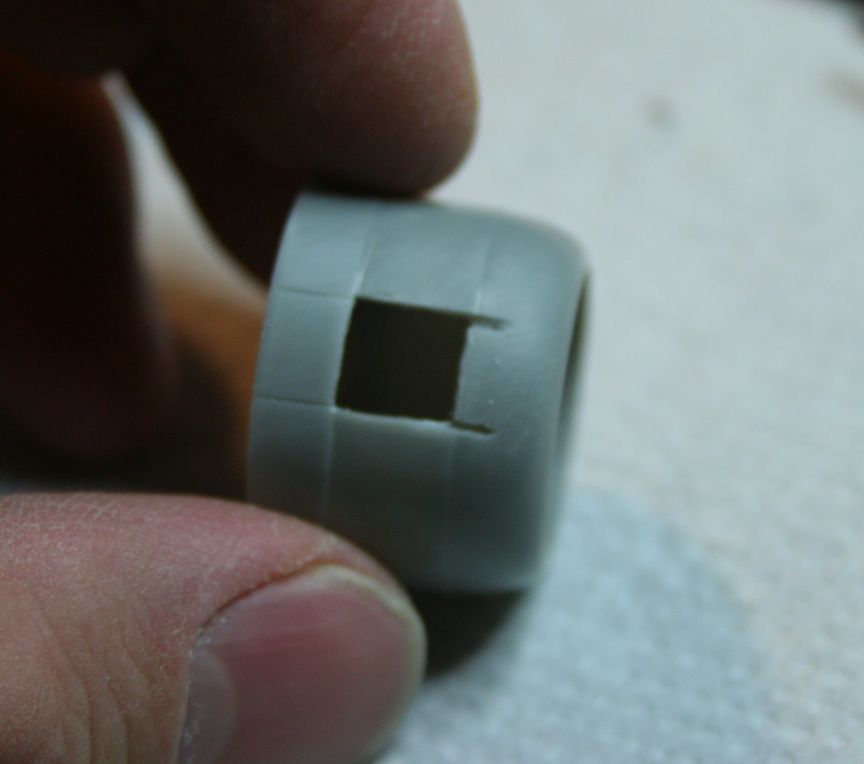
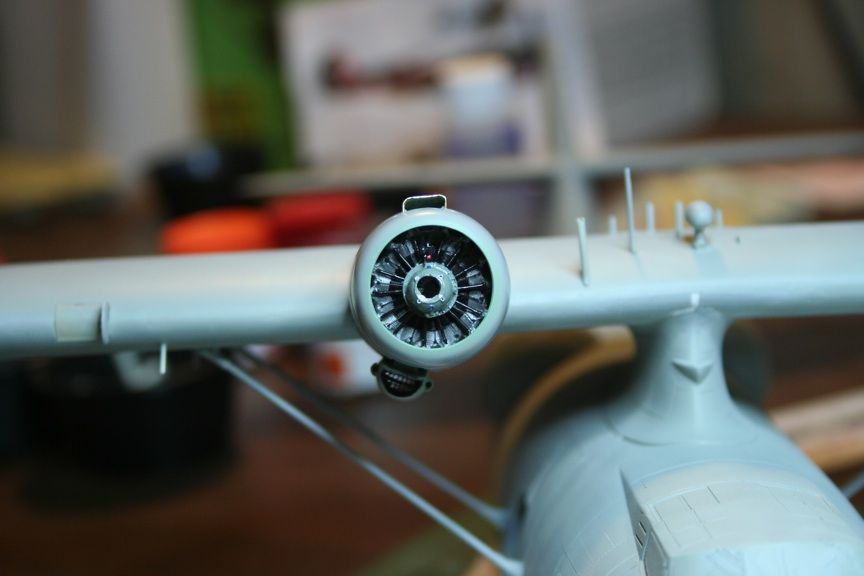
pb117.jpg


pb118.jpg


and the end result!

pb119.jpg


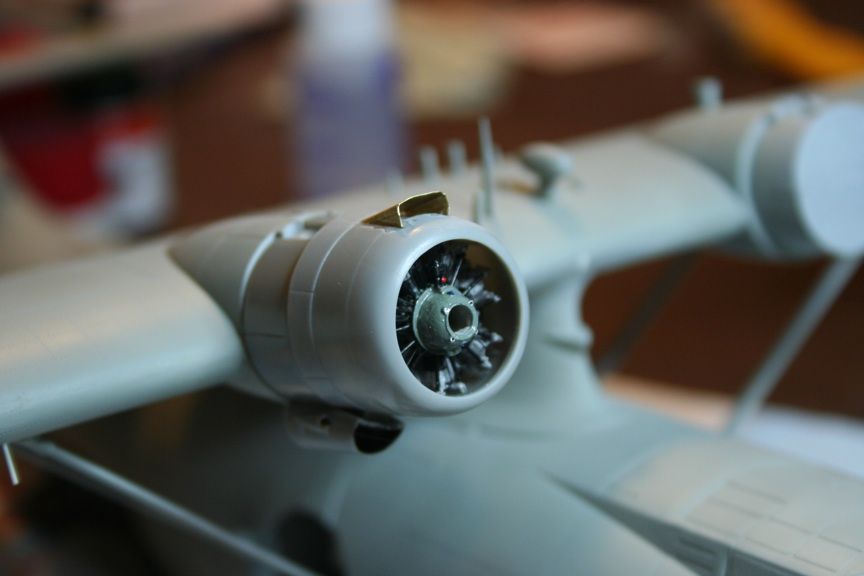
Now for some paint!!!
 
Just a quick question....... Are these pics too big??? I can certainly shrink them if they are.
 
nice to have you here Warren and the Cat looks like she will prowl nicely. Been looking forward to this finished build for a long time. :dude
 
That is some great work you've done there on the Catalina. Please post the rest of the images here as well (if possible) as it makes it easier to track the progress.

Regards,
 
Thanks everyone!

I'm trying to get it done Paul, I'm looking forward to adding the day glo orange to it!!
 
Very nice project!!!

I've seen this bird a few times IRL, when I was a bit younger :D
It's a huge bird!!

I can't wait to see this one done!!

Cheers,
Mikkel
 
There's a kit under the bed that's calling out to me, thanks this build!

You know you want to work your magic on her Chukw. The Cat looks very nice Warren. It sure would be nice for some aftermarket decal companies to make some stuff for it. I've got the same kit but don't like the decals it came with. Might have to go with something else.

I agree! I know Aeromaster had a couple sets, one for american cats and this one but sadly, they are both OOP now.

http://www.ultracast.ca/products/Limited%20Stock/AeroMaster/48-Scale/48-234/default.htm

The decals for this plane I got from Stoppel Hobby

http://www.stoppel.dk/shop/frontpage.html
 
That is some great work you've done there on the Catalina. Please post the rest of the images here as well (if possible) as it makes it easier to track the progress.

Regards,


Hi Saul,

do you mean everything posted previously or just from here on in??? I was planning on posting everything from now until the finish.
 
Thanks William!

A little more work tonight! I haven't got to painting the orange or the wing just yet. I have to finish up with the port engine and attach it before I do this. Hoping to have that done tomorrow night.

painted the insides of the cowlings

pb120.jpg


I had to add a few small pieces of sheet styrene to the upper part of the engine nacelles to get them to fit flush with the wing. If anyone tackles this kit, that is an area that needs a bit of work. You can see the three on either side of the exhaust areas

pb121.jpg


pb122.jpg


Something I did before but forgot to post, 2 little eyelets on the struts that will feed an arial wire through later. I made these like the WWI guys do for their rigging, took a piece of wire and twisted it around a drill bit. Then I simply drilled a small hole in the strut and glued it in place.

pb123.jpg


Engine nacelle from the front

pb124.jpg


Top! The rivets are really nicely moulded on this kit!

pb125.jpg


Once I get these nacelles and engines on I should be able to start painting more. I should note too, I went with the exhausts from the kit, just drilled them out a little deeper. I've seen others use brass tube to replace these but the kit ones looked fine.
 
I understand . I have had no time for modeling in at least two months now . Only enough for a few comments on other 's builds .

I think I see a dim light flickering on the horizon though . :blink

Keep up the good work !

Cheers, Christian B)
 
I don't recall the Revell Cat having recessed anything Warren. I guess it because of my advanced age. :S
 
Thanks William!

A little more work tonight! I haven't got to painting the orange or the wing just yet. I have to finish up with the port engine and attach it before I do this. Hoping to have that done tomorrow night.

painted the insides of the cowlings

pb120.jpg


I had to add a few small pieces of sheet styrene to the upper part of the engine nacelles to get them to fit flush with the wing. If anyone tackles this kit, that is an area that needs a bit of work. You can see the three on either side of the exhaust areas

pb121.jpg


pb122.jpg


Something I did before but forgot to post, 2 little eyelets on the struts that will feed an arial wire through later. I made these like the WWI guys do for their rigging, took a piece of wire and twisted it around a drill bit. Then I simply drilled a small hole in the strut and glued it in place.

pb123.jpg


Engine nacelle from the front

pb124.jpg


Top! The rivets are really nicely moulded on this kit!

pb125.jpg


Once I get these nacelles and engines on I should be able to start painting more. I should note too, I went with the exhausts from the kit, just drilled them out a little deeper. I've seen others use brass tube to replace these but the kit ones looked fine.

Nice work, I think I still got some of Bob's Buckles left over from the Sopwith Pup build, used it on the PBR. Great addition.

:popcorn
 
Back
Top